This post may contain affiliate links. For more information, read my disclosure policy.
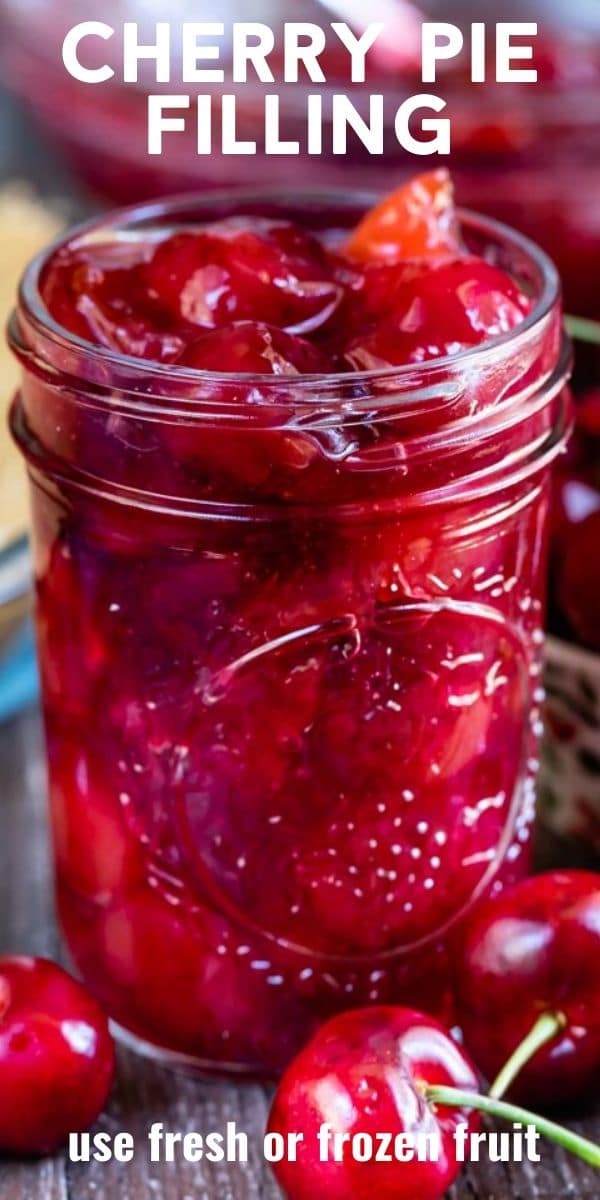
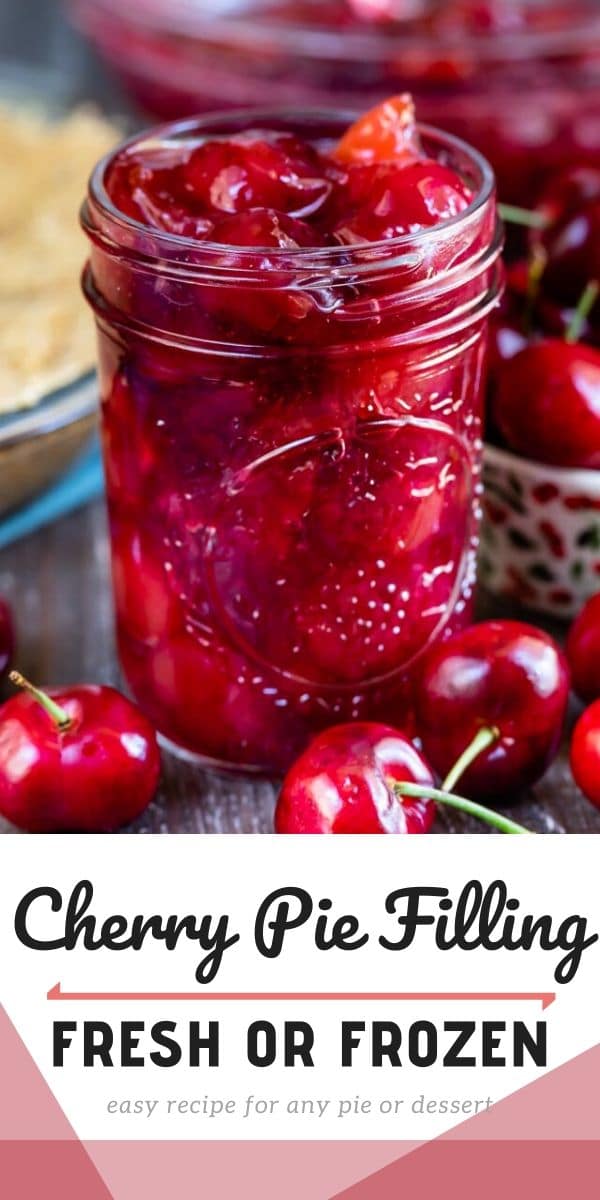
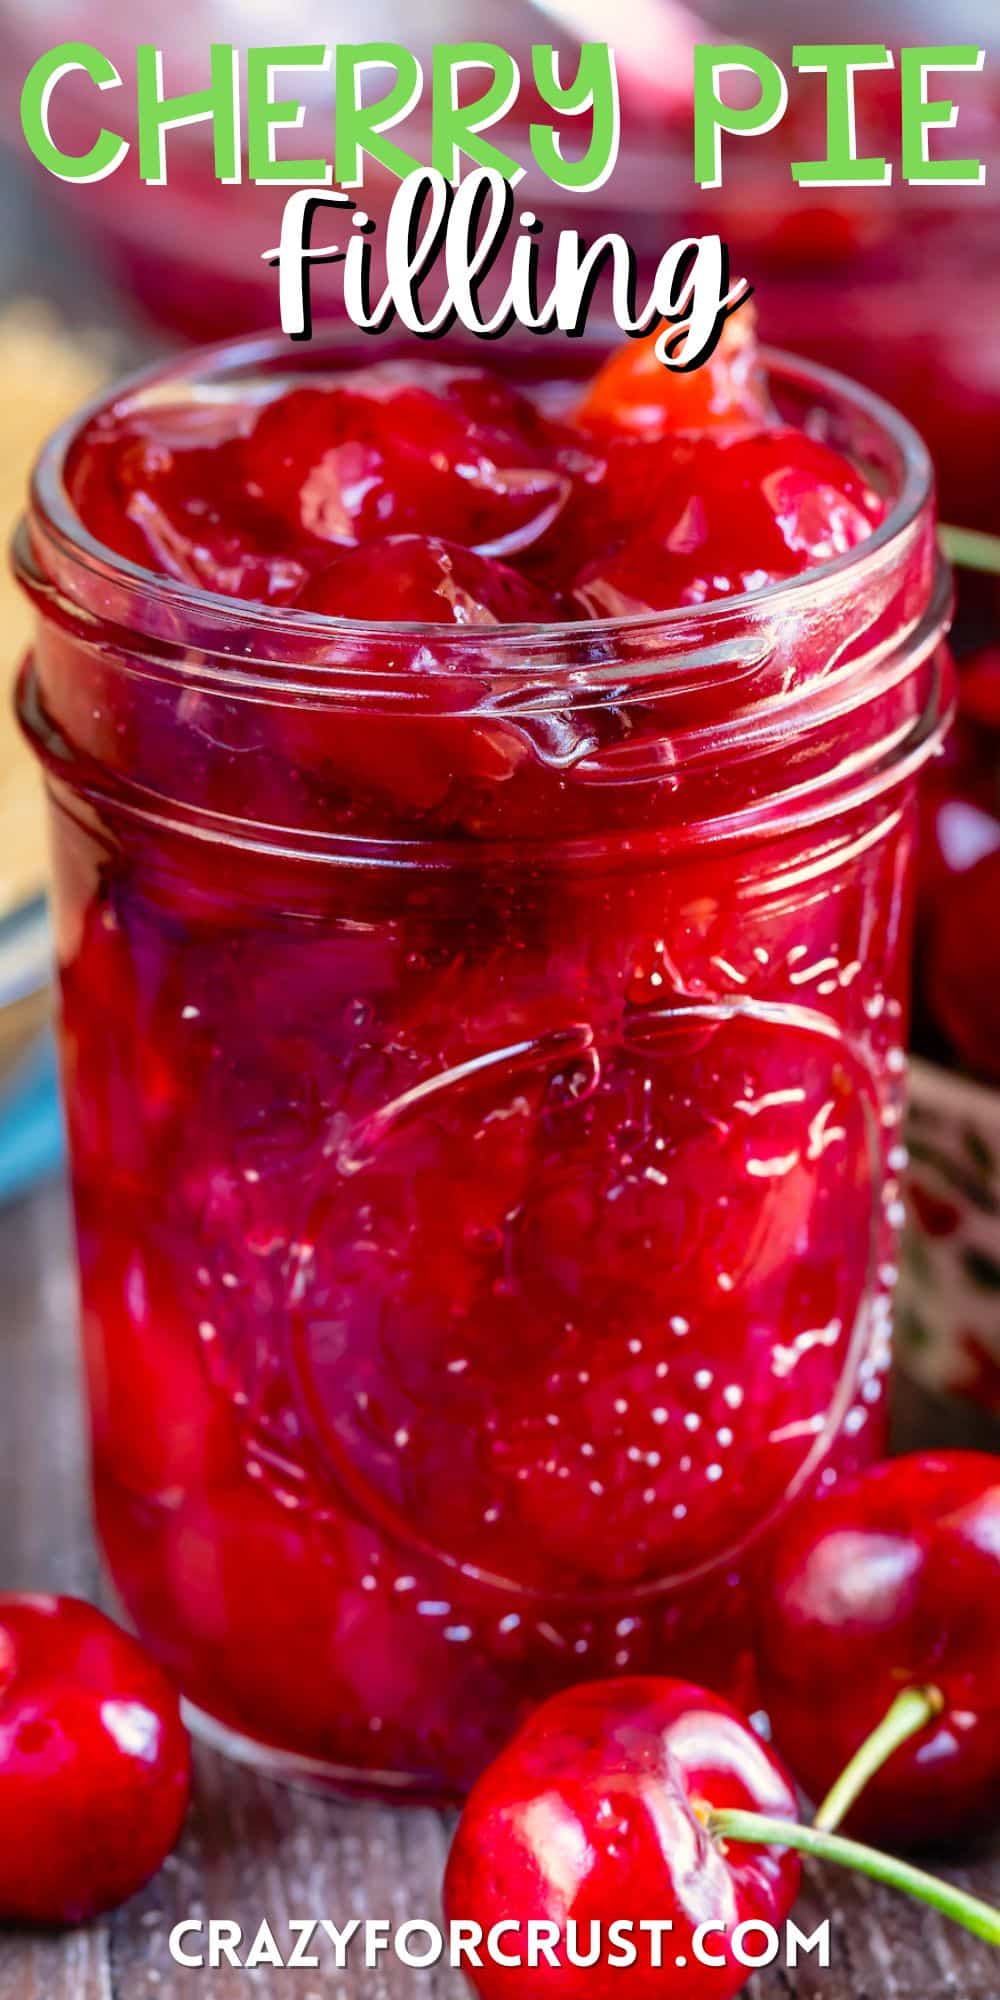
My homemade Cherry Pie Filling recipe is so easy and you only need five ingredients! Use this easy filling for pie or use it to create other delicious cherry desserts. Once you try making homemade pie filling, I can promise that you will never want to buy canned store-bought pie filling again.
- You can use sweet cherries or tart cherries – the key is in the lemon juice.
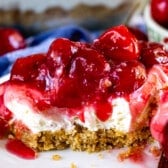
- This recipe is for pie filling – not the whole pie. Sometimes you want to use pie filling for topping a cherry cheesecake or to use on pancakes or in cherry ice cream.
- Use my cherry pie recipe to turn this pie filling into a full pie – with double crust or crumble topping. Just note that it takes a bit of time to make a full pie – you need to make this pie filling and let it cool, make the homemade pie crust, then bake the full pie and let it cool.
How to make Cherry Pie Filling
- Pitting cherries can be a chore but the easiest way to pit a cherry is with a cherry pitter. You will also need to remove the stems. Don’t have a cherry pitter? Learn how to pit a cherry with a straw.
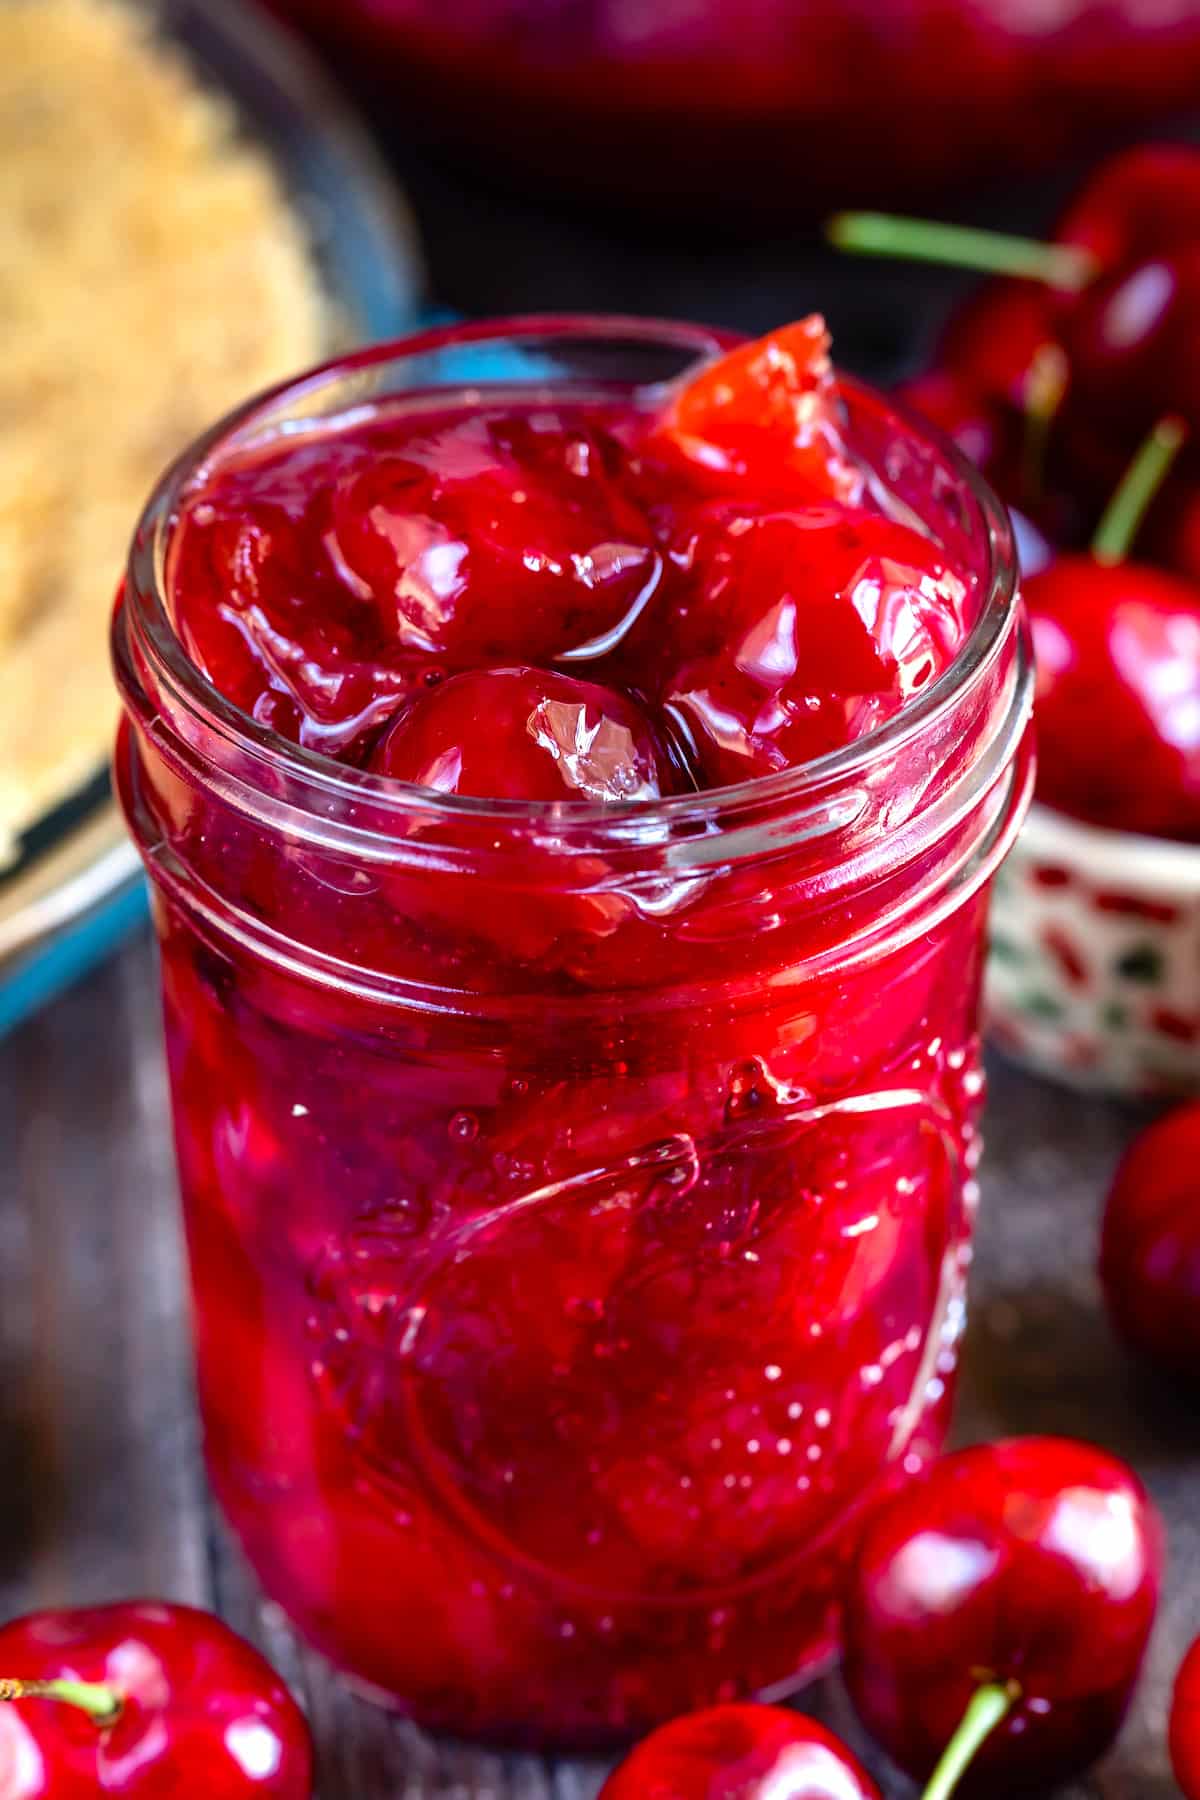
- Using fresh cherries makes a huge difference – Perfectly sweet with just the right amount of sugar this pie filling is all about that fresh cherry flavor.
- When you cook the cherries, you will need to add some water. Cooking the cherries in water helps break them down and release the cherry juices.
- To thicken your filling, you will add a slurry which is made with cornstarch and cold water.
- You will also need some lemon juice which helps balance out the sweetness from the sugar.
SAVE THIS RECIPE
Tips & Variations
- You can add some vanilla or almond extracts to the pie filling – stir it in after you’ve removed it from the heat.
- If making a full pie, be sure to brush the pie dough with egg wash so it will get golden brown.
Cherry Pie Filling Recipe
This easy Cherry Pie Filling can be made with tart or sweet cherries and is perfect for a no bake pie or any cherry dessert. Plus the filling is gluten-free!
Video
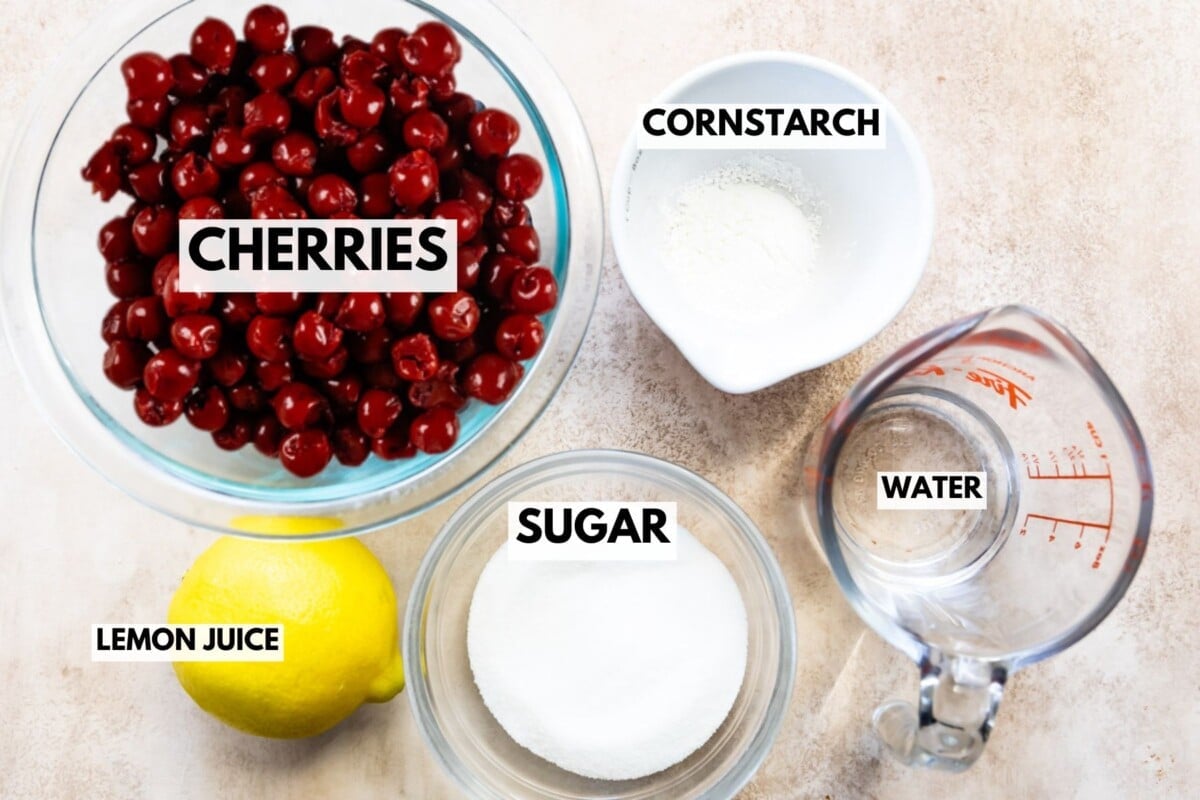
Ingredients
- 4 ½ – 5 cups fresh cherries (about 1¾ pounds), pitted
- ¼ cup water
- ⅔ cup (133g) sugar
- ¼ cup (30g) cornstarch
- 1 tablespoon (15ml) lemon juice, see note
Instructions
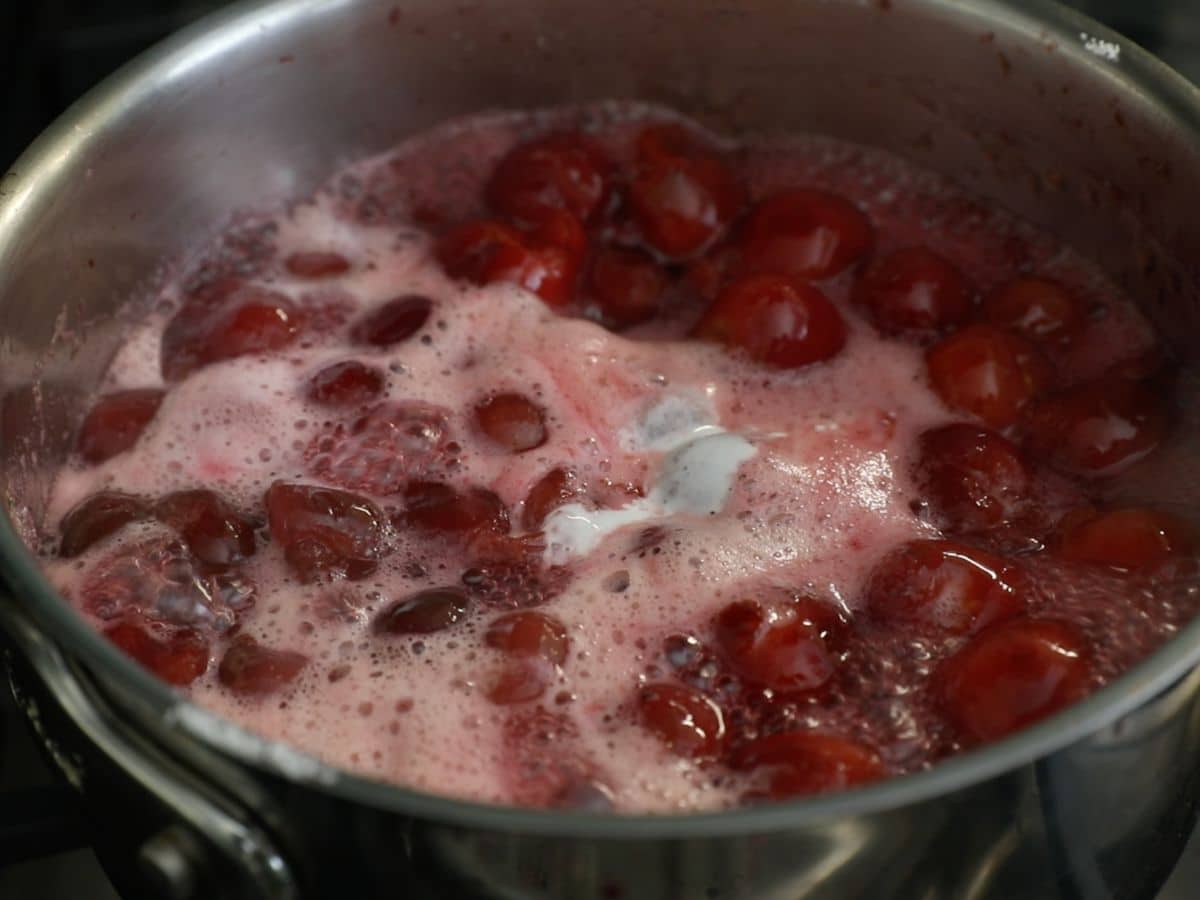
- Pit your cherries and place them in a medium saucepan with the water. Place over medium-low heat and cover. Bring to a boil and cook until the cherries start to soften and release their juices, about 10-15 minutes.
- Make a cornstarch slurry: add the cornstarch with an additional 1/4 cup of COLD water to a small bowl and stir with a spoon.
- Add the lemon juice if you feel the mixture is too sweet (see note).
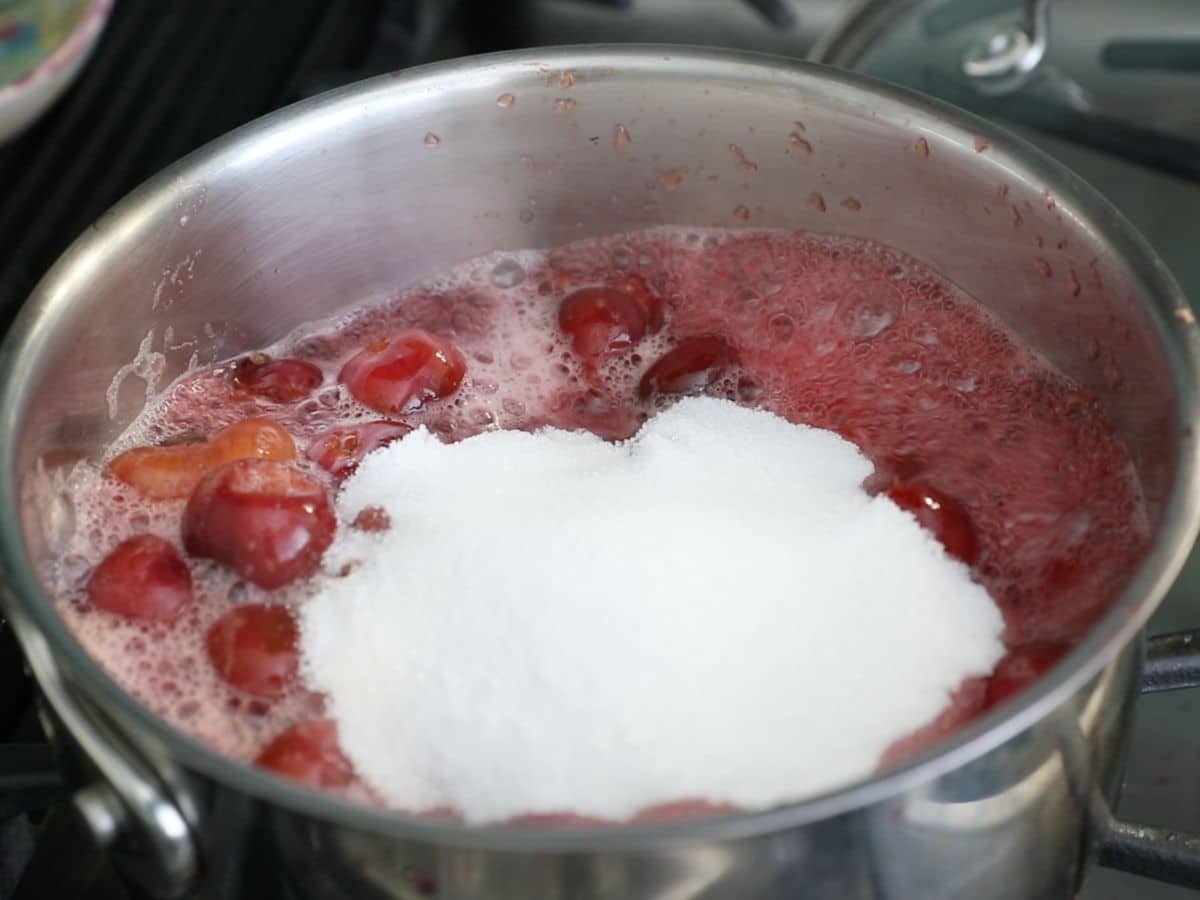
- Stir the sugar into the cherries, then add the cornstarch slurry. Stir continuously while the mixture thickens, which will happen fast.
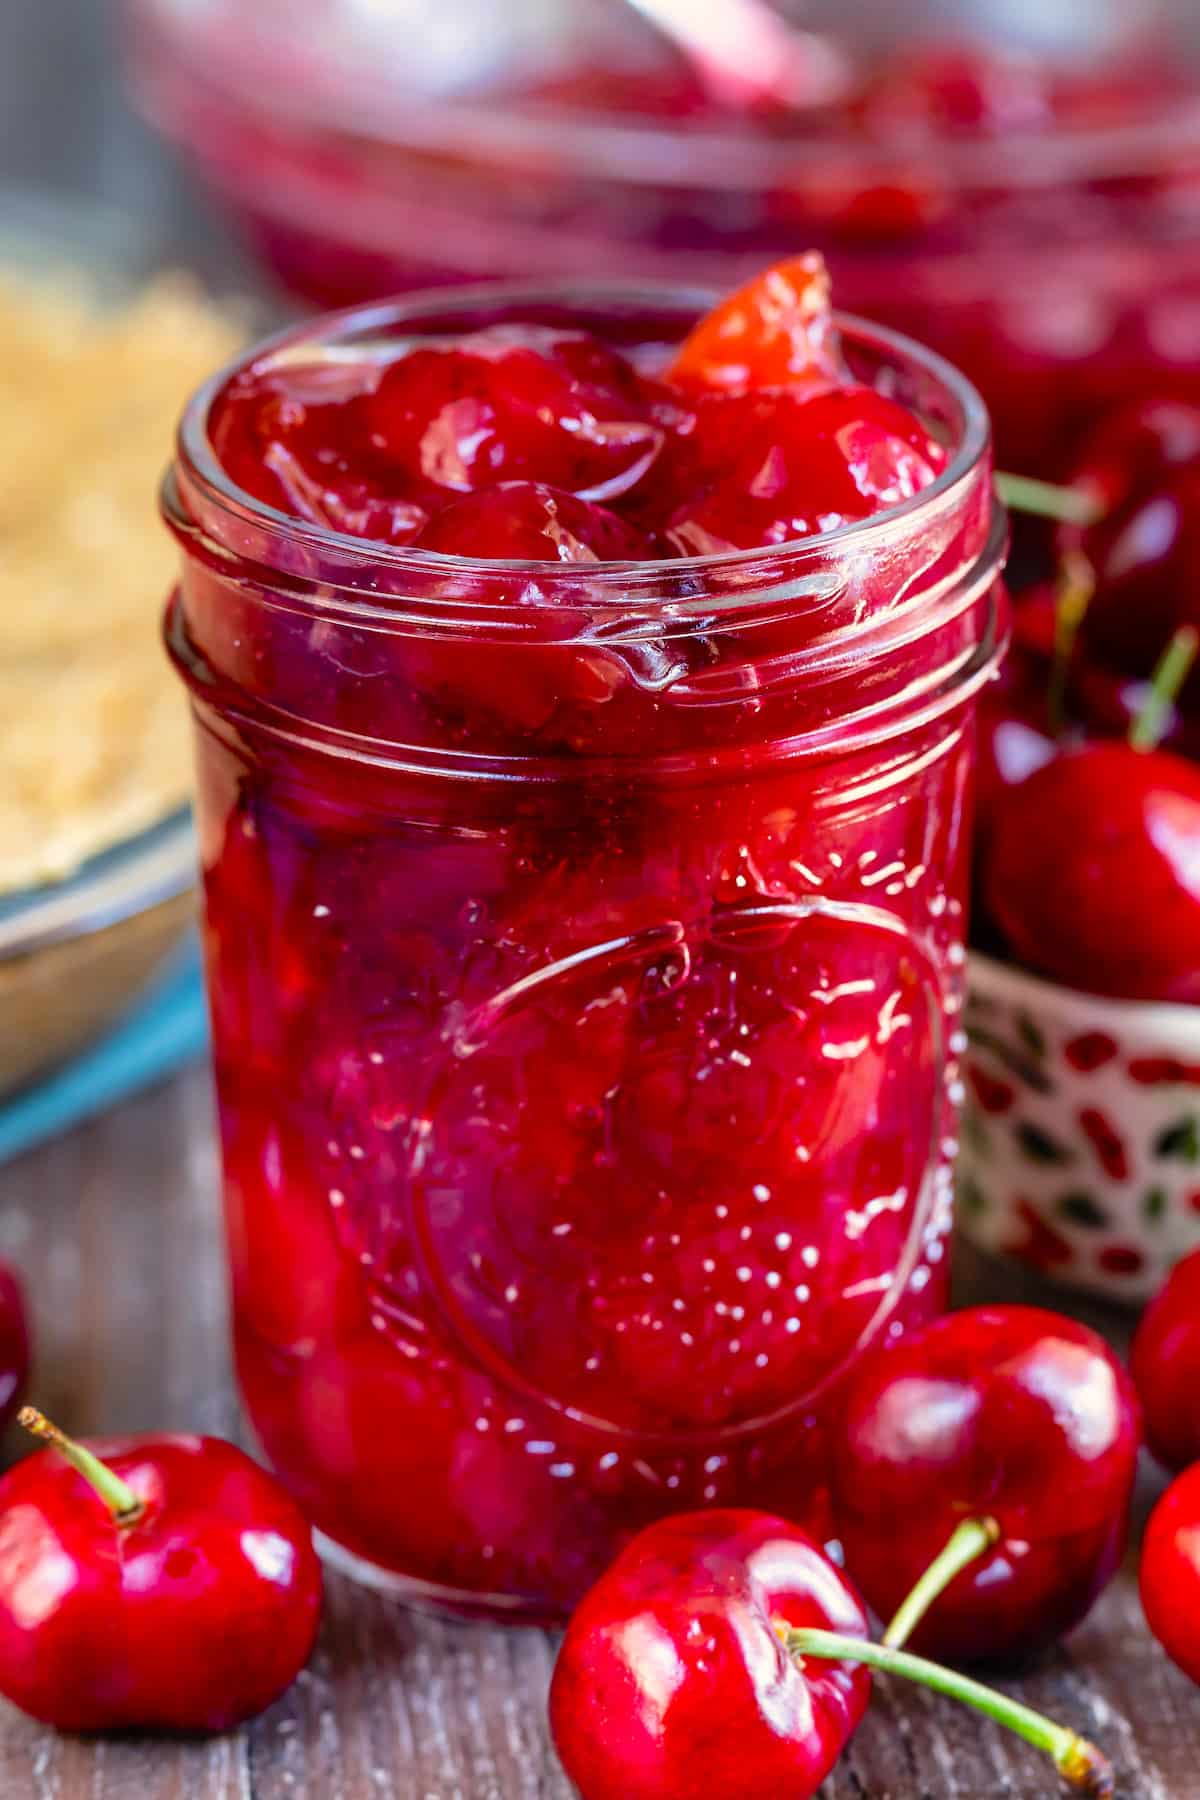
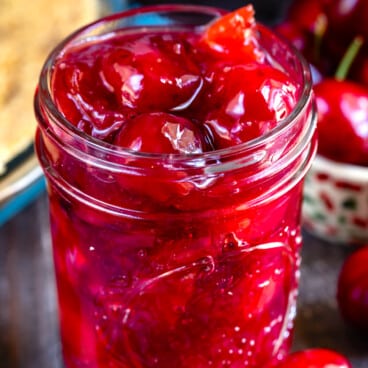
- Remove the cherries from the heat and place in a bowl or large jar. Cool to room temperature then chill until ready to use. You can also freeze. Will last up to 4 days in the refrigerator
Notes
• You can use all tart or all sweet or a combination of cherries. If using sweet cherries, be sure to add the lemon juice. If you’re using tart cherries, you may not need it (the lemon juice cuts the sweetness) so it depends on how sweet you want your pie filling.
Recipe adapted from AllRecipes.
Nutrition
Serving: 1serving | Calories: 83kcal | Carbohydrates: 21g | Protein: 1g | Fat: 1g | Saturated Fat: 1g | Sodium: 1mg | Potassium: 10mg | Fiber: 1g | Sugar: 17g | Vitamin C: 1mg
Nutrition information is automatically calculated, so should only be used as an approximation.
© Crazy for Crust. Content and photographs are copyrighted. Sharing this post is much appreciated, but copying and pasting full recipes without authorization is strictly prohibited.
Did you try this recipe? Click here to rate the recipe below.
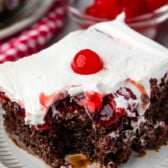
Ways to use Cherry Pie Filling
- You can use this filling to make the BEST cherry pie with my homemade crust or a store bought pie crust. You can make it with a top crust or make cherry crisp with a crumble topping.
- Cherry Delight, Cherry Cheesecake Dessert, or make Cherry Dump Cake
- Cherry Pie Bars with crumble topping
- Switch out the apple pie filling for the cherry in Apple Cheesecake Pie
- Top pancakes or waffles or use them as a cake filling!
- Make black forest cupcakes with it!


Step-by-Step Photos
- Cook Cherries: Place the prepped cherries and water in a sauce pan. Bring it to a boil and cook the cherries for 10 to 15 minutes or until they have softened and released their juices.
- Mix and Boil: Add the sugar to the cherries followed by a cornstarch slurry. Stir continuously. The mixture will thicken quickly at which point you can take it off the heat.
- Taste: At this point, taste the filling (carefully- it will be hot!) and if it’s too sweet you can add lemon juice to balance it out.
- Cool: Transfer the filling to a bowl or large bowl. Let it cool to room temperature and then place it in the refrigerator until you ready to use it.


Can you freeze the filling? I’d love to make during cherry season and save for future use.
Yes I freeze it often – I prefer freezing in plastic though, instead of a glass jar.
I made this recipe exactly using cherries from our Bali cherry tree. It turned out absolutely delicious.
Good easy recipe
I reduced sugar to 1/2 cup but it was still a little sweet. I suggest adding sugar in increments to your desired sweetness due to the difference in cherries.
It’s Thanksgiving time and I can’t find fresh cherries. Have you tried using the frozen cherries before? I fear they will be watery. Thank you.
Just make sure to thaw them first and drain any excess water
Featured In
Rate This Recipe
Recipe Ratings without Comment