This post may contain affiliate links. For more information, read my disclosure policy.
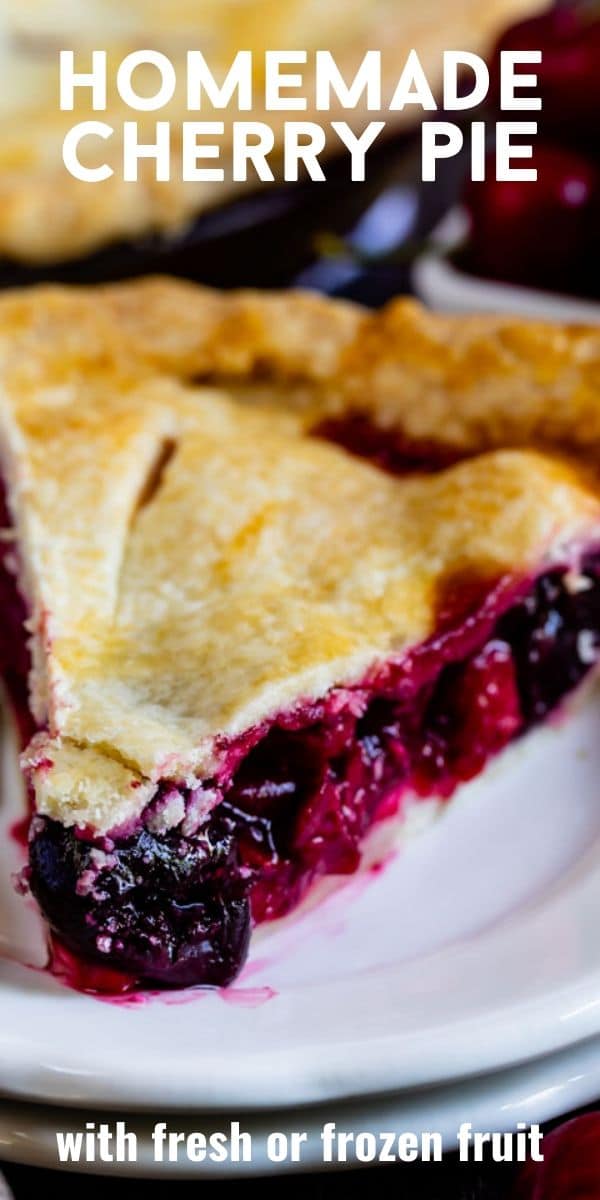
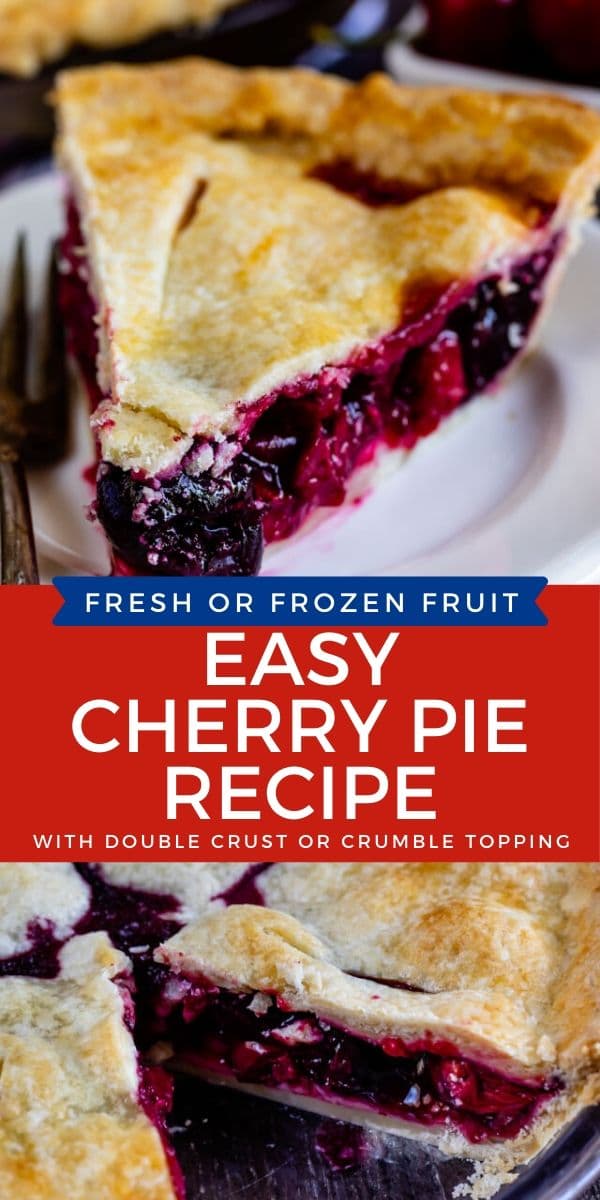
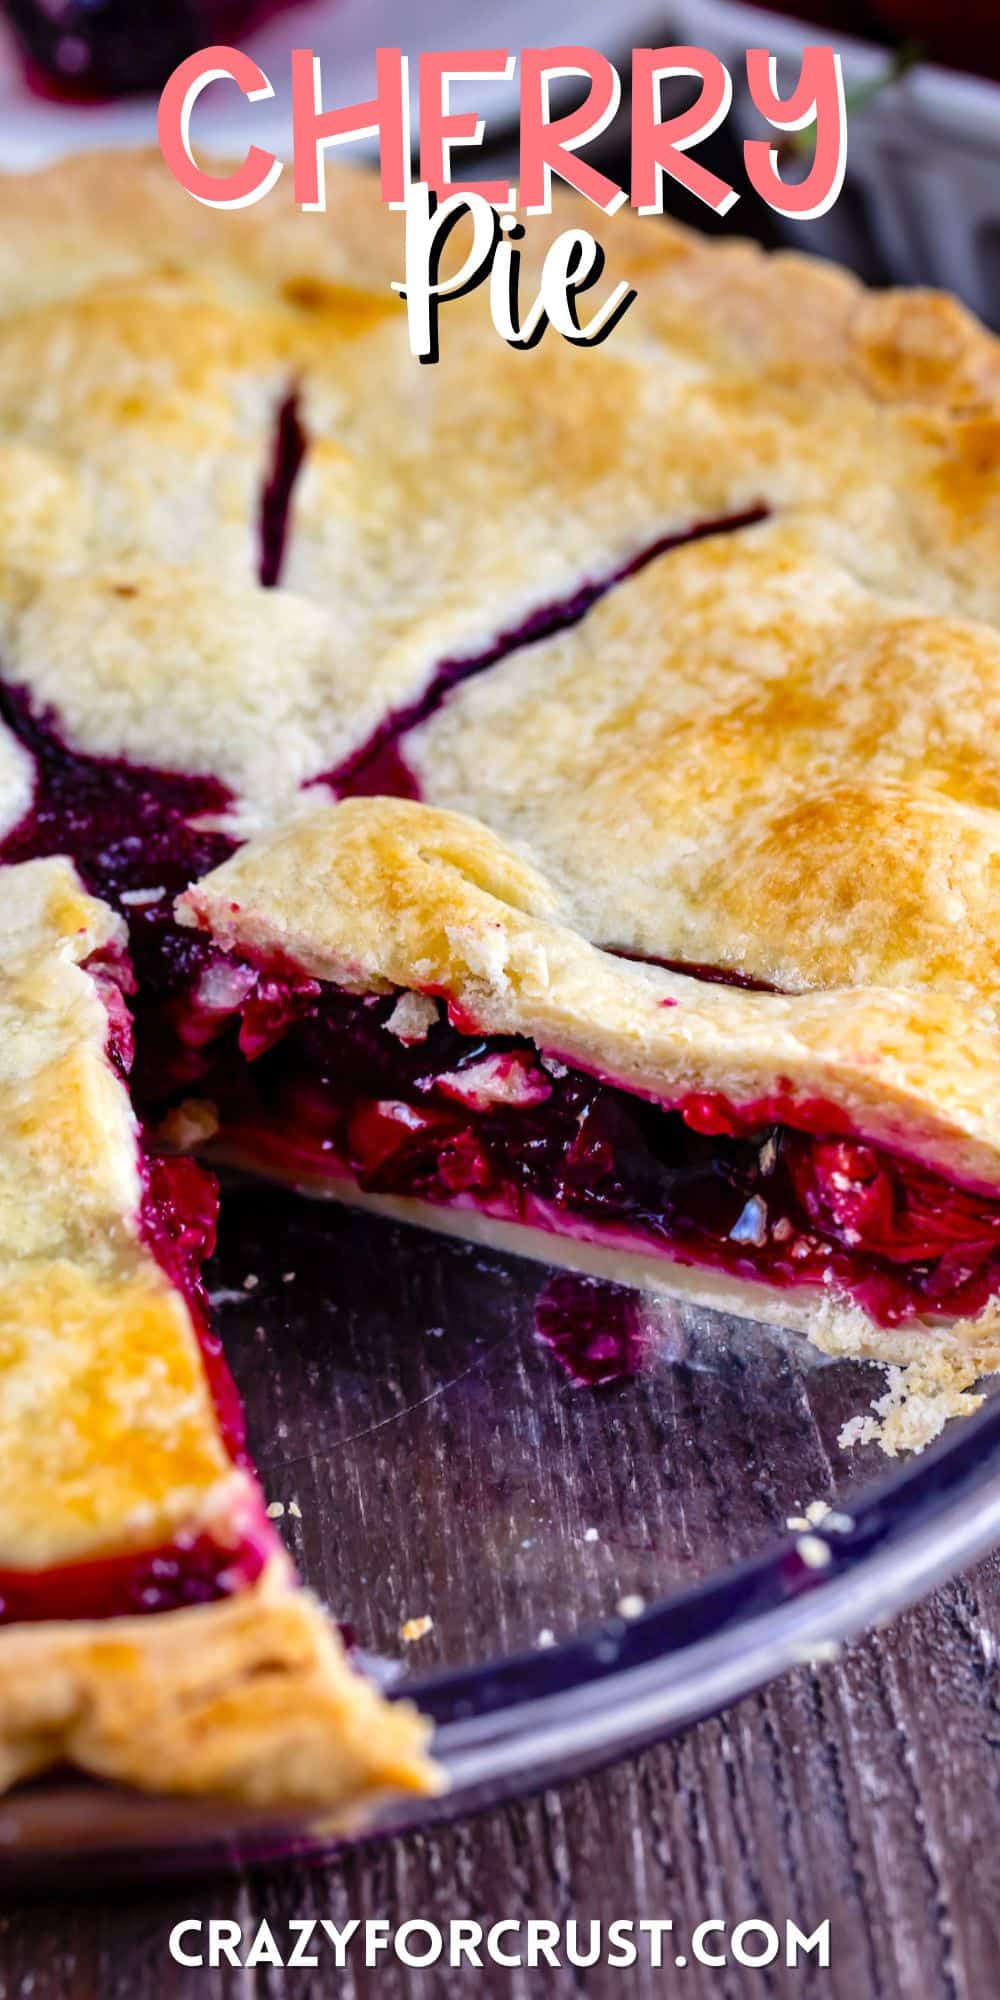
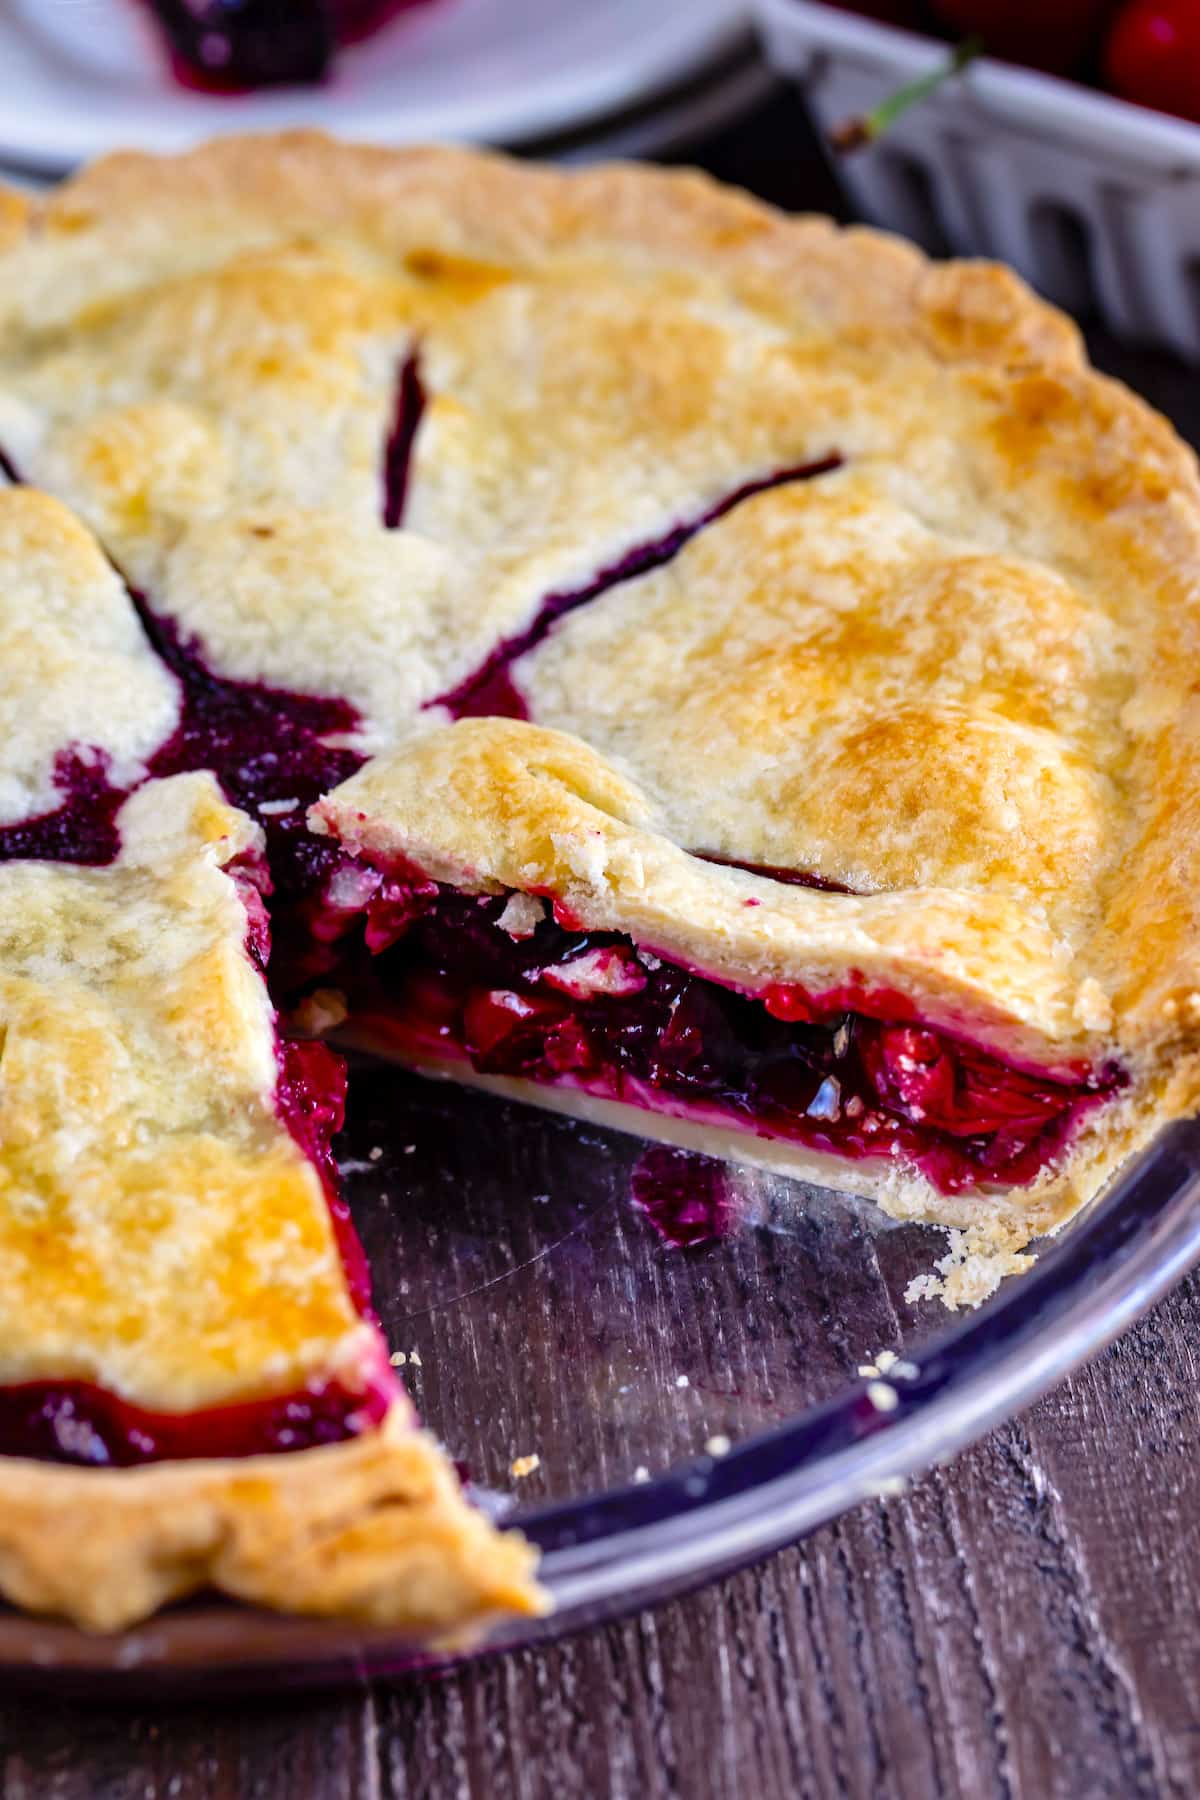
Learn how to make a cherry pie with a golden crust and delicious filling that is perfectly set when it’s time to serve it! This is the BEST cherry pie recipe that you can easily customize to your tastes with different variations. I’m going to share how to make this as a two crust pie, lattice OR with crumble topping!
Homemade Cherry Pie
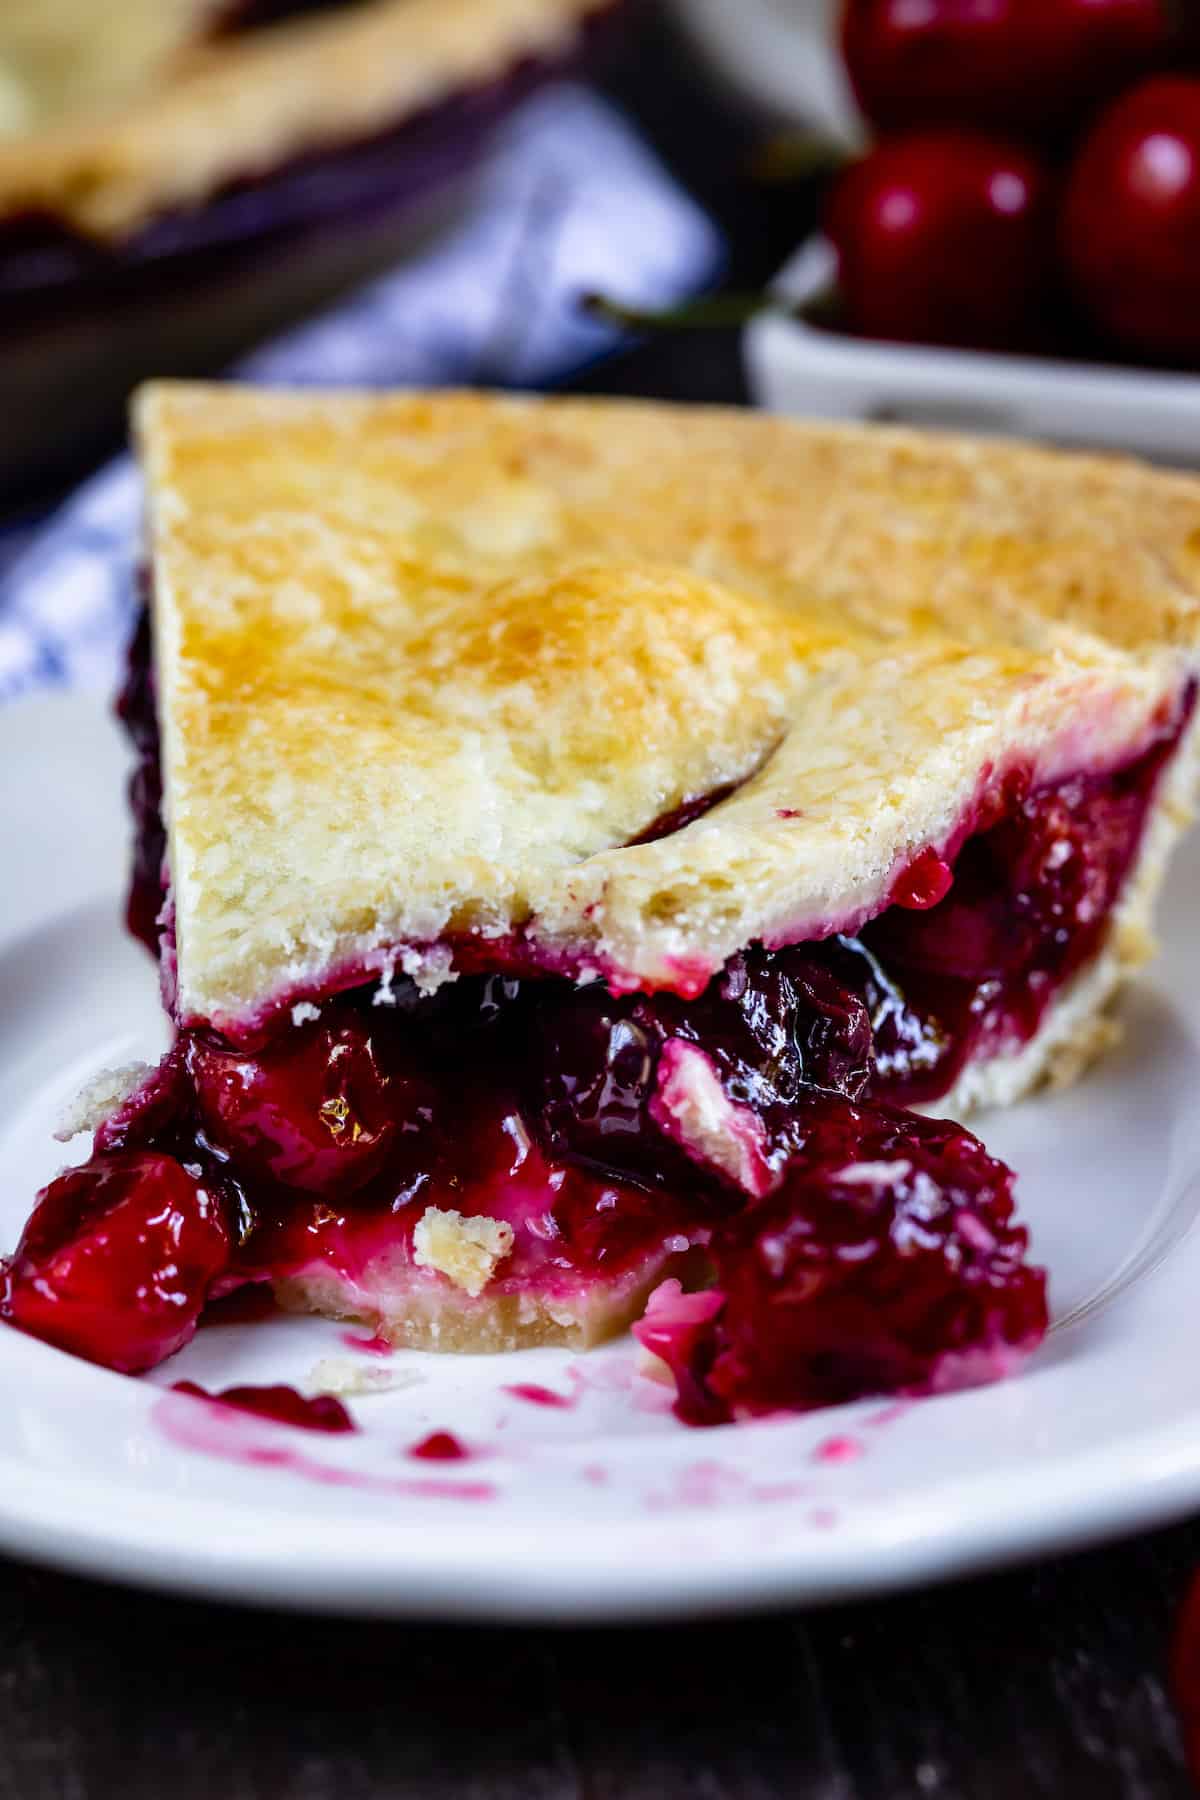
I am very excited to share this homemade cherry pie recipe because we all need a go-to summer dessert that is amazing! This pie has the best cherry pie filling that sets up every time so you get those perfect slices – no, watery oozing filling or soggy crust!
You can make the pie completely from scratch or you can use your favorite store-bought dough to make it really easy. There are a few other variations, too (more on that in a bit!) so you can easily switch it up each time you make it.
Cherry Pie Ingredients

How to Make a Cherry Pie
- Place one pie dough crust in the bottom of a 9-inch pie plate. Roll out the top crust and refrigerate both while you prepare the filling.
- Place the cherries in a large bowl and toss them with the sugar and cornstarch. Pour the filling into the pie crust. It is VERY important you do this right before you fill the pie or the sugar will cause the cherries to weep, making your pie wetter.
- Lay the top crust on top of the filling and cut off the excess dough. Crimp the edges of the pie.
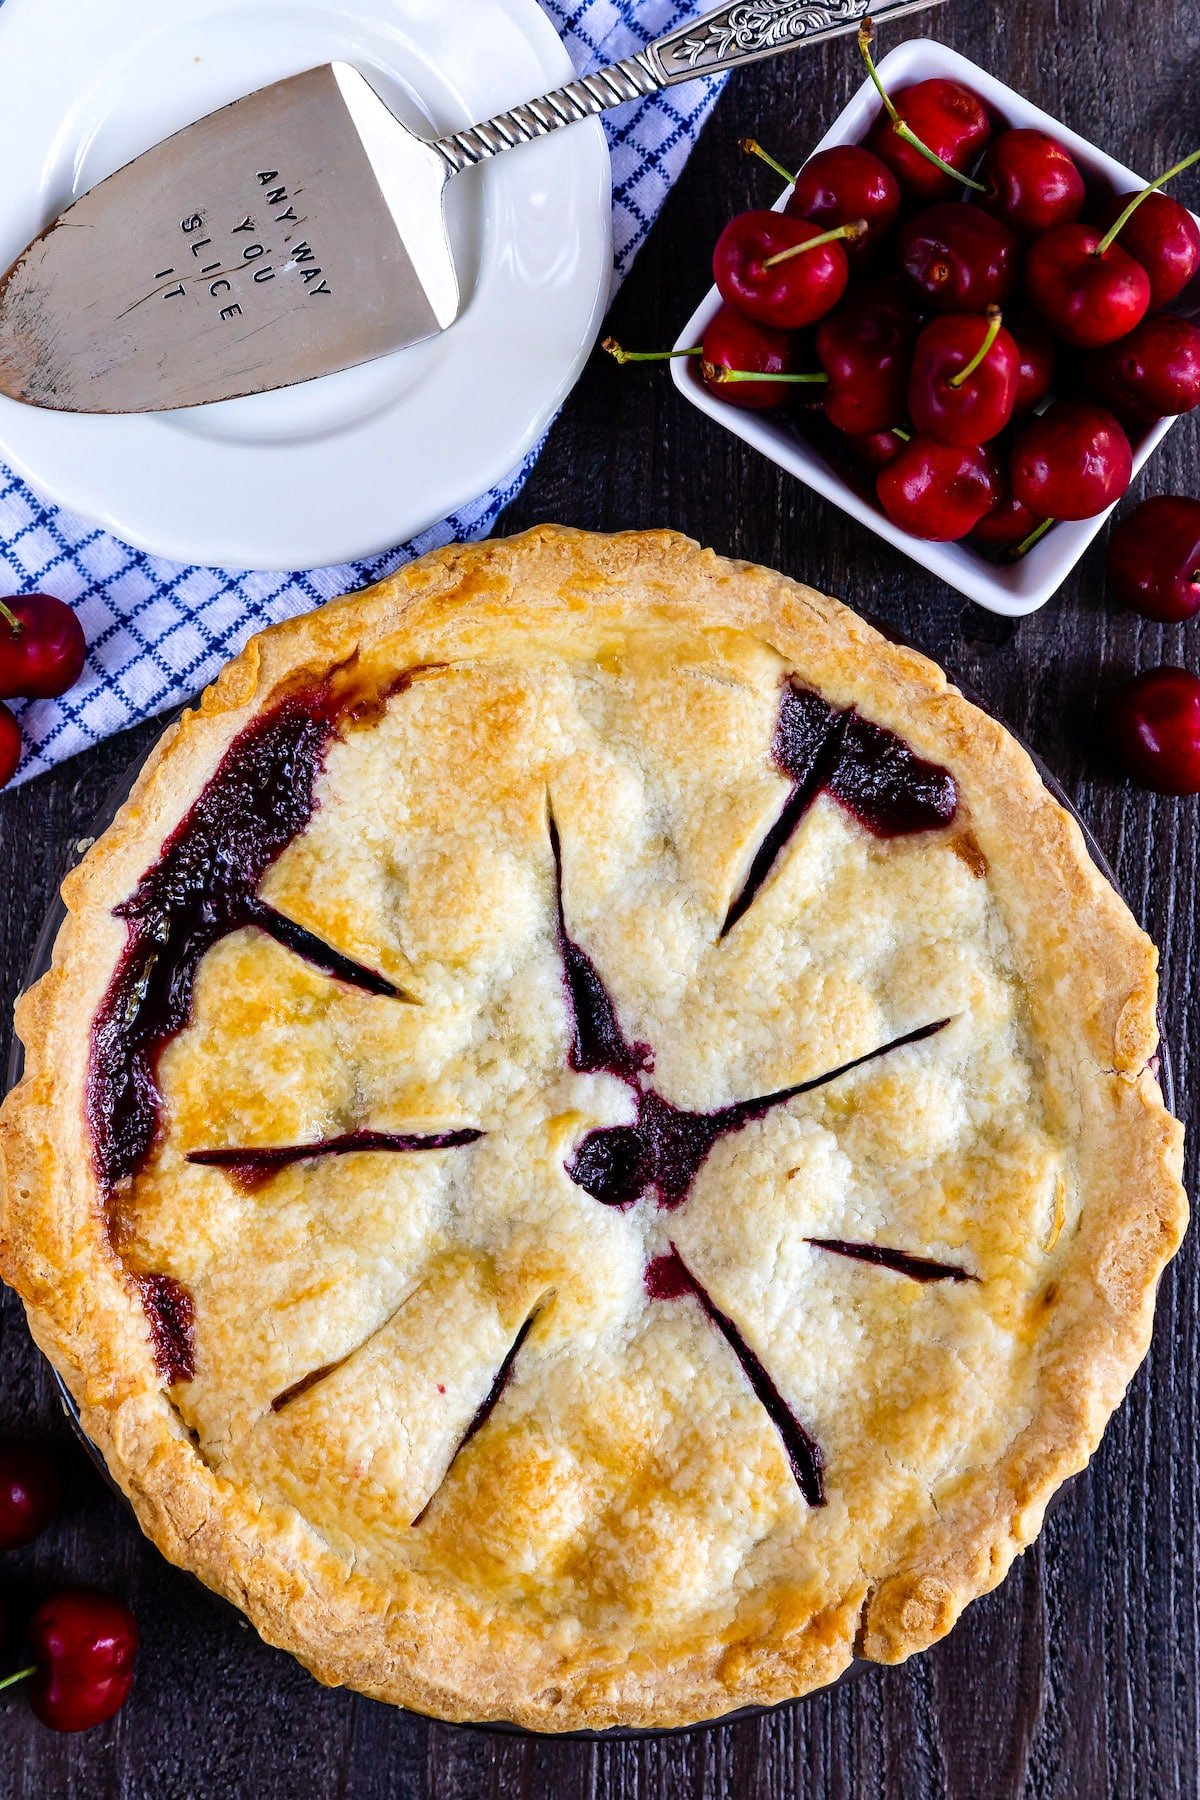
- Cut a small hole in the center of the top crust and cut a few slits. This will allow steam to escape while the pie bakes.
- Place the pie on a cookie sheet in case any liquid bubbles over while it’s baking. Brush the egg wash over the top of the pie. You can also sprinkle some granulated sugar over the top, but this is optional.
Topping Variations
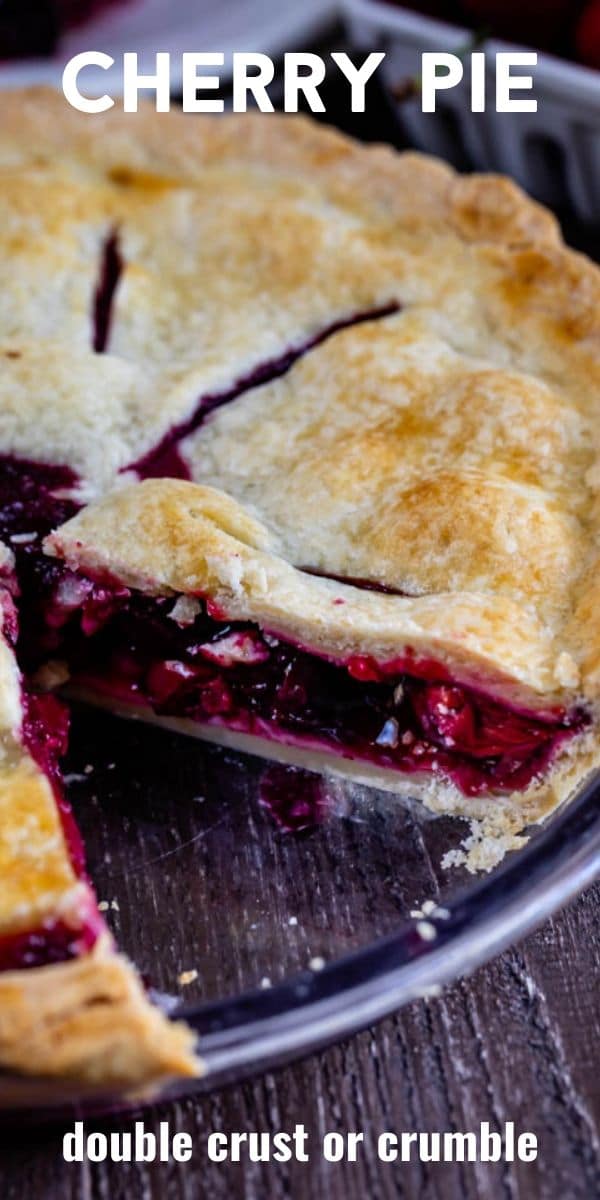
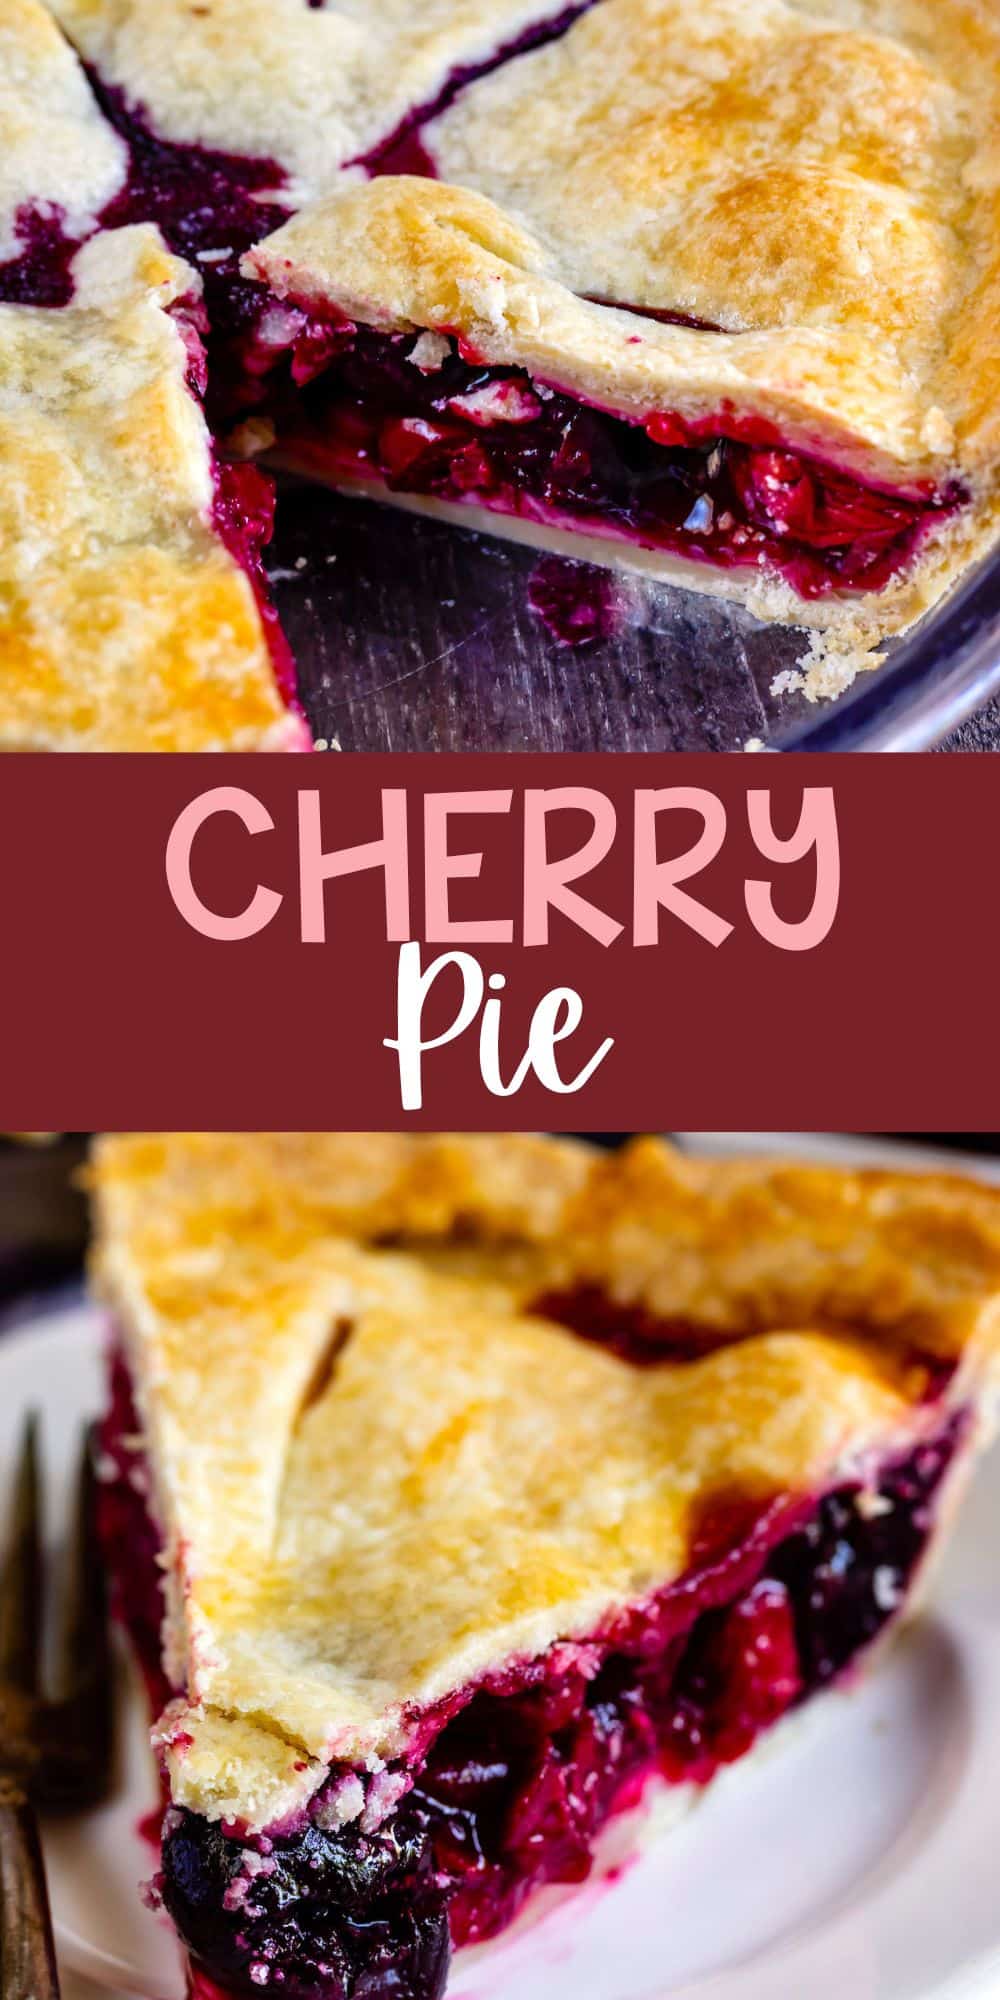
I love a double-crust pie with the filling peeking out through the cutouts, but you can easily switch things up and customize it to your tastes!
- You can create lattice top by layering strips of pie dough over the top.
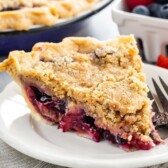
- You can also skip the top crust and make a buttery crumble topping instead.
SAVE THIS RECIPE
Tart Cherries vs Sweet Cherries vs Frozen Cherries
I love to use a combination of fresh tart and sweet cherries for this recipe, but you can use all of either if that’s what you prefer.
If you want to make a sour cherry pie and use all tart cherries you will want to increase the amount of sugar to ¾ of a cup and use less or totally omit the lemon juice. Otherwise your pie might be too tart.
To make a sweet cherry pie with all sweet cherries you may want to increase the amount of lemon juice. It cuts the sweetness so all of the flavors are balanced.
This pie is best with fresh in-season cherries but you can substitute frozen ones if you can’t find fresh ones. If you do, be sure to completely thaw them and thoroughly drain them. If there is too much excess moisture your pie will not set properly.
Are you using fresh cherries? Be sure to check out my post on how to pit cherries without a tool.
Tip From Dorothy
Expert Tips
- When you bake a pie it’s important to watch it because it may take longer or shorter depending on your oven. Once the pie is lightly golden and the filling is bubbling hot (with some spilling out the pie) but still somewhat liquid it’s ready.
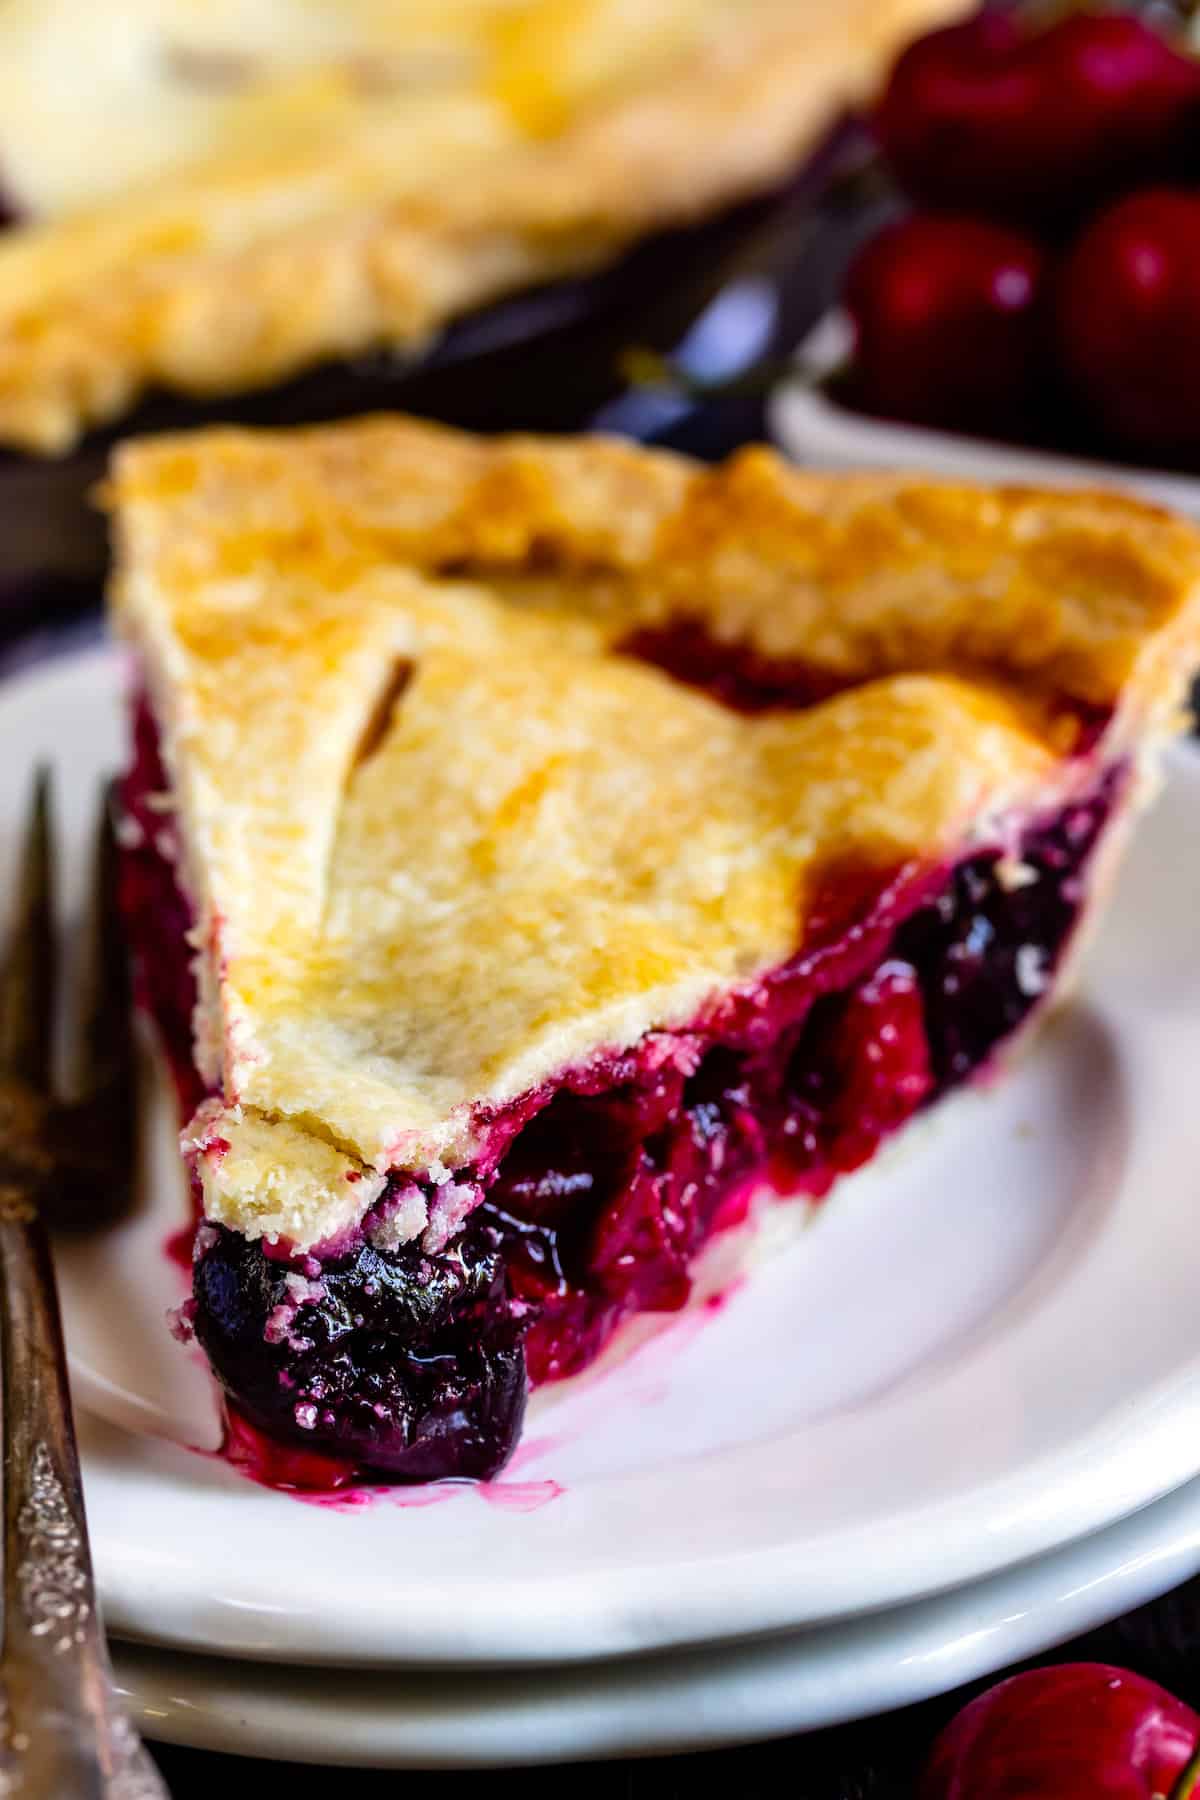
- It’s very important to cool the pie completely before slicing it. The filling will need time to set, so resist the temptation to slice into when it’s still warm. I know, tall order, but if you do the filling will not be set and will ooze out. It’s even better if you can chill the pie in the refrigerator!
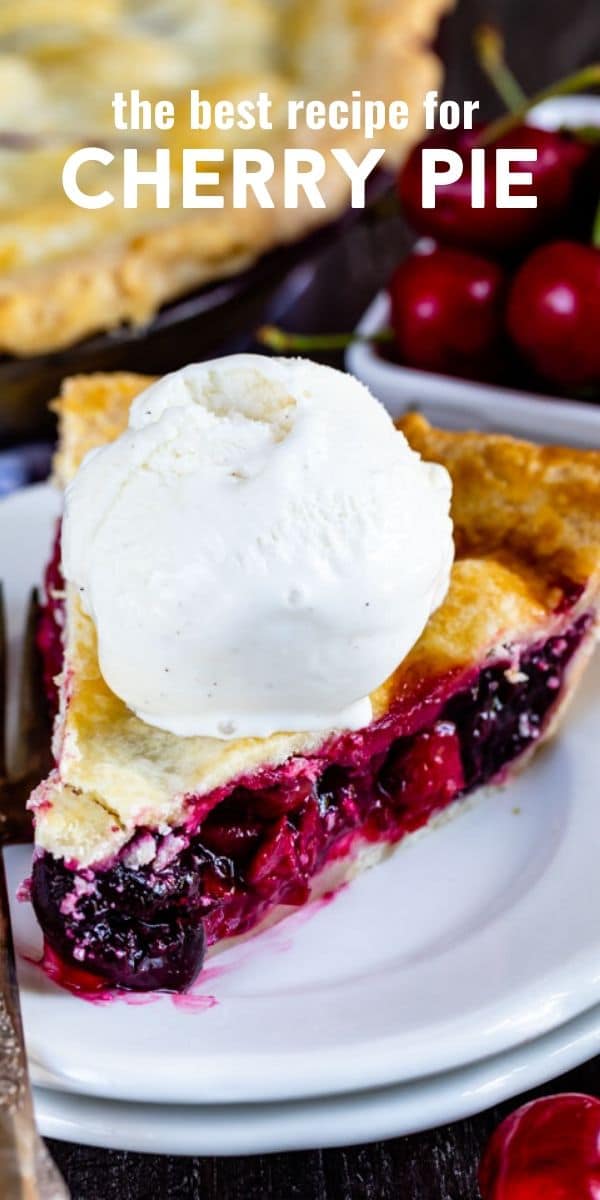
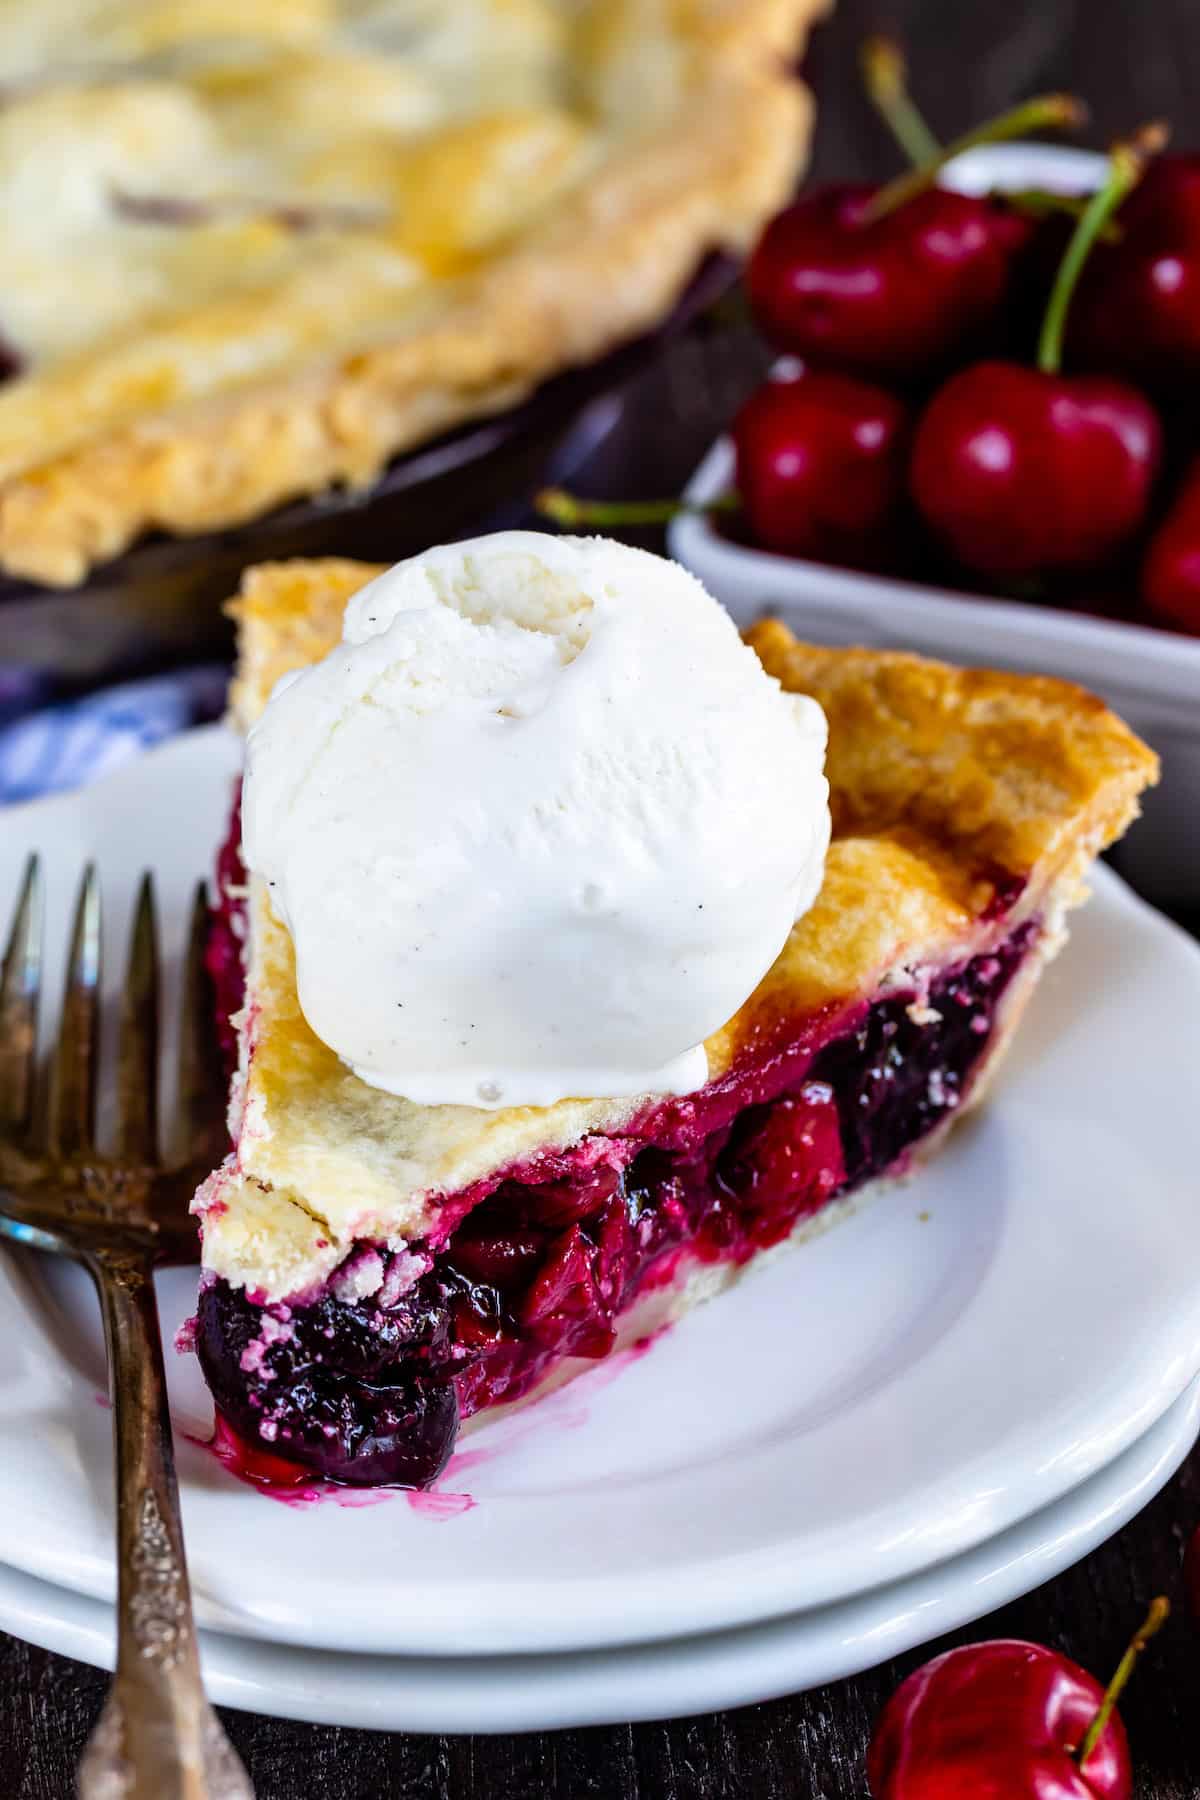
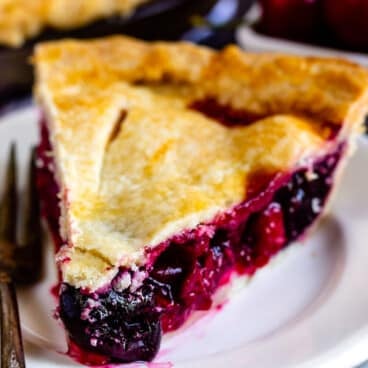
- Serve this room temperature plain or with ice cream!
- Cherry Pie will last in the refrigerator about 2 days. Freeze the pie for up to 3 months.
Pie FAQ
To ensure your pie sets, be sure to use the cornstarch called for. Be sure to drain your thawed frozen cherries very well. Add the fruit mixture to the pie crust and bake immediately or the cherries will release liquid. And, lastly, let it sit and cool to set. It must cool COMPLETELY before slicing.
If you want a crunchy bottom, be sure to see my note up in the post about pre-baking the pie crust a little. I like my bottom crust softer, so the recipe directions are fine for my taste.
My all butter pie crust doesn’t get as golden as a crisco crust does. Be sure to use the egg wash and let the pie cook for almost an hour and it will get golden.
Cherry Pie Recipe
Video
Ingredients
- 2 recipes all butter pie crust, see note
- 4 ½ cups cherries, (up to 5 cups) see note
- ⅔ cup (167g) granulated sugar
- 4 tablespoons (32g) cornstarch
- 1 tablespoon (15ml) lemon juice
- 1 recipe egg wash
Instructions
- Preheat oven to 425°F.
- Place bottom crust in a 9-inch pie plate. Roll out top crust. Refrigerate both while preparing filling.
- Place cherries in a large bowl. Toss with sugar and cornstarch and lemon, if using. Immediately transfer to the crust.
- Place top crust over the top, cut off the excess and crimp the edges. Cut a small hole in the center of the pie and a few slits around the top crust to allow for steam to release.
- Place pie on a cookie sheet for baking to catch any liquid that bubbles over.
- Place egg in a small bowl with a bit of water and whisk. Brush over the top of the pie. Sprinkle with extra sugar, if desired.
- Bake for 15 minutes at 425°F then lower the oven temperature to 350°F and bake for about 40-55 minutes (see note). I recommend using a pie crust shield during baking to protect the edges of the pie. You may notice some liquid spilling out of the pie, and when it’s done the crust will be lightly golden. The center may still be liquidy, but will firm up as it cools.
- Cool COMPLETELY before slicing. It’s even better to chill the pie before slicing.
Notes
- You can use a store bought pie crust (refrigerated) but the pie will cook closer to 40 minutes. My all butter pie crust takes longer to cook.
- You can also make this into a lattice pie or omit the top crust and use a crumble topping.
- I recommend using a combination of sweet and tart cherries for this recipe, but you can use all of either.
- You can use fresh or frozen fruit. IMPORTANT: if you are using frozen (as I did) be sure to thaw the fruit completely AND drain it very well. Extra liquid will keep the pie from setting.
- If you’re using all tart cherries increase the sugar to 3/4 cup and/or use less or omit the lemon juice. The lemon juice cuts the sweetness, so it depends on how sweet you like your pie.
Nutrition
Nutrition information is automatically calculated, so should only be used as an approximation.
© Crazy for Crust. Content and photographs are copyrighted. Sharing this post is much appreciated, but copying and pasting full recipes without authorization is strictly prohibited.
Did you try this recipe? Click here to rate the recipe below.
Learn how to make a Cherry Pie with a golden crust and delicious cherry filling. You can make the pie completely from scratch or you can use your favorite store-bought crust. I’ll show you exactly what to do so you can make a cherry pie that everyone will love.


My first time making a pie. I used store-bought crust. The recipe instructions were great. The pie is very tasty. I felt it could have used another cup of cherries. I used Large sweet cherries. In placing the lattice it was concave, b4 cooking. I would certainly make it again. Thank you
The pie tastes delicious. A few thoughts. The all butter crust recipe didn’t make enough! I had to make three batches for an 8 inch w lattice top and I also had to add a lot more water than the recipe called for. I added an extra teaspoon at a time as directed but 4x. I used salted butter plus added salt and its a tad too salty. Cooking time and temps were spot on as well as cooling time. Cherry approach was perfect.
I always make a double batch and it makes a 9-inch just perfect, when rolled out thin. The recipe called for unsalted butter – using salted adds salt. You should omit or lower the amount of salt in the recipe when substituting.
AMAZING!!
Featured In
Rate This Recipe
Recipe Ratings without Comment