This post may contain affiliate links. For more information, read my disclosure policy.
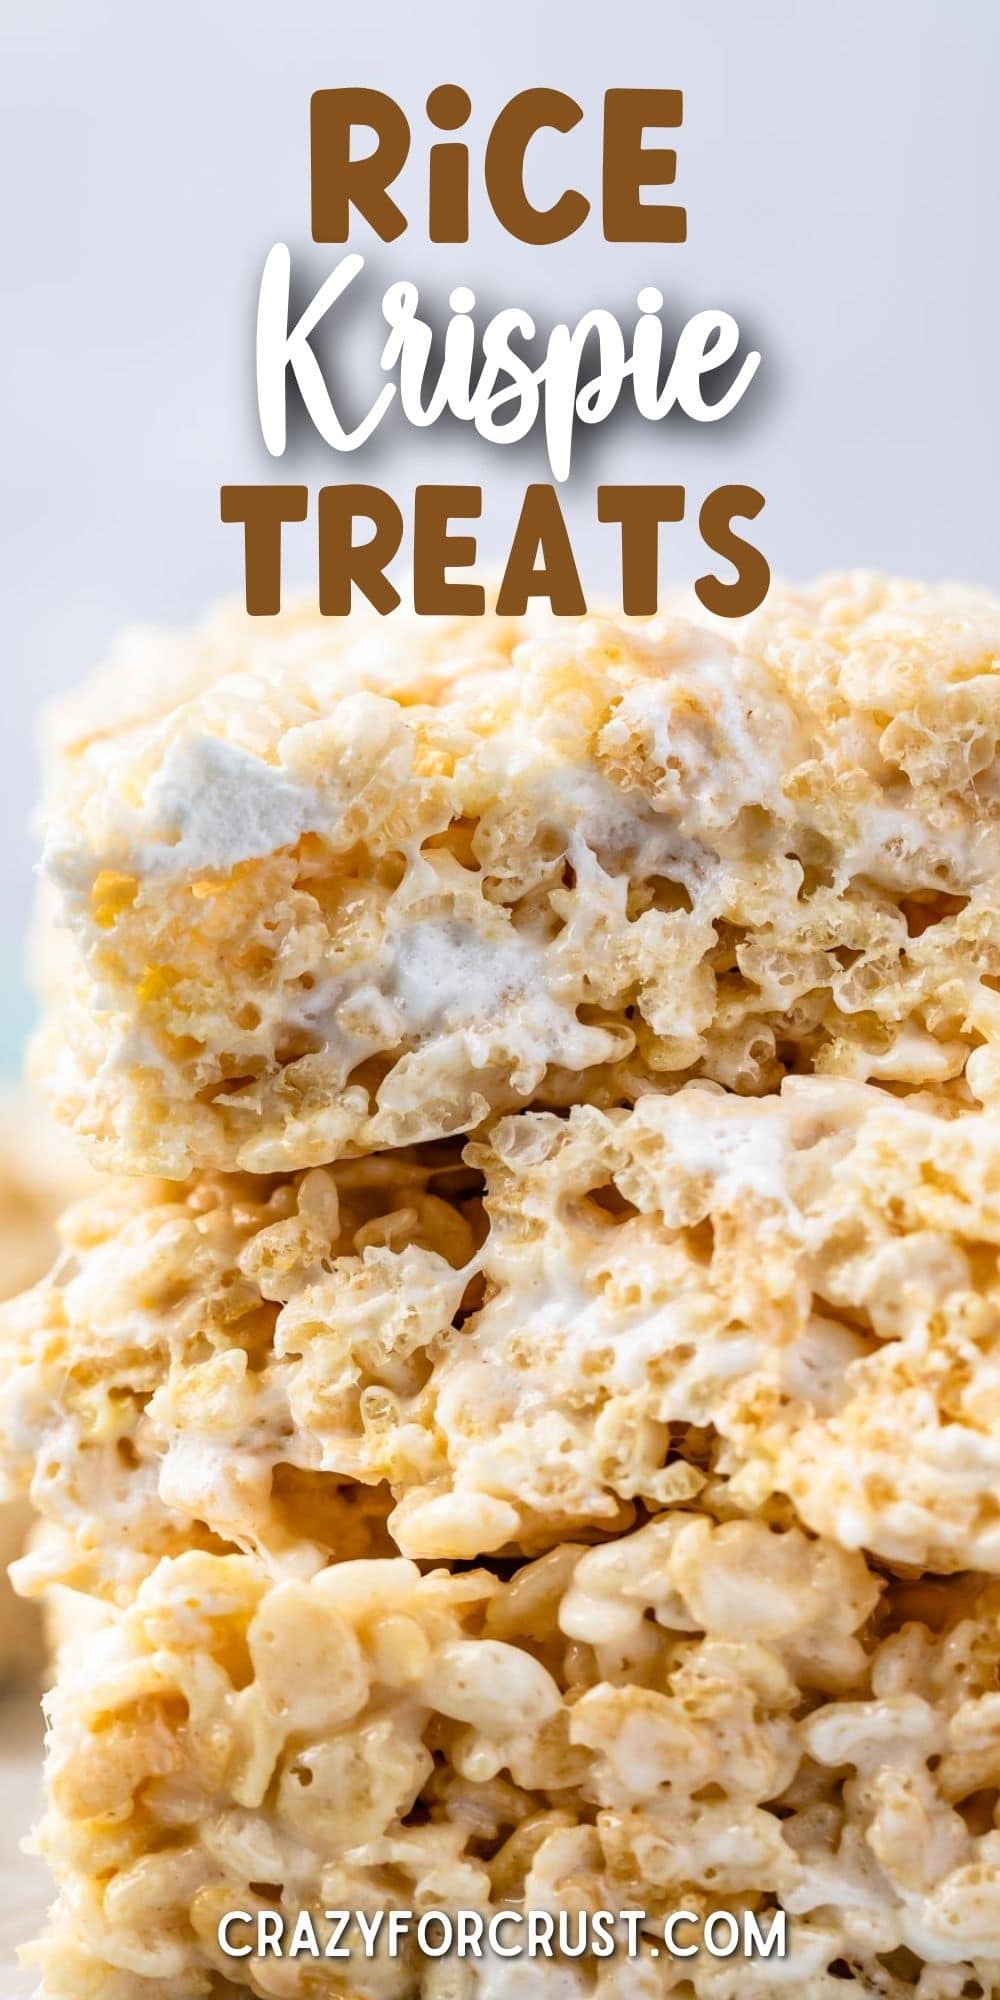

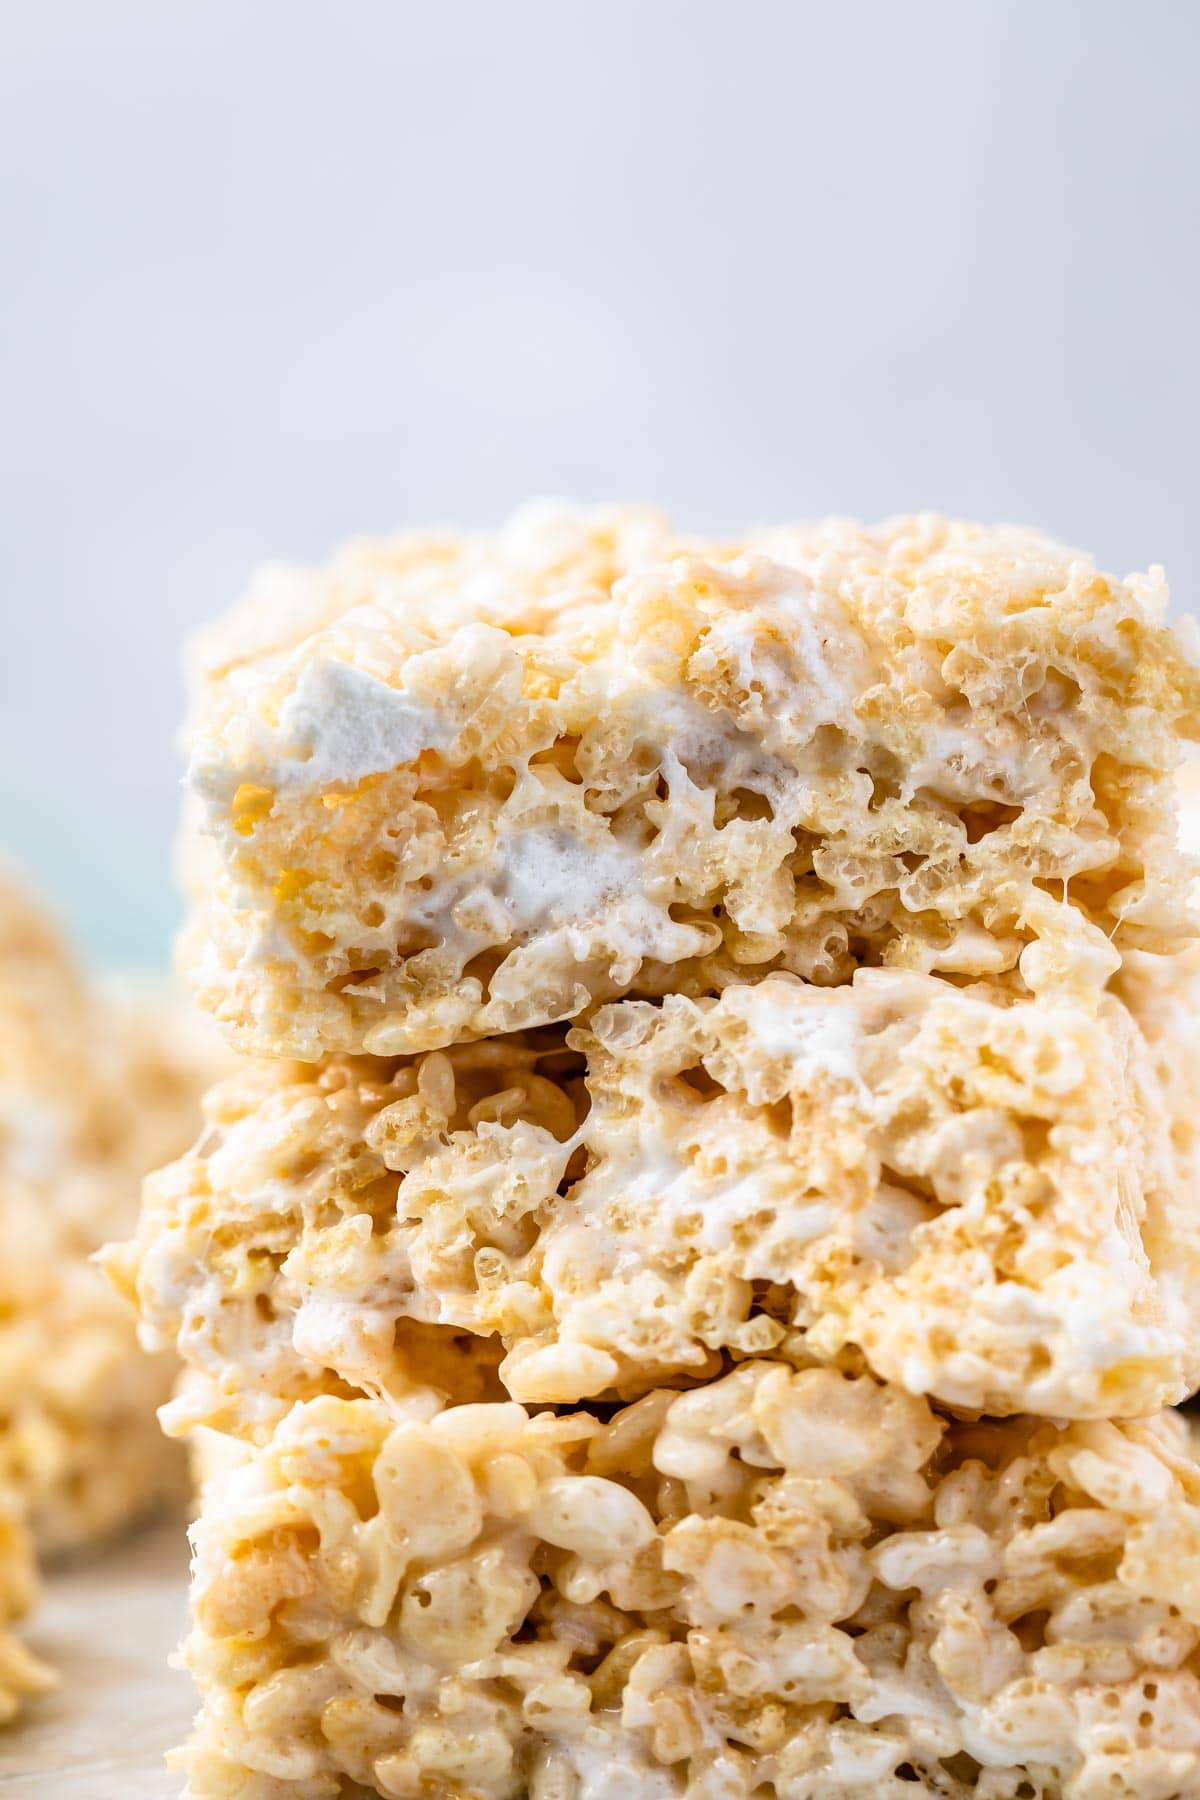
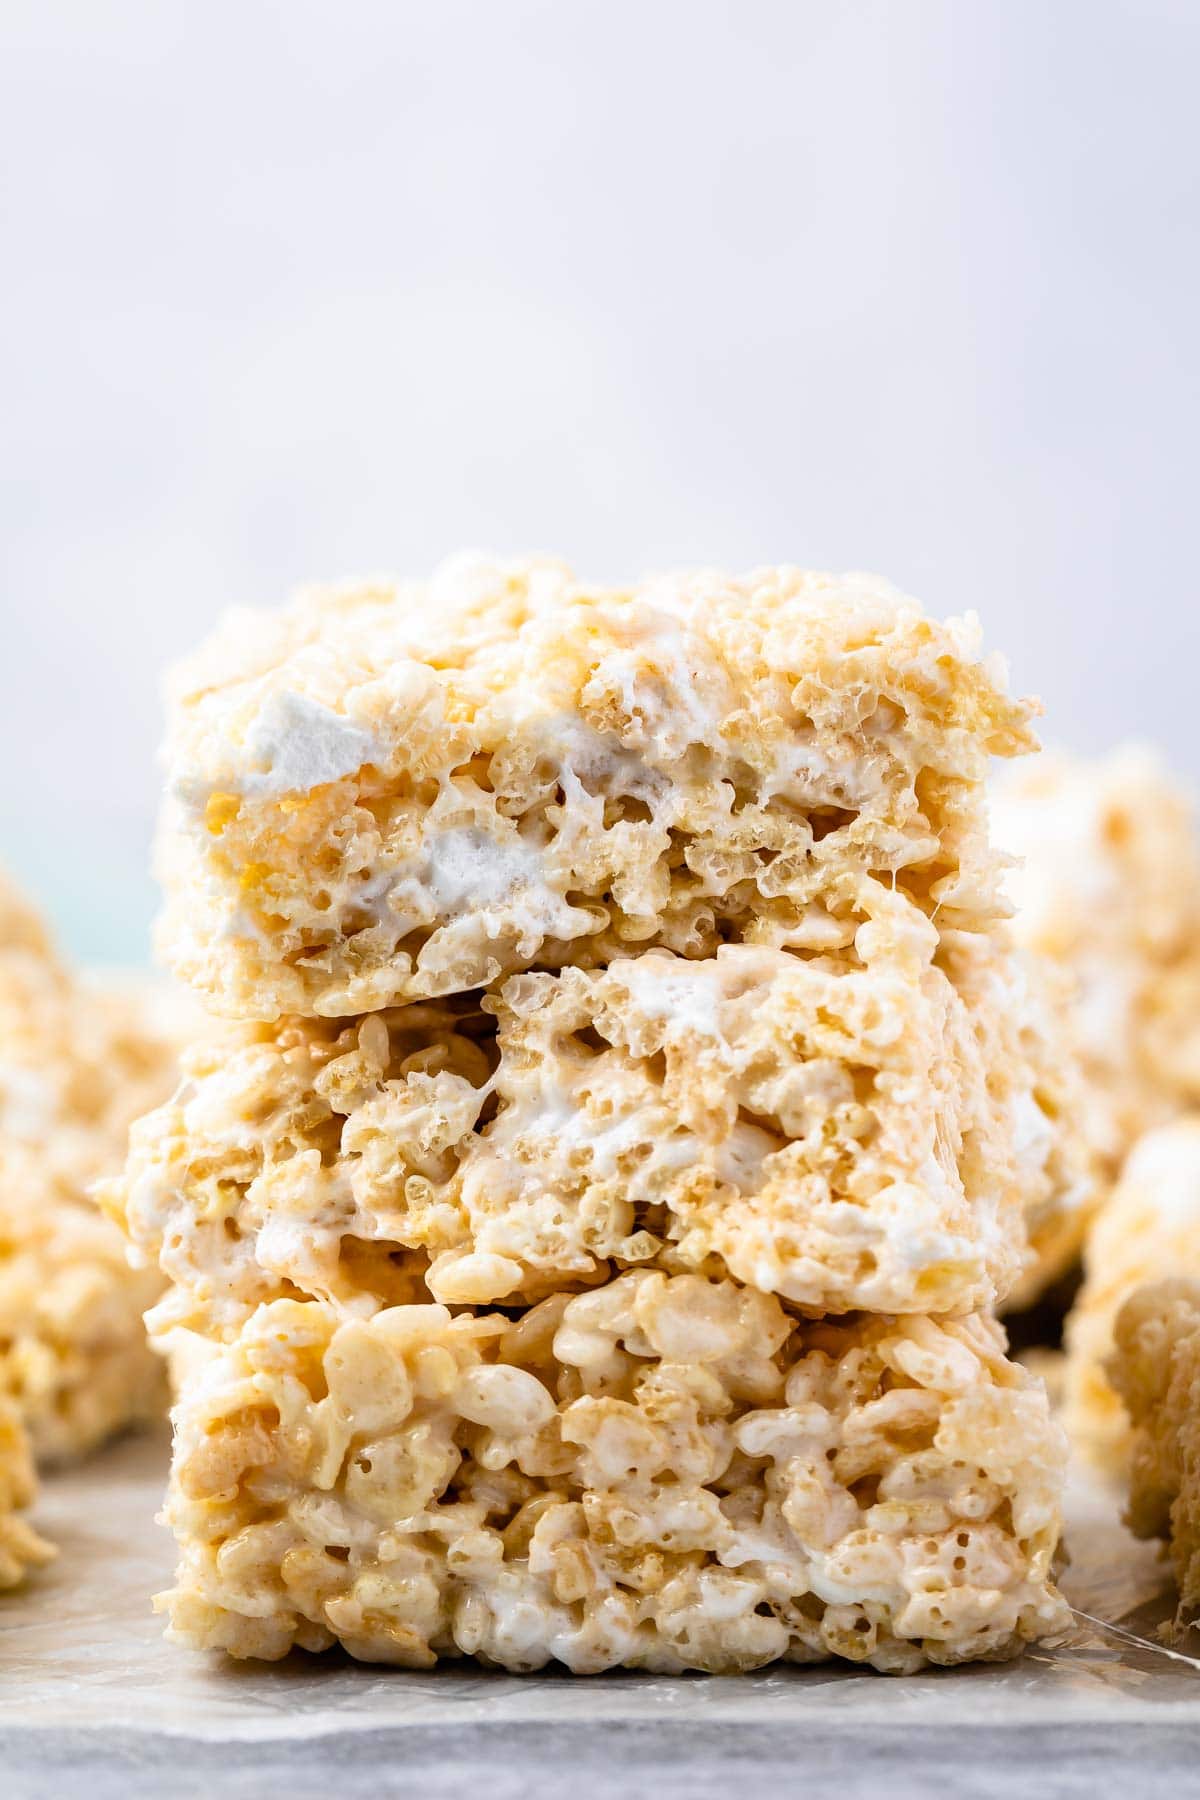
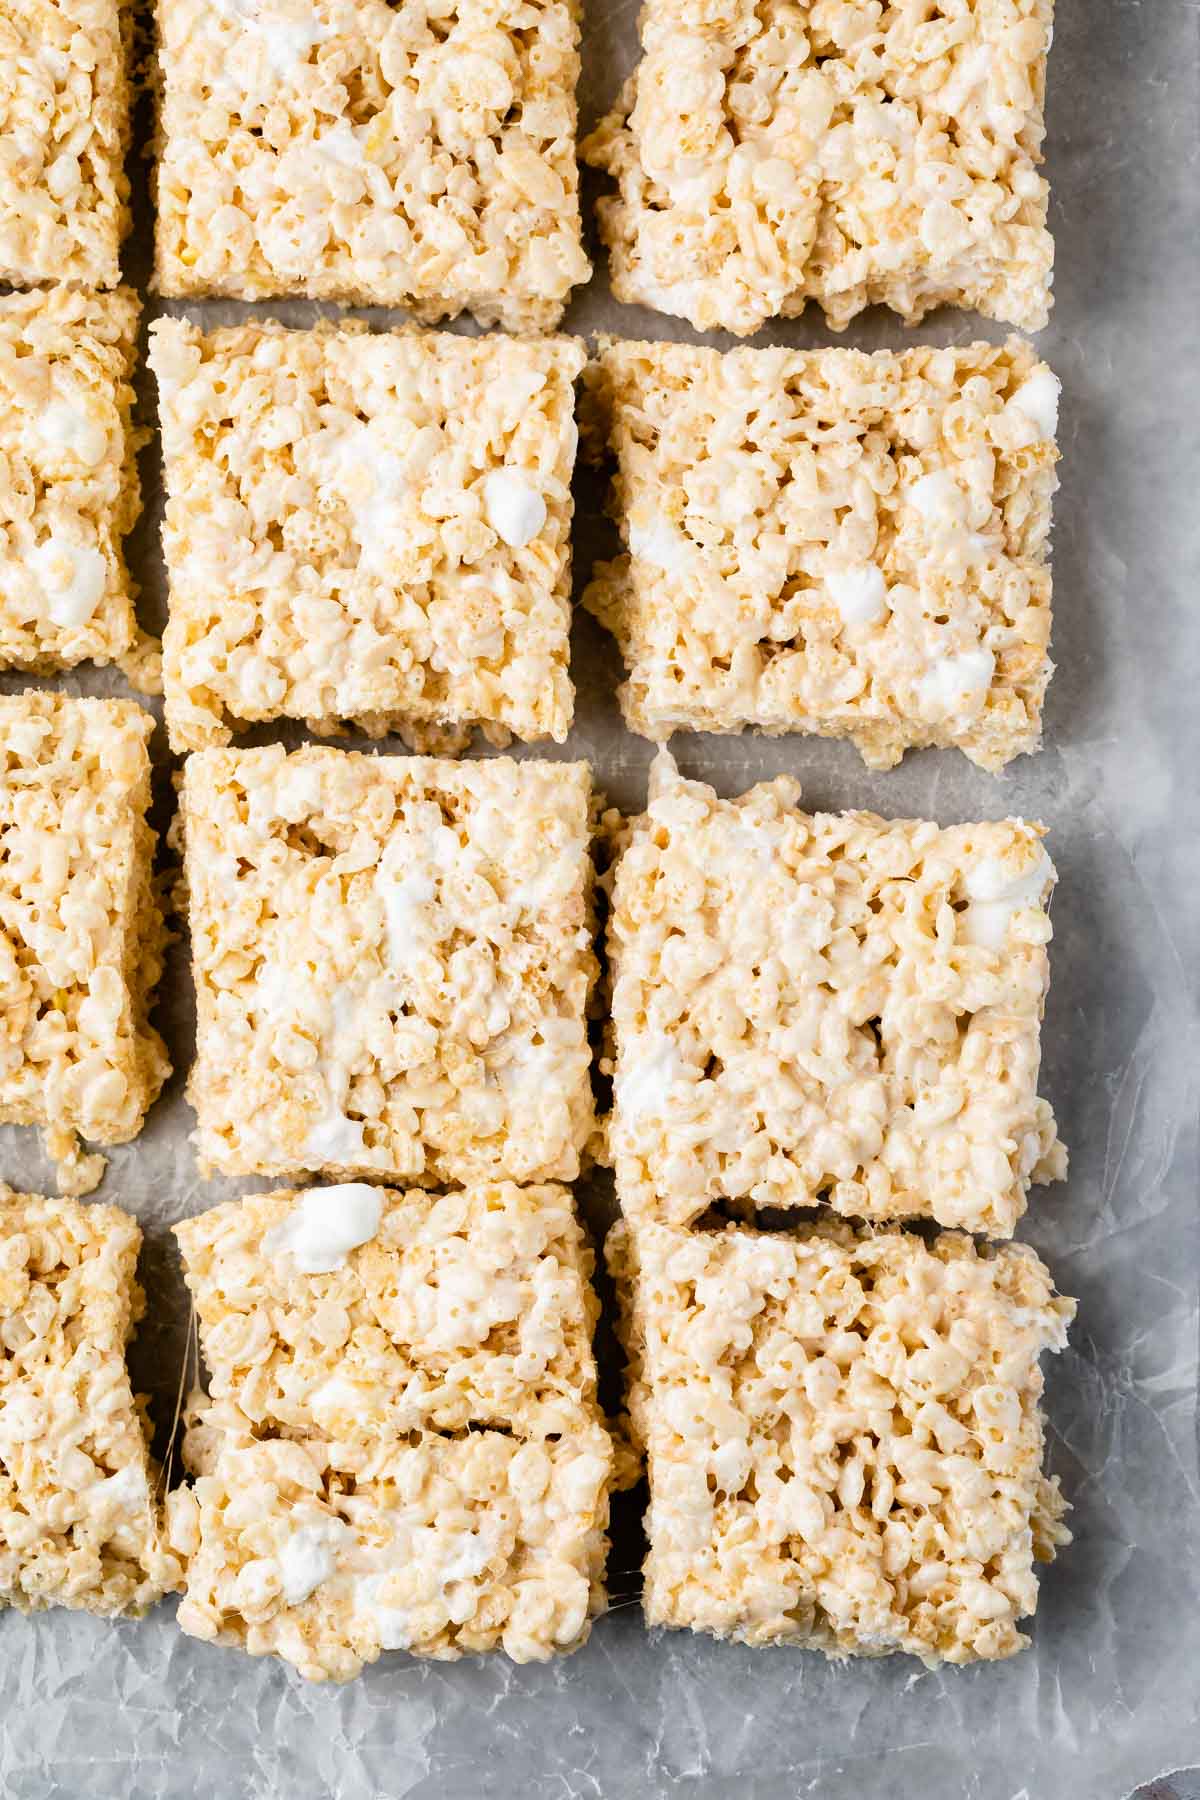
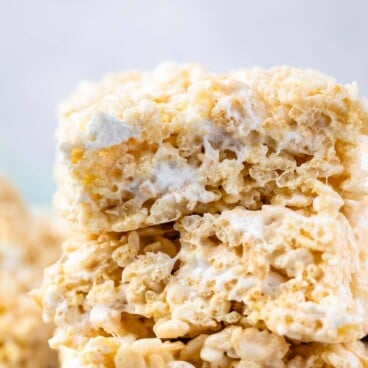
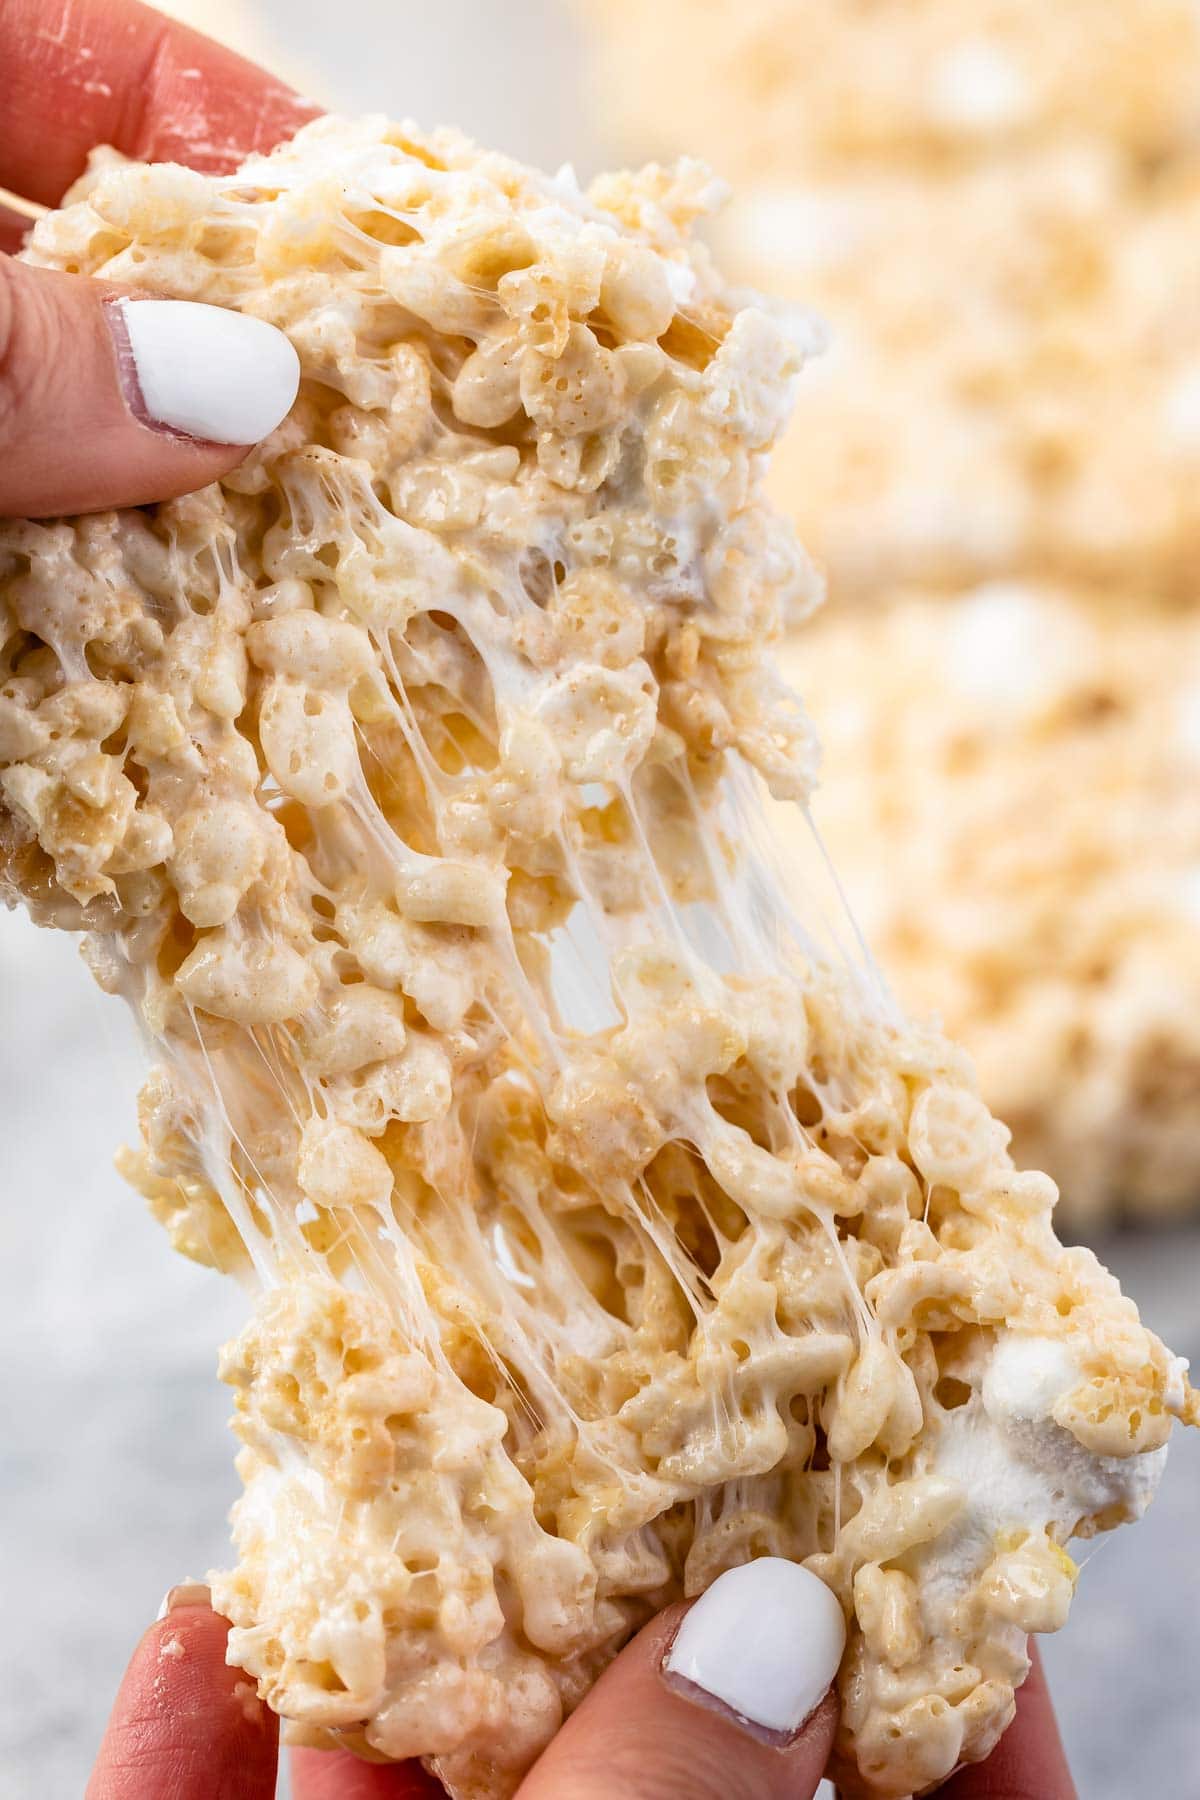
These are the absolute best Rice Krispie Treats because they are extra thick, incredibly gooey, and start with rich brown butter. This is the only recipe you will ever need! I’ve perfected the ratio of cereal to marshmallows to ensure every bite is soft and never hard or stale.
Brown Butter Rice Krispie Treats
For me, there’s nothing more classic than a batch of homemade rice krispies treats! I loved a pan of these cereal treats when I was a kid, and I’ve lost count on how many I’ve made with my kid over the years.
What makes this the best rice krispie treat recipe is my two-step marshmallow method and my brown butter secret. Not only do we melt two full bags of fresh marshmallows into browned butter, but we also stir in extra mini marshmallows at the very end. This creates pockets of gooey goodness that stay soft for days, so much better than the classic version. My daughter says these are her favorite crispy rice treats!
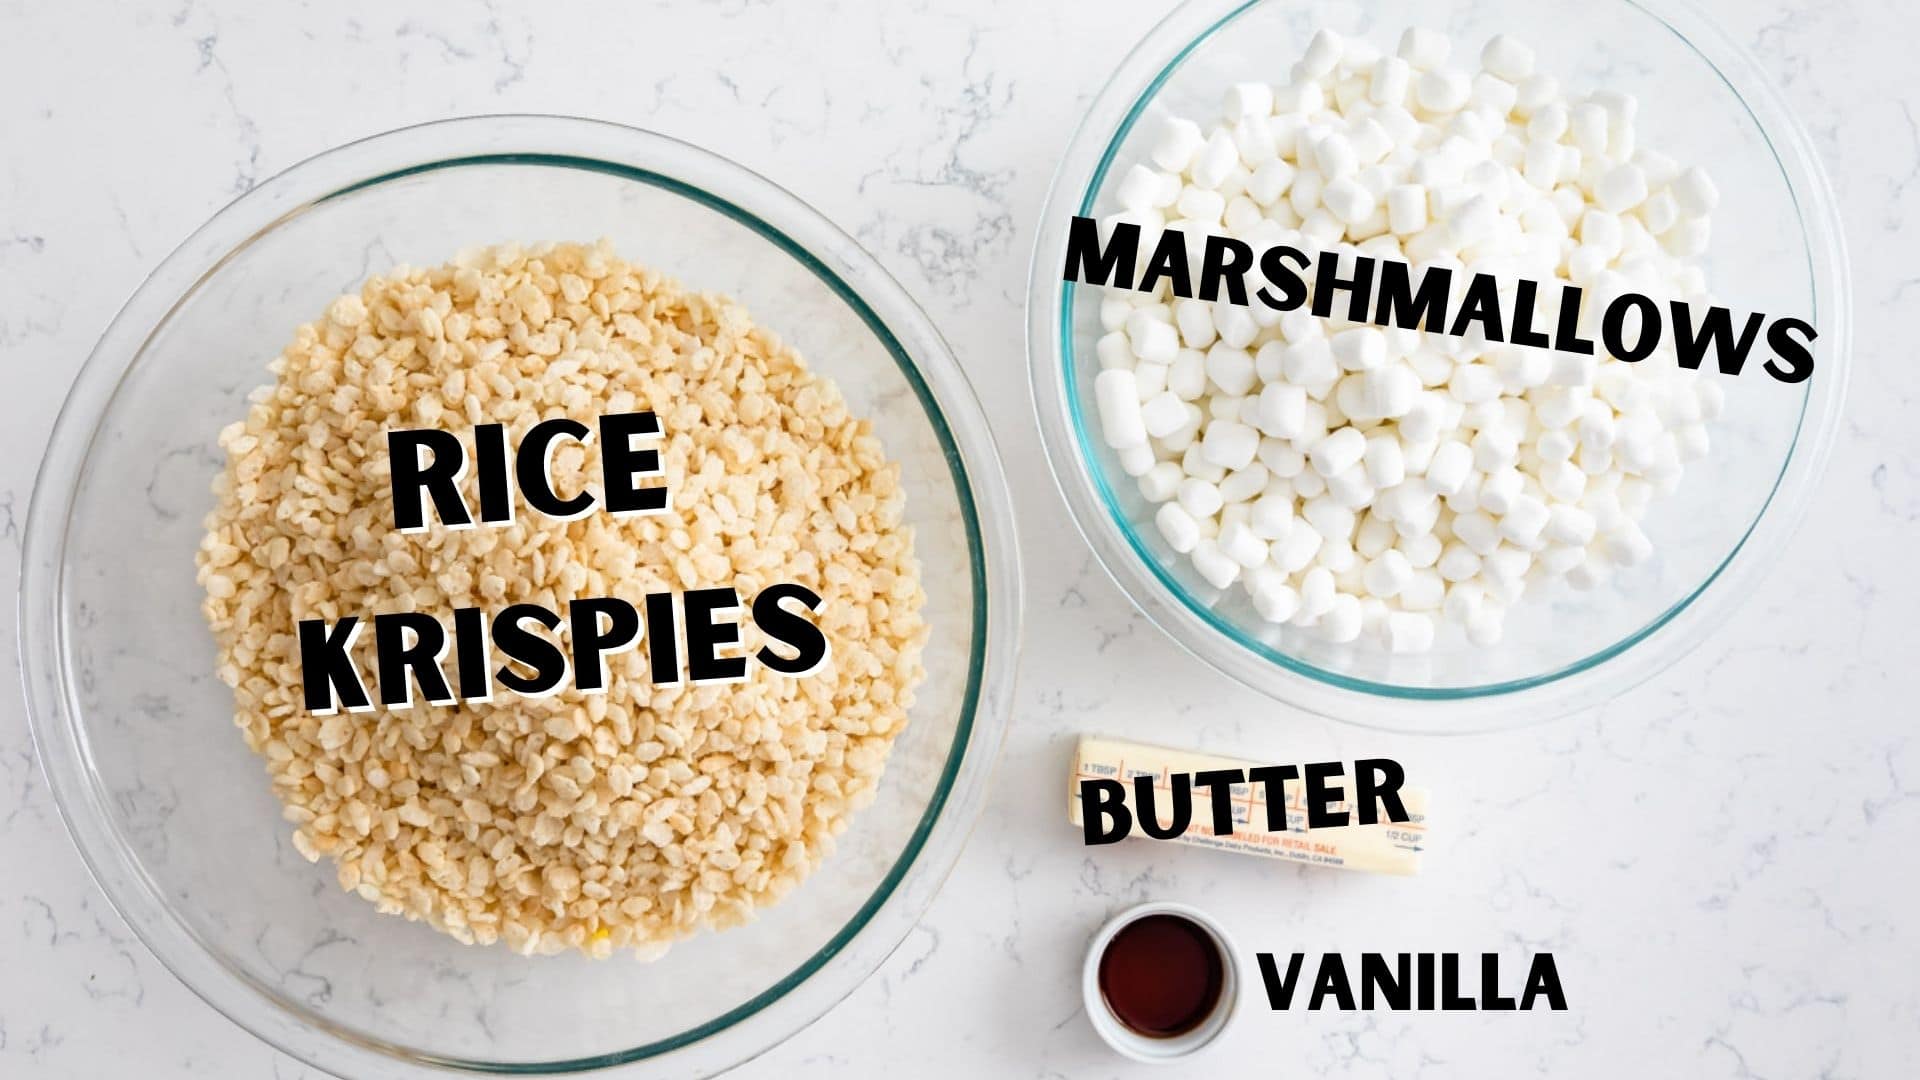
Rice Krispie Treats Ingredients
- While I use 9 cups of Rice Krispies for a thick bar, this method works with any flavor of puffed rice cereal or even generic brands. The key is ensuring your cereal is not stale before you begin.
- I prefer using mini marshmallows because not only are we melting them but we’re stirring them in at the end too. Be sure to use FRESH marshmallows, and you need 2 (10-ounce) bags of marshmallows.
- Unsalted Butter: You don’t want to brown salted butter so be sure to use unsalted. I’m using 8 tablespoons butter because of the thickness of the bars.
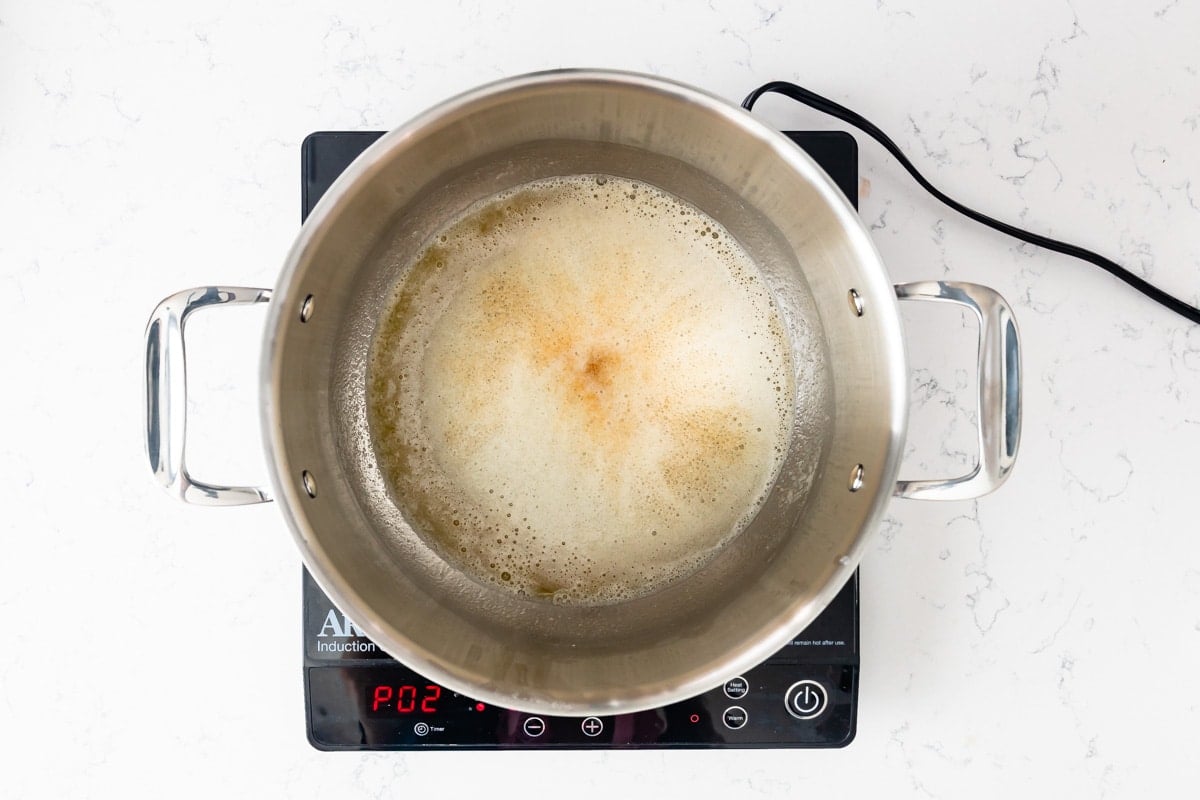
- The Power of Brown Butter: For the best flavor, don’t skip browning your unsalted butter. Cook it over medium-low heat until it foams and you see little brown flecks at the bottom. This adds a toasted, nutty depth that balances the sweetness of the marshmallows perfectly.
- Vanilla: Always buy PURE vanilla extract.
SAVE THIS RECIPE
Dorothy’s Expert Cereal Treat Tips
- Only use fresh marshmallows and avoid over-compacting the treats in the pan. When you press the mixture into the pan, do it lightly using sprayed wax paper; pressing too hard will crush the cereal and result in a hard, dense bar.
- Be sure your cereal is fresh too – not stale!
- You can skip the brown butter step and just use melted butter if you prefer.
- This recipe was written for a 9×13-inch pan and designed to be THICK even in the rectangular pan. The original cereal recipe specifies you can use a 9×9-inch pan if you want thick treats but these will be super thick even in the larger pan!
- Be sure to line your pan with parchment paper or foil and spray it with cooking spray, so the treats don’t stick.
- When you press the mixture into the pan, use a piece of wax paper coated with cooking spray. This will keep the mixture from sticking to your hands for less mess. It works better than a spatula or a wooden spoon, too. You can also use the butter wrapper, or spray your hands with cooking spray.
BEST Rice Krispie Treat Recipe
Video
Ingredients
- 9 cups (237g) Rice Krispies Cereal
- 20 ounces (566g) mini marshmallows, divided
- 8 tablespoons (113g) unsalted butter
- 1 teaspoon (15ml) vanilla extract
Instructions
- Line a 9×13-inch pan with foil or parchment and spray with nonstick cooking spray.
- Measure out cereal and place in a large bowl.
- Measure out 15 ounces (1 ½ packages) mini marshmallows and set aside.
- Melt the butter in a large pot over medium low heat. Continue cooking the butter, stirring occasionally, until the butter browns. This will take 3-7 minutes depending on the size of your pan, but just watch it – it’ll foam then reduce and little brown flecks will form in the bottom of the pan.
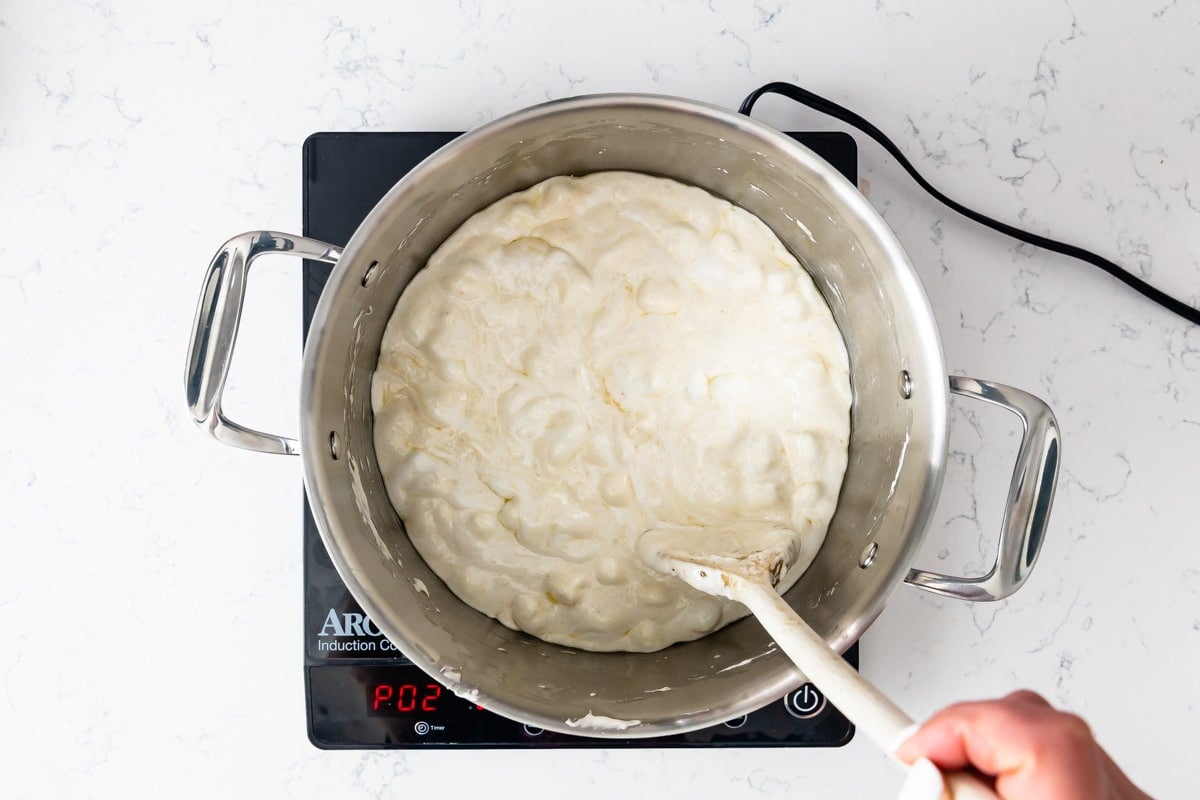
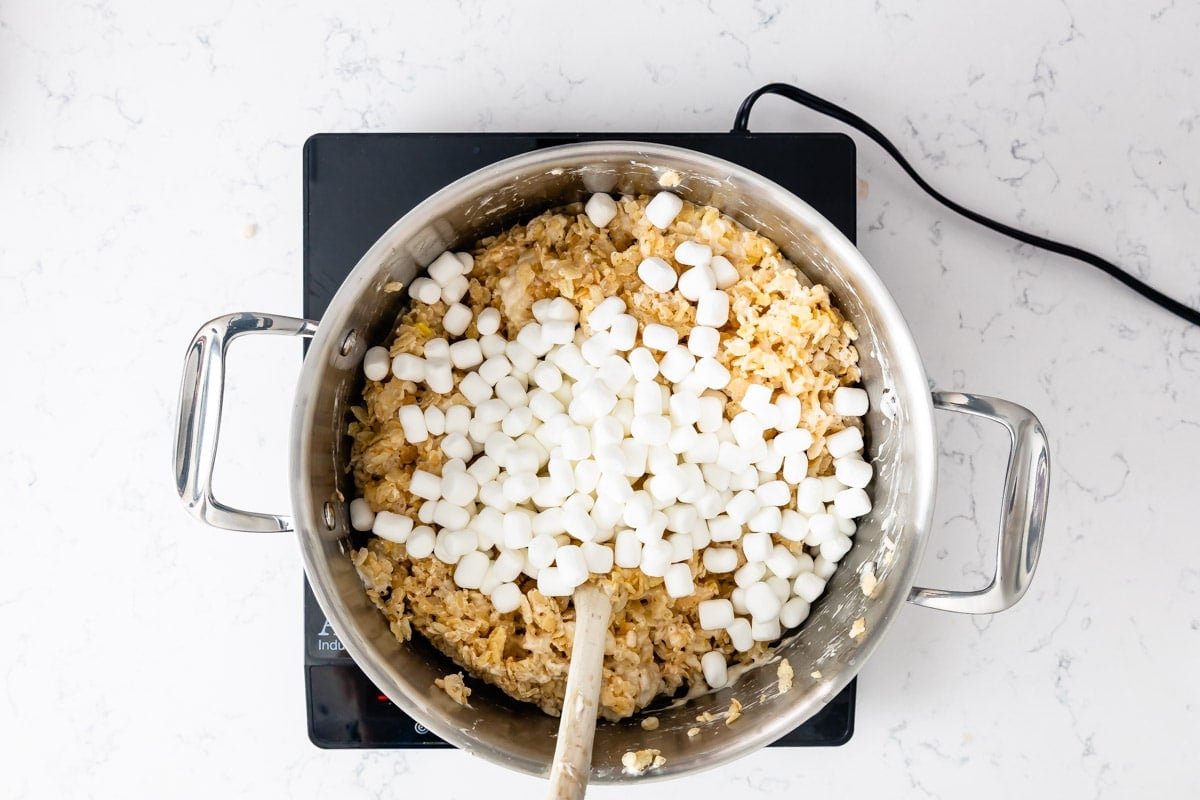
- Once the butter is browned, add the marshmallows and stir until melted. Remove from heat and stir in vanilla extract.
- Add cereal and stir to coat with the marshmallow mixture. Stir in remaining marshmallows and immediately pour into prepared pan. Press firmly to compact. Tip: spray wax paper with nonstick cooking spray so you can press without it sticking to your hands.
- Let set until firm then slice into bars. Store in an airtight container for up to 3 days. To freeze, let cool completely then cut into bars and wrap each individual bar in wax paper and freeze in an airtight container for up to 3 months.
Notes
- Use any flavor Rice Krispies cereal.
- You can use any size marshmallows, just make sure you’re only using 15 ounces in the actual mixture – you’ll want mini ones to mix in or you’ll have to slice large ones to fold in at the end.
- You can skip browning the butter but it adds SO much amazing flavor.
- These stay extra gooey but will get stale if not stored properly.
- Only use FRESH marshmallows and not-stale cereal for best results.
Nutrition
Nutrition information is automatically calculated, so should only be used as an approximation.
© Crazy for Crust. Content and photographs are copyrighted. Sharing this post is much appreciated, but copying and pasting full recipes without authorization is strictly prohibited.
Did you try this recipe? Click here to rate the recipe below.

How to Make Rice Krispie Treats
- These start with brown butter, which if you want to skip you can and just use melted butter. It’s easy to do, but here’s my tutorial on how to brown the butter.
- It’ll take a minute or two for the marshmallows to melt into the butter. The mixture should be smooth.
- You’ll add the reserved marshmallows only after the cereal mixture is combined and only stir a few times so they don’t melt.
- I like to use the butter wrapper to help press the cereal treats in the pan (the extra butter on the wrapper won’t stick). Otherwise you can spray your hands with nonstick spray and press that way.
Variations
- Instead of vanilla extract use almond extract or cake batter extract, like I do in my Cake Batter Cereal Treats.
- Add sprinkles, M&Ms, chopped Oreos, or nuts. I add both sprinkles and candies to my Easter Rice Krispie Treats (and 4th of July treats too!)
- Use a cookie cutter to make them fun shapes and/or decorate the tops with chocolate and candy, like my Disney Rice Krispie Treats.
- Use different flavor Rice Krispies or Pebbles cereal, like Fruity Pebble Cereal Treats or Cocoa Krispie Treats.
- Add pudding mix to the melted marshmallow mixture – I do that to make Banana Rice Krispie Treats and Pistachio Rice Krispie Treats.
- Make Peanut Butter Rice Krispie Treats!


do you have a rice crispy recipe that doesn’t use corn syrup or butter? My son has dairy and corn issues
You can use non-dairy butter (vegan butter sticks) but I’m not sure about the ingredients in marshmallows.
Featured In
Rate This Recipe
Recipe Ratings without Comment