This post may contain affiliate links. For more information, read my disclosure policy.
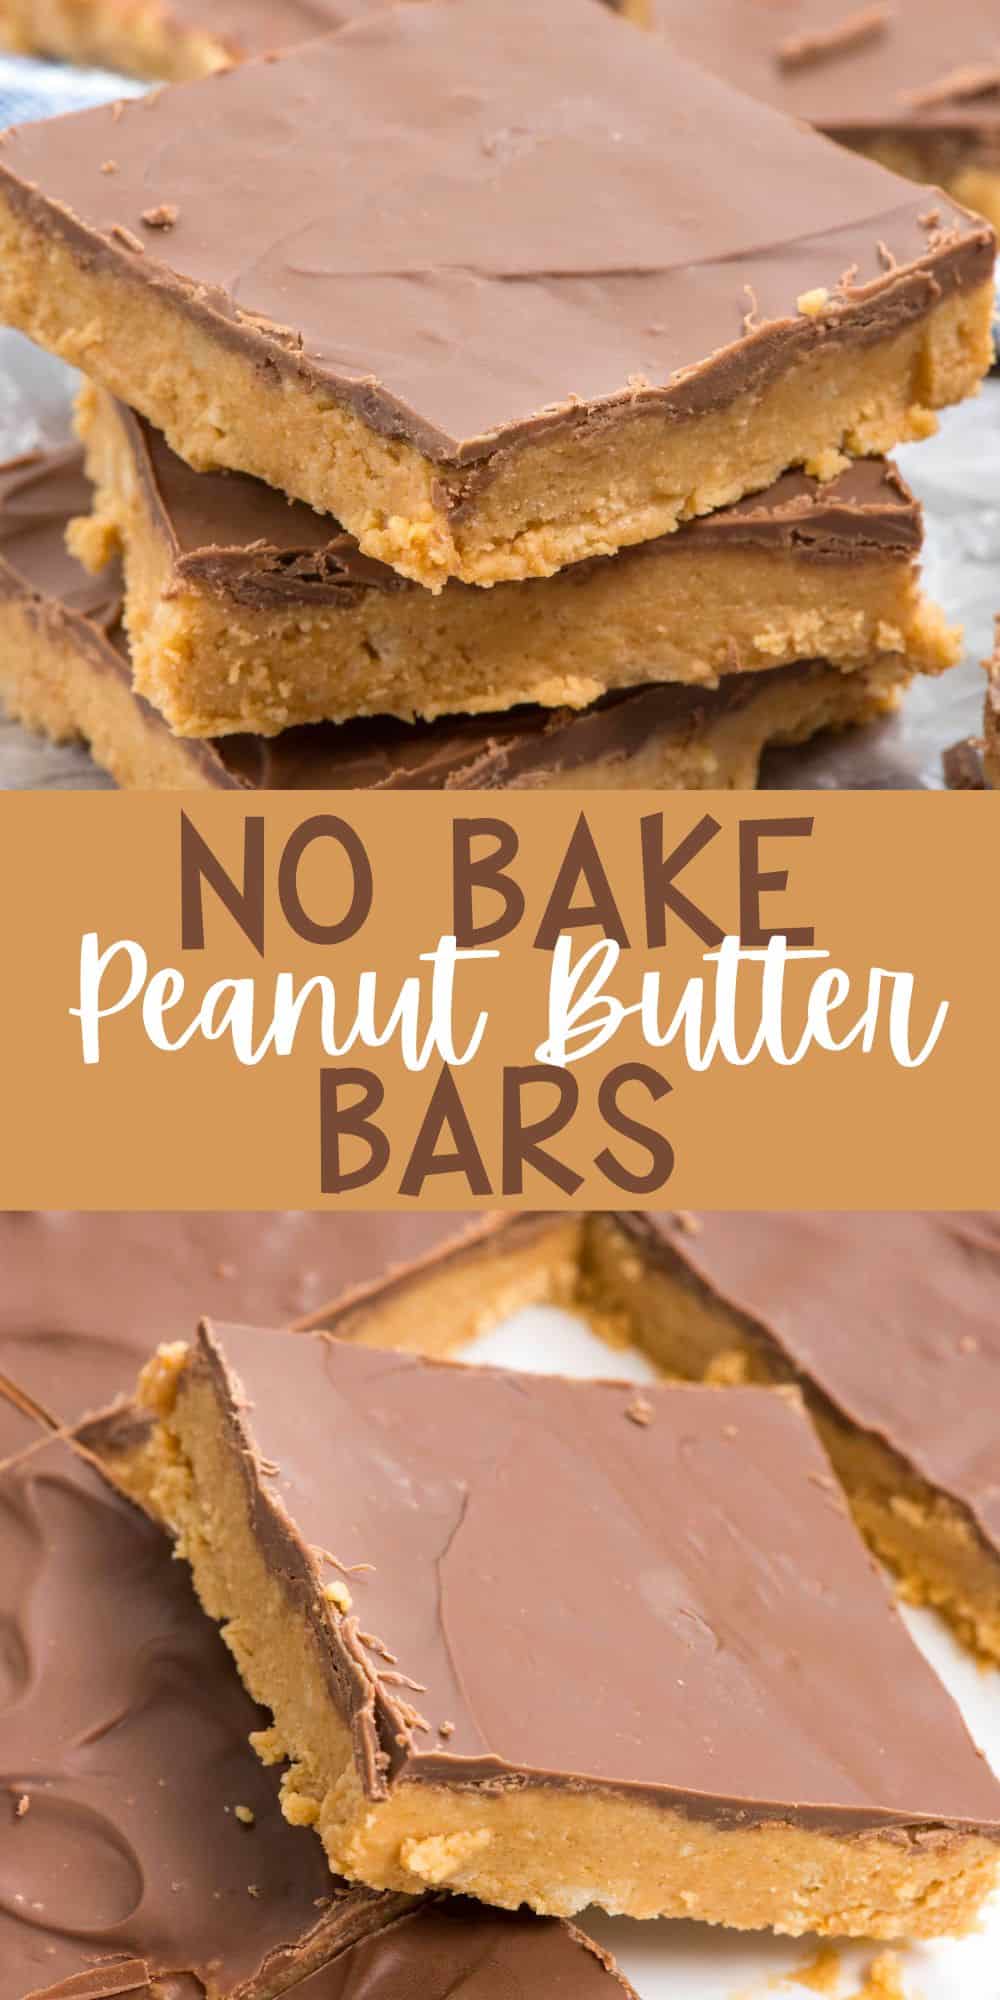
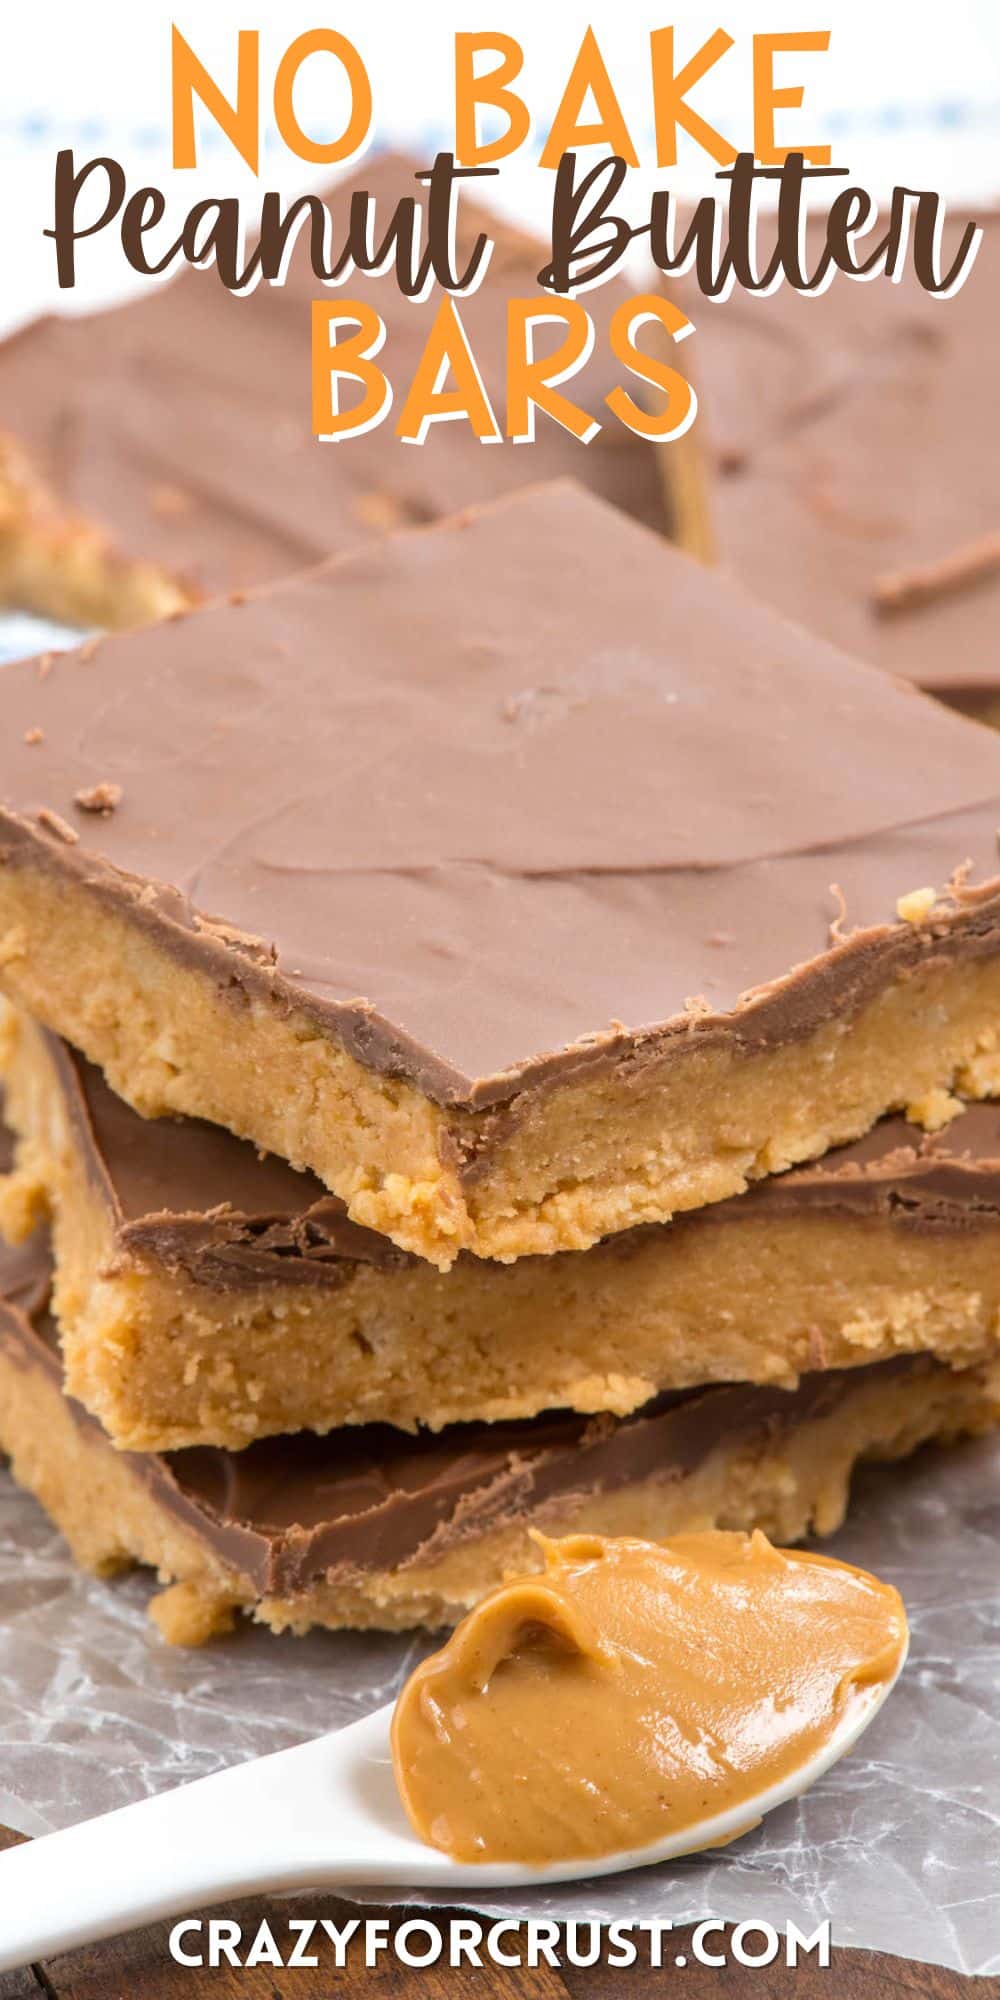
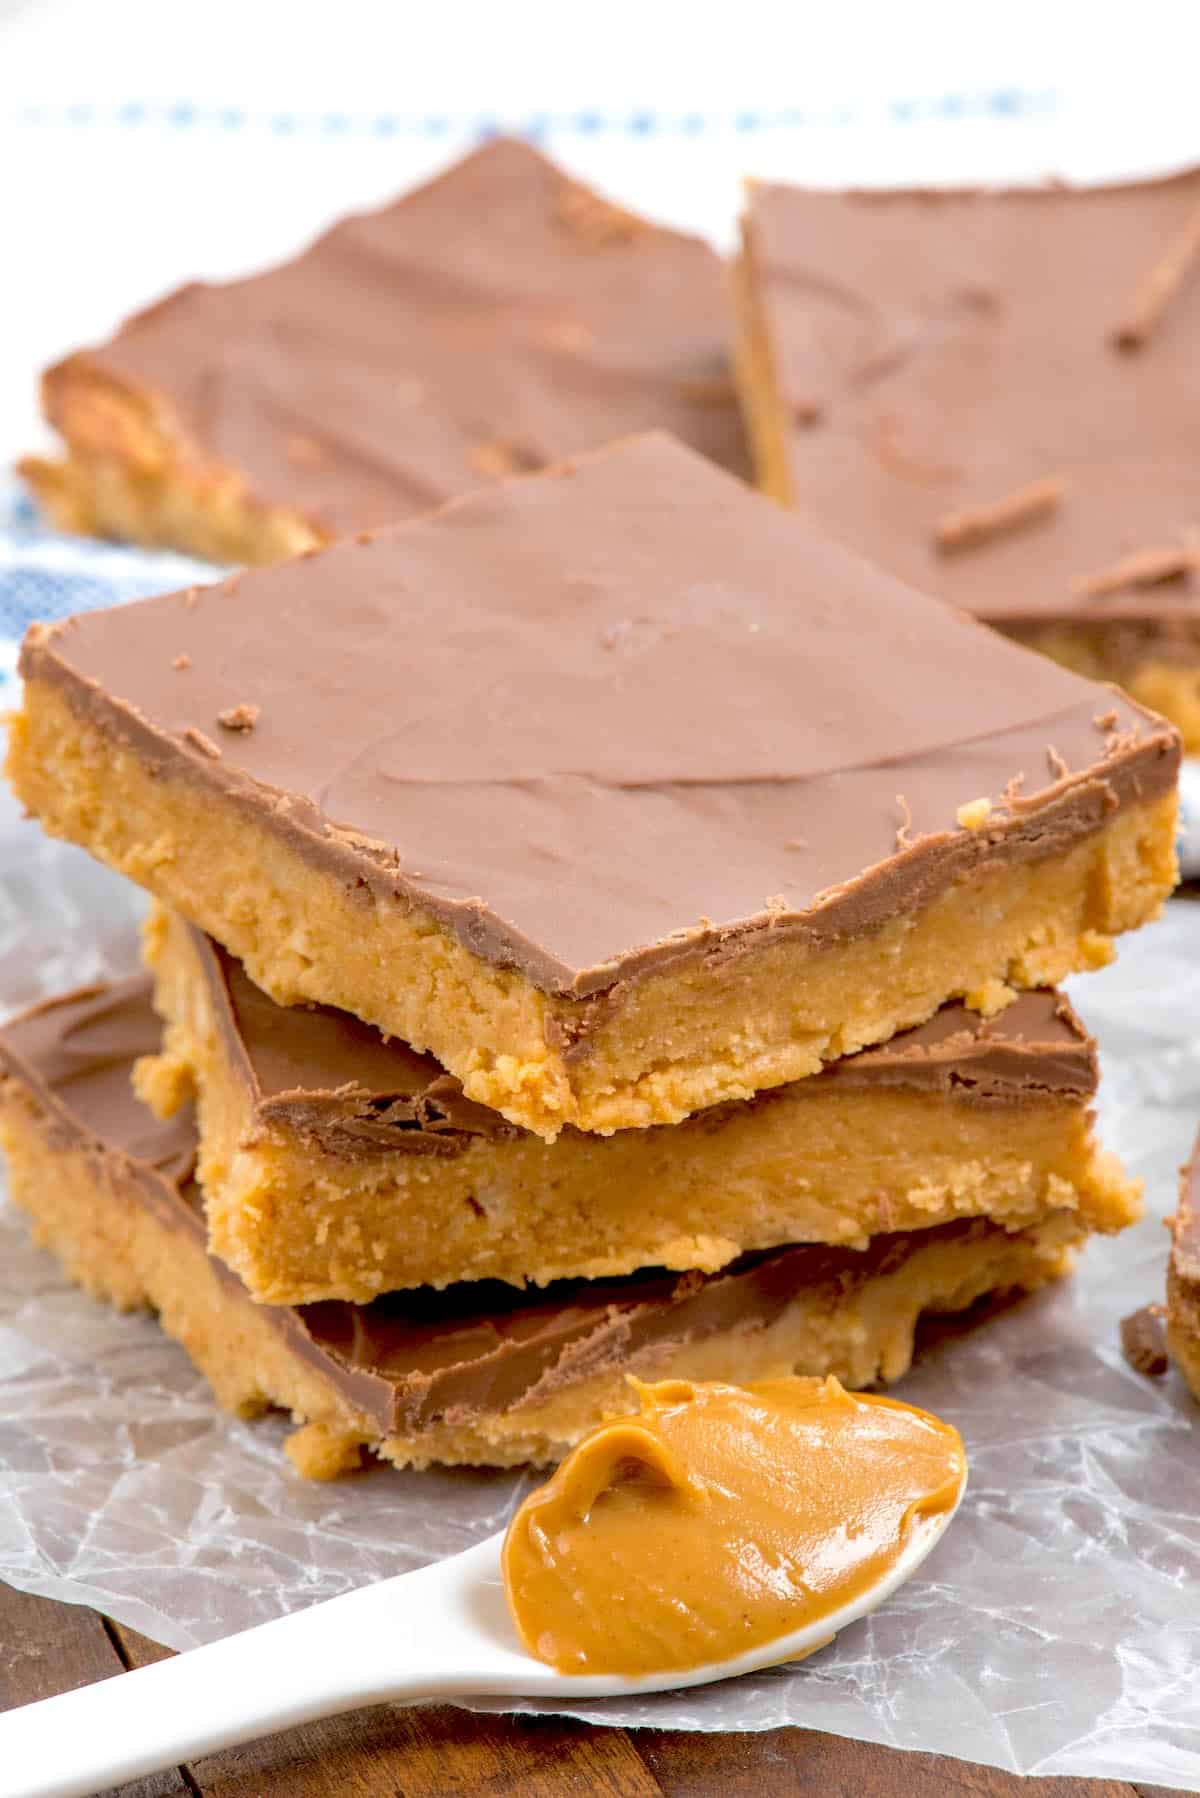
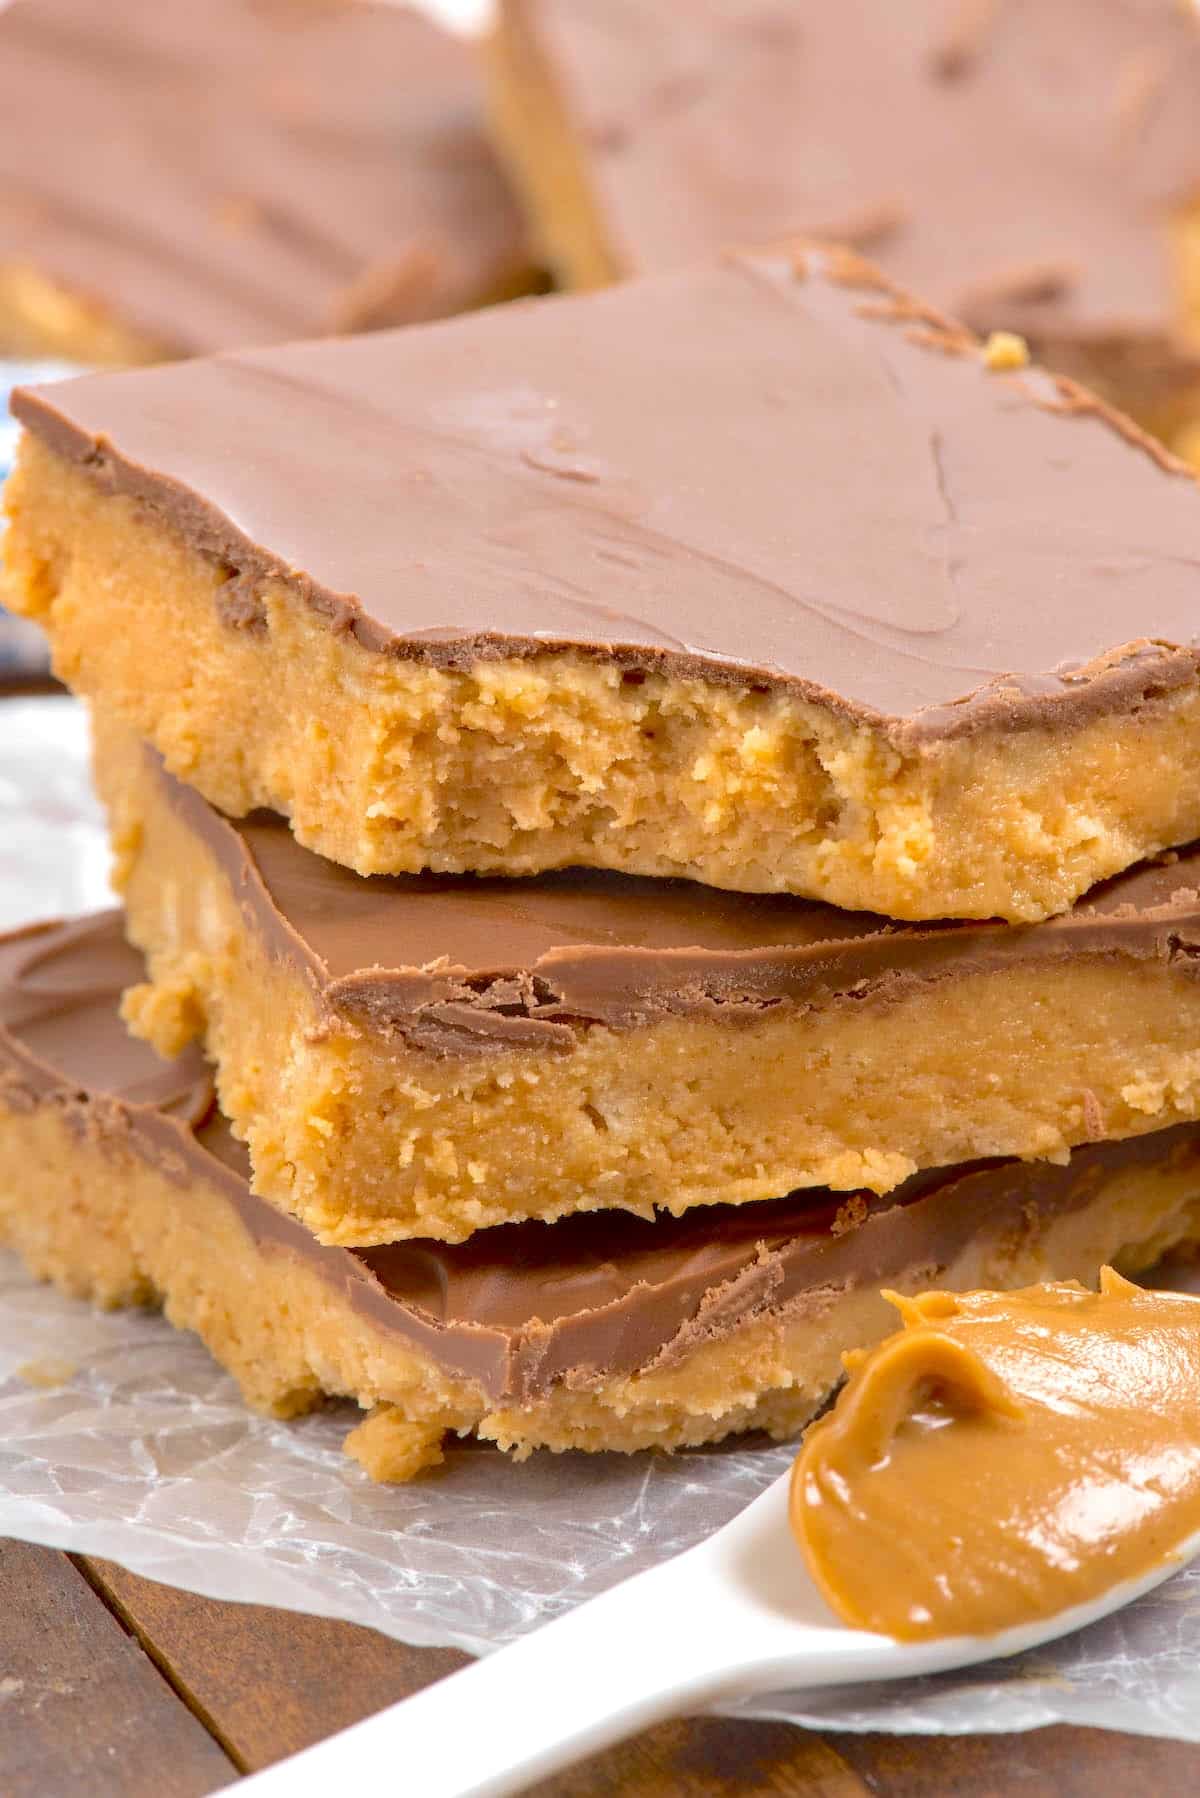
5 Ingredient Peanut Butter Bars are such a delicious no bake dessert! These No bake chocolate peanut butter bars taste like peanut butter cups and just take minutes to make. They’re the perfect dessert for peanut butter lovers!
Who remembers the old-school lunch lady bars we all used to love as kids? This chocolate peanut butter no-bake recipe is basically that but made easy with just 5 ingredients.
I’m no stranger to making peanut butter bars. I have some made with pretzels, some with extra peanut butter, some with marshmallows, and even some made with Oreos. You can’t ever have too many peanut butter desserts, am I right?
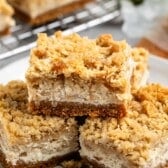
The top is a mixture of chocolate chips and peanut butter, which helps melt the chocolate as well as temper it enough that it won’t crack when you cut the bars. The peanut butter is sweetened with powdered sugar and the crushed Ritz crackers give them a little crunch. These are like peanut butter balls but crunchier and in bar form.
How to Make Peanut Butter Bars
- It’s best to use melted unsalted butter but salted butter may be substituted.
- Creamy Peanut Butter is what’s used traditionally but chunky peanut butter will work. Be sure to use a regular shelf-stable peanut butter spread (not one you need to stir).
- I always use Ritz Crackers for this recipe, but traditionally I believe graham cracker crumbs are used. You can use any cracker for this recipe (Ritz, Keebler, graham crackers, etc) as long as it’s a buttery cracker that crushes easily. Even digestive biscuits would work.
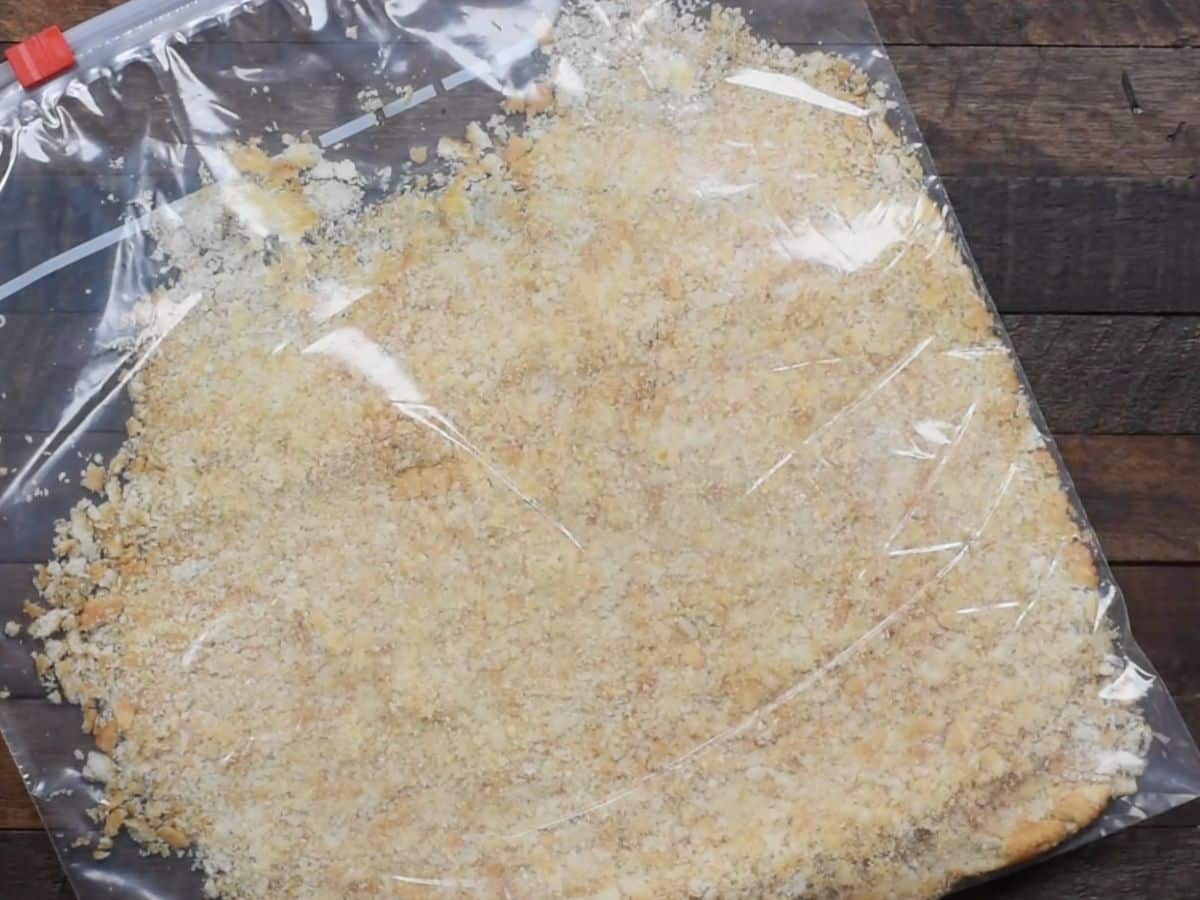
- You can crush the crackers in a food processor or in a plastic bag with a rolling pin. Make sure they’re crushed to fine crumbs.
- Powdered Sugar helps to bind the whole thing and adds a delicious sweetness.
- Melt semi-sweet chocolate chips with some peanut butter for the coating on top of the peanut butter layer. I’m using sweet chocolate chips for this recipe.
SAVE THIS RECIPE
Expert Tips
- Use a 9×9-inch pan to make thick lunch lady peanut butter bars!
- I have not tried this with natural peanut butter, so I suggest using a traditional kind (shelf-stable no stir).
- I have also made these with Reese’s pieces and Reese’s peanut butter cups on top.
- It’s best to slice these peanut butter squares at room temperature so your chocolate doesn’t shatter.
- If you love peanut butter, be sure to check out my peanut butter cookie bars, no bake peanut butter bars with Oreos, and peanut butter brownies. I also have the best peanut butter cookies recipe, plus peanut butter cookies with peanut butter chips!
The BEST No Bake Peanut Butter Bars
Video
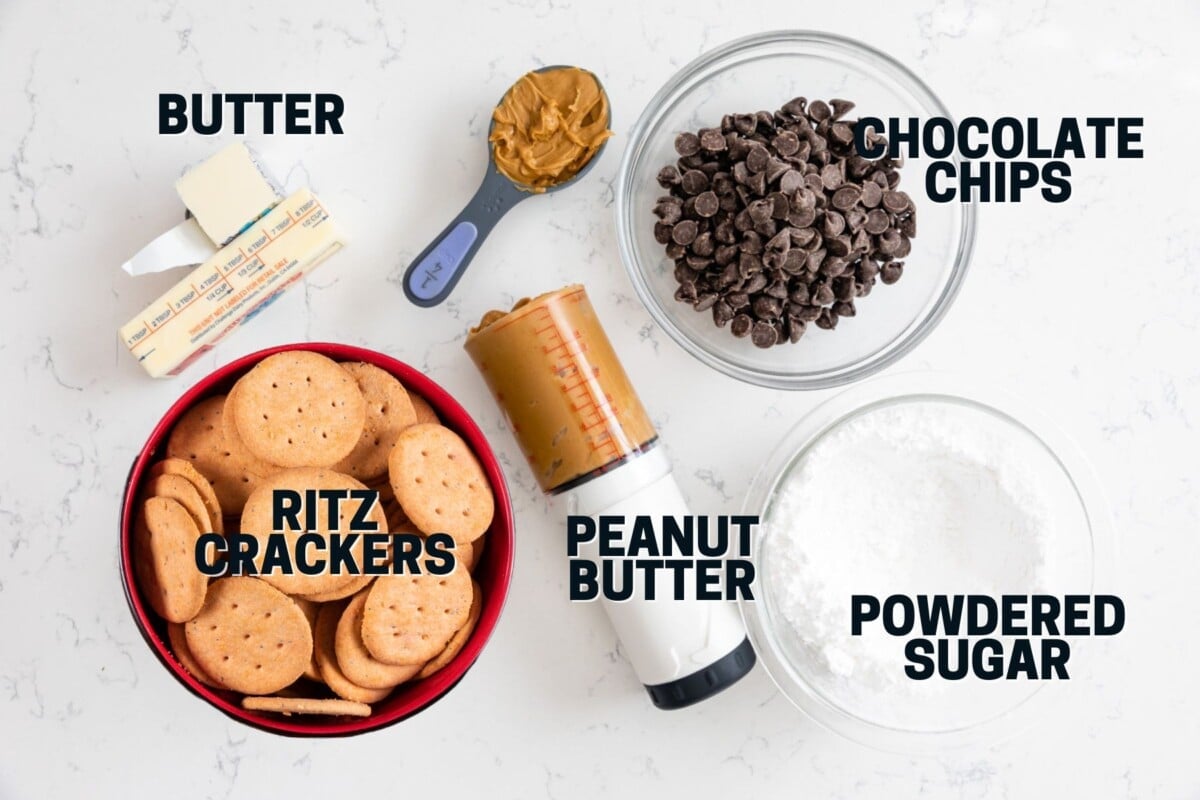
Ingredients
- 8 tablespoons (113g) unsalted butter, melted
- 2 cups Ritz cracker crumbs, (about 60 crackers or about 194g)
- 1 ¼ cups (142g) powdered sugar
- ¾ cup (+ 2 tablespoons) creamy peanut butter, , divided
- 1 cup (170g) chocolate chips
Instructions
- Line a 9×9-inch or 9×13-inch pan with foil and spray with cooking spray. (Or you can use any size pan in between; the bigger the pan the thinner the bars.)
- Place melted butter, Ritz cracker crumbs, powdered sugar, and 3/4 cup peanut butter in a large bowl. Mix by hand until combined. Press firmly into prepared pan.
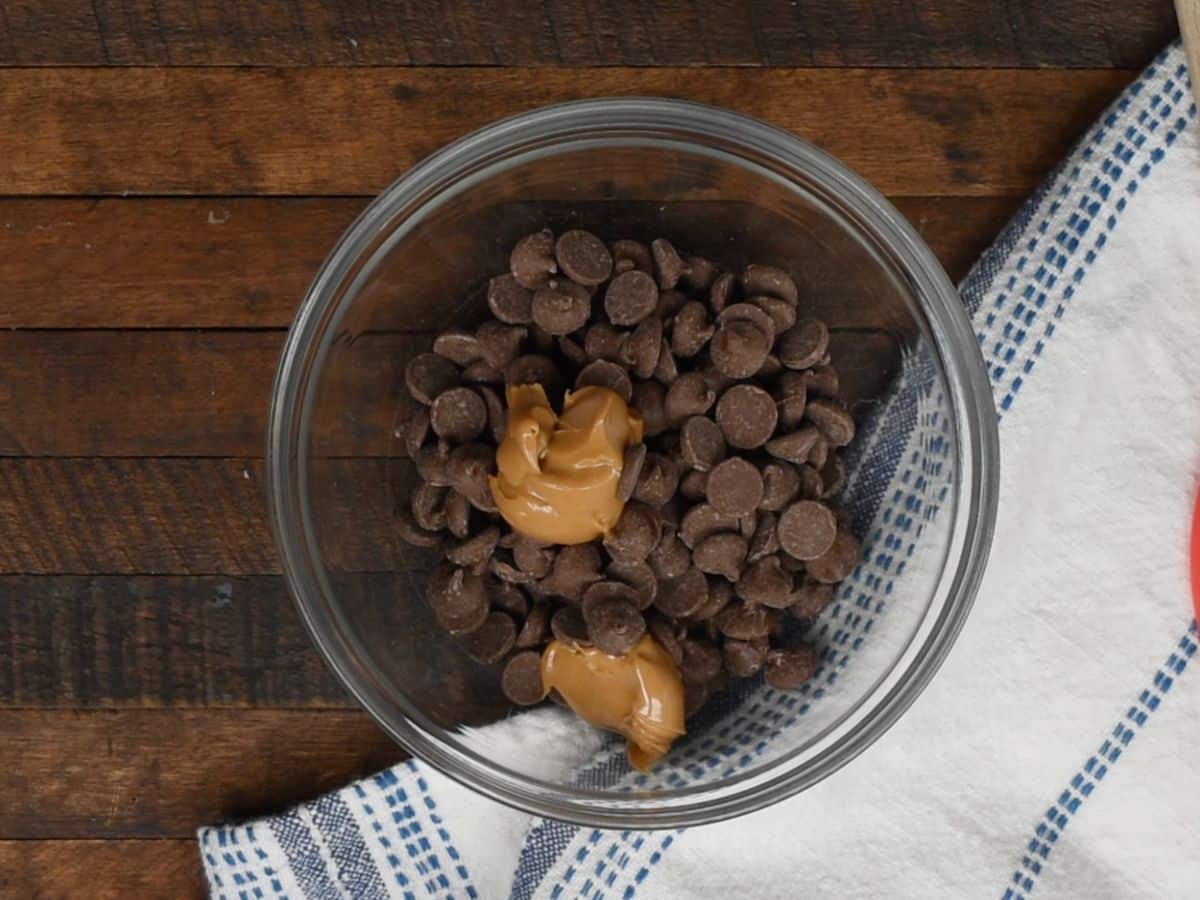
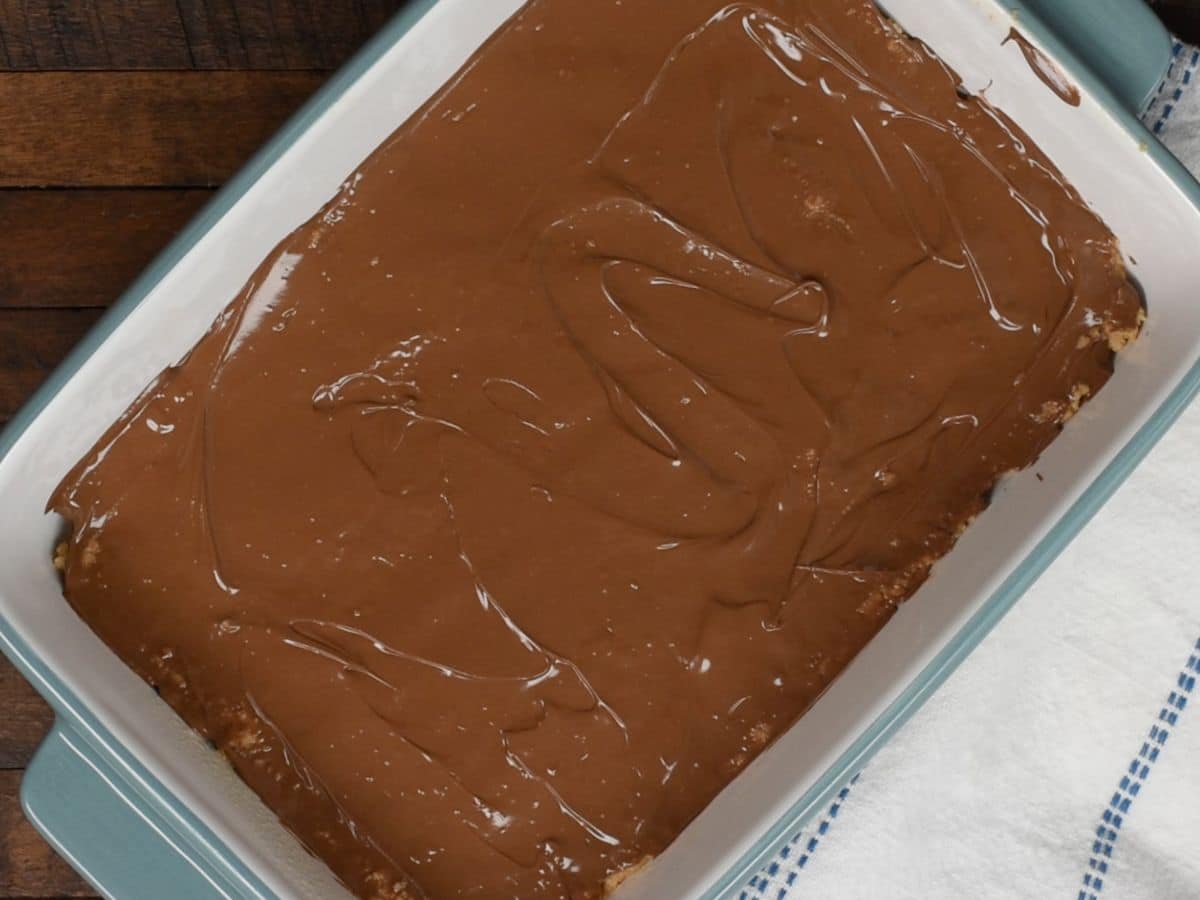
- Place chocolate chips and remaining 2 tablespoons peanut butter in a microwave-safe bowl. Heat on 50% power in 30 second increments, stirring between each, until melted and smooth. Pour over bars and spread with a spatula to evenly coat.
- Chill for at least 1 hour to set, slice into bars. **It’s best to slice them at room temperature so your chocolate doesn’t shatter.**
- These can be stored in an airtight container at room temperature or in the refrigerator, depending on how warm your house is. The chocolate will get melty if it’s too hot, so use your judgement on where you should store them.
Notes
- Use a 9×9-inch pan to make thick peanut butter chocolate bars
- I have not tried this with natural peanut butter, so I suggest using a traditional kind.
- It’s best to slice these peanut butter squares at room temperature so your chocolate doesn’t shatter.
Nutrition
Nutrition information is automatically calculated, so should only be used as an approximation.
© Crazy for Crust. Content and photographs are copyrighted. Sharing this post is much appreciated, but copying and pasting full recipes without authorization is strictly prohibited.
Did you try this recipe? Click here to rate the recipe below.
Step-by-Step Photos for Peanut Butter Bars
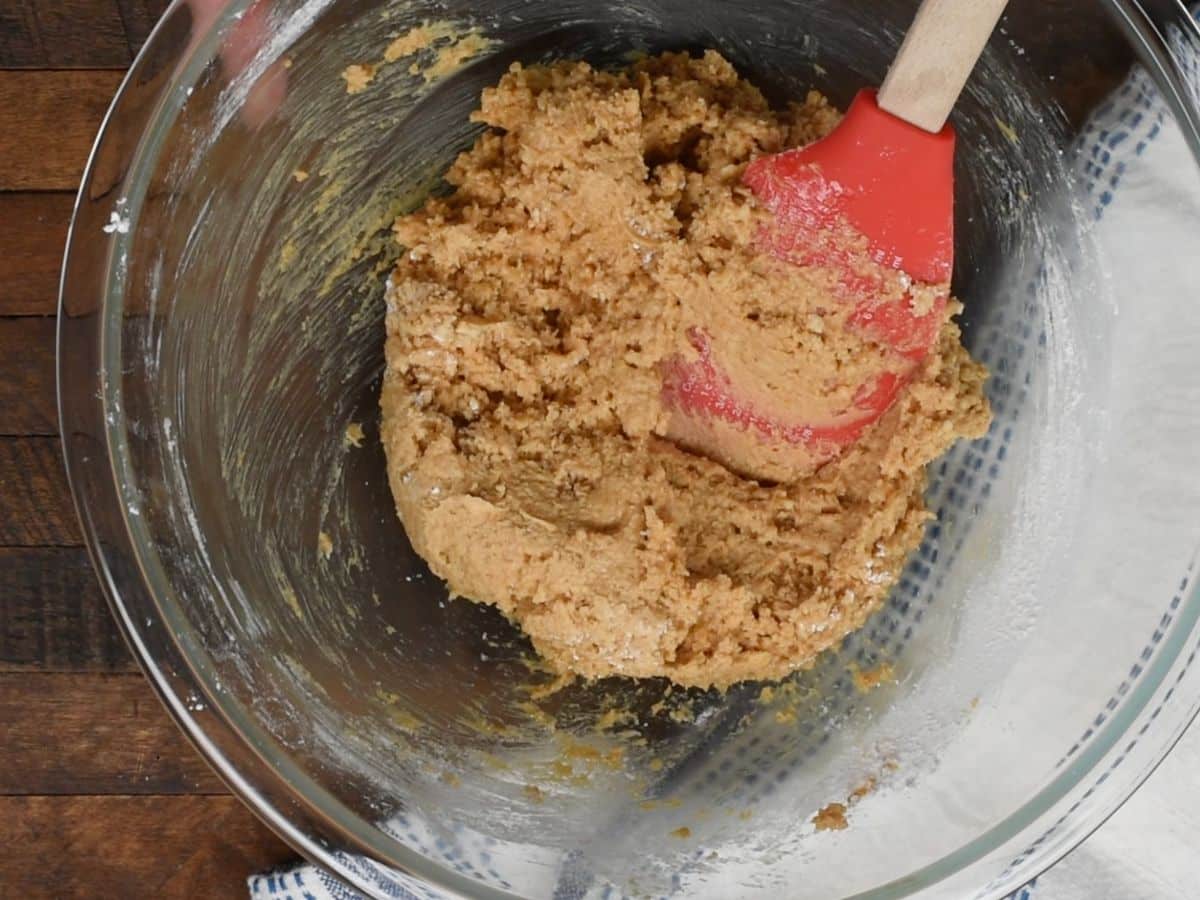
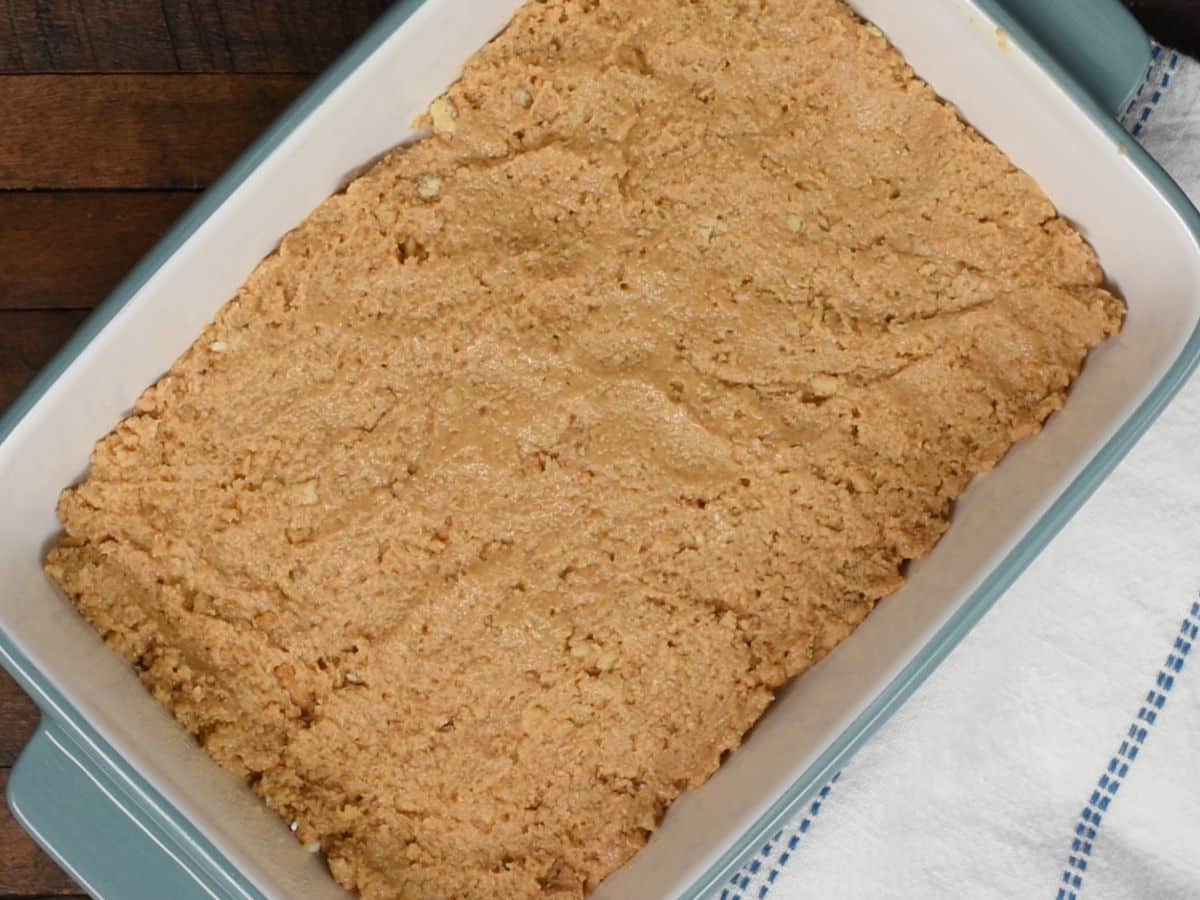
- Mix the melted butter, peanut butter, cracker crumbs, and powdered sugar together in a large bowl. It should be a thick consistency.
- Press the thick mixture into a foil-lined 9×13-inch pan. I like to line my pan with aluminum foil for easy removal.
- Melt the chocolate chips with the remaining peanut butter together. You can either microwave it for a few seconds, stirring between sessions or melt it on the stovetop. Doing this helps the chocolate slice without splintering once it’s hardened on the bars. Spread chocolate layer over the peanut butter base.
- Cover the pan with plastic wrap. Chill the already assembled piece to set. For at least one hour.
- Slice into bars once fully chilled.
Can you make these in individual mini cups for a luxury dessert bar?
Your recipes are absolutely delicious! I often run out of dessert ideas, but you’ve been my lifesaver. Thank you for sharing such wonderful recipes. God Bless!🙏
Thanks so much, Aminah! 🙂
Your cake recipes are wonderfully simple yet incredibly delicious! I’m from Singapore and I absolutely love baking. Your creations are truly out of this world. Thank you for sharing such amazing recipes! 🫡❤️
Hi Aminah, so glad you enjoy the recipes. Thanks for taking the time to comment!
Lovely recipes
Delicious! My grandkids want me to have an endless supply for them.
Featured In
Rate This Recipe
Recipe Ratings without Comment