This post may contain affiliate links. For more information, read my disclosure policy.
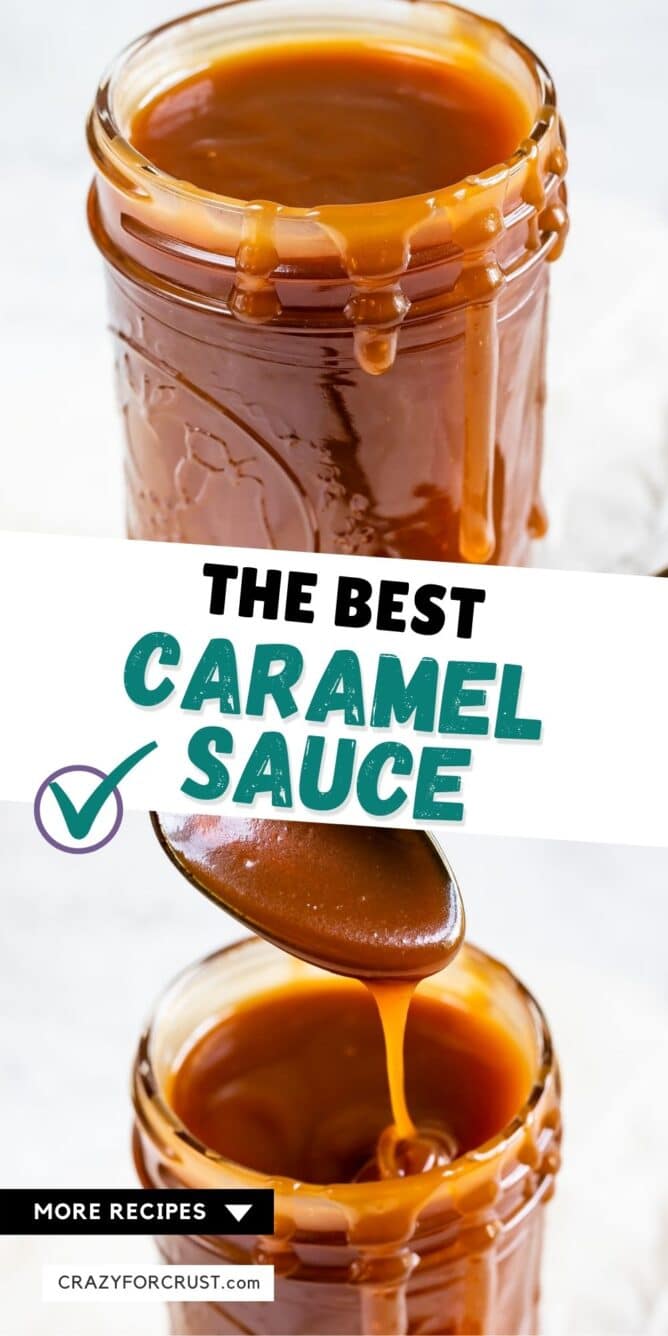
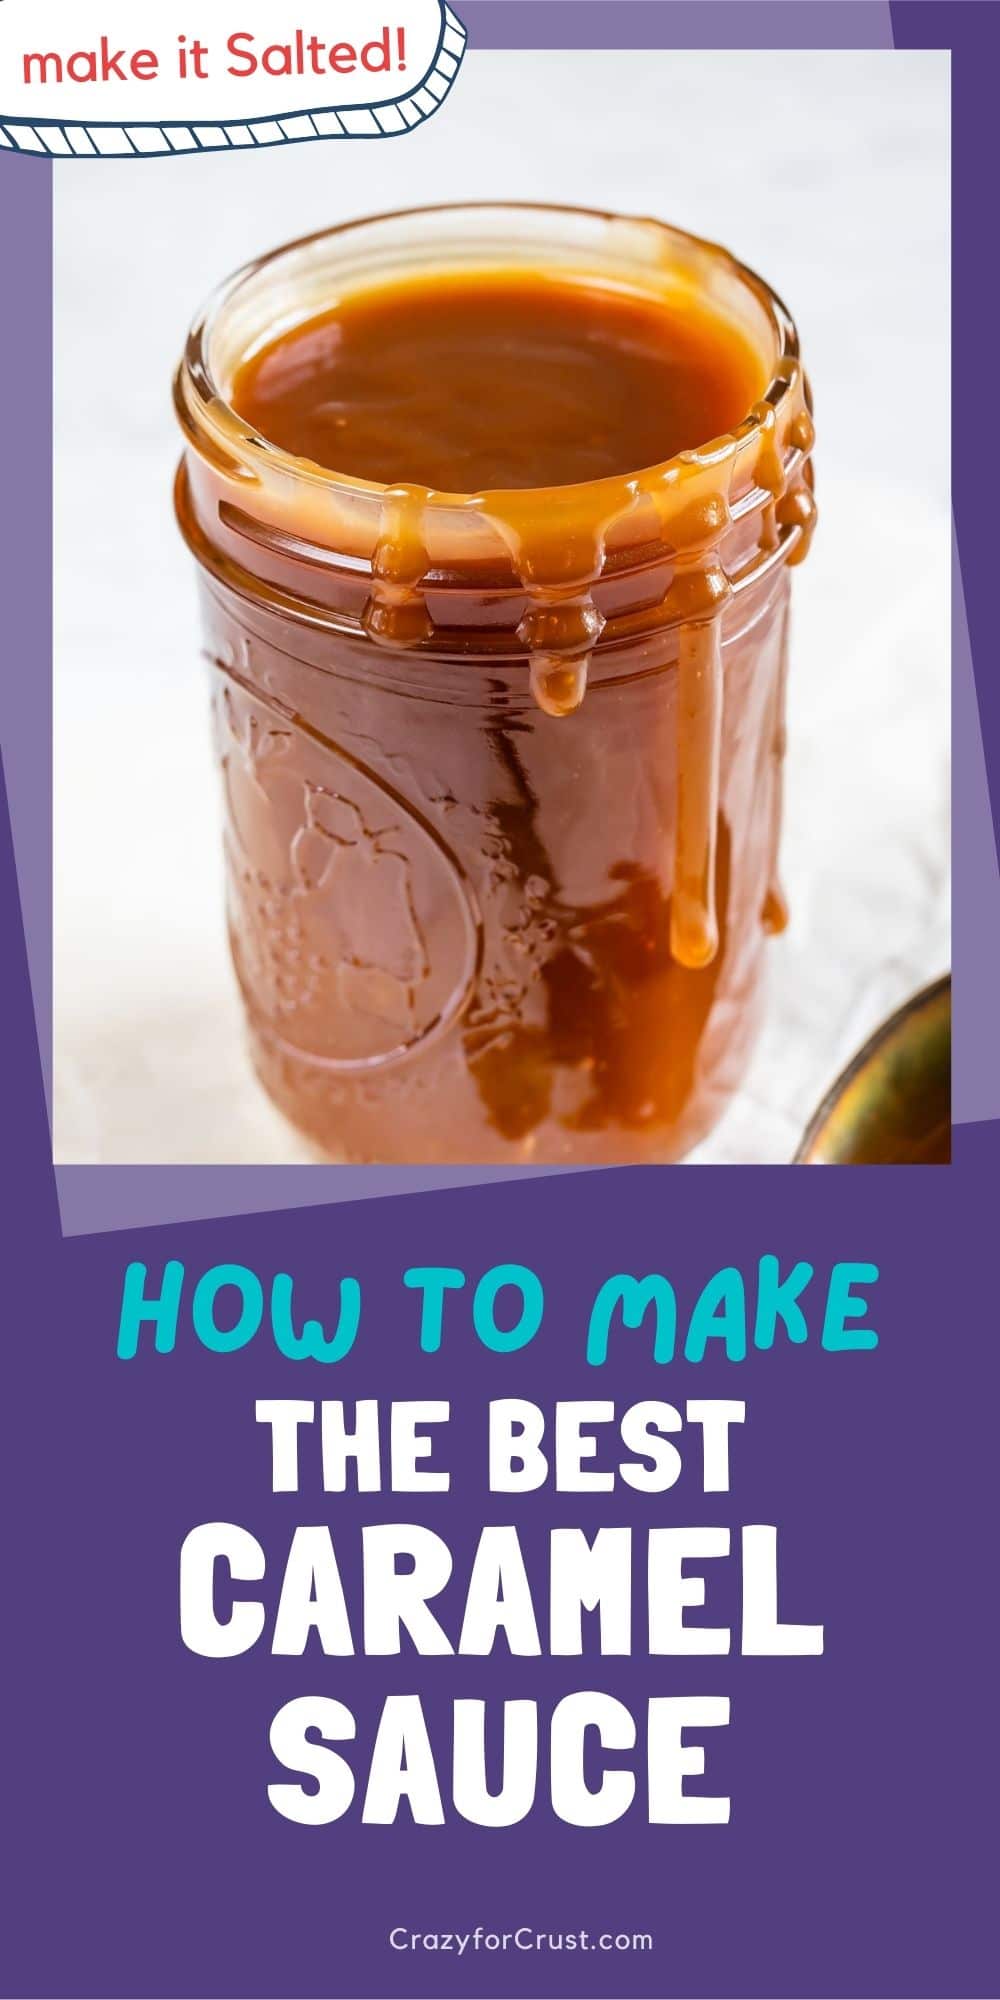
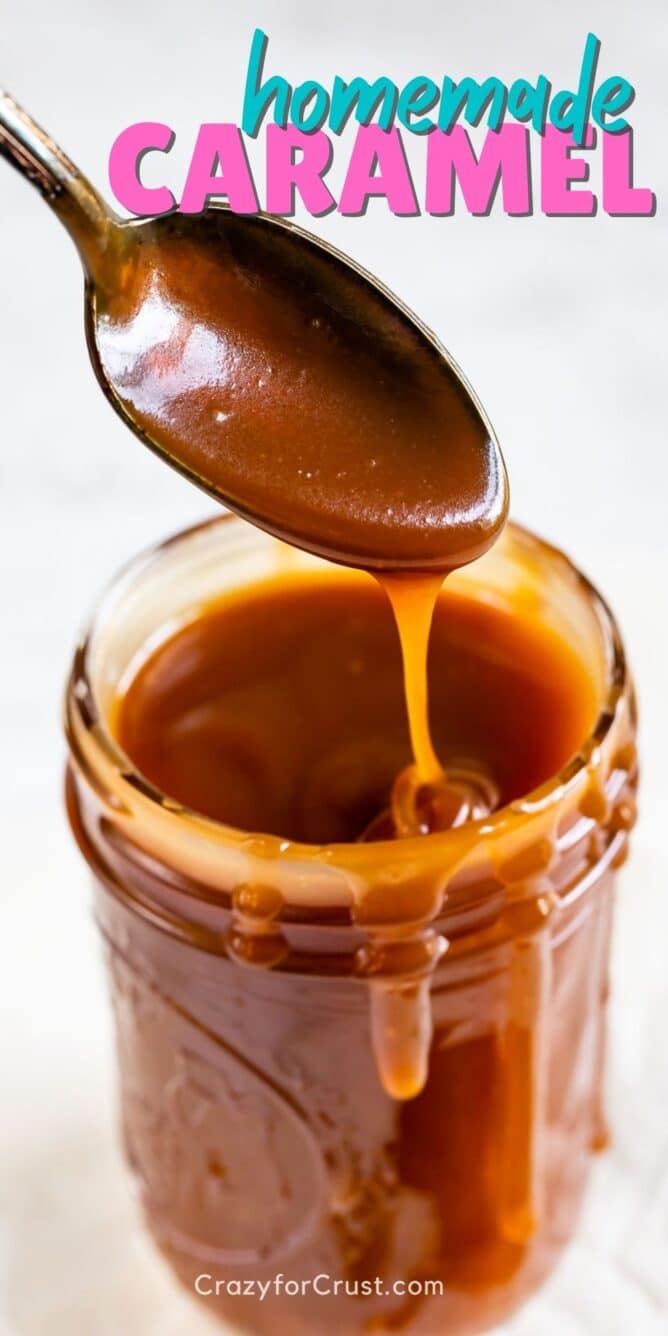
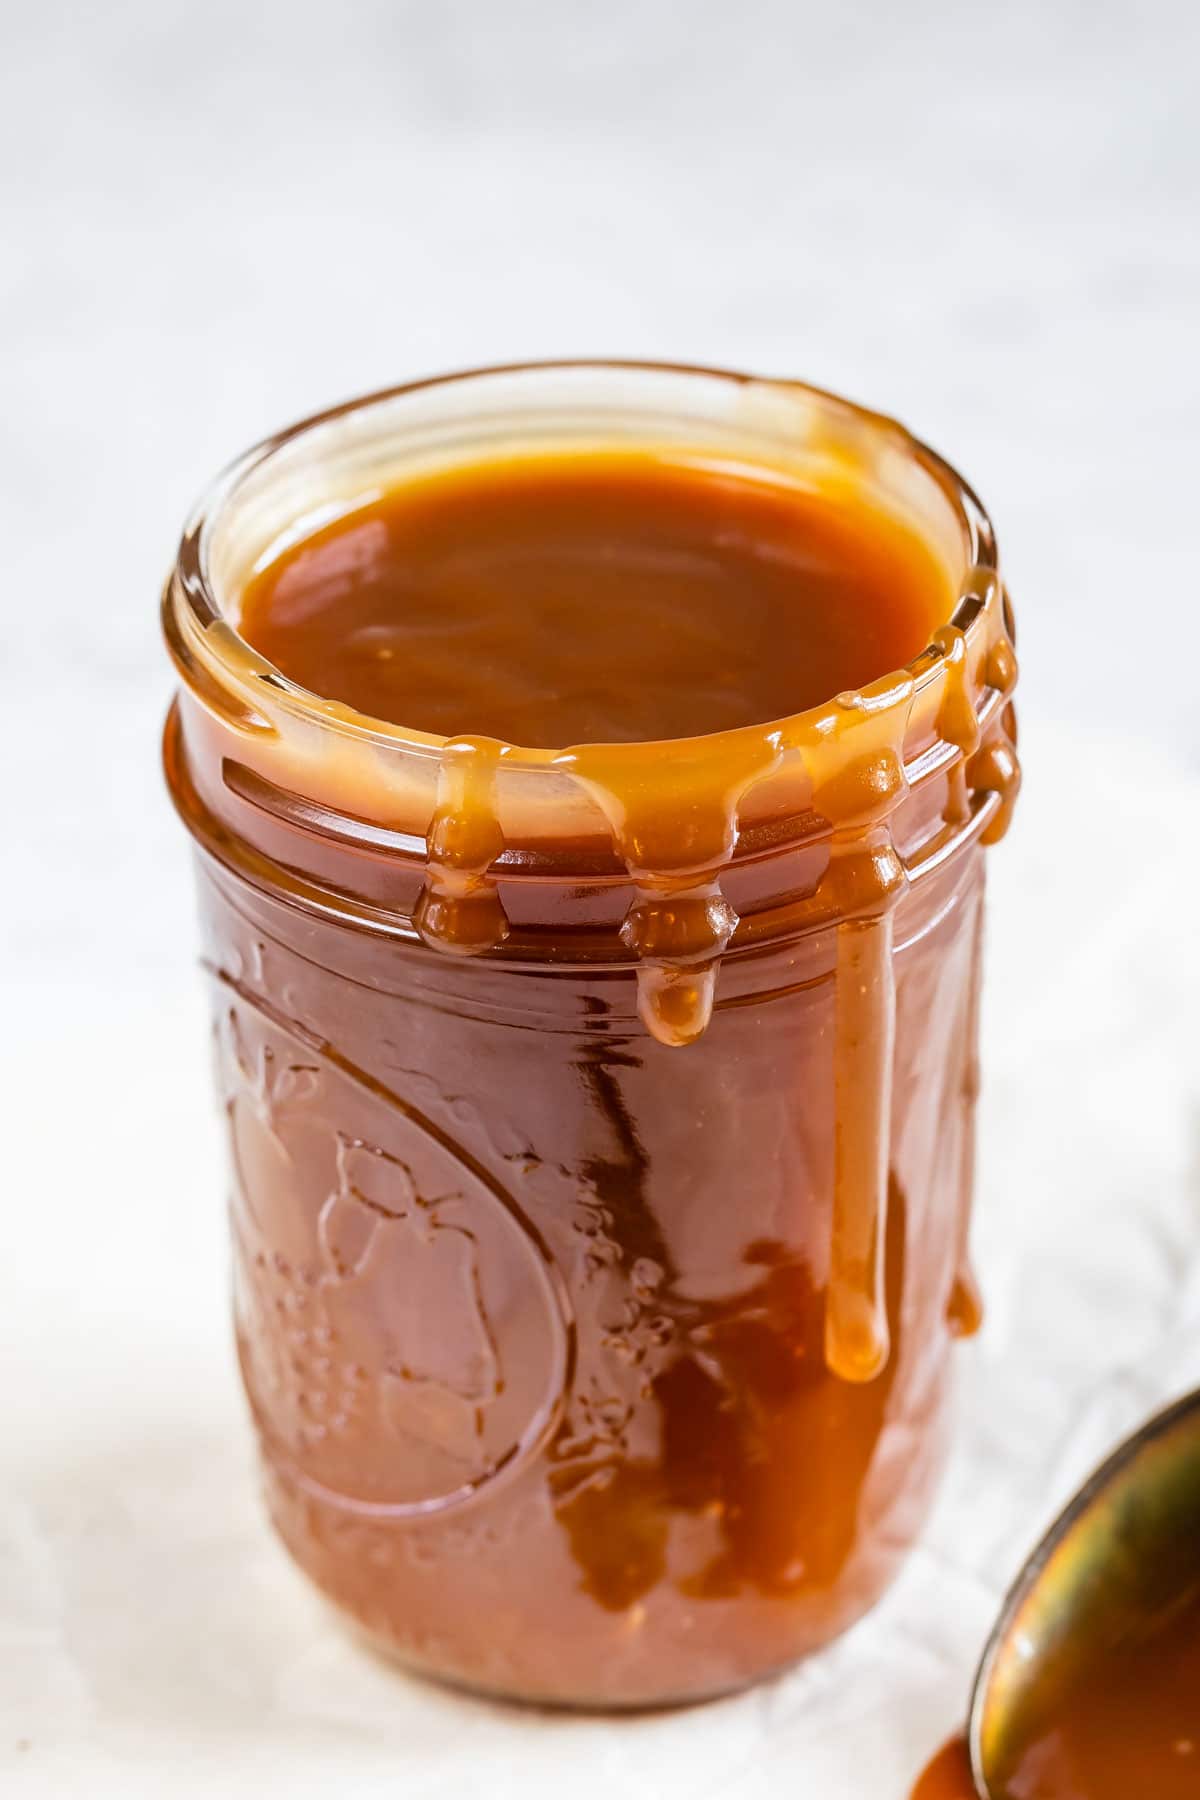
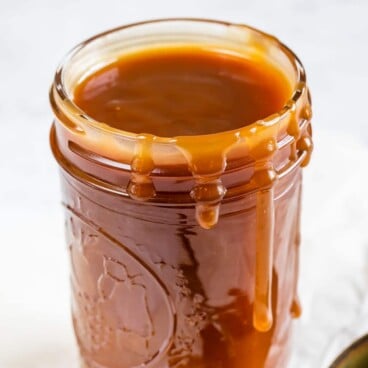
Make my Easy Caramel Recipe, and you’ll never go back to store-bought jars again! This foolproof 5-ingredient recipe is made without corn syrup, resulting in a velvety, creamy sauce that is perfect for drizzling over ice cream or using as a soft-set topping for brownies and cakes.
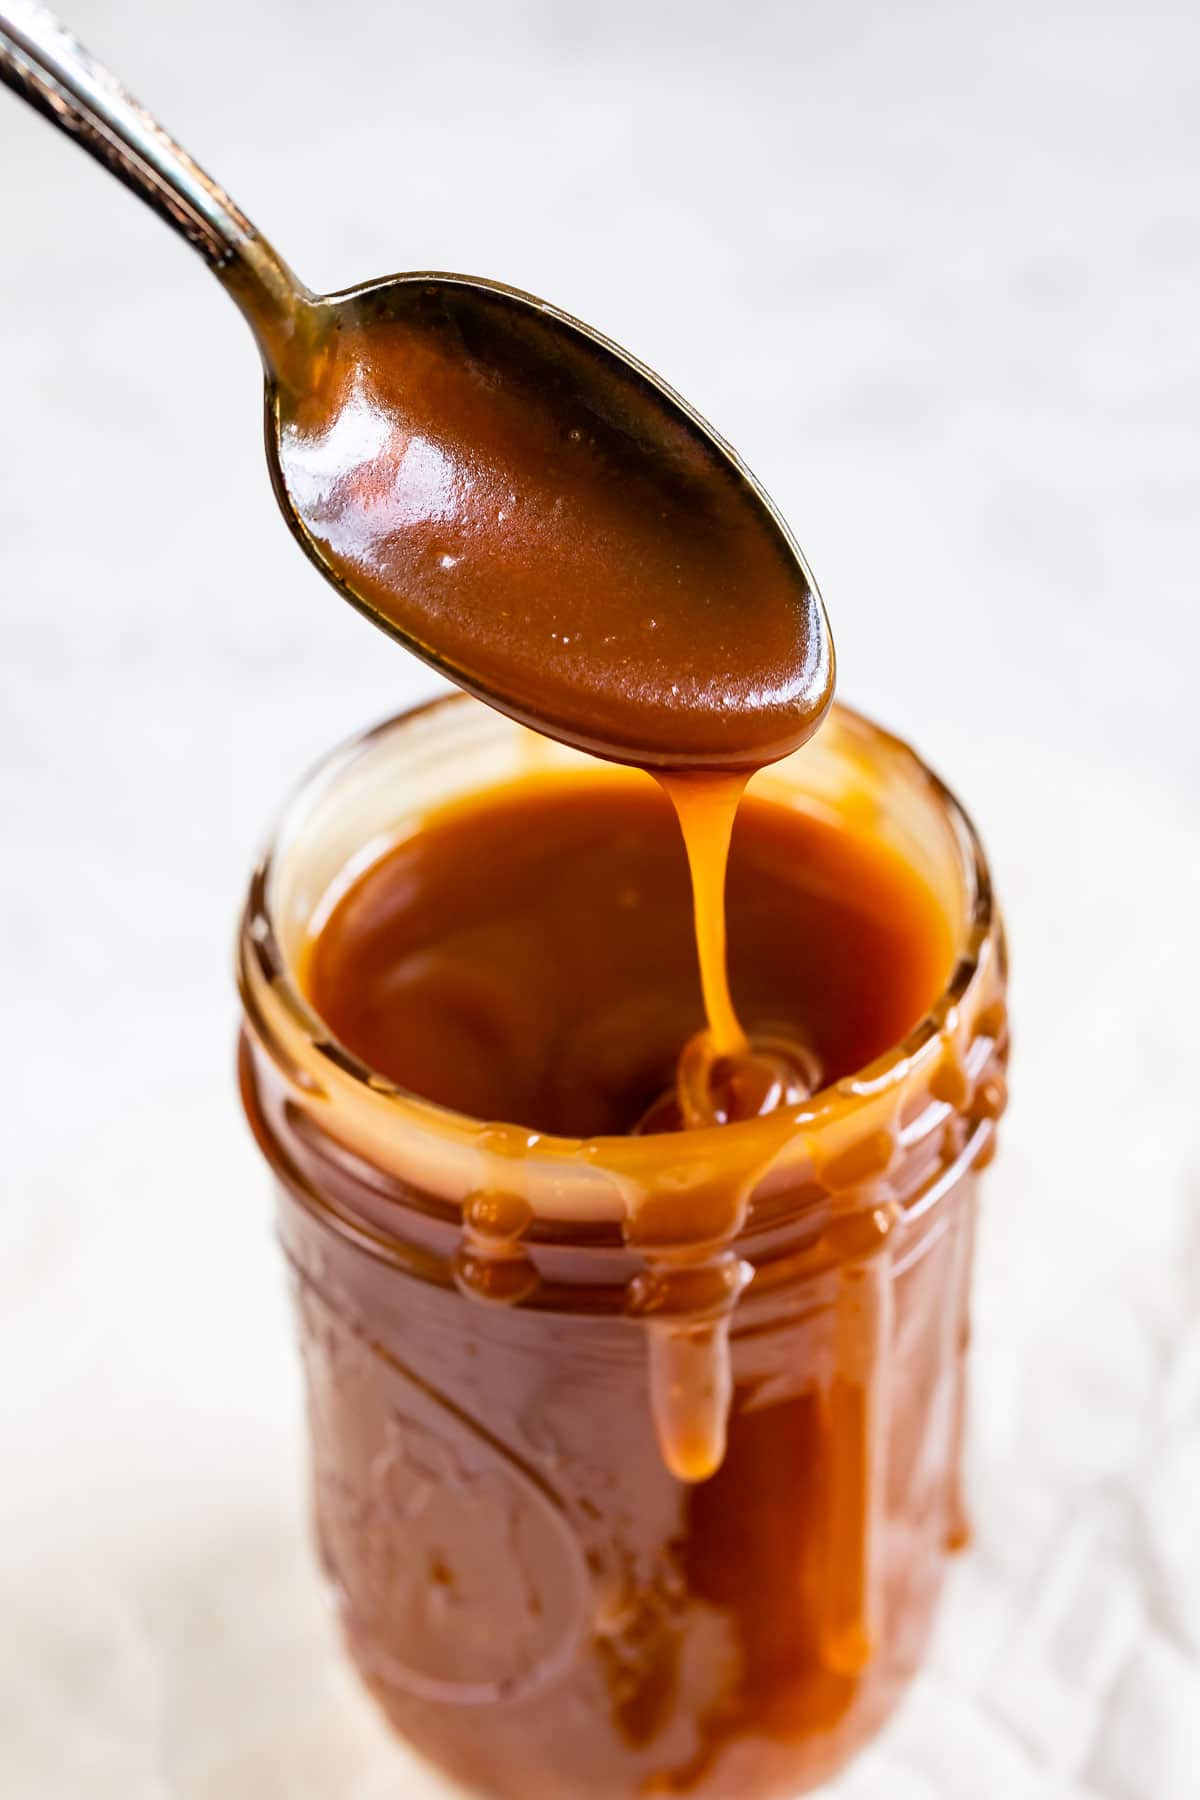
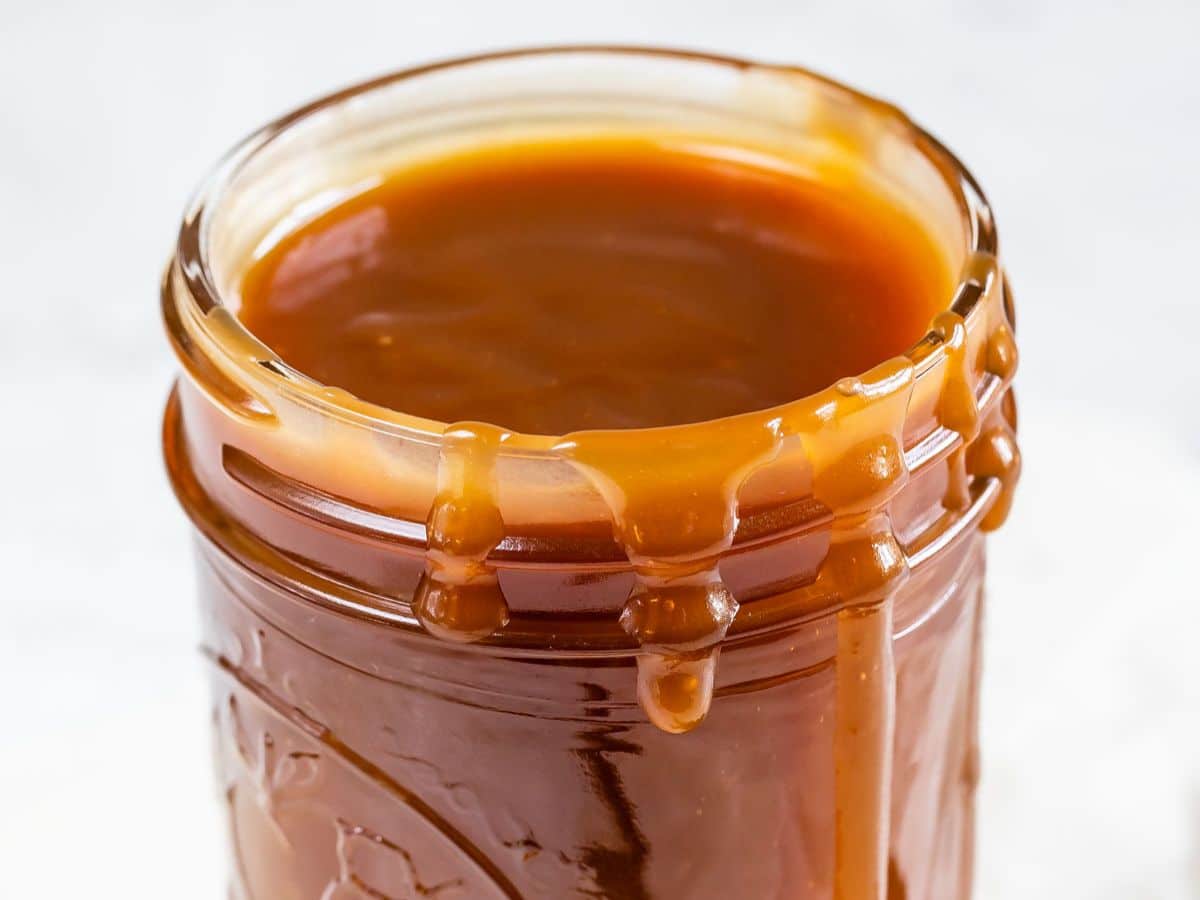
Once I learned how to make caramel sauce from scratch, I haven’t gone back to buying jars of it at the store. Learning how to make caramel from scratch is a baking game-changer. This recipe uses the Dry Method, meaning we melt the granulated sugar directly without adding water. It’s faster and less likely to crystallize, giving you that perfect deep amber color and rich flavor in about 25 minutes. Plus, you only need 5 ingredients to make this caramel sauce that has the best soft texture.
Easy Caramel Ingredients
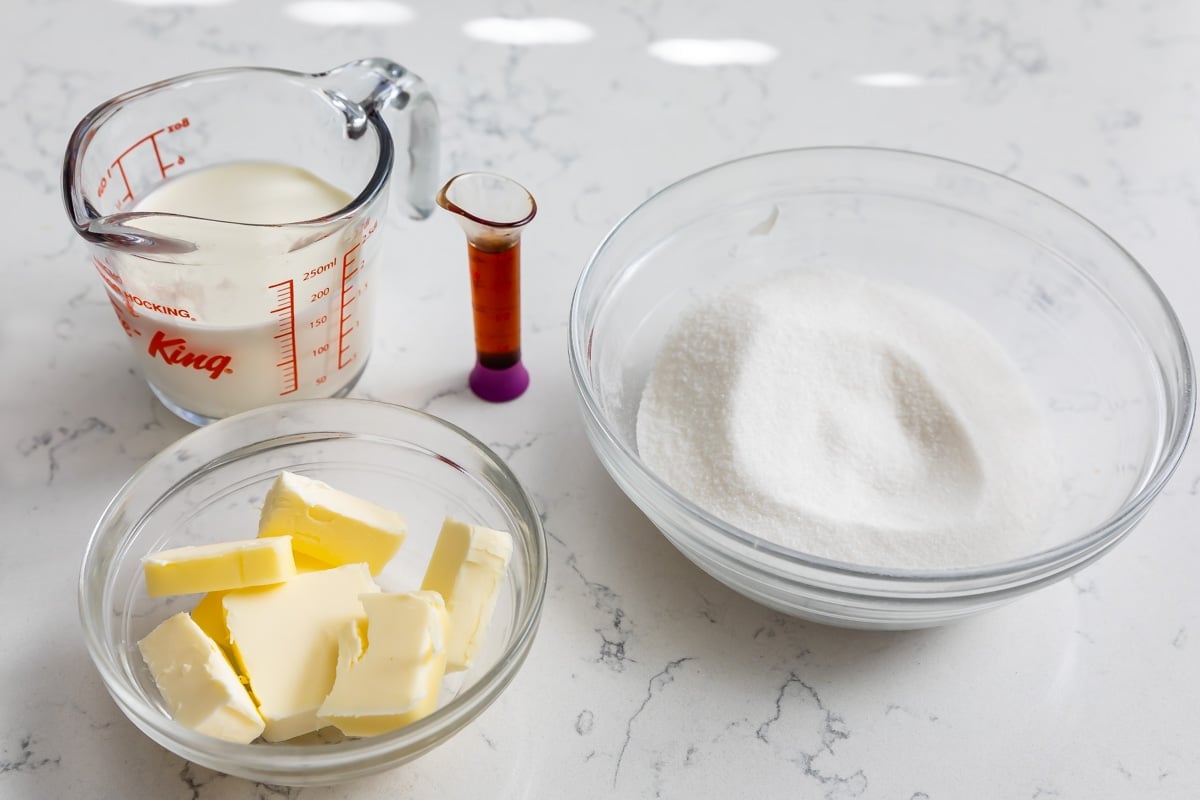
- Sugar: a classic caramel uses granulated sugar
- Butter: have your unsalted butter sliced and ready to go before starting
- Heavy Whipping Cream: gives a nice richness to the caramel (no substitutions for this)
- Salt: you need to add salt even if making regular caramel. You can turn this into salted caramel by adding extra, but salt is necessary to make the caramel a delicious flavor.
- The Dry Method Advantage: This recipe uses the dry method of caramelization, which involves melting sugar alone in a heavy-bottomed pan. This method is faster than the wet method and reduces the risk of the sugar re-crystallizing. It also gives a nuttier depth of flavor to the caramel that the wet method cannot achieve.
Dorothy’s Testing Notes
- Making caramel sauce is not hard, but it does require your undivided attention. This isn’t the kind of recipe you can leave on the stove and go fold the laundry – make sure there aren’t any distractions when you get ready to make it.
- Temperature Safety: When adding heavy whipping cream to the melted sugar, the mixture will bubble up violently. Using a medium saucepan with high sides is essential to prevent overflow.
- Gather and measure all of your ingredients first.
- This is a recipe that really benefits from high-quality butter, like Challenge or similar.
- The Role of Salt: Even if you aren’t making Salted Caramel, adding at least a 1/4 teaspoon of salt is necessary to balance the sweetness and prevent the sauce from tasting flat.
- When you are melting the sugar, stir gently and be patient. The time it takes will depend on your pan and the kind of stove you have.
- Gentle stirring will prevent sugar crystals from splashing up on the sides of the pan. Avoiding this will keep your sauce from crystalizing, which is just a fancy way to say “turning grainy.” If you notice sugar gathering on the sides of the pan, use a pastry brush dipped in water to brush the sides and dissolve the sugar.
- Most important, don’t leave the sauce alone at any point turning the cooking process. There is a thin line between a perfect caramel sauce and a burnt one.
Caramel Sauce Recipe
Video
Ingredients
- 1 cup (200g) granulated sugar
- 5 tablespoons (71g) unsalted butter, sliced into tablespoons
- ⅔ cup (158ml) heavy whipping cream
- 1 teaspoon vanilla extract
- ¼ teaspoon salt, or more to make salted caramel
Instructions
- Note: making caramel is something that needs your undivided attention. Make sure you have all your ingredients gathered before starting and that you are not distracted. Leaving the caramel alone at any point can cause it to burn.
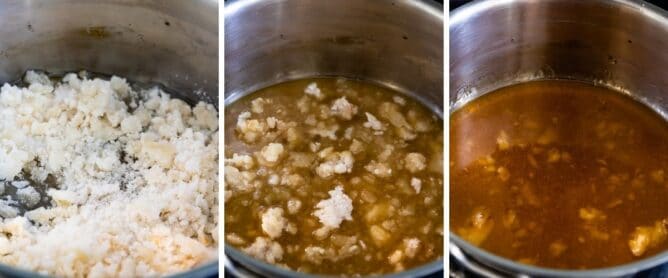
- Place sugar in a heavy-bottomed medium saucepan. Make sure the sides of the pot come up a little bit (that it’s not a shallow pan) because it will boil up when you add the cream later.
- Place the pan over medium-low heat. Cook stirring often but being careful not to spread the sugar up the sides of the pan too much. The sugar will form clumps then melt into a light amber liquid. Keep stirring until the lumps have all become liquid. This will take about 7-12 minutes, depending on your pot and the heat of your stove. DO NOT LEAVE THE SUGAR ALONE, it will burn fast.
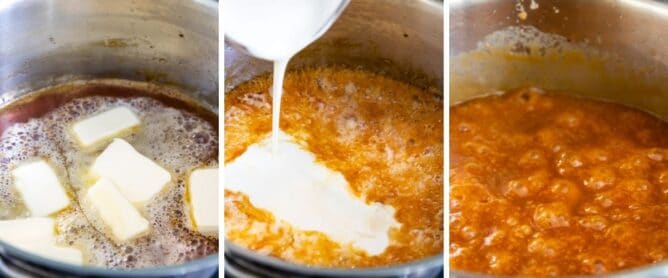
- As soon as the lumps are dissolved, add the butter and stir until it’s melted. Add half of the heavy whipping cream, stir, then add the rest. It will bubble up as you add it to the mixture. Turn off the heat and then stir in the vanilla and salt. Stir until smooth. At this point, add up to an additional 1/2 teaspoon salt (to taste) for salted caramel.
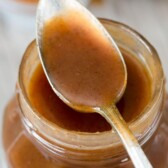
- Pour the caramel carefully into a jar and let cool to room temperature. It will thicken as it cools. Cover and store in the refrigerator. When ready to use, remove the lid and heat in 30 second increments until the caramel is melted and smooth and the desired consistency (about 60-90 seconds for the just-made texture). Will keep for 2 weeks in the refrigerator.
Notes
Nutrition
Nutrition information is automatically calculated, so should only be used as an approximation.
© Crazy for Crust. Content and photographs are copyrighted. Sharing this post is much appreciated, but copying and pasting full recipes without authorization is strictly prohibited.
Did you try this recipe? Click here to rate the recipe below.
SAVE THIS RECIPE
How to make Caramel with Heavy Cream
- The sugar will start to clump when put over medium-low heat.
- The clumps will slowly turn to liquid.
- Eventually all the sugar will dissolve into an amber liquid.
- The mixture will bubble up when the butter is added.
- It will bubble up again when adding cream.
- Wait to add salt and vanilla until it’s off the heat.
FAQs
No, you don’t need one for this recipe, you just need to cook the sugar until it’s liquid.
The key to getting the right soft-set texture is to use heavy whipping cream, which has a high milk fat content. Don’t substitute a lower fat cream, half and half, or milk otherwise, the caramel will not set properly.
Did you stir the sugar? It’s important to keep stirring as it melts, so it doesn’t burn. Also, you shouldn’t let it alone while the sugar is melting – it doesn’t take long for it to start burning.
If you remove it from the heat too soon before it’s thoroughly mixed, it could clump up. If this happens, just warm it up again and whisk it until smooth. If your sauce is grainy, it’s most likely because the sugar crystalized. Unfortunately, there’s not much you can do about that.
Caramel is sticky so it’ll stick to the pot – for easy cleaning fill the pot with water after you’ve removed the caramel and let it soak. The sugar will dissolve making it much easier to clean.
Grainy caramel is caused by sugar crystallization. To prevent this, stir gently and avoid splashing sugar up the sides of the pan. If crystals form, use a wet pastry brush to dissolve them back into the liquid.
For this specific recipe, there are no substitutions for heavy whipping cream. It provides the necessary fat content for a rich, velvety “soft-set” texture.
No, this is a classic caramel made with just 5 ingredients: sugar, butter, cream, vanilla, and salt.
Store in an airtight jar in the refrigerator for up to 2 weeks. The sauce will harden when cold; reheat it in the microwave in 30-second increments to return it to a pourable consistency.


I see this makes 6 servings. Is that 1 cup? I am doubling your frosting recipe so not sure if one recipe of carmel with be enough? Let me know, thanks.
It makes about 1 cup or just a bit over for one full recipe.
How did you ever figure out that it would last for 2 weeks in the refrigerator? I can’t get mine to last more than a day.
Haha it’s too good, right?!
Can I use salted butter?
Yes
This was my first time making caramel ever and I followed all the directions on this recipe, and it turned out delicious, 10/10, I will def use this as my go to caramel recipe always. I halved the recipe too just to see it would turn out and was amazing
Featured In
Rate This Recipe
Recipe Ratings without Comment