
This post may contain affiliate links. For more information, read my disclosure policy.
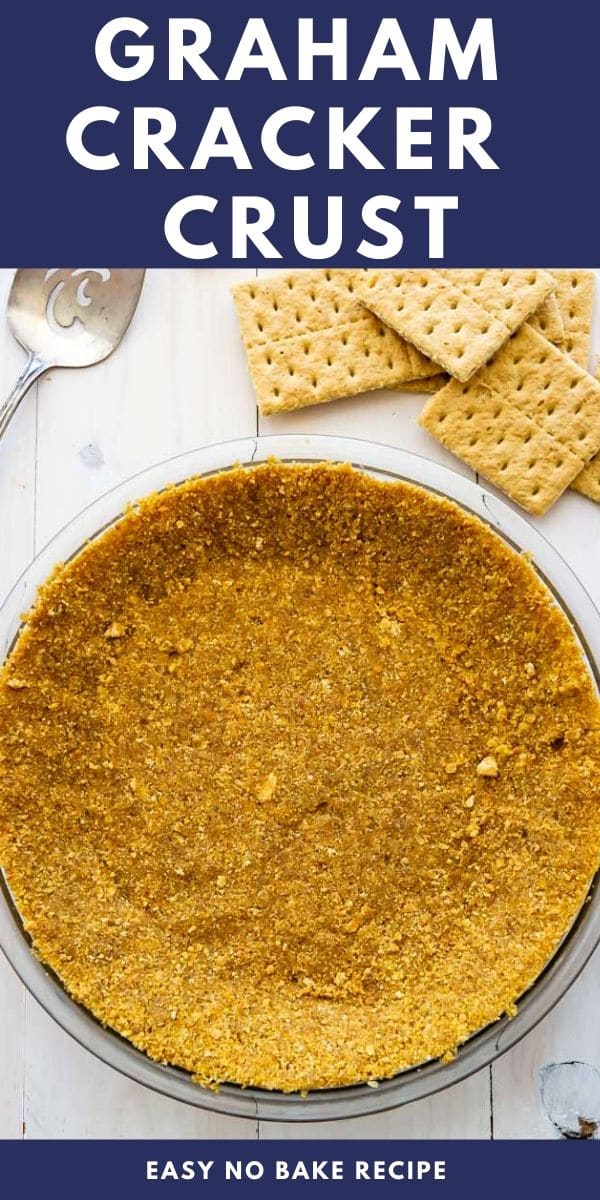
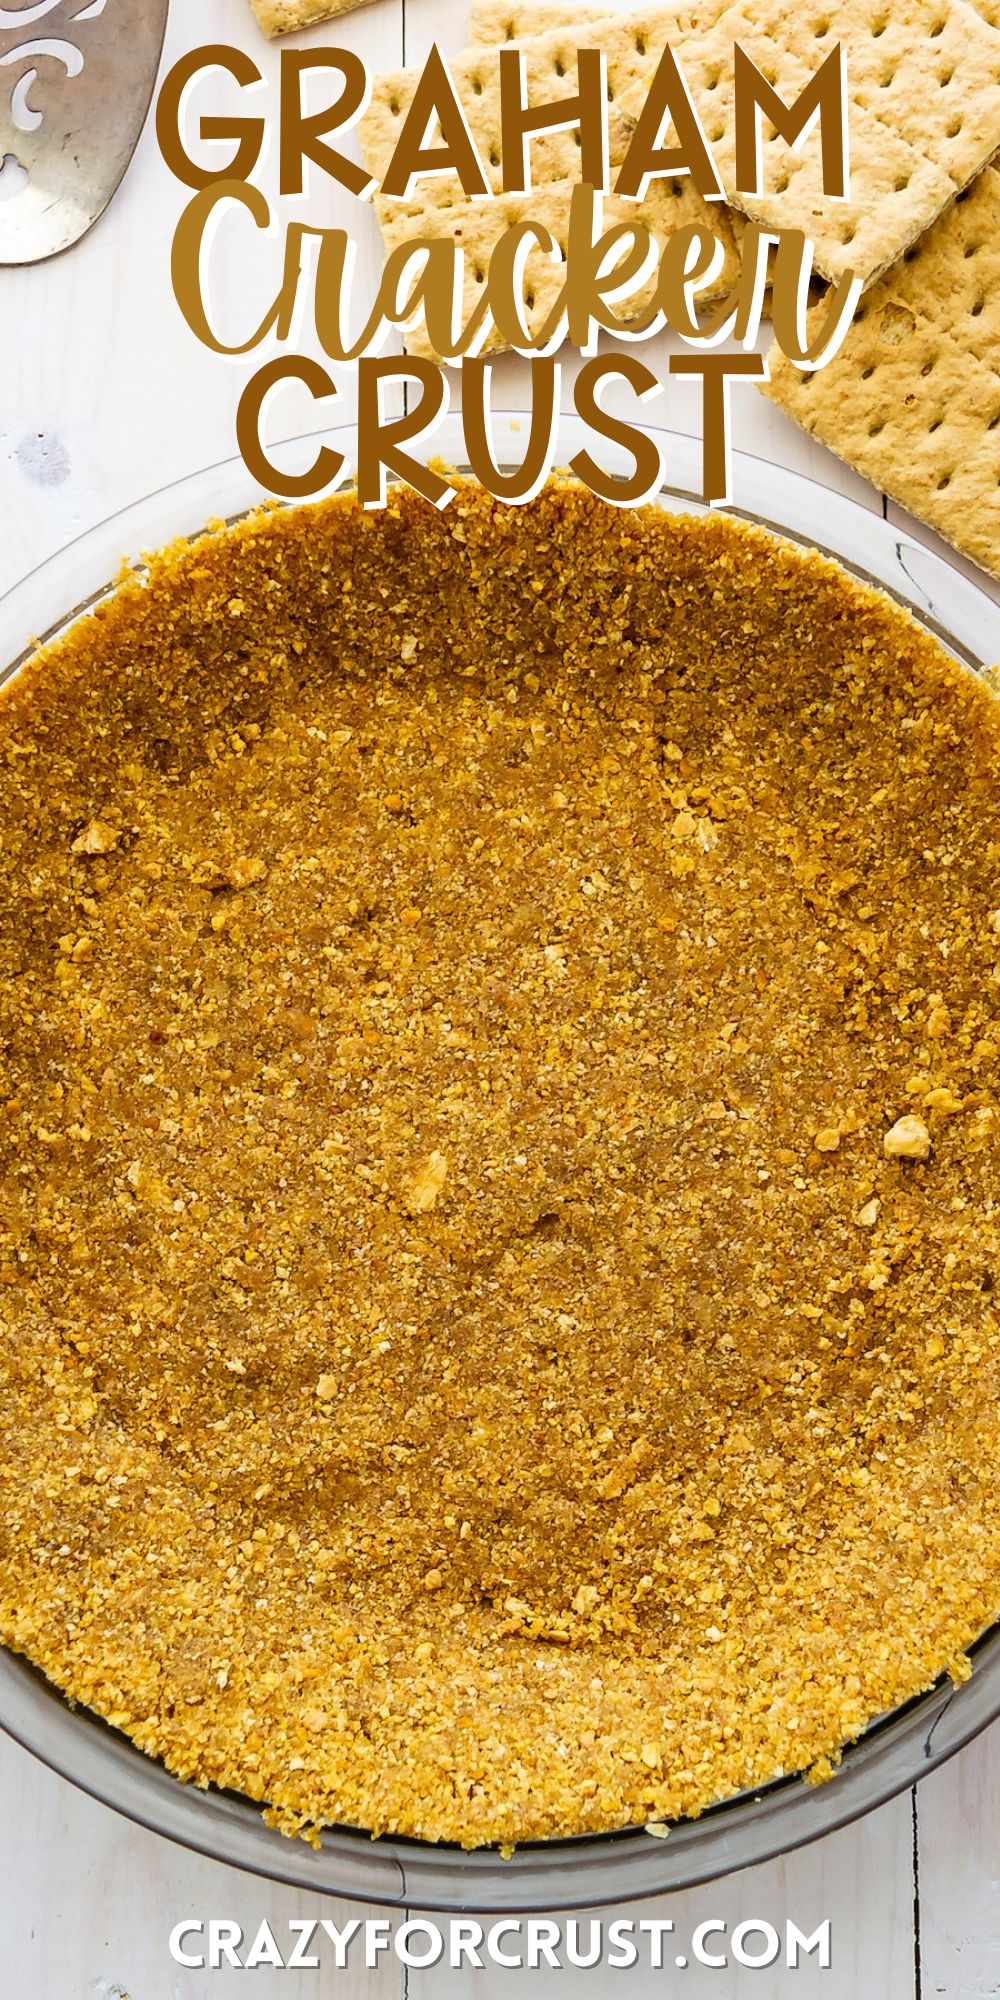
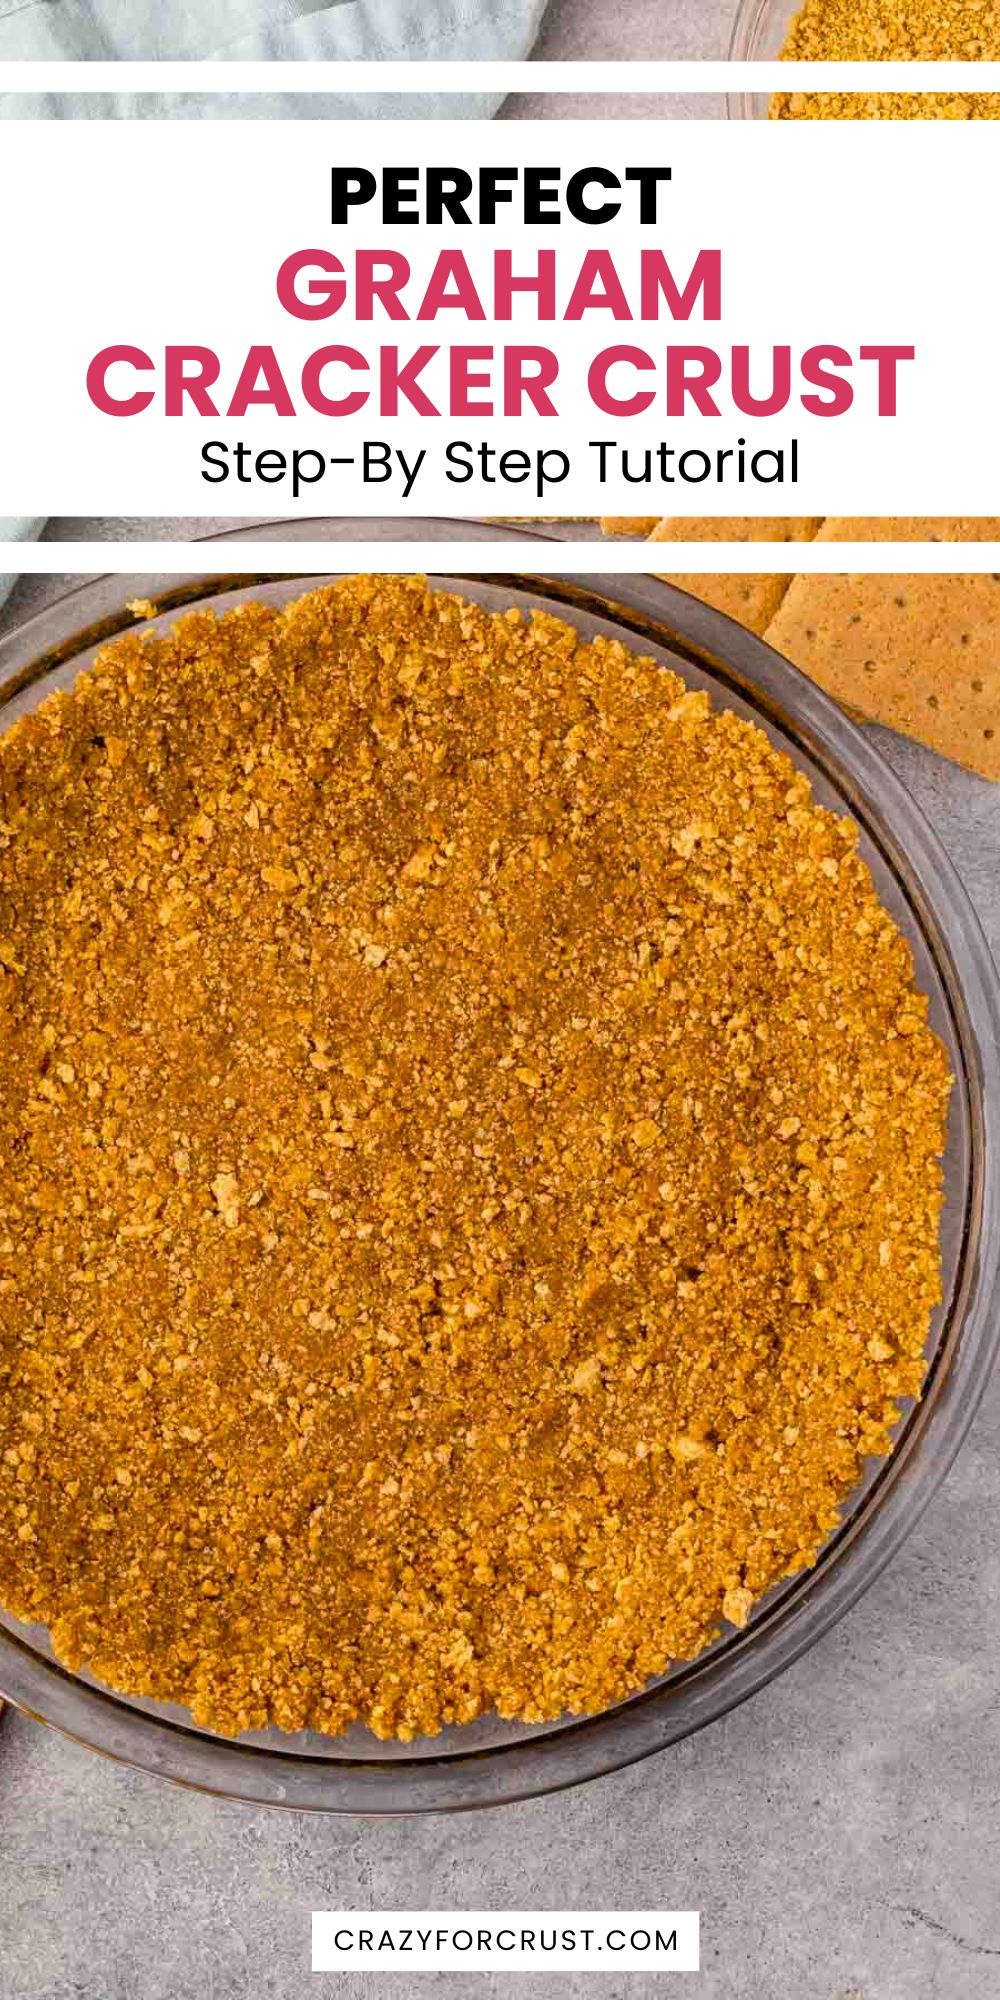
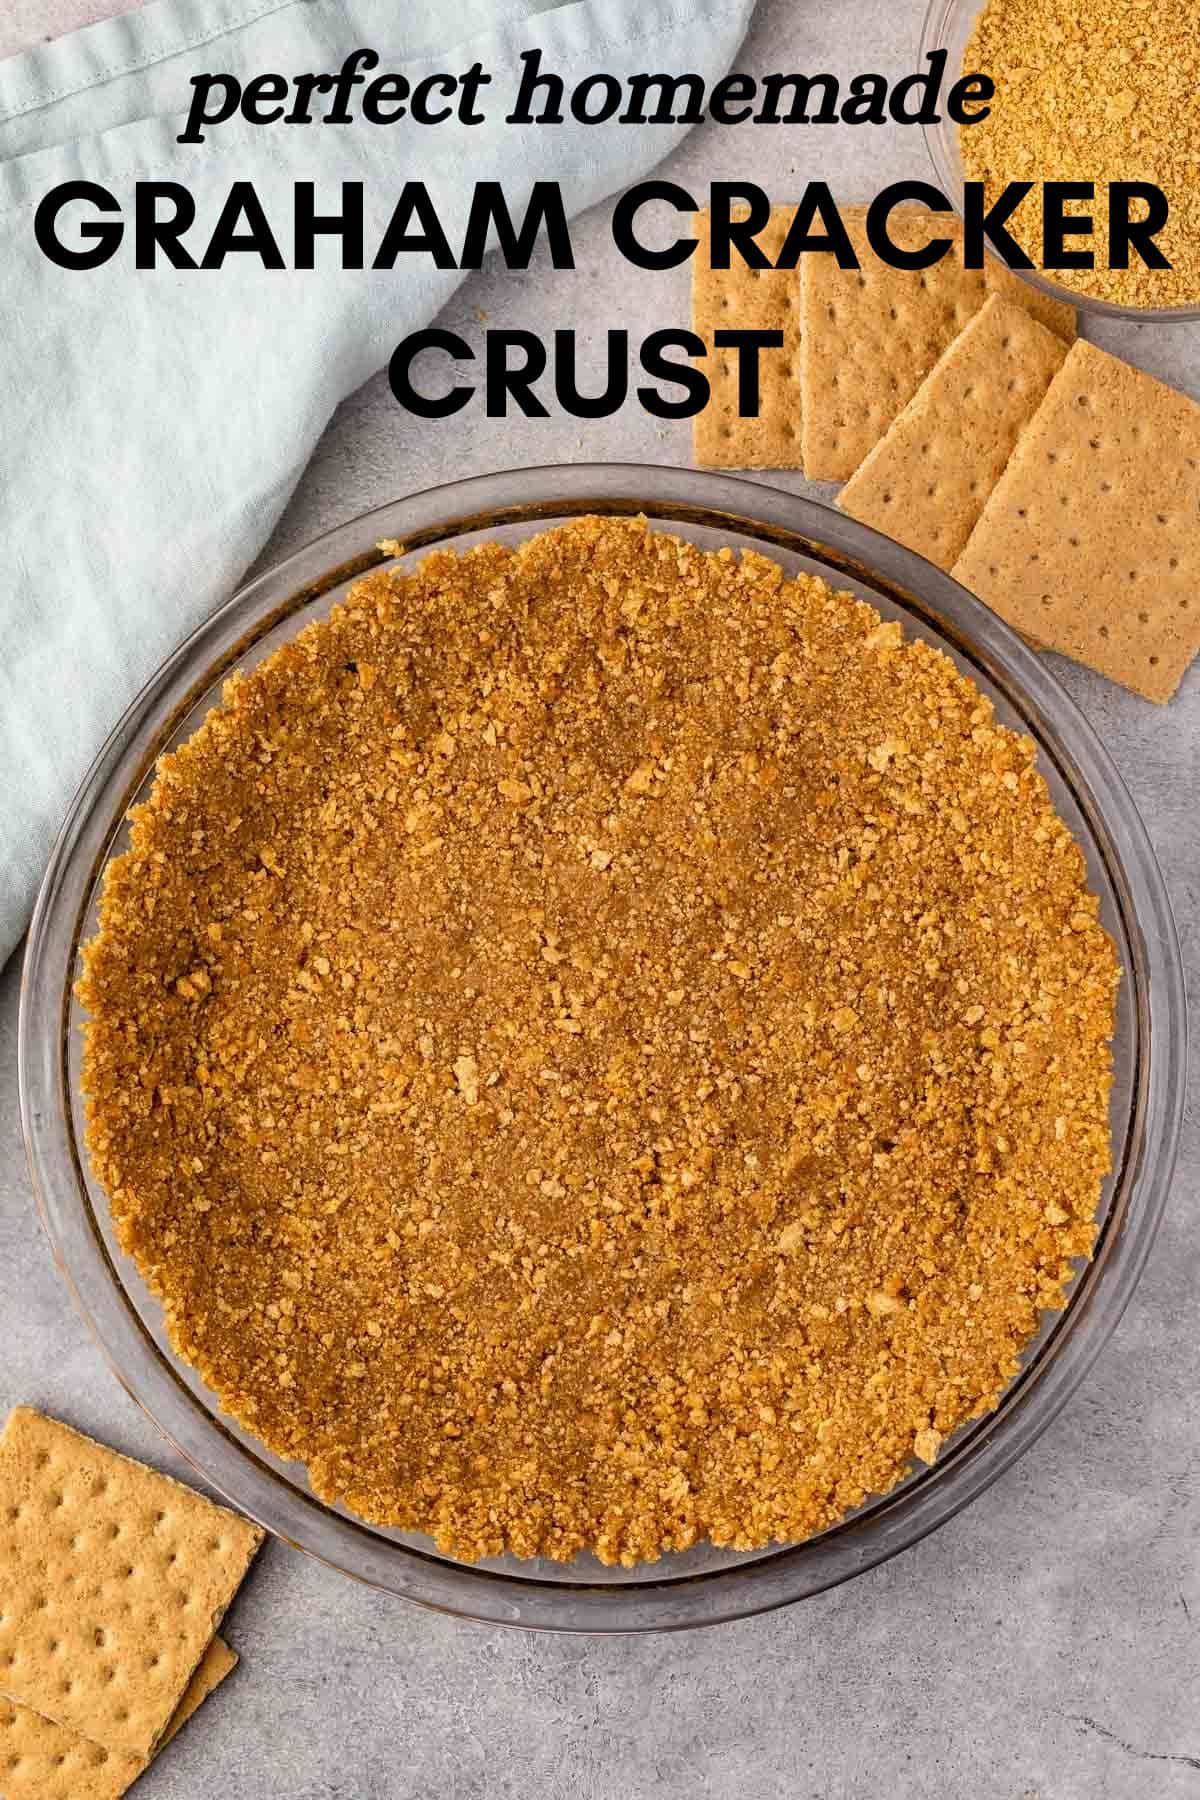
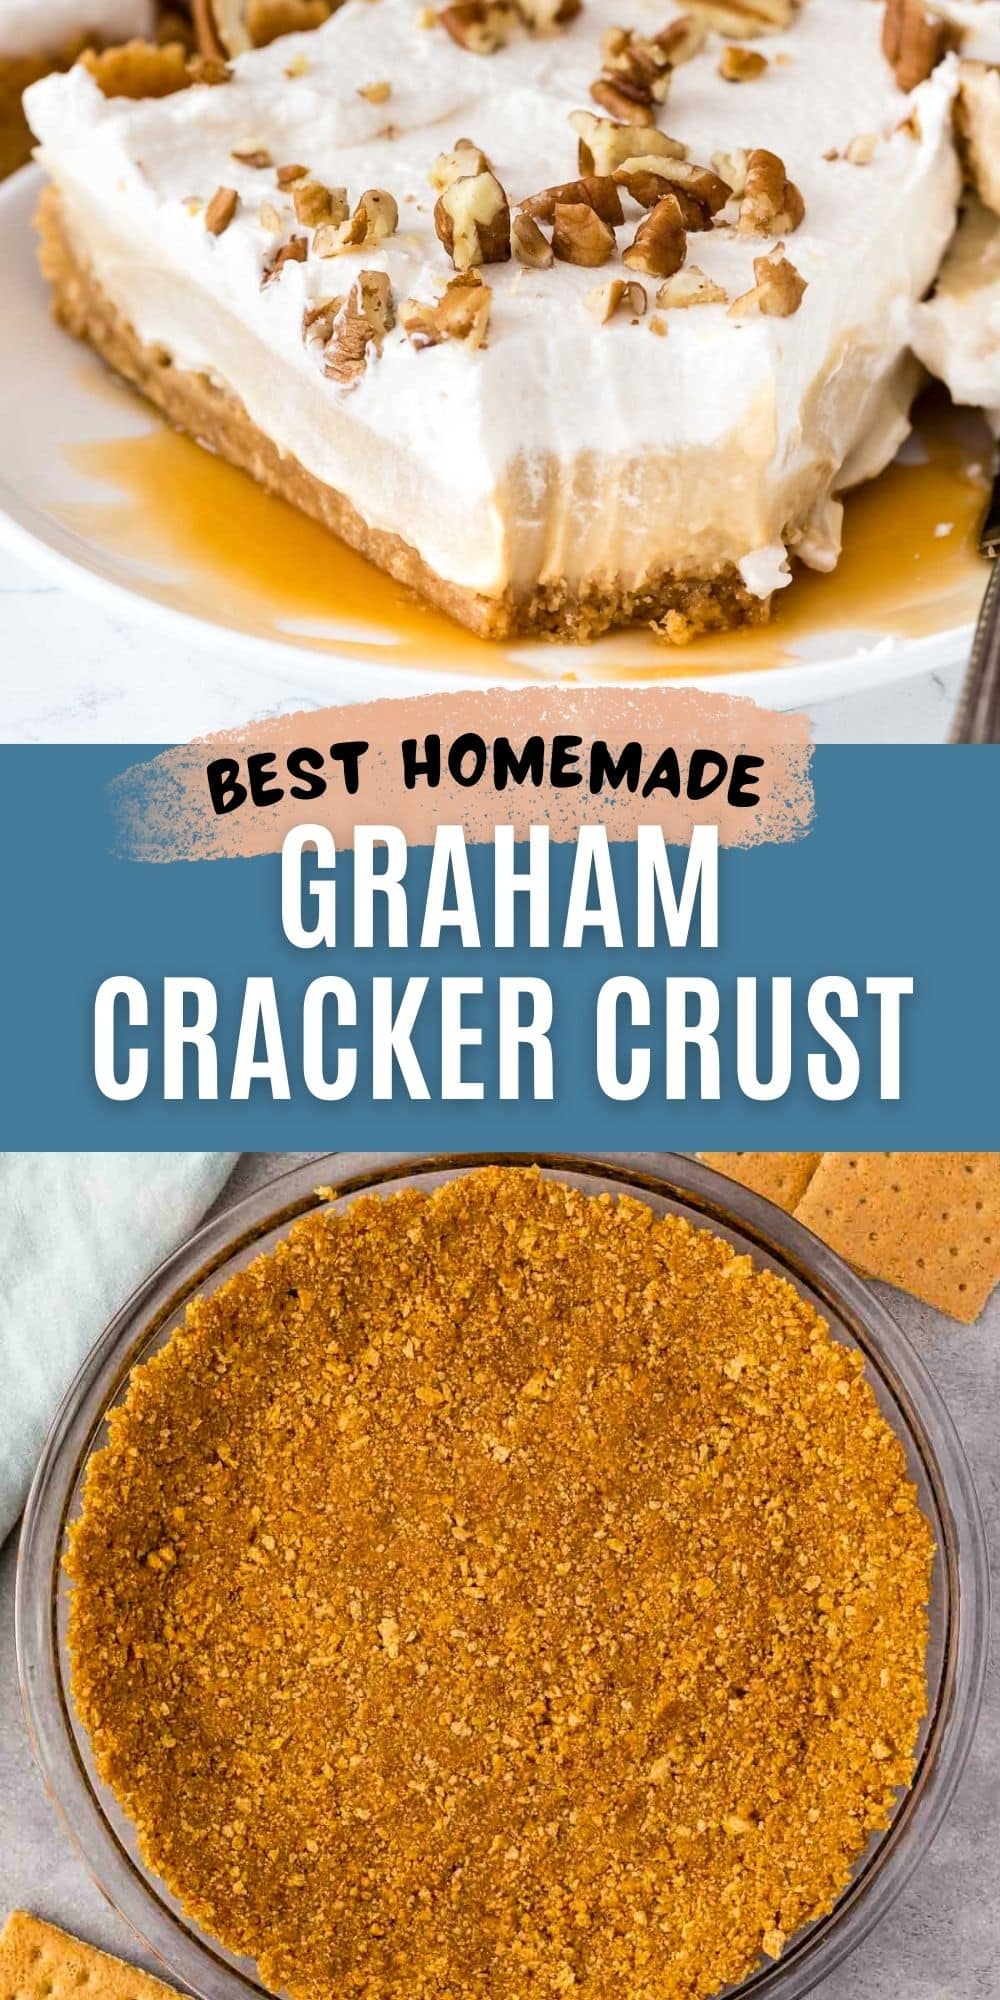
A homemade graham cracker crust recipe for baked pies and no bake pies is the best graham cracker crust you’ve ever had! NEVER buy a store bought crust again – this one is easy and tastes SO MUCH BETTER!
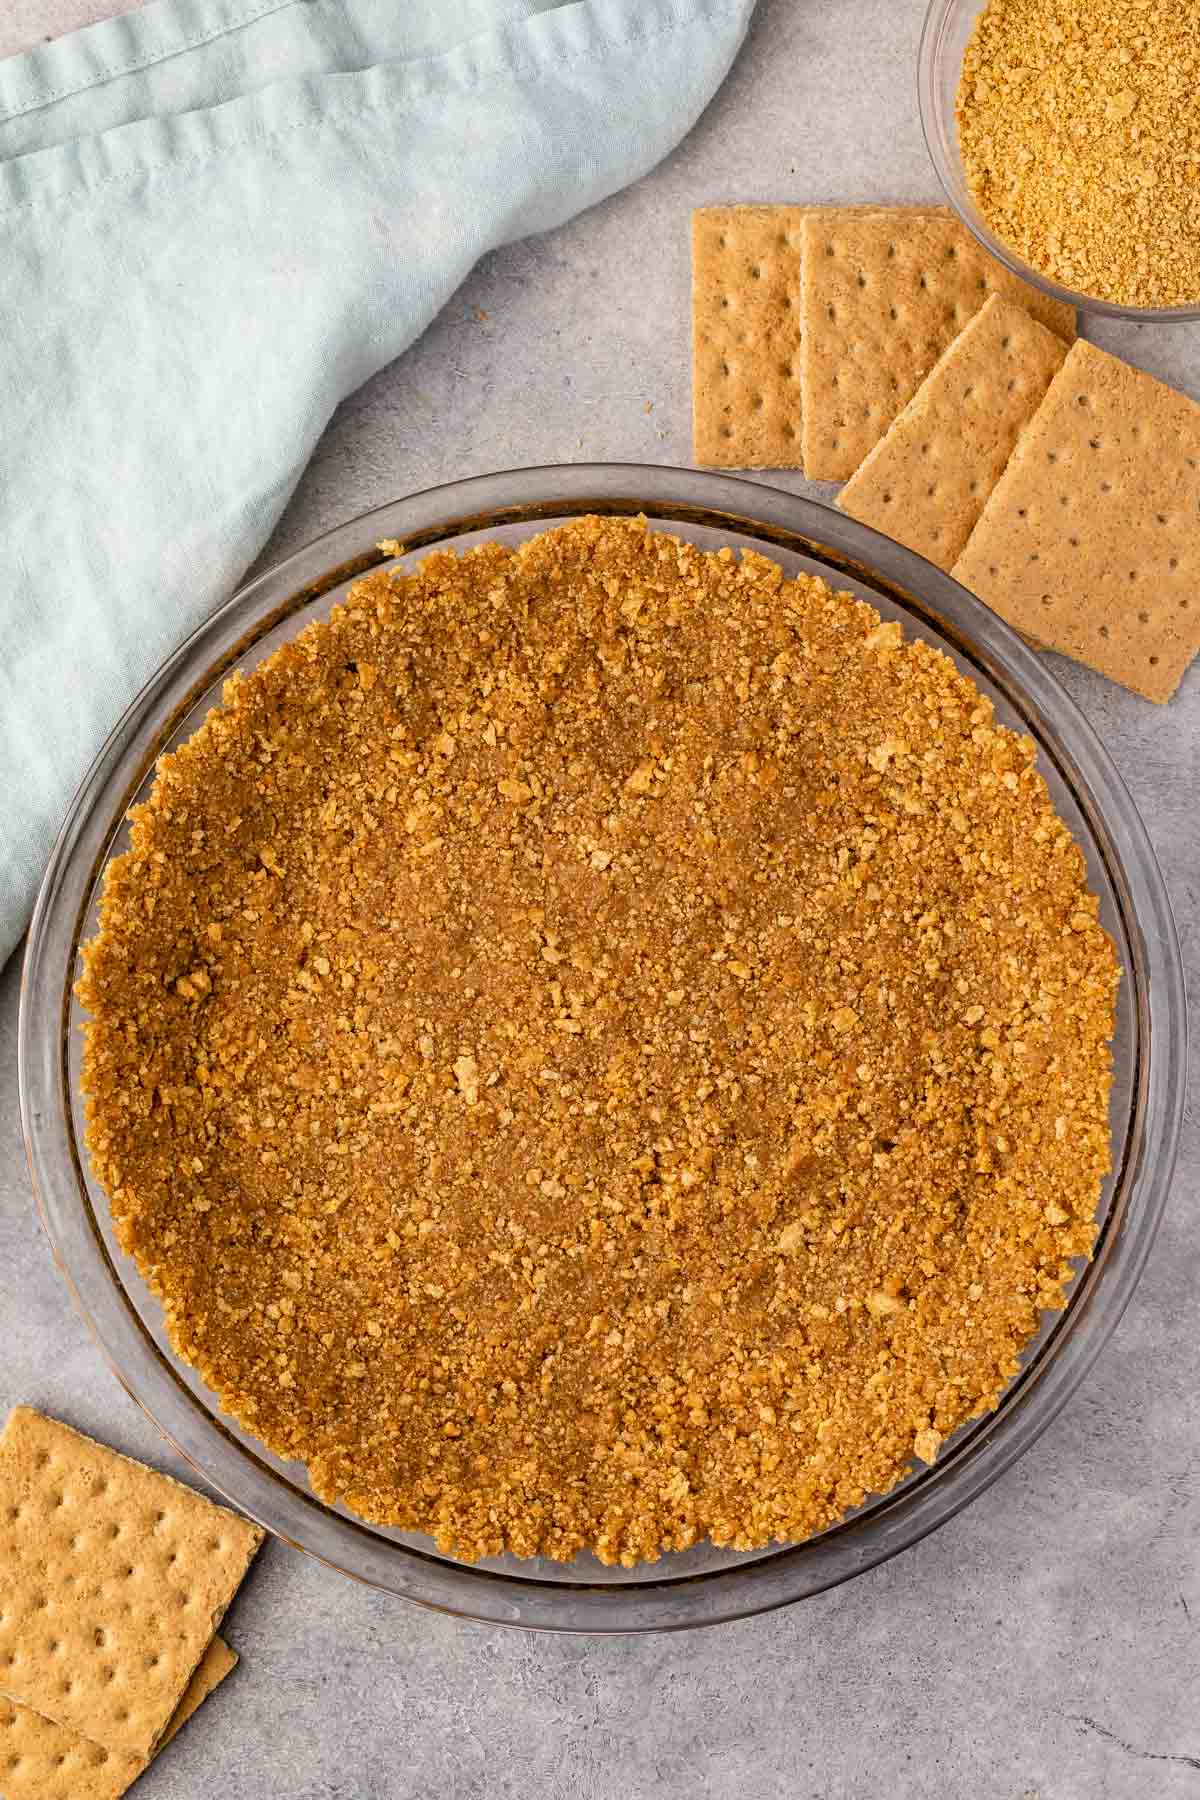
Graham cracker pie crust is one of my favorite pie crusts – a good graham cracker crust is a must have in your baking arsenal. So many pies can be made to pair with the graham cracker flavor because it’s so versatile. You can fill it with anything you want!
- You could buy a store bought crust, but homemade tastes so much better and it stands up to pre-baking or baking better than the store-bought crusts.
- Just 3 ingredients – with options for what you have in your pantry
- Use it for a totally no bake pie or bake it to make it crunchy
- You can use this for a baked pie (like chocolate chess pie) or baked cheesecake
- It’s tried and true and the only graham cracker crust I make!
How to make a Graham Cracker Crust
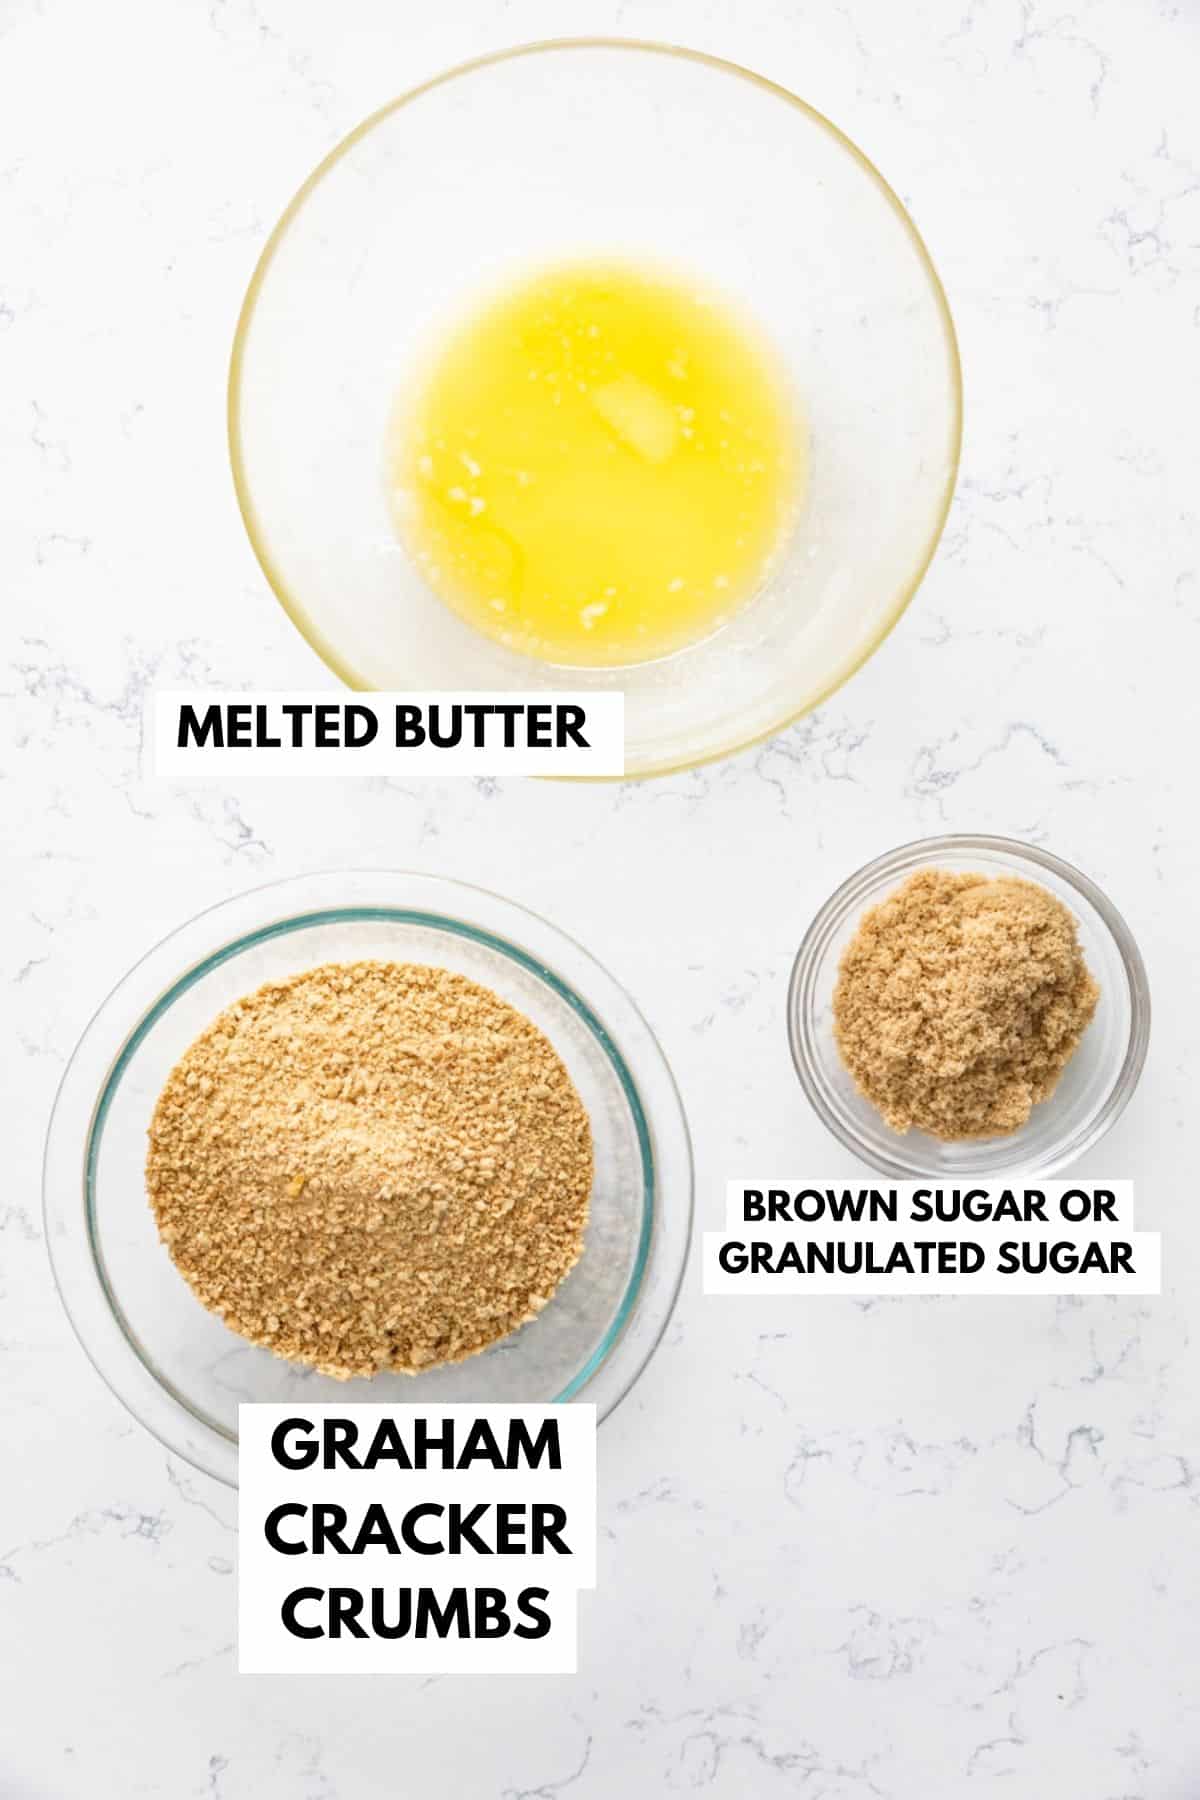
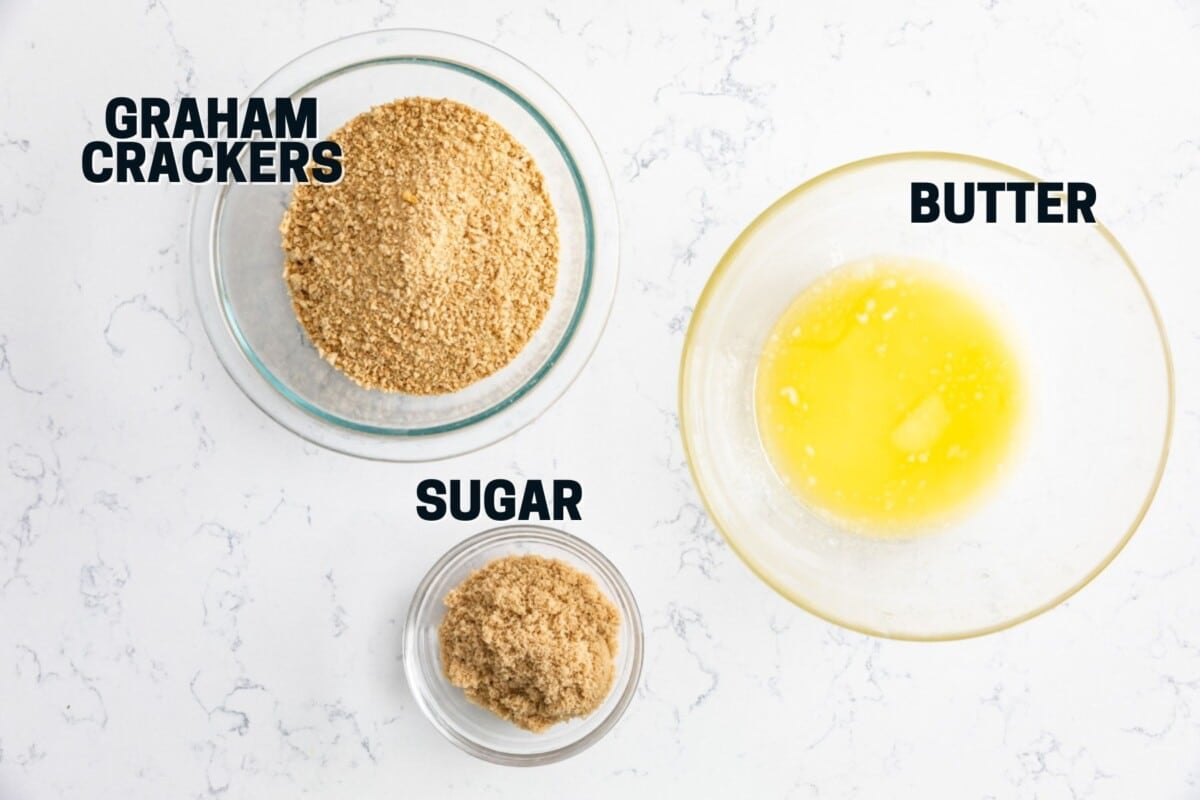
- Graham Crackers: You have two different options when starting with graham crackers: whole and crumbs. One is cheaper, one is easier. Regardless, buy the name brand – they taste better.
- Sugar: You can use granulated sugar, powdered sugar, OR brown sugar.
- Butter: I used unsalted butter in all my recipes, but you can substitute salted if you need too. You won’t notice a huge difference.
SAVE THIS RECIPE
Dorothy’s Expert Tips
- To grind or crush your crumbs, you can use a food processor or crush with a rolling pin in a plastic bag. Both turn out the same – so use what’s easiest.
- I mix all my crumb crusts with a FORK. I like how a fork works for mixing together the crumbs, and then again when adding the butter. It makes it more crumbly and incorporates the butter better.
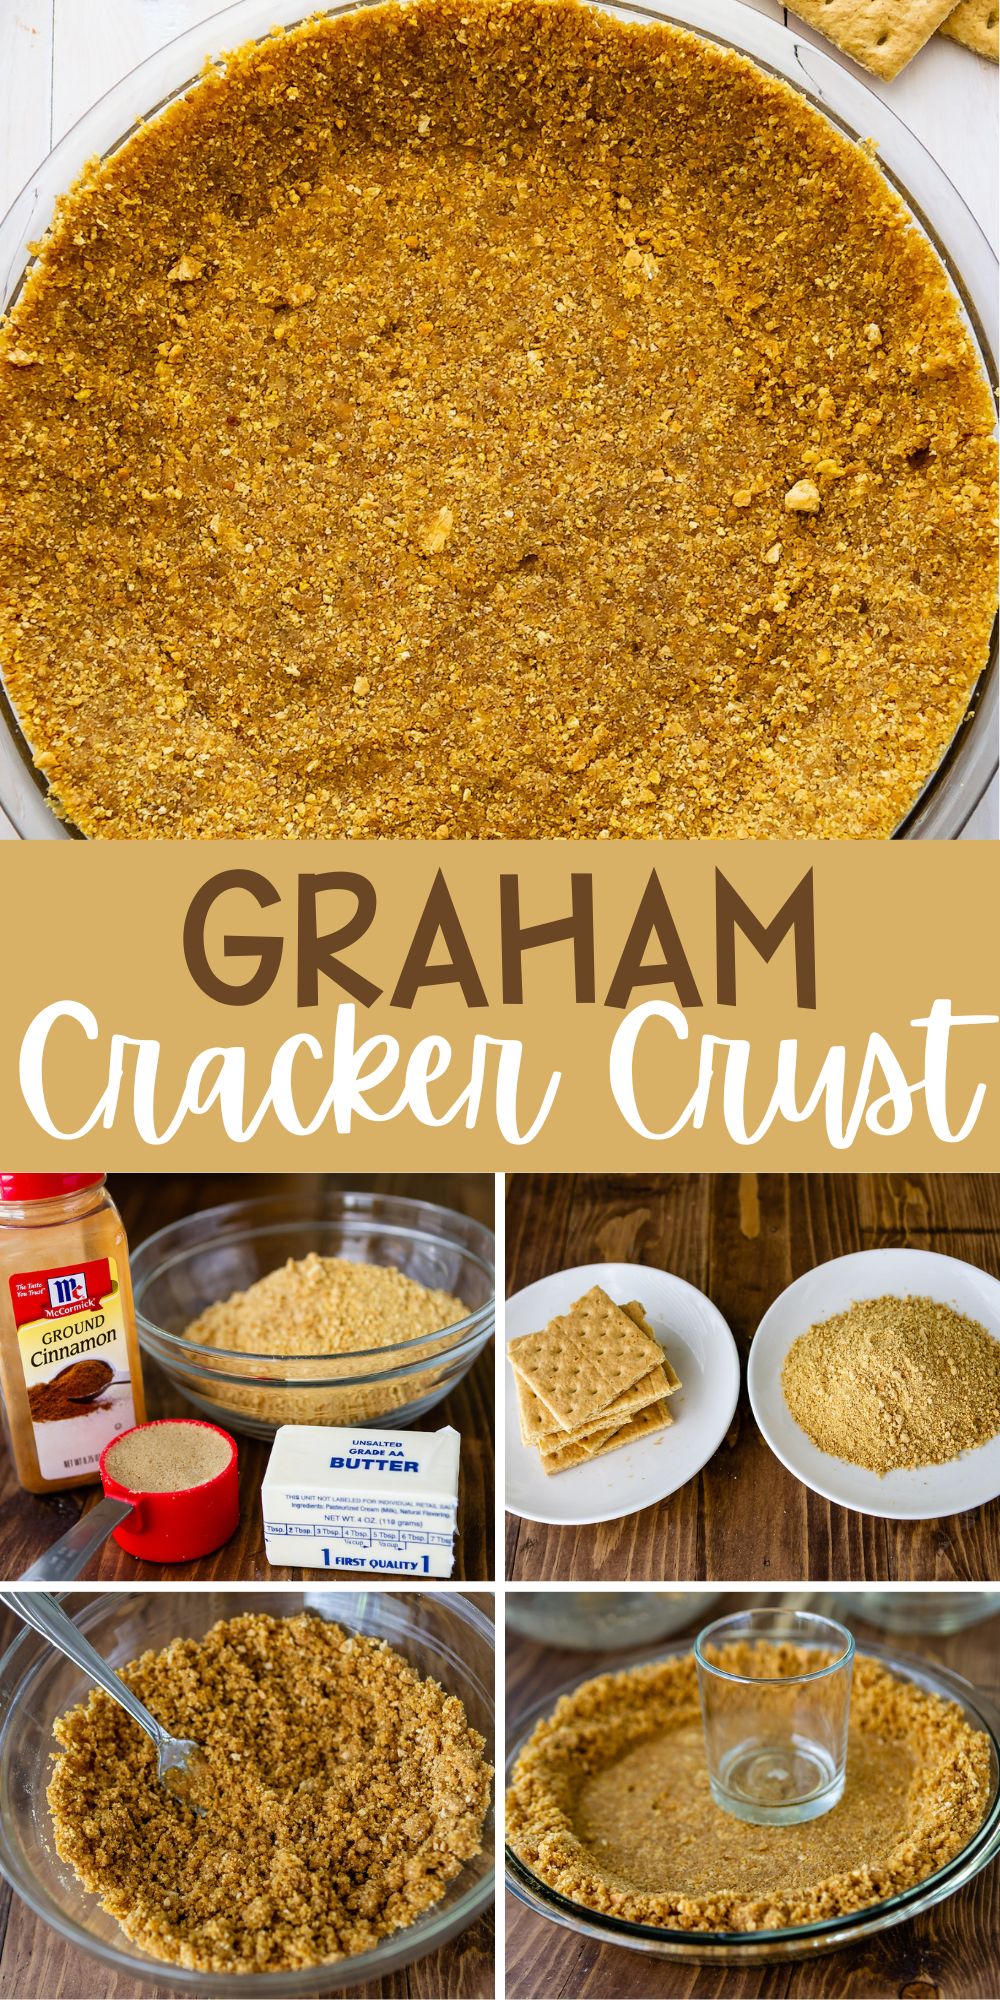
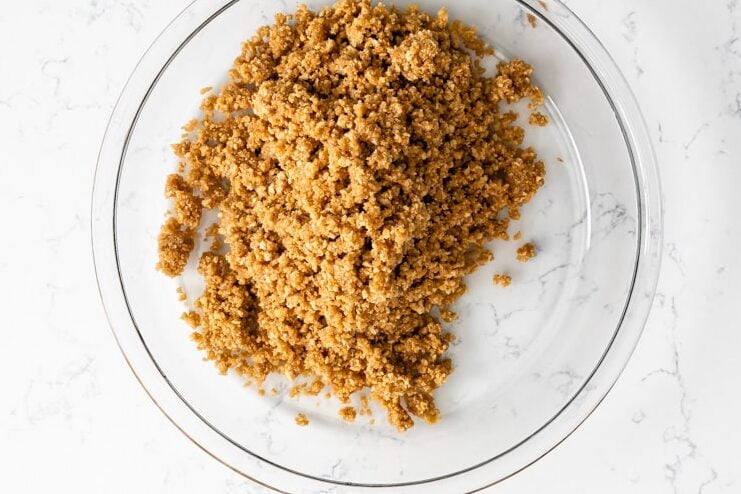
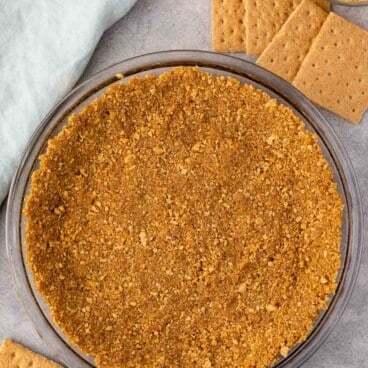
- Once mixed, it will have the texture of very coarse sand.
- A secret to the perfect graham cracker or cookie crust is compacting the crumbs. You need to really, really compact them. Start with your hands to get it around the edges of the pie plate and then you can switch to a glass if you want to really compact it.
- Pan Sizes: This recipe is written for a 9-inch pie plate. It will also work in a 9- or 10-inch springform pan (for cheesecake) or either an 8-inch or 9-inch square pan. You can use it in a 9×13-inch pan but it will be much thinner, so personally, I double it for that size pan.
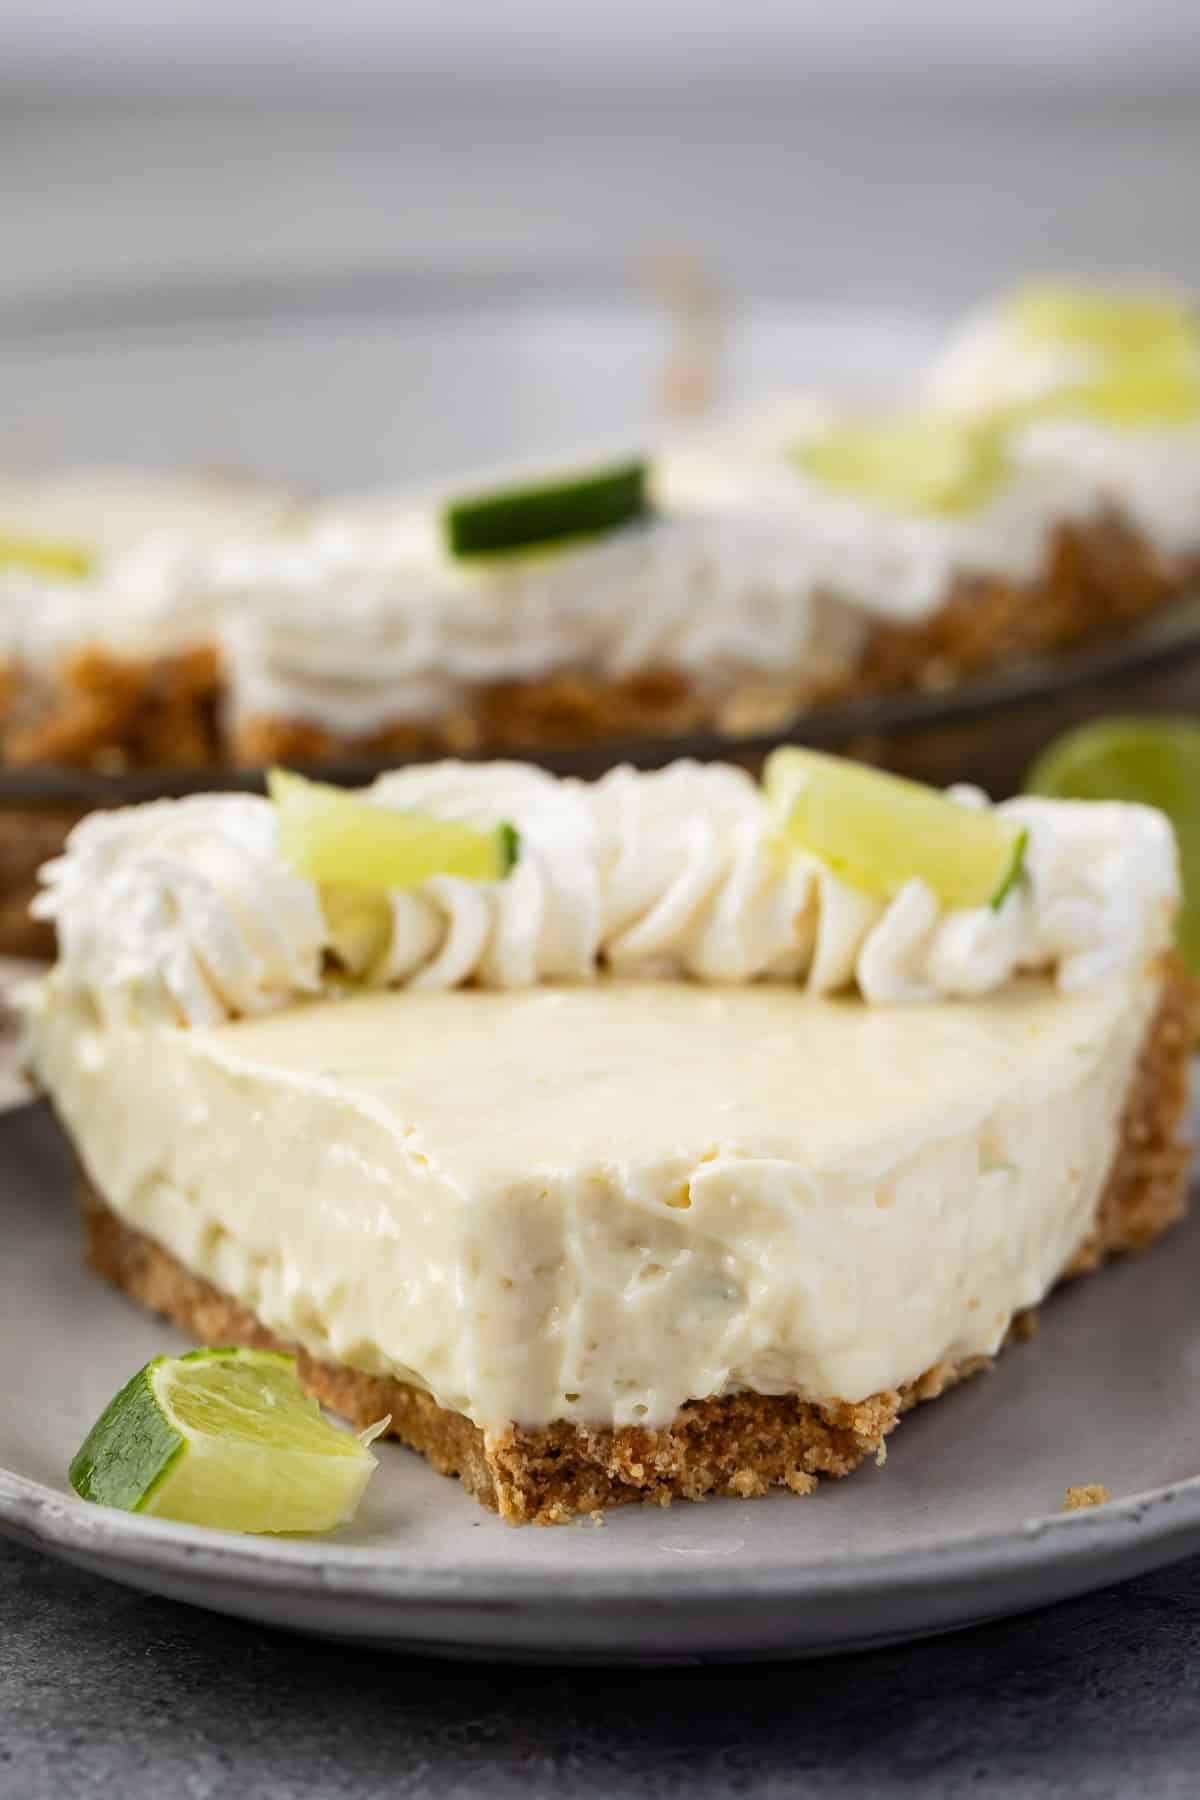
How to use Graham Cracker Crust
- Any no bake pie recipe, like butterscotch pie, no bake pumpkin pie, or no bake cheesecake.
- No Bake Pie with crunchier crust: Bake the crust for 10 minutes at 325°F. Let it cool completely, then fill and chill according to the recipe directions. A baked graham cracker crust will be more crunchy and be less crumbly, but you have to use your oven.
- Baked with a Key Lime Pie or my classic cheesecake recipe.
Graham Cracker Crust Recipe
Video
Ingredients
- 1 ½ cups (170g) graham cracker crumbs, (from about 10 or 11 whole graham crackers)
- ¼ cup (50g) packed brown sugar
- 6 tablespoons (84g) unsalted butter, melted
Instructions
- If you’re using whole graham crackers, finely crush them in a food processor or place them in a ziploc bag and roll with a rolling pin.
- Stir graham cracker crumbs, brown sugar, cinnamon, and salt together in a large bowl. Add melted butter and stir with a fork.
- Press mixture into the bottom and up the sides of a 9” pie plate. Press hard to compact. You can use a glass to press the bottom, but use your fingers to press the sides.
- To make a no-bake pie: Chill pie crust for at least one hour before filling. Cover if chilling longer. Make pie as directed.
- To make a baked graham crust: Preheat oven to 325°. Bake crust for 10 minutes, until it just starts to brown. Cool completely before filling.
Notes
- You can also add 1/4 teaspoon each cinnamon and salt
- This recipe is written for a 9-inch pie plate, 9-10″ springform pan, or 8-9 inch square pan. I recommend doubling the recipe for a 9×13-inch pan.
- You can bake in this crust; just follow the recipe for whatever pie or cheesecake you’re making. Sometimes it will need pre-baking, sometimes not; it just depends on your recipe.
- This pie crust can be made up to 48 hours in advance and stored in the fridge wrapped well in plastic wrap.
Nutrition
Nutrition information is automatically calculated, so should only be used as an approximation.
© Crazy for Crust. Content and photographs are copyrighted. Sharing this post is much appreciated, but copying and pasting full recipes without authorization is strictly prohibited.
Did you try this recipe? Click here to rate the recipe below.

Thank you so much for this simple pie crust! I needed a base recipe for my pumpkin cheesecake! Easy and very basic! Thanks!!
I’m so glad you liked it!
One more thing…maybe if I send you a piece of my Graha-Pum Crunch Pie, you would consider adding a “Thanksgiving” category? I love grilling and cooking, but I almost never bake, except on, you guessed it – Thanksgiving!
Good things & Happy Holidays to you & your family!
😀
Thanks for this write-up Dor, very helpful. I do have two quick questions I’m hoping you could help with:
1. Have you ever made a 9×13″ pie, and if so, what are the ingredient ratios. Like you, I love crust. A little coat of graham isn’t enough.
That being said, I plan to upgrade my traditional PumCrunch pie, which I currently make with NO crust, to a Graha-PumCrunch Pie. This bad boy sauna’s in the oven @ 350° for close to an hour, which brings me to my 2nd question.
2. Will, say, a 1/4″ graham crust hold up to the heat w/out charring or burning? Maybe using more butter or coating a Pyrex tray with grapeseed or peanut oil?
Please say it’s doable? 😉
Great work btw, I can’t remember the last time I drooled at the mere sight of pie. 😛
Thanks Cesar! I have a Thanksgiving category – it’s under Holidays > Fall (https://www.crazyforcrust.com/holidays/thanksgiving/). Also, check the pie listing under my recipes. That’s where all the pies live.
To answer your questions, I’ve made slab pies or pie bars in large pans like 9×13 or 10×15. For this crust, I would double the ingredients for a 9×13 pan. I’ve never baked this crust, but I have baked graham cracker crusts before (for cheesecake, etc.) In the past for cheesecake bars (in 9×13 pans) I’ve just pressed the crust into the pan, poured in the filling, and baked until the cheesecake was done. I’ve never made a pie like you’ve described, but it should work okay (after all, regular cheesecakes are in the oven for an hour and you often pre-bake the crust for 10-20 minutes, and they’re fine). If you’re worried about the filling seeping through the crust at all (if it’s a thin juicy filling) you can pre-bake the crust for about 8 minutes.
Enjoy! let me know how it works out!
Thanks for your reply Dorothy. I guess I should’ve looked more thoroughly but figured it had been forgotten as more “trivial holidays” had been showcased in a category on their own. Thanksgiving to me, is the most important holiday of the year, but that’s just me. 🙂
Anywho..
With a little research and testing, I’ve learned how to keep the crust sog-free or crunchy. I’ll let fill you in on a more definitive note after their cooling period in the frig. Basically either chocolate coating or egg white/water brushed on a 3min-baked crust. Cuts and transports well. Tastes great. Use chocolate for sweeter pies, egg white for more savory or salted ones.
Something worth noting, I was able to make a spicy crust as well. Mixed some Pumpkin spice into the crust mix, then added a pinch of cayenne pepper and coarsely ground coffee to taste. I adjusted the pumpkin spice ratio to the pie mix accordingly and added a tiny bit of ginger and nutmeg as well.
Thanks again Dorothy.
I need a bit of clarification. I started making sweet potato pies about a year ago and I wanted to step my baking skills up a notch. I think your recipe is just what I need to bring that delicious homemade taste to my pies. My question is, if I will be baking the pie for 40 minutes, when I make the pie crust, do I still bake that before I fill it?
Thanks for sharing this recipe! I will let you know how my pies turn out for Thanksgiving!
Hi Patti! I haven’t used this crust as a bake crust, but depending on how liquidy this pie is you might want to bake it for a few minutes first, so that the filling doesn’t soak through!
Loved the brown sugar idea and the thicker crust. Unfortunately, I found this was too much butter. After baking 10 minutes I had a soft, wet and shiny crust. Sprinkled more crumbs on top and then used paper towel to absorb more butter to save it. Wonder why. Maybe Canadian brands of butter are different.
Featured In
Rate This Recipe
Recipe Ratings without Comment