This post may contain affiliate links. For more information, read my disclosure policy.
I’m embarrassed to even call this a recipe because it’s so easy.
We are T-30 days away from Operation: Kitchen Remodel. In the next 30 days I need to clean out our (converted to a playroom/storeroom) garage, set up two temporary kitchens (one for food, the other for work), and pack up all the non-essentials in my kitchen and find somewhere to put it all.
You know how social media makes everyone think everyone else’s homes are perfect? Yeah, mine is not. What you see on this blog is 2 square feet of my house. The rest of it? Looks like an episode of hoarders.
(Not really, but I’m too embarrassed to show you actual photos, so you know it must be bad.)
Today we are *planning* to start cleaning out the garage. Between pantry overflow, kitchen storage overflow, and polly pocket heads, that room is my nemesis. I’m sure we’ll start the day with all good intentions and then I’ll see a squirrel and get distracted.
Does anyone actually like sorting Barbie shoes and Legos? (If anyone said yes, please email me. I’d like to hire you.)
My efforts to begin cleaning out my pantry are actually how these Butterfinger Krispie Treats came about. I need to stop going to Target and stocking up on baking supplies and start using the ones hidden in the back of my storage. I need to make room in my overflow pantry for all the crap that’s actually in my real pantry. #thestruggleisreal
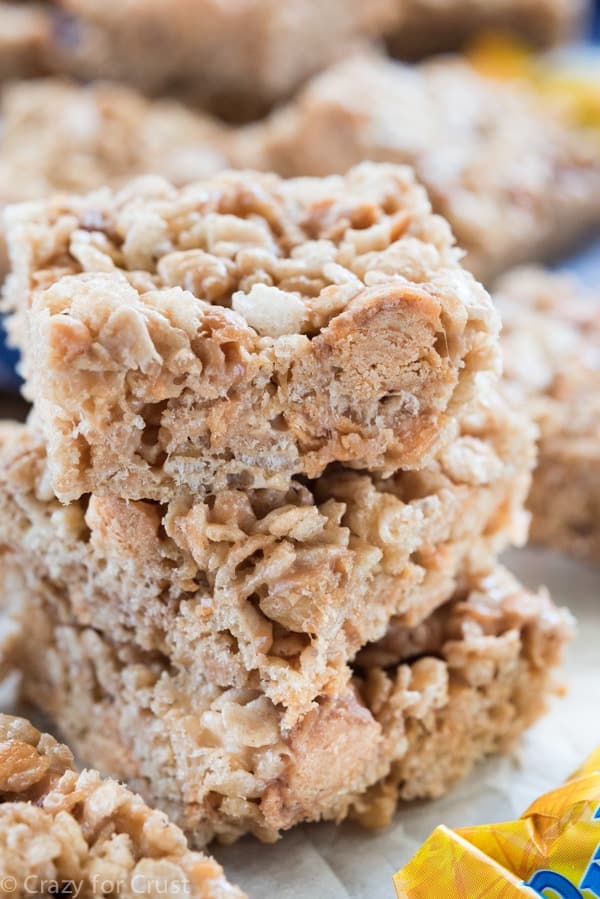
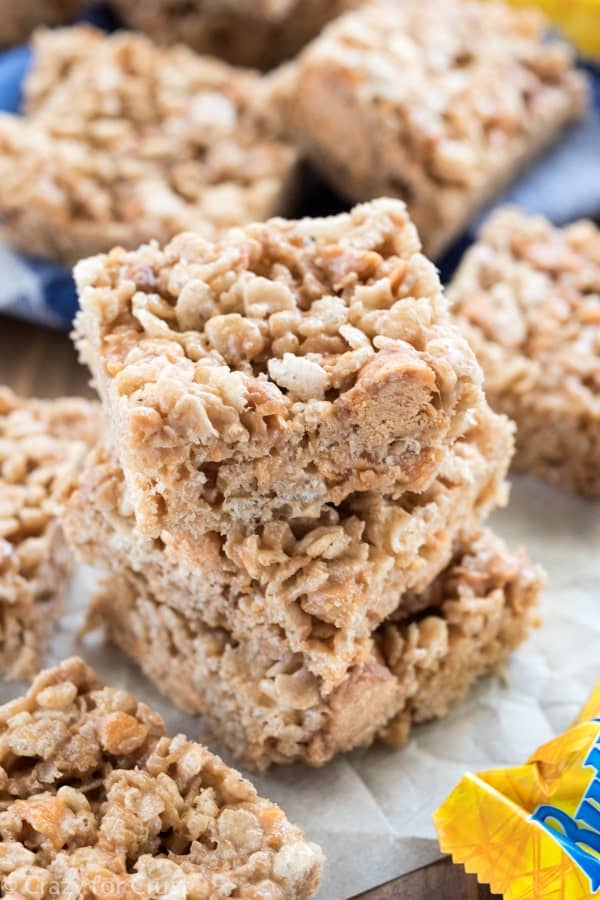
Last week I was searching for candy corn (I know, right?) and came across a full bag of mini Butterfinger candy bars and a box of Rice Krispies I’d bought for a recipe and never used. I also found 3 open bags of mini marshmallows, which I’m blaming on Jordan. What do those three things equal? My favorite rice krispie treats ever!
Also probably the easiest recipe ever. Have you ever made krispie treats? The hardest part about making them is not eating the entire batch in one sitting. #thatstruggleisrealtoo
If you’ve never made rice krispie treats, here are a few tips for you:
- Have all your ingredients measured and ready to go before you start. It’s a fast process and can get quite hectic (kind of like making fudge).
- Use a really large bowl unless your dog likes eating rice krispie treats off of the floor.
- You could add 1/4 cup of peanut butter to the marshmallow mixture while you’re heating it if you want these extra peanut buttery. Or add 1 cup of peanut butter chips!
- Spray your hands with cooking spray before pressing them down in the pan. You could also use wax paper, but where’s the fun in that? Sucking the burns off your fingers is part of the fun. 😉
- Try to wait until they cool to eat them. And don’t eat all the Butterfingers before they go in the recipe. You’ve been warned!
Enjoy! And if you don’t hear from me by Tuesday know that my garage ate me and send help.
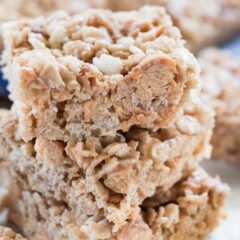
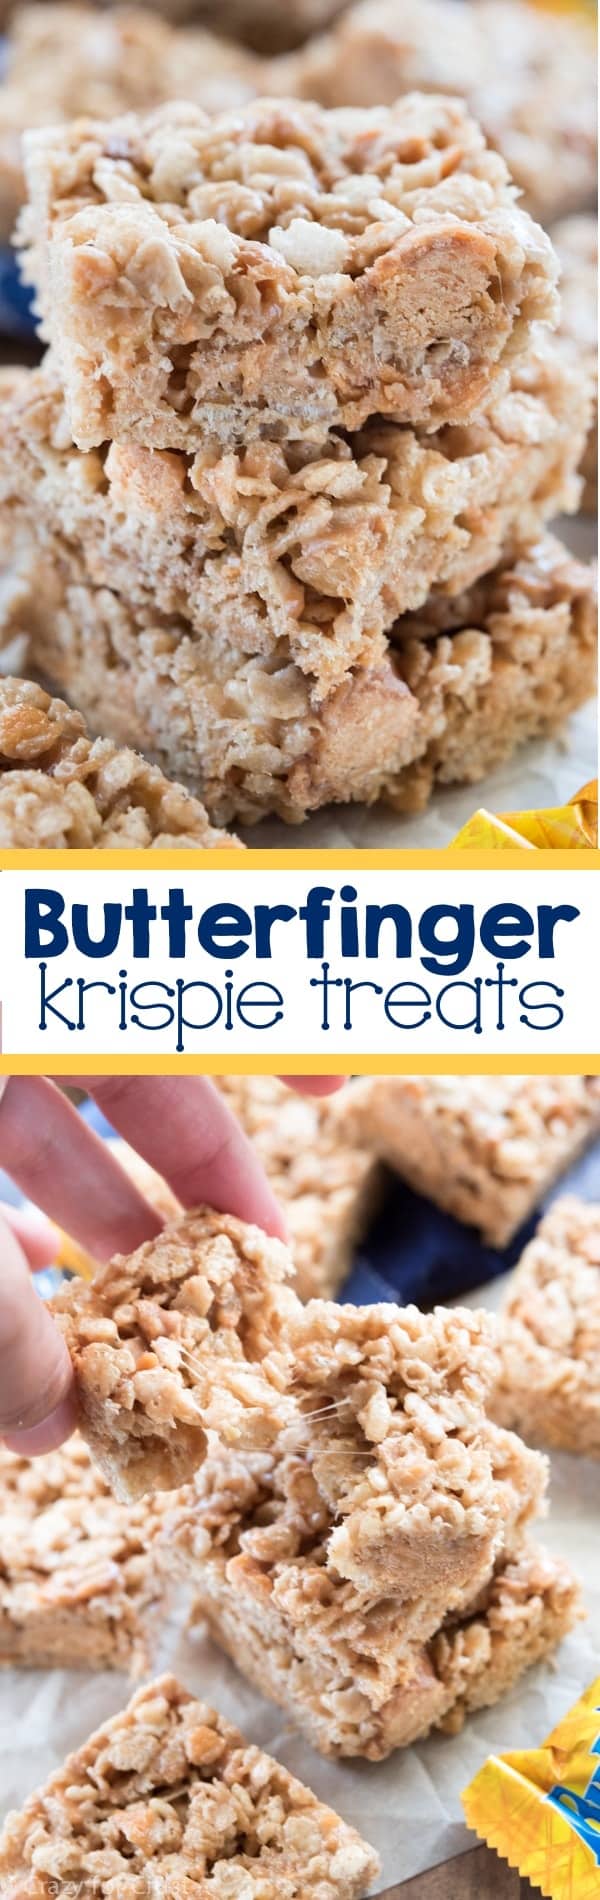
Butterfinger Krispie Treats
Ingredients
- 3 tablespoons butter salted or unsalted, melted
- 10 ounce bag marshmallows
- 1 teaspoon vanilla extract
- 6 cups rice krispie cereal or generic equivalent
- 2 cups chopped Butterfinger candy bars
Instructions
- Line a 9x13" pan with foil and spray well with cooking spray. The foil is optional, but it makes it easy to remove the bars to slice.
- Place butter and marshmallows in a large microwave safe bowl. Heat on 50% power in 1 minute increments, stirring after each, until melted and smooth (for about 2-3 minutes in an 1100W microwave). While the mixture is heating, measure the cereal into another bowl.
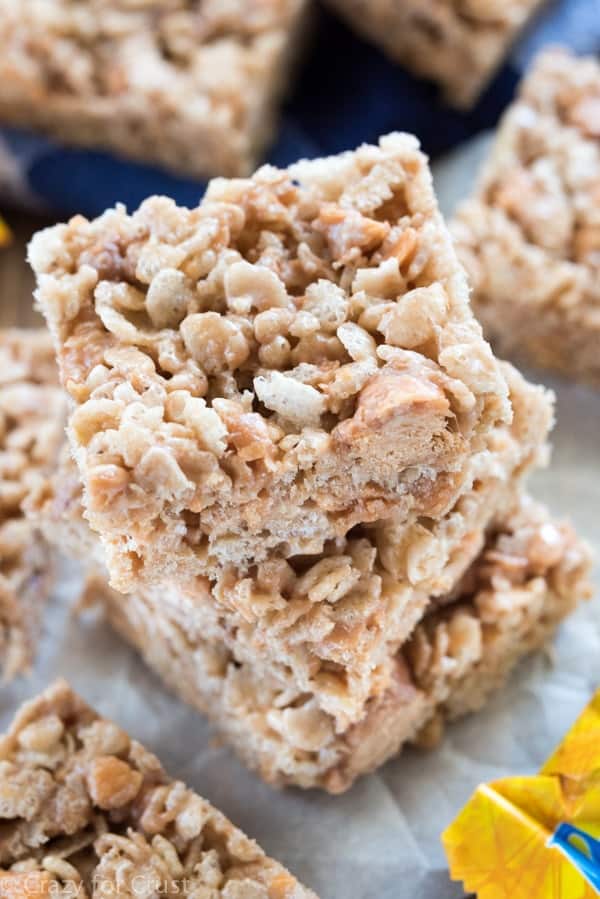
- Working quickly once the marshmallows are melted stir the vanilla into the marshmallow mixture. Add the cereal and Butterfinger bars and stir until all are combined with the melted marshmallow. Pour into prepared pan. Spray your hands with cooking spray and carefully press to compact. (The mixture is hot; be careful not to burn yourself!) Cool before cutting into squares. Store in an airtight container for up to 3 days.
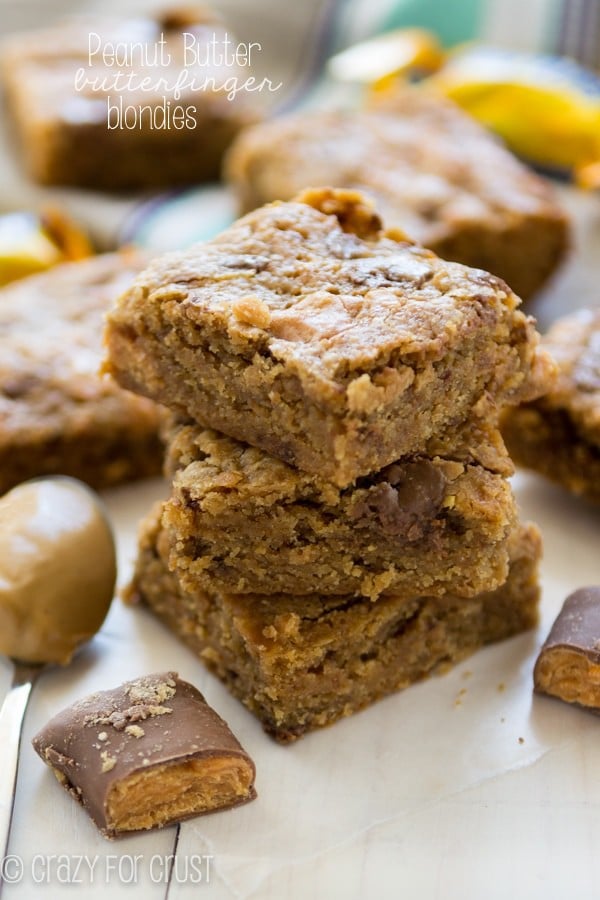
Peanut Butter Butterfinger Blondies
Sweets from friends:
Butterfinger Protein Shake by I Wash, You Dry
Butterfinger Cupcakes by Six Sisters’ Stuff
Better than Anything Butterfinger Cake by Chef in Training
Last Updated on February 2, 2023
I think it’s cute that you put that they could be stored for up to 3 days. Umm, these may not last 3 hours!
Yay for a brand new kitchen. Not so much yay for cleaning out garages that want to swallow you whole! I cannot wait to see all the fun kitchen prep! It will be awesome when it is all done! And until then, munch on RKT…I love all the Butterfinger goodness going on in these!!!
Oh these are soooo fun!! I just made my first krispie treats the other day, how embarrassing?!?! Do not worry about everyone having perfect houses, we have 4 rooms + 2 bathrooms that are clear enough for visitors… the rest of the house is chaos!!! Obviously I need a hundred bags of sugar and chocolate chips in the house…! 🙂
Featured In
Rate This Recipe