
This post may contain affiliate links. For more information, read my disclosure policy.
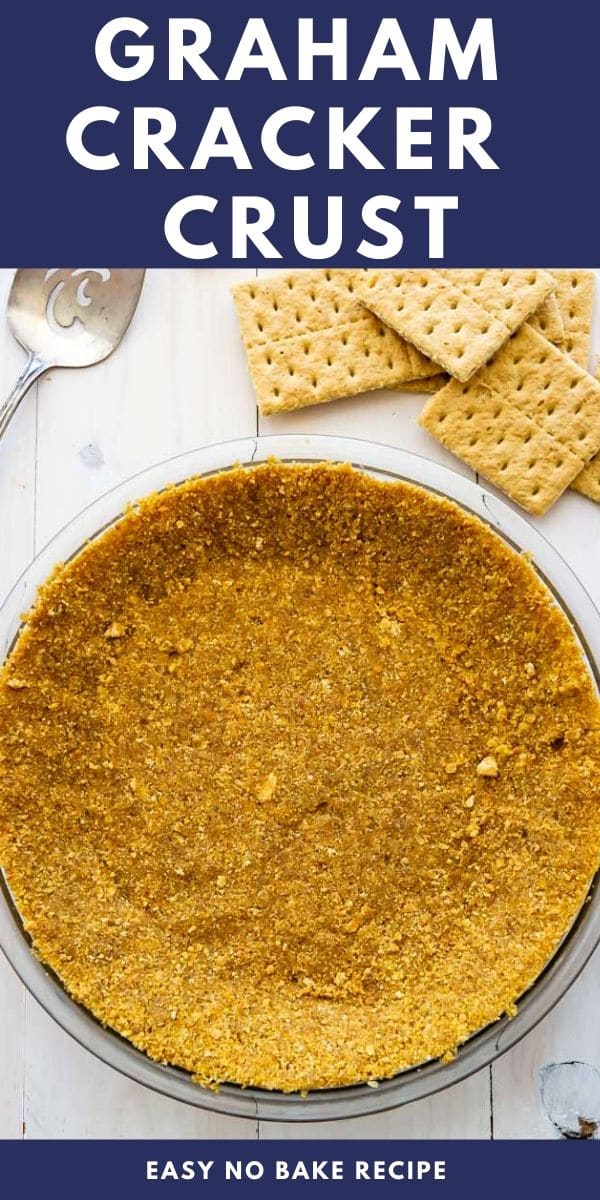
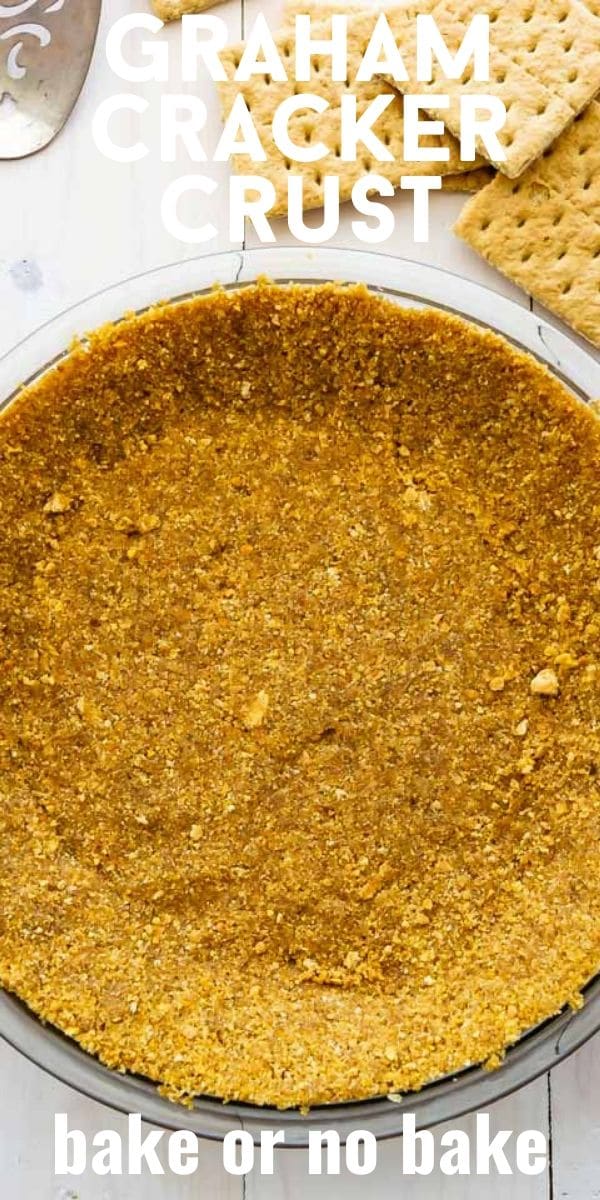
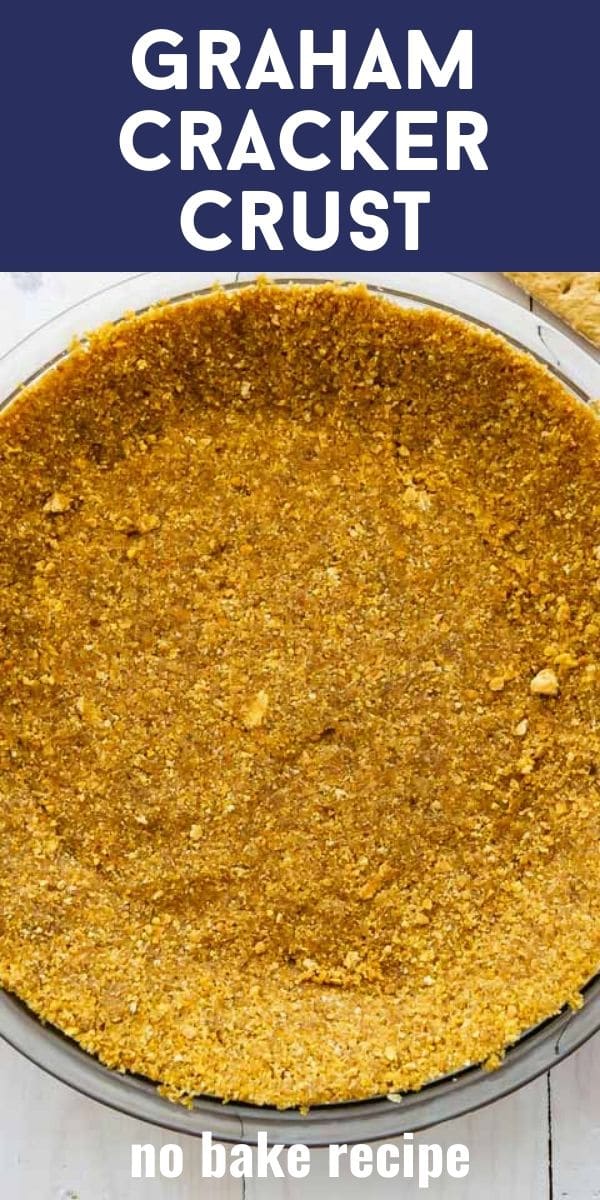
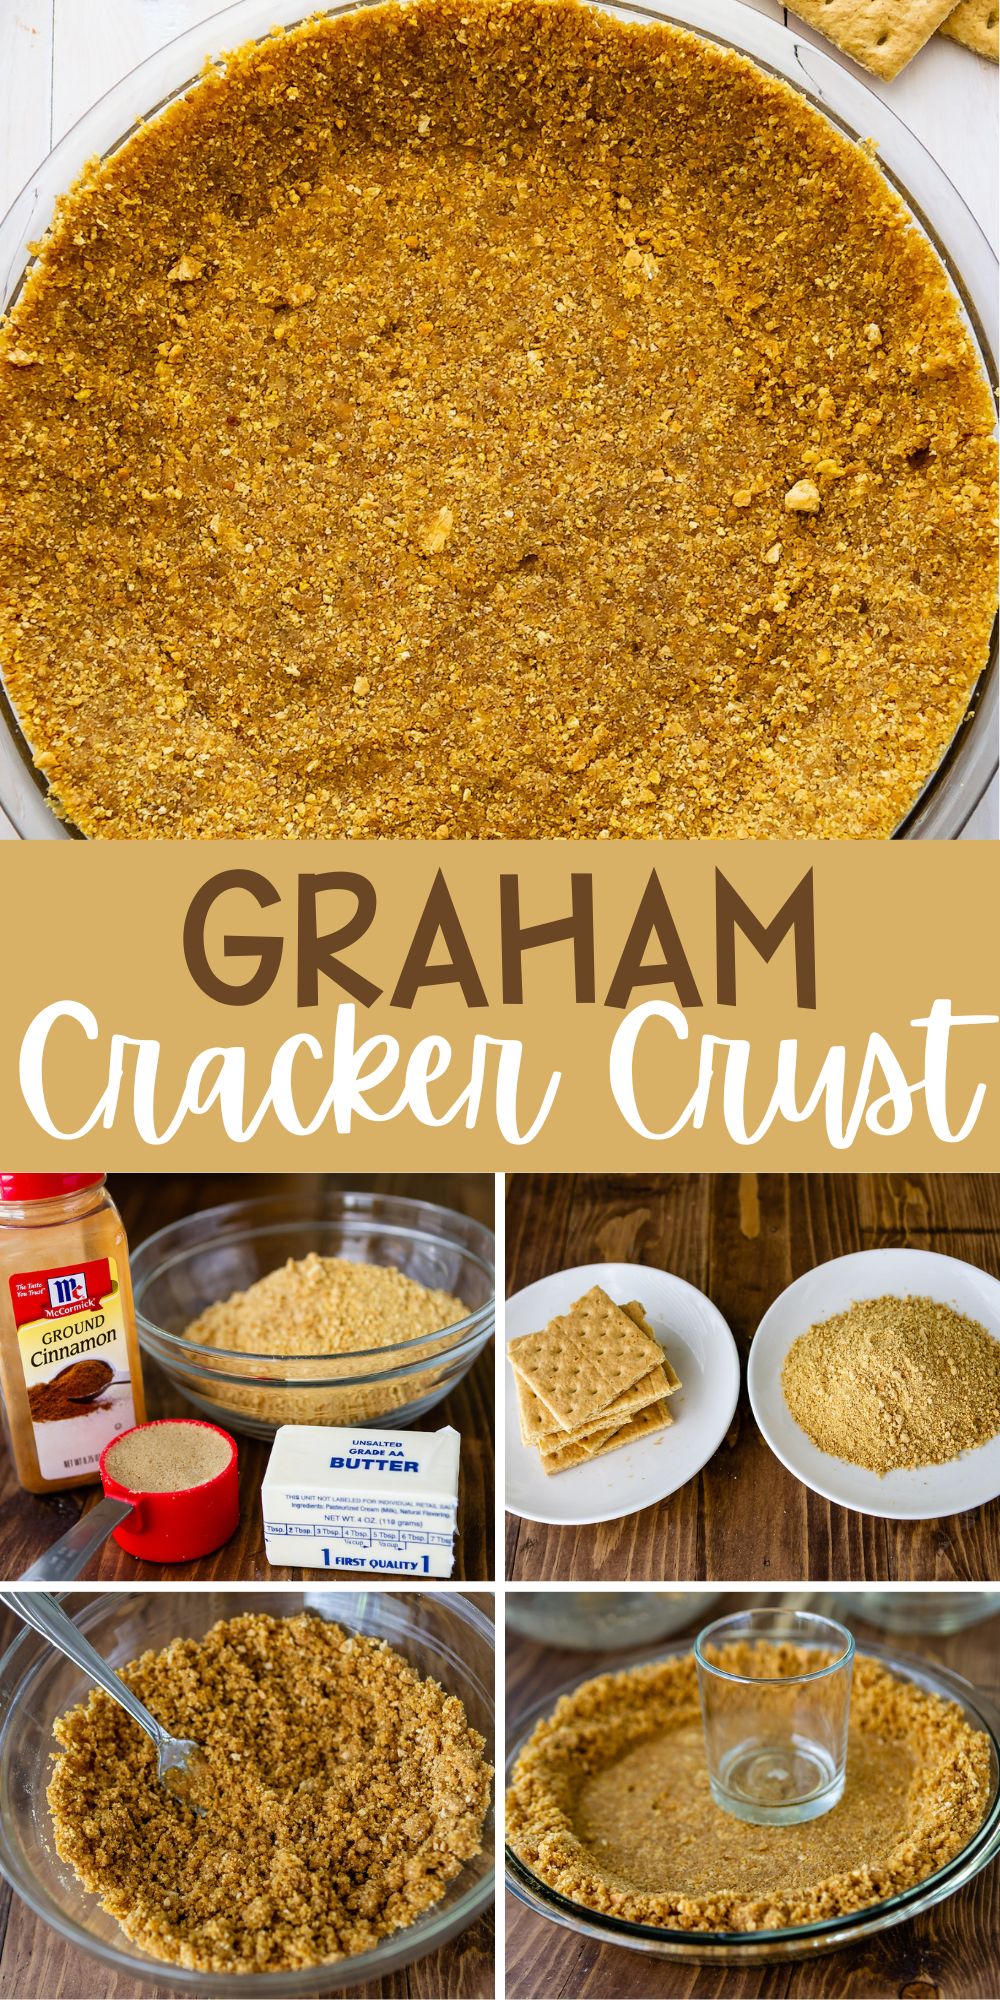
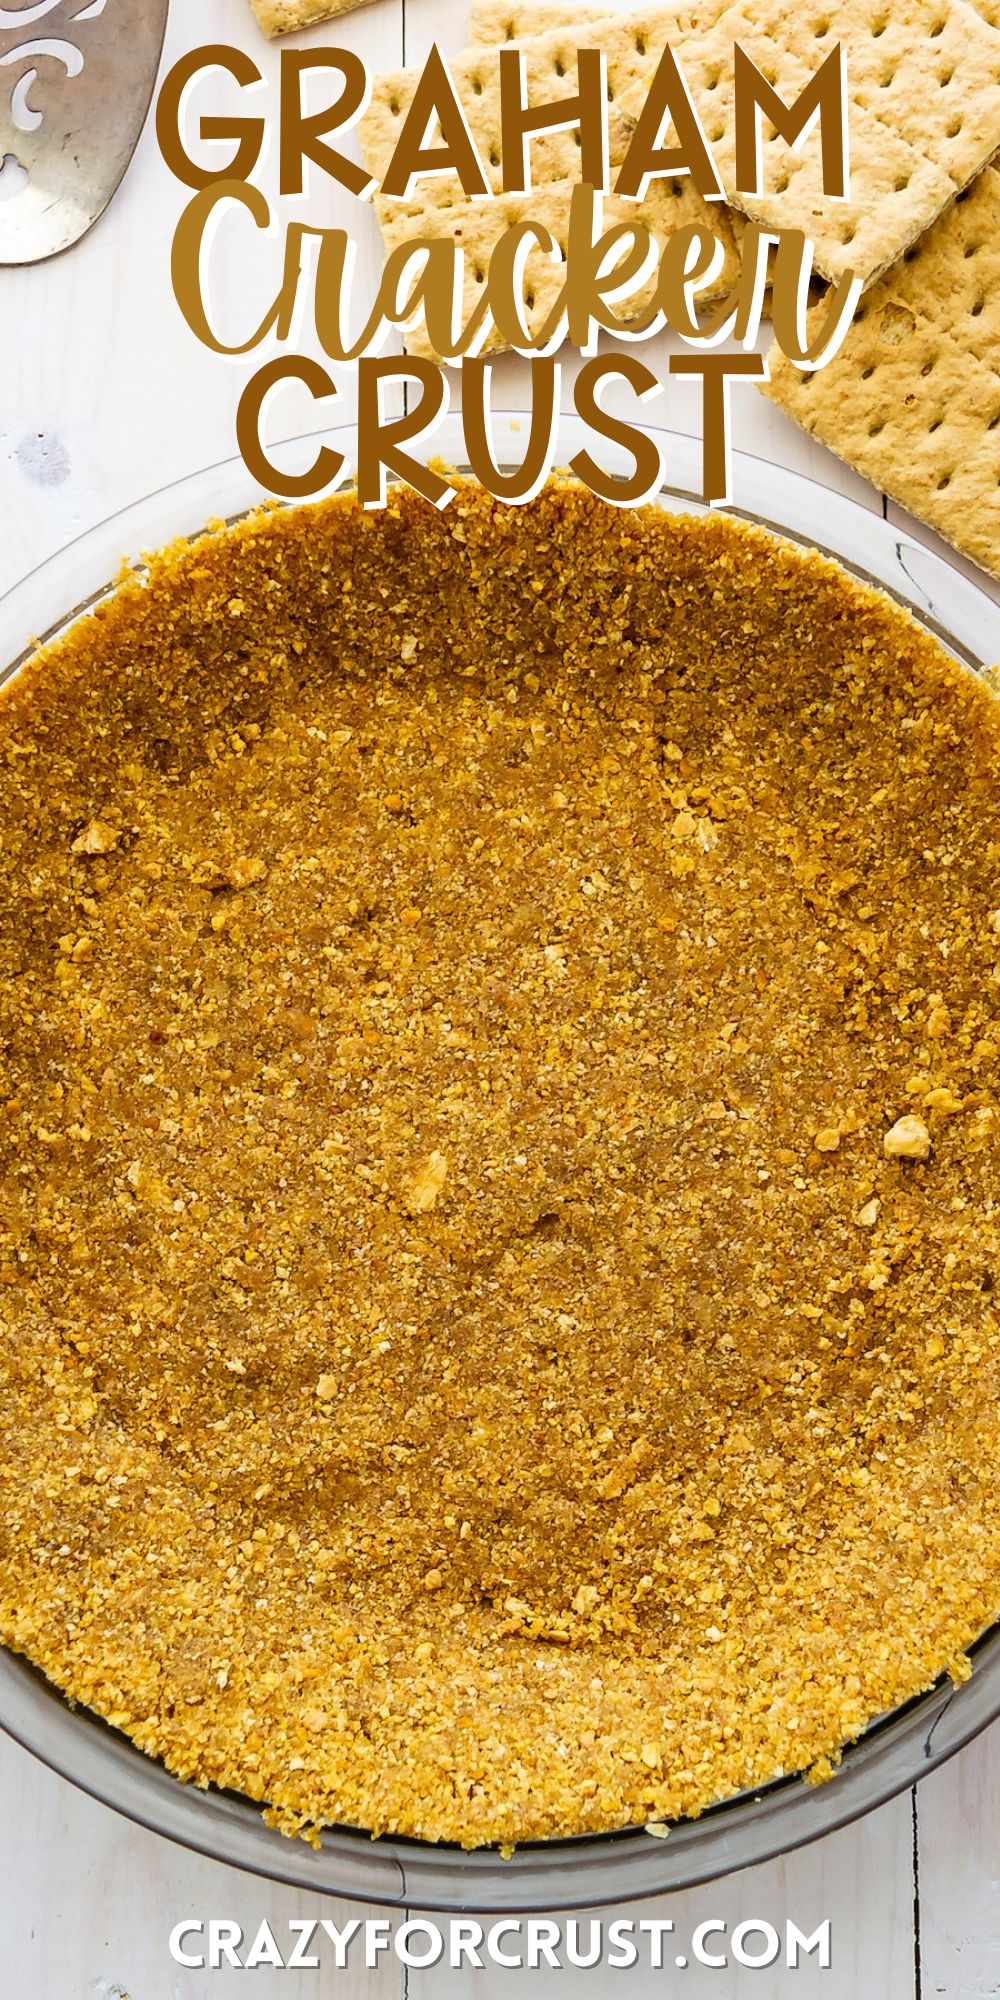
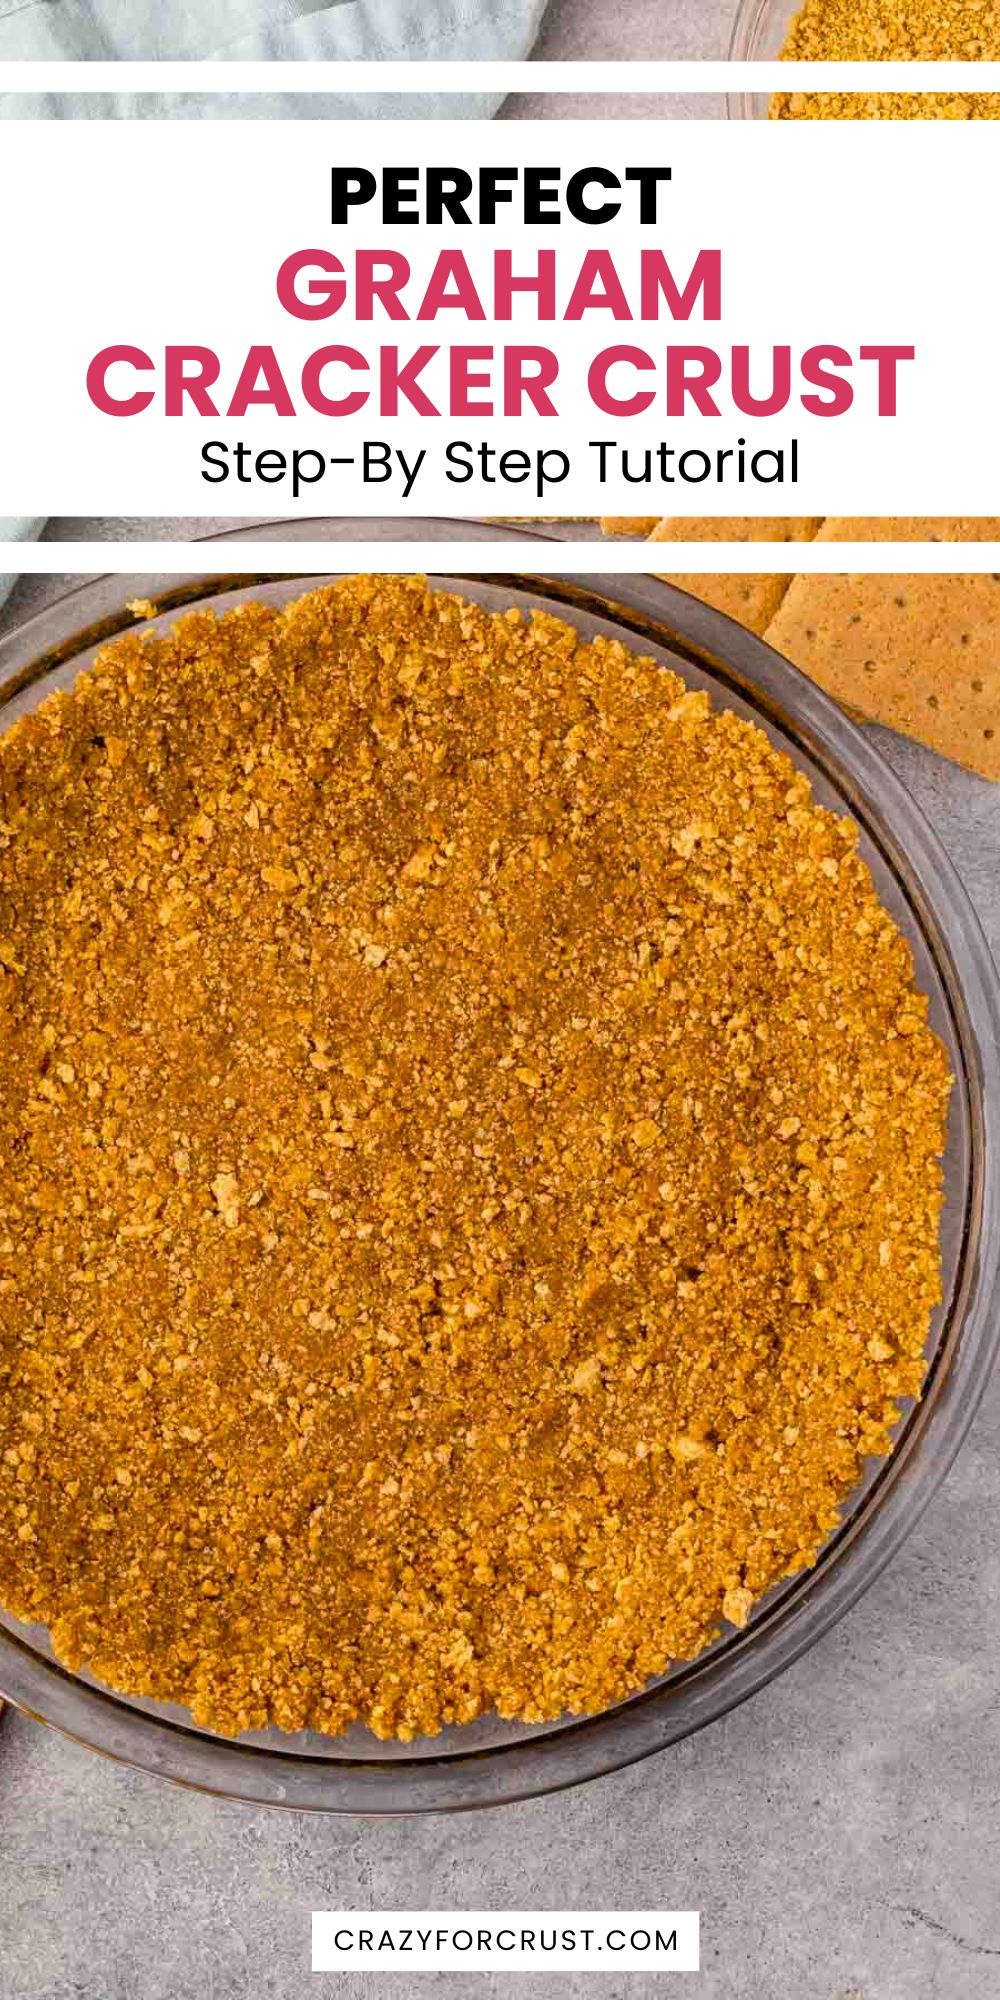
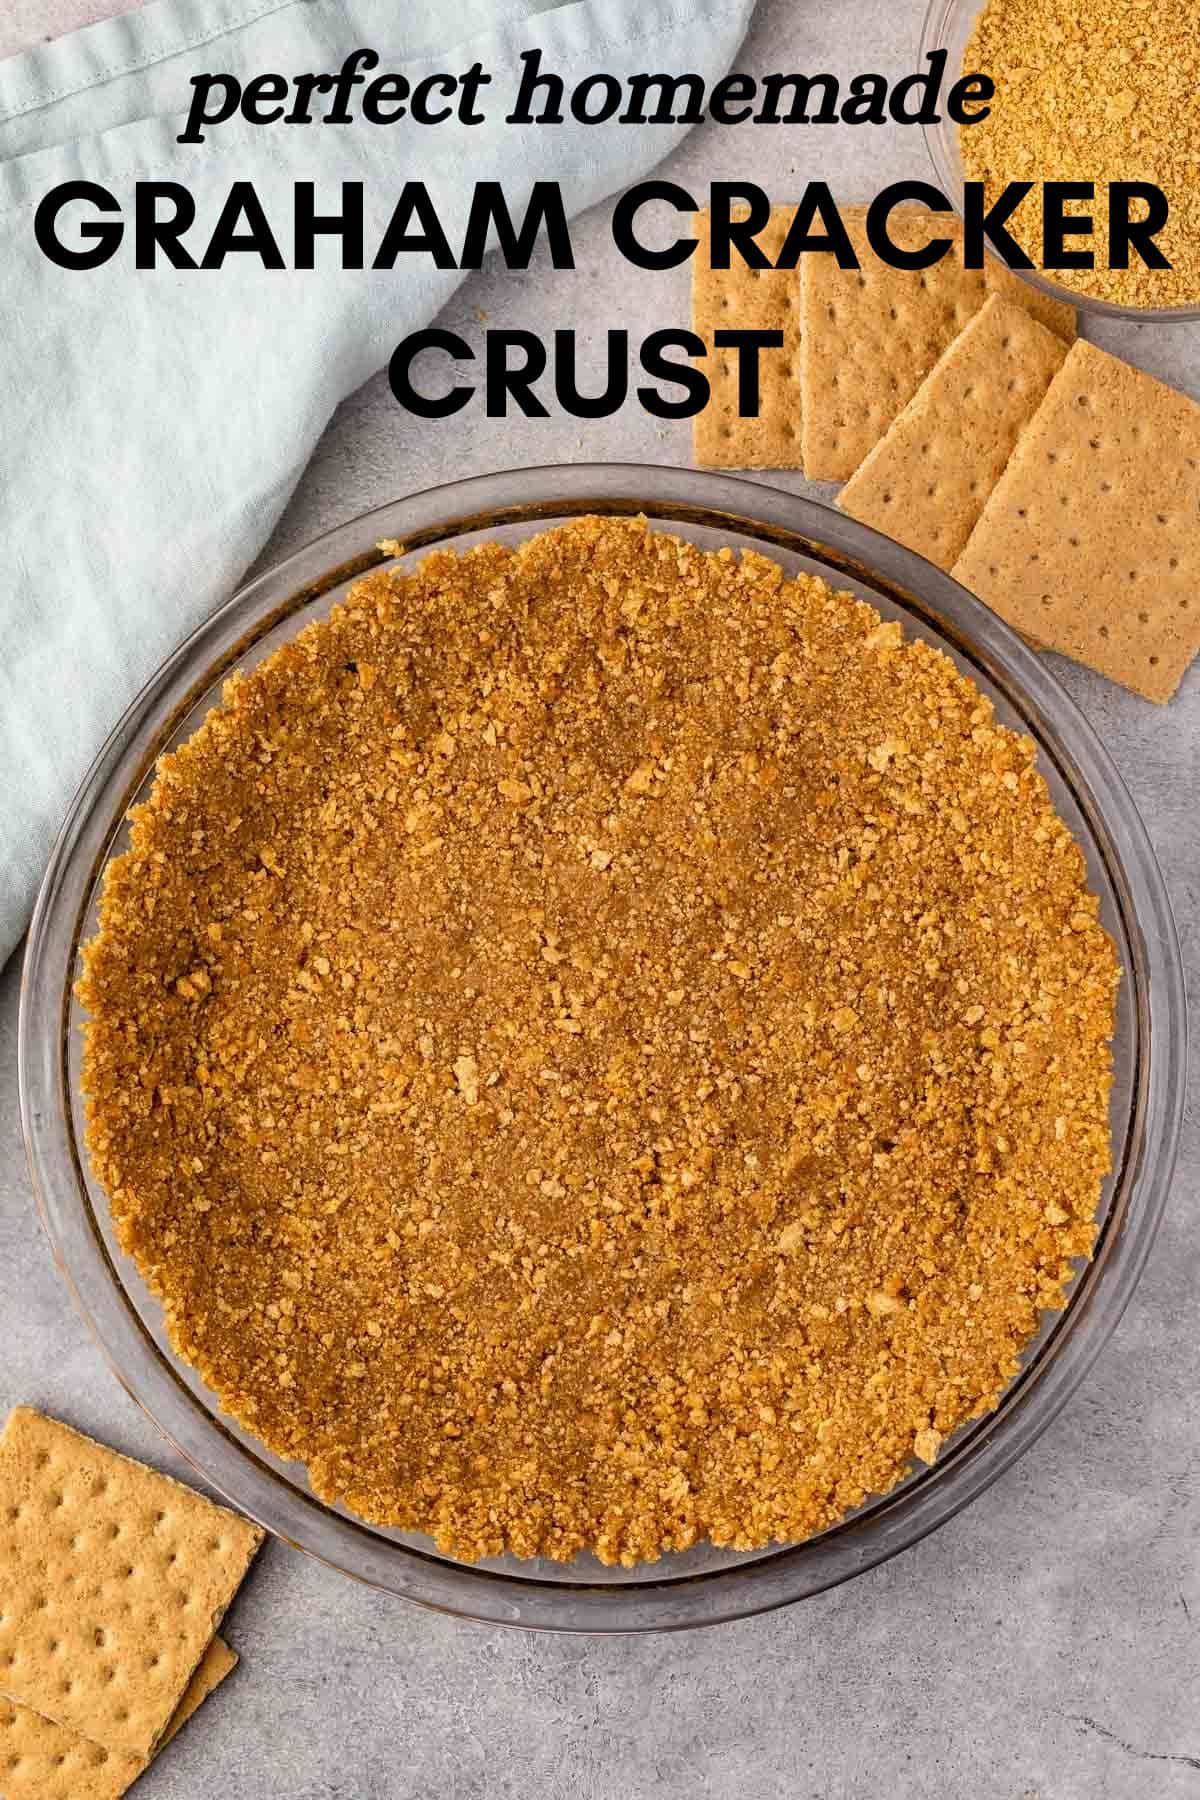
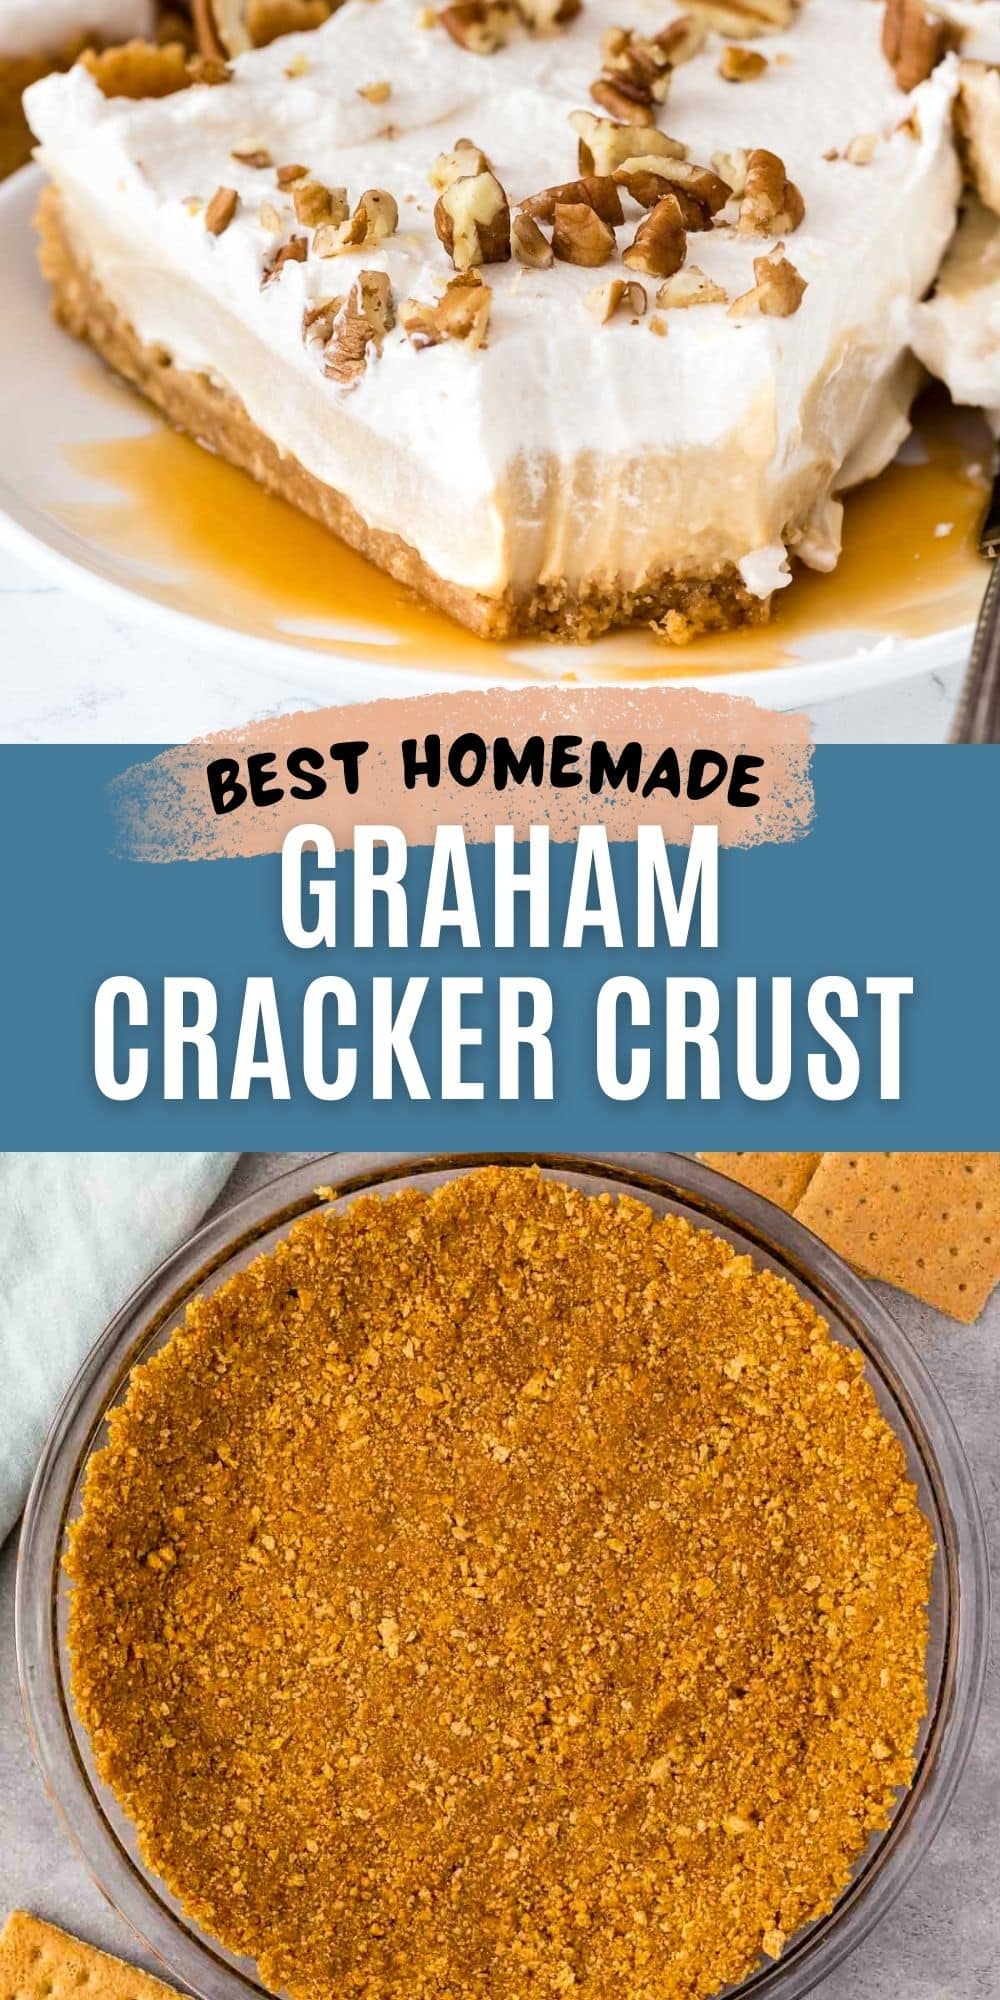
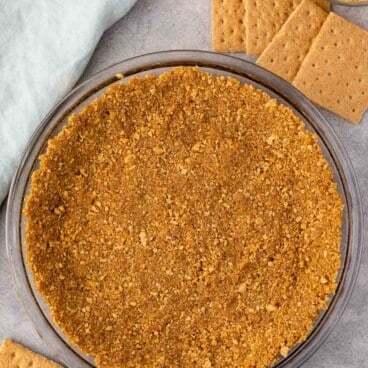
A homemade graham cracker crust recipe for baked pies and no bake pies is the best graham cracker crust you’ve ever had! NEVER buy a store bought crust again – this one is easy and tastes SO MUCH BETTER!
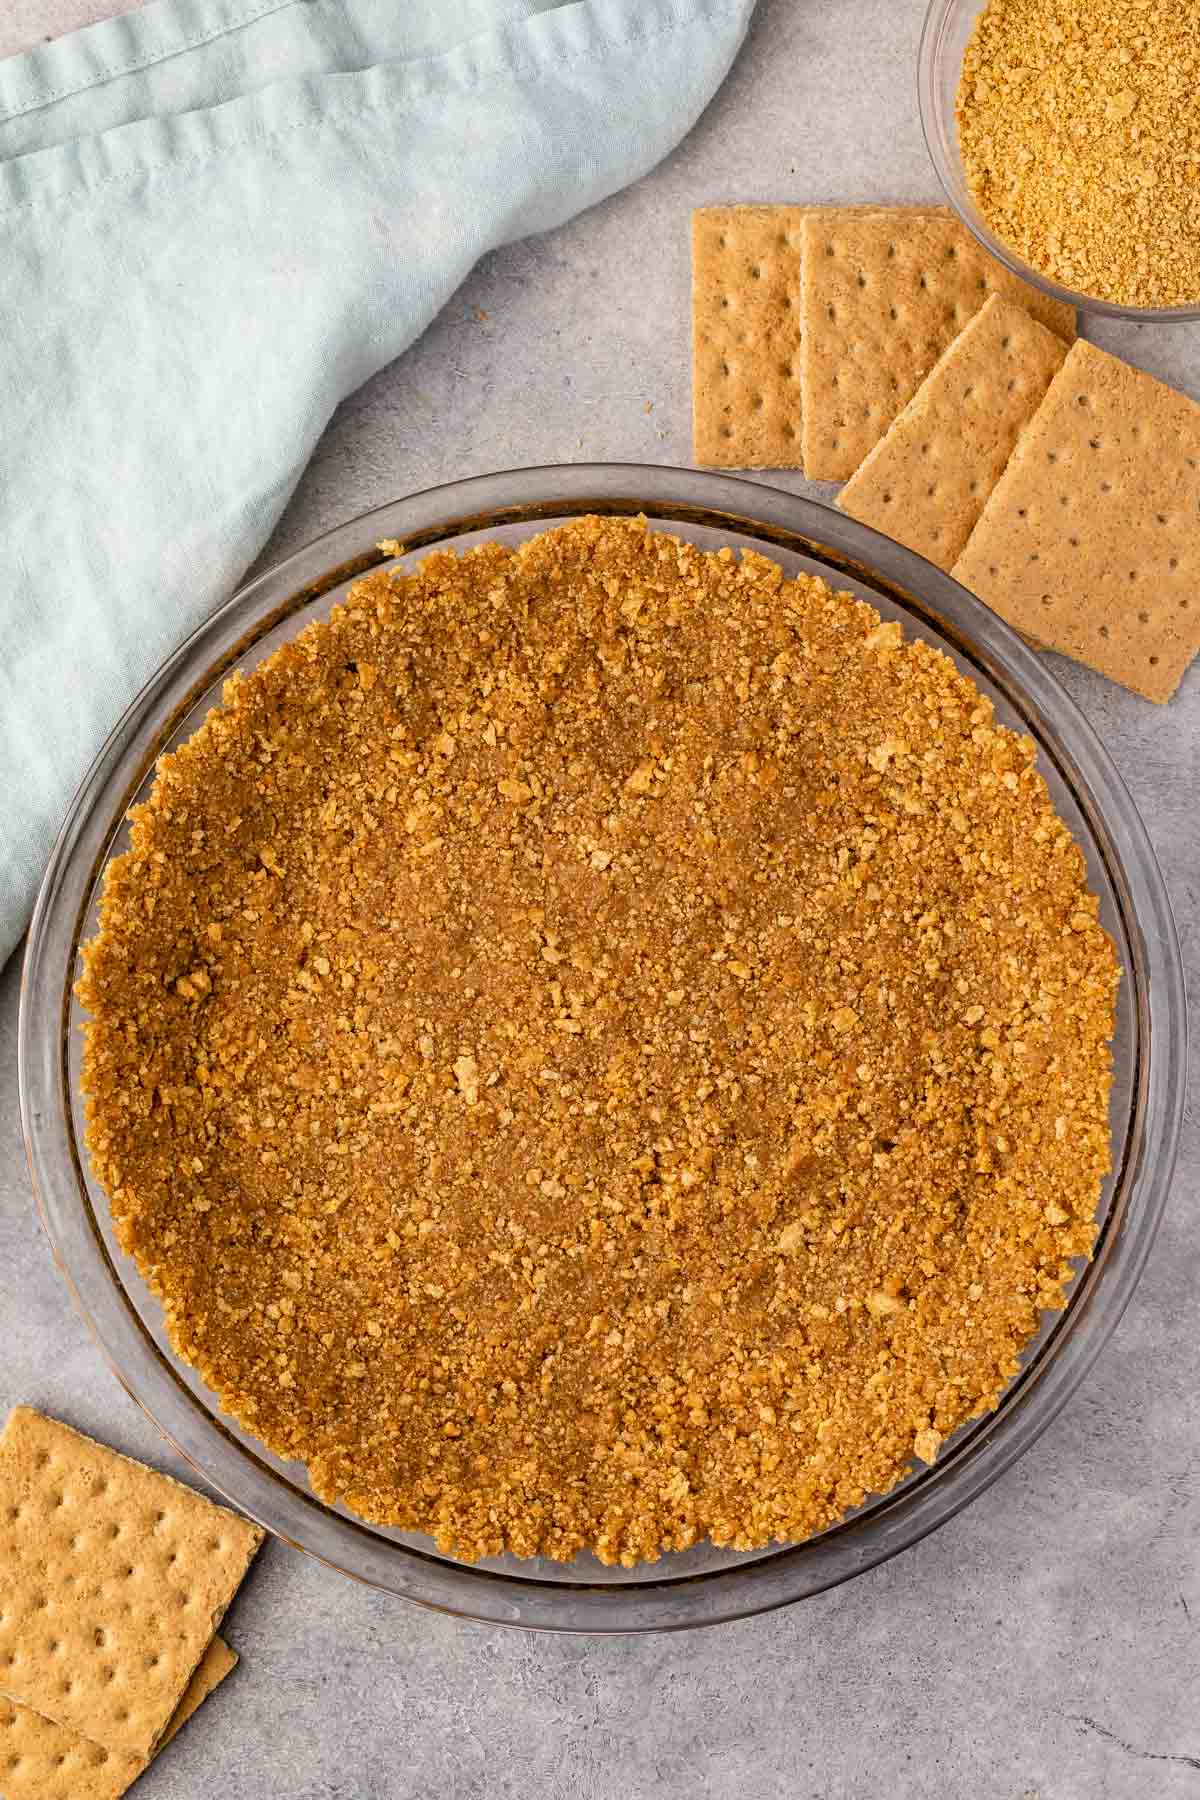
Graham cracker pie crust is one of my favorite pie crusts – a good graham cracker crust is a must have in your baking arsenal. So many pies can be made to pair with the graham cracker flavor because it’s so versatile. You can fill it with anything you want!
- You could buy a store bought crust, but homemade tastes so much better and it stands up to pre-baking or baking better than the store-bought crusts.
- Just 3 ingredients – with options for what you have in your pantry
- Use it for a totally no bake pie or bake it to make it crunchy
- You can use this for a baked pie (like chocolate chess pie) or baked cheesecake
- It’s tried and true and the only graham cracker crust I make!
How to make a Graham Cracker Crust
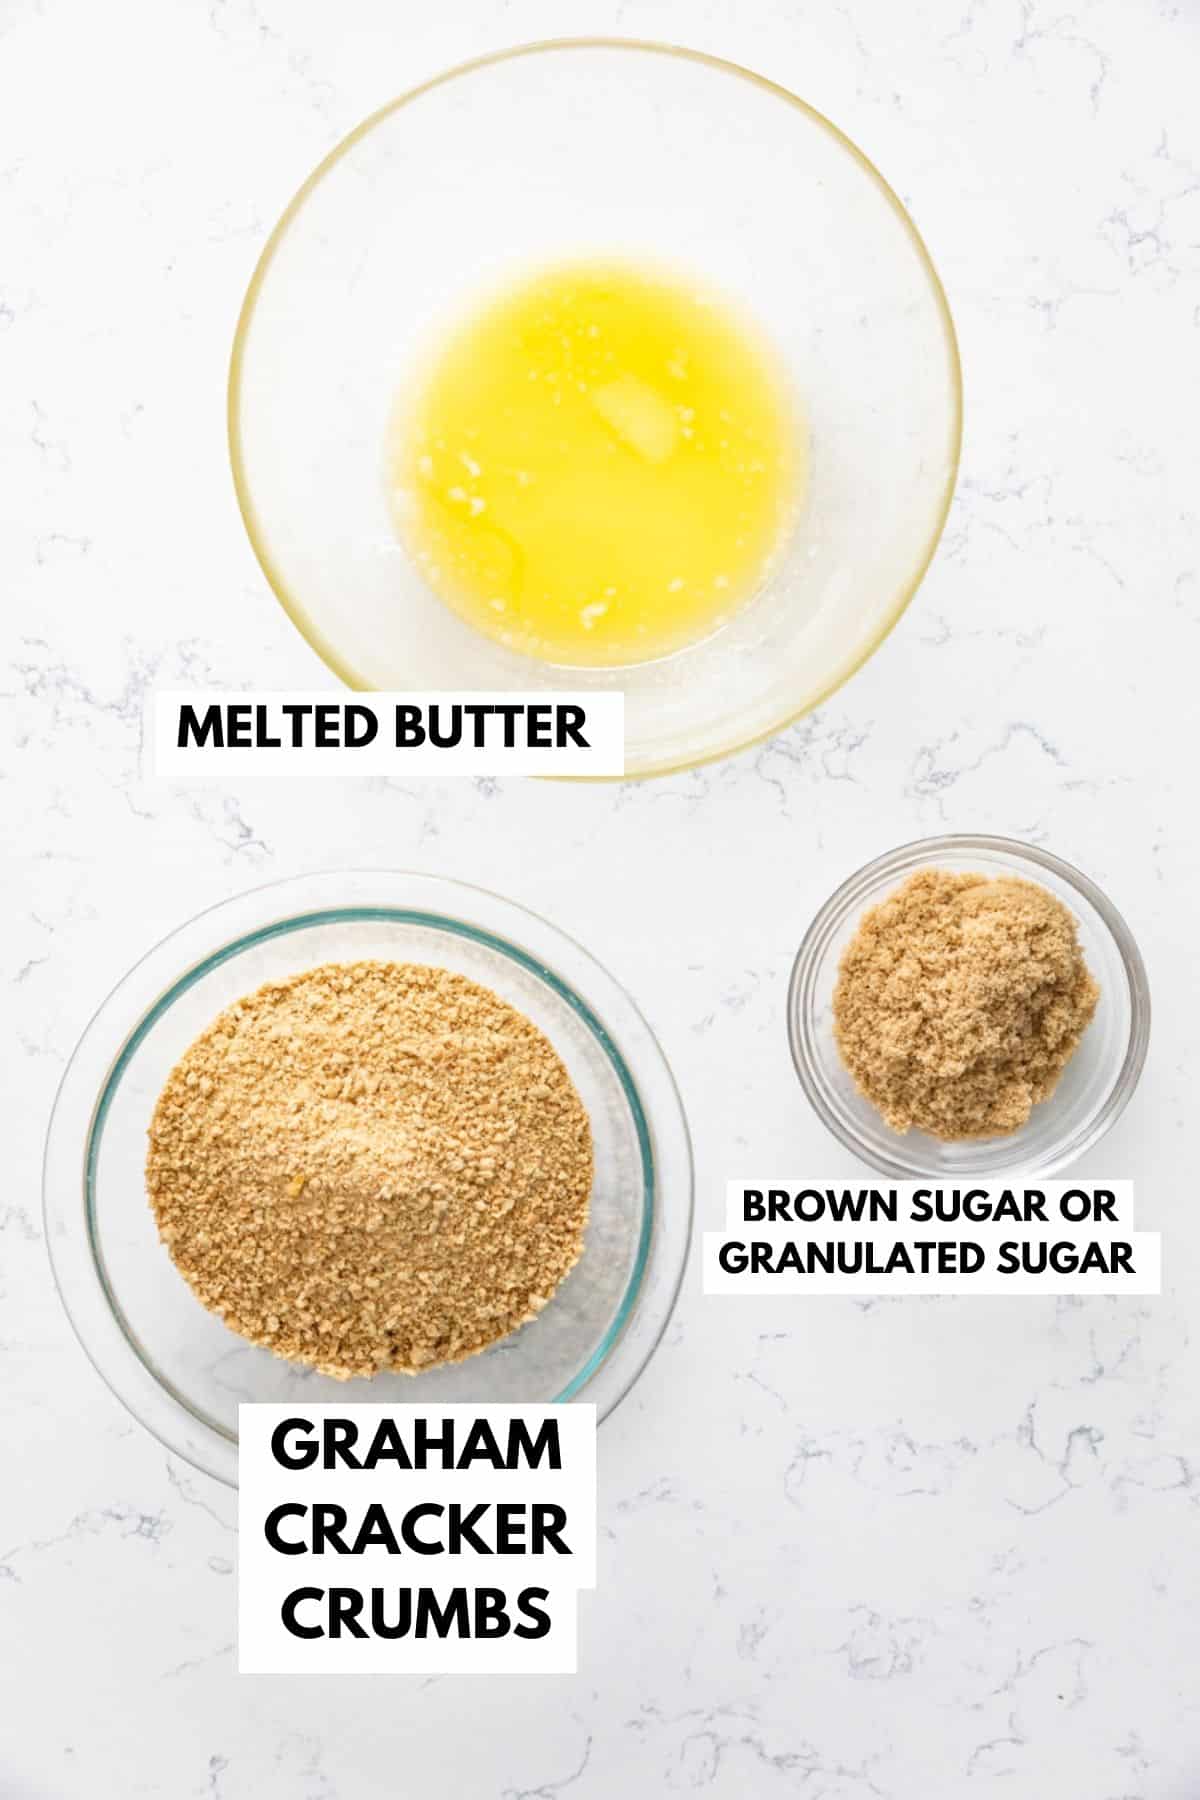
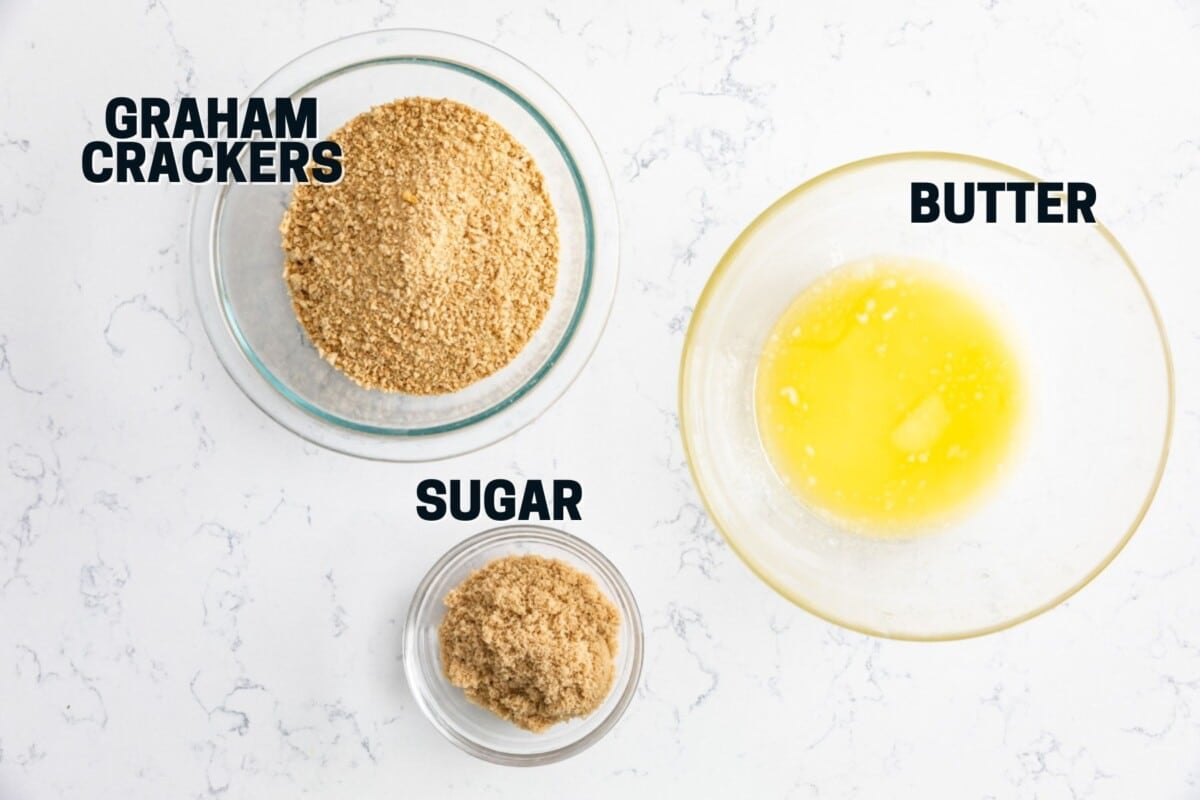
- Graham Crackers: You have two different options when starting with graham crackers: whole and crumbs. One is cheaper, one is easier. Regardless, buy the name brand – they taste better.
- Sugar: You can use granulated sugar, powdered sugar, OR brown sugar.
- Butter: I used unsalted butter in all my recipes, but you can substitute salted if you need too. You won’t notice a huge difference.
SAVE THIS RECIPE
Dorothy’s Expert Tips
- To grind or crush your crumbs, you can use a food processor or crush with a rolling pin in a plastic bag. Both turn out the same – so use what’s easiest.
- I mix all my crumb crusts with a FORK. I like how a fork works for mixing together the crumbs, and then again when adding the butter. It makes it more crumbly and incorporates the butter better.
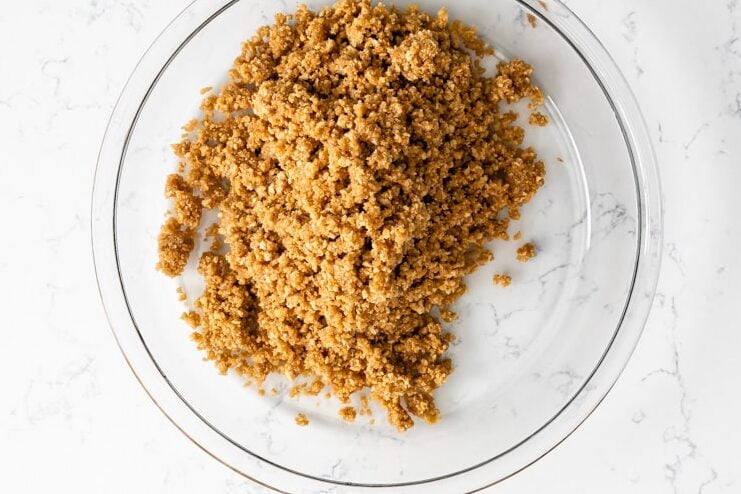
- Once mixed, it will have the texture of very coarse sand.
- A secret to the perfect graham cracker or cookie crust is compacting the crumbs. You need to really, really compact them. Start with your hands to get it around the edges of the pie plate and then you can switch to a glass if you want to really compact it.
- Pan Sizes: This recipe is written for a 9-inch pie plate. It will also work in a 9- or 10-inch springform pan (for cheesecake) or either an 8-inch or 9-inch square pan. You can use it in a 9×13-inch pan but it will be much thinner, so personally, I double it for that size pan.
How to use Graham Cracker Crust
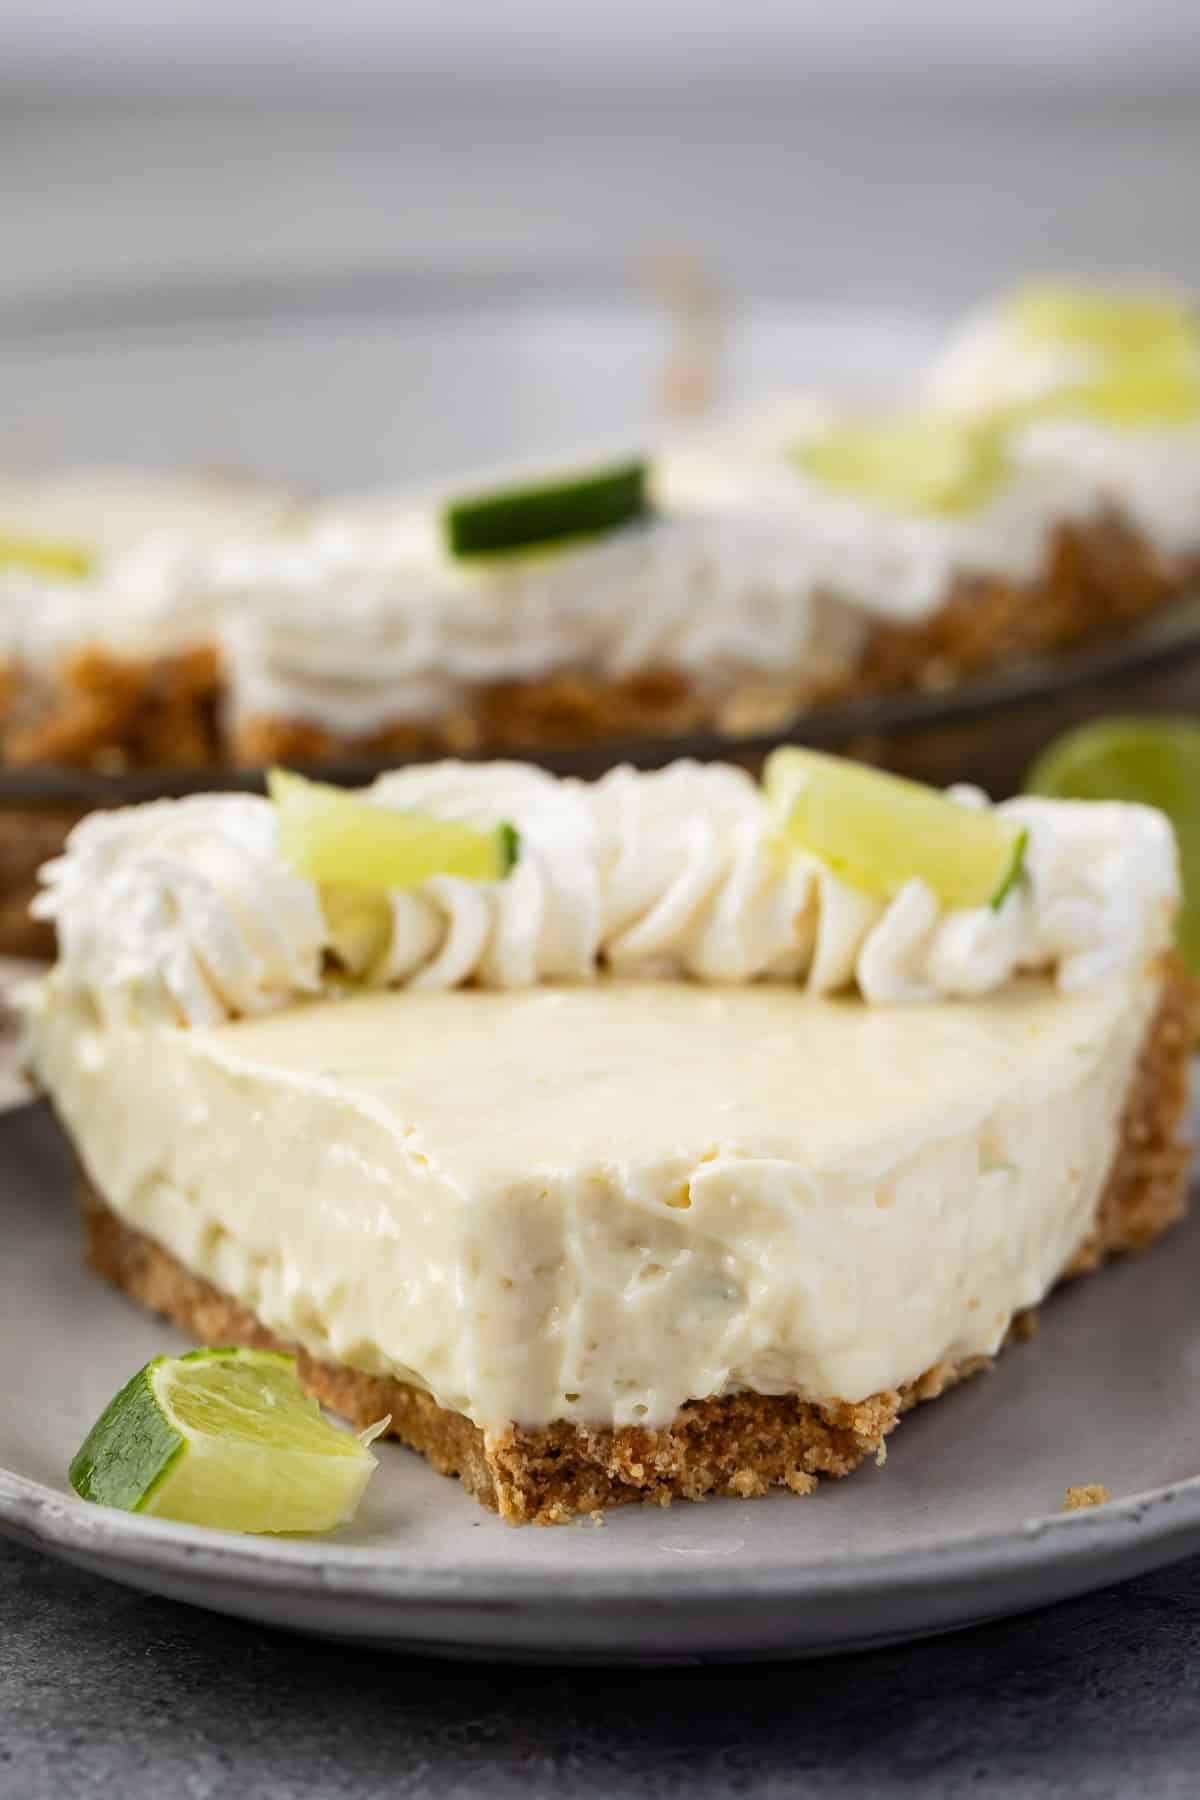
- Any no bake pie recipe, like butterscotch pie, no bake pumpkin pie, or no bake cheesecake.
- No Bake Pie with crunchier crust: Bake the crust for 10 minutes at 325°F. Let it cool completely, then fill and chill according to the recipe directions. A baked graham cracker crust will be more crunchy and be less crumbly, but you have to use your oven.
- Baked with a Key Lime Pie or my classic cheesecake recipe.
Graham Cracker Crust Recipe
Video
Ingredients
- 1 ½ cups (170g) graham cracker crumbs, (from about 10 or 11 whole graham crackers)
- ¼ cup (50g) packed brown sugar
- 6 tablespoons (84g) unsalted butter, melted
Instructions
- If you’re using whole graham crackers, finely crush them in a food processor or place them in a ziploc bag and roll with a rolling pin.
- Stir graham cracker crumbs, brown sugar, cinnamon, and salt together in a large bowl. Add melted butter and stir with a fork.
- Press mixture into the bottom and up the sides of a 9” pie plate. Press hard to compact. You can use a glass to press the bottom, but use your fingers to press the sides.
- To make a no-bake pie: Chill pie crust for at least one hour before filling. Cover if chilling longer. Make pie as directed.
- To make a baked graham crust: Preheat oven to 325°. Bake crust for 10 minutes, until it just starts to brown. Cool completely before filling.
Notes
- You can also add 1/4 teaspoon each cinnamon and salt
- This recipe is written for a 9-inch pie plate, 9-10″ springform pan, or 8-9 inch square pan. I recommend doubling the recipe for a 9×13-inch pan.
- You can bake in this crust; just follow the recipe for whatever pie or cheesecake you’re making. Sometimes it will need pre-baking, sometimes not; it just depends on your recipe.
- This pie crust can be made up to 48 hours in advance and stored in the fridge wrapped well in plastic wrap.
Nutrition
Nutrition information is automatically calculated, so should only be used as an approximation.
© Crazy for Crust. Content and photographs are copyrighted. Sharing this post is much appreciated, but copying and pasting full recipes without authorization is strictly prohibited.
Did you try this recipe? Click here to rate the recipe below.

Okay, I used this crust for my pie yesterday, and it totally stuck to my glass pie plate, I used it unbaked and it crumbled apart and mostly stuck to the pan. Any suggestions?
Did you try and cut it straight from the refrigerator? Sometimes it’s so cold it has trouble getting out of the pan, but there is enough butter it shouldn’t stick.
I used homemade graham crackers and this was way too oily. I think the recipe needs to be adjusted considering how many comments you’ve gotten with this same note.
I’ve made this crust several times without this issue. I have a feeling people make substitutions, like margarine or fake butter, or homemade graham crackers.
Let me see if I can make it clear. I’m taking on a lot of chemo therapy for Stage IV Breast Cancer that has metastasized to my bones. I find baking wonderful therapy and very relaxing…but I do tend to get mixed up. In the pre-recipe article you mention you’re a ‘crust girl’, as am I. So you increase your crushed graham crackers from 1 1/4 cups to 1 1/2 cup and also increase your butter from 5 TBS to 7. Since the brown sugar is part of the crust recipe I wondered if you also increased that ? Does that make any sense? Thankyou for your time.?
The recipe as written is the correct one!
When you increased your crushed graham cracker by 1/4 cup & your butter by 2 TBS did you also need to adjust the brown sugar from 1/4 cup to…?
I’m not sure I understand your question?
does this get soggy quickly?
I haven’t noticed that!
Featured In
Rate This Recipe
Recipe Ratings without Comment