This post may contain affiliate links. For more information, read my disclosure policy.
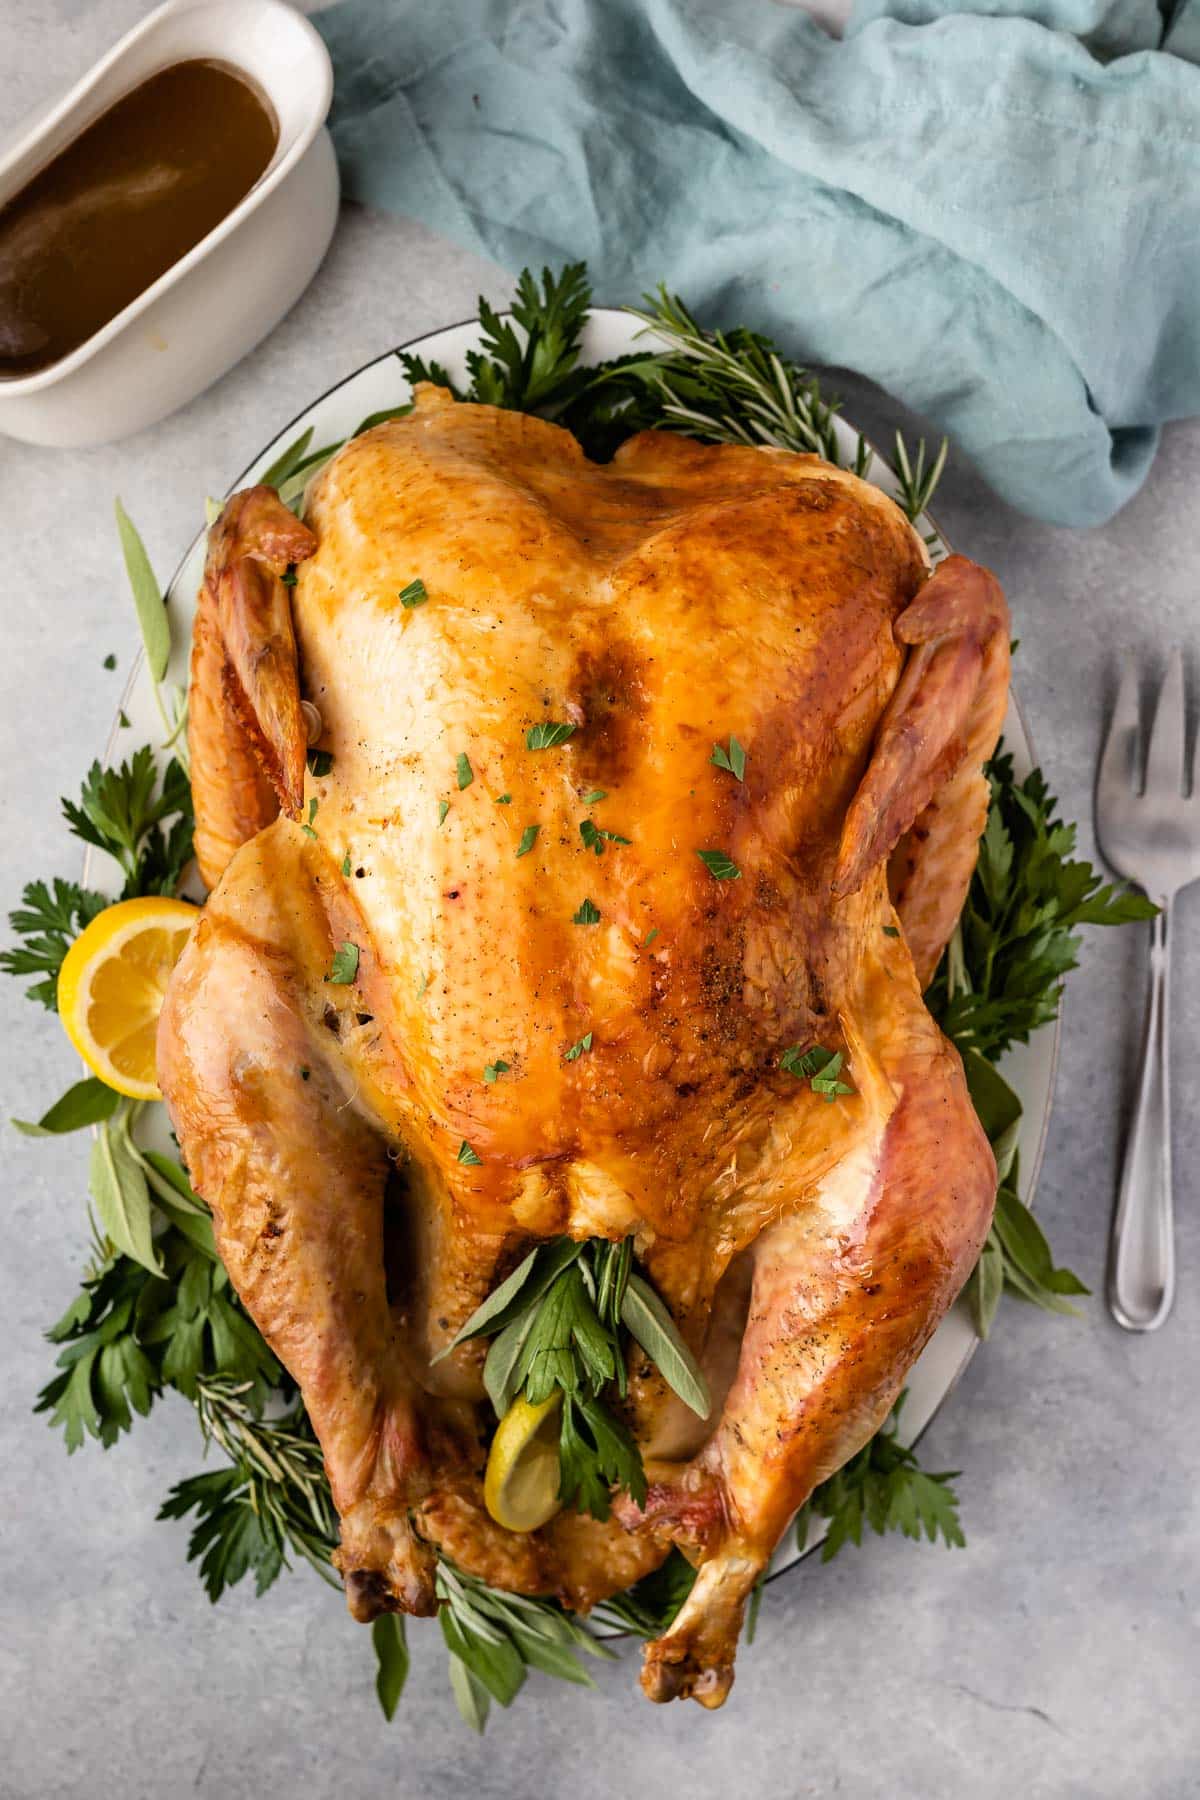
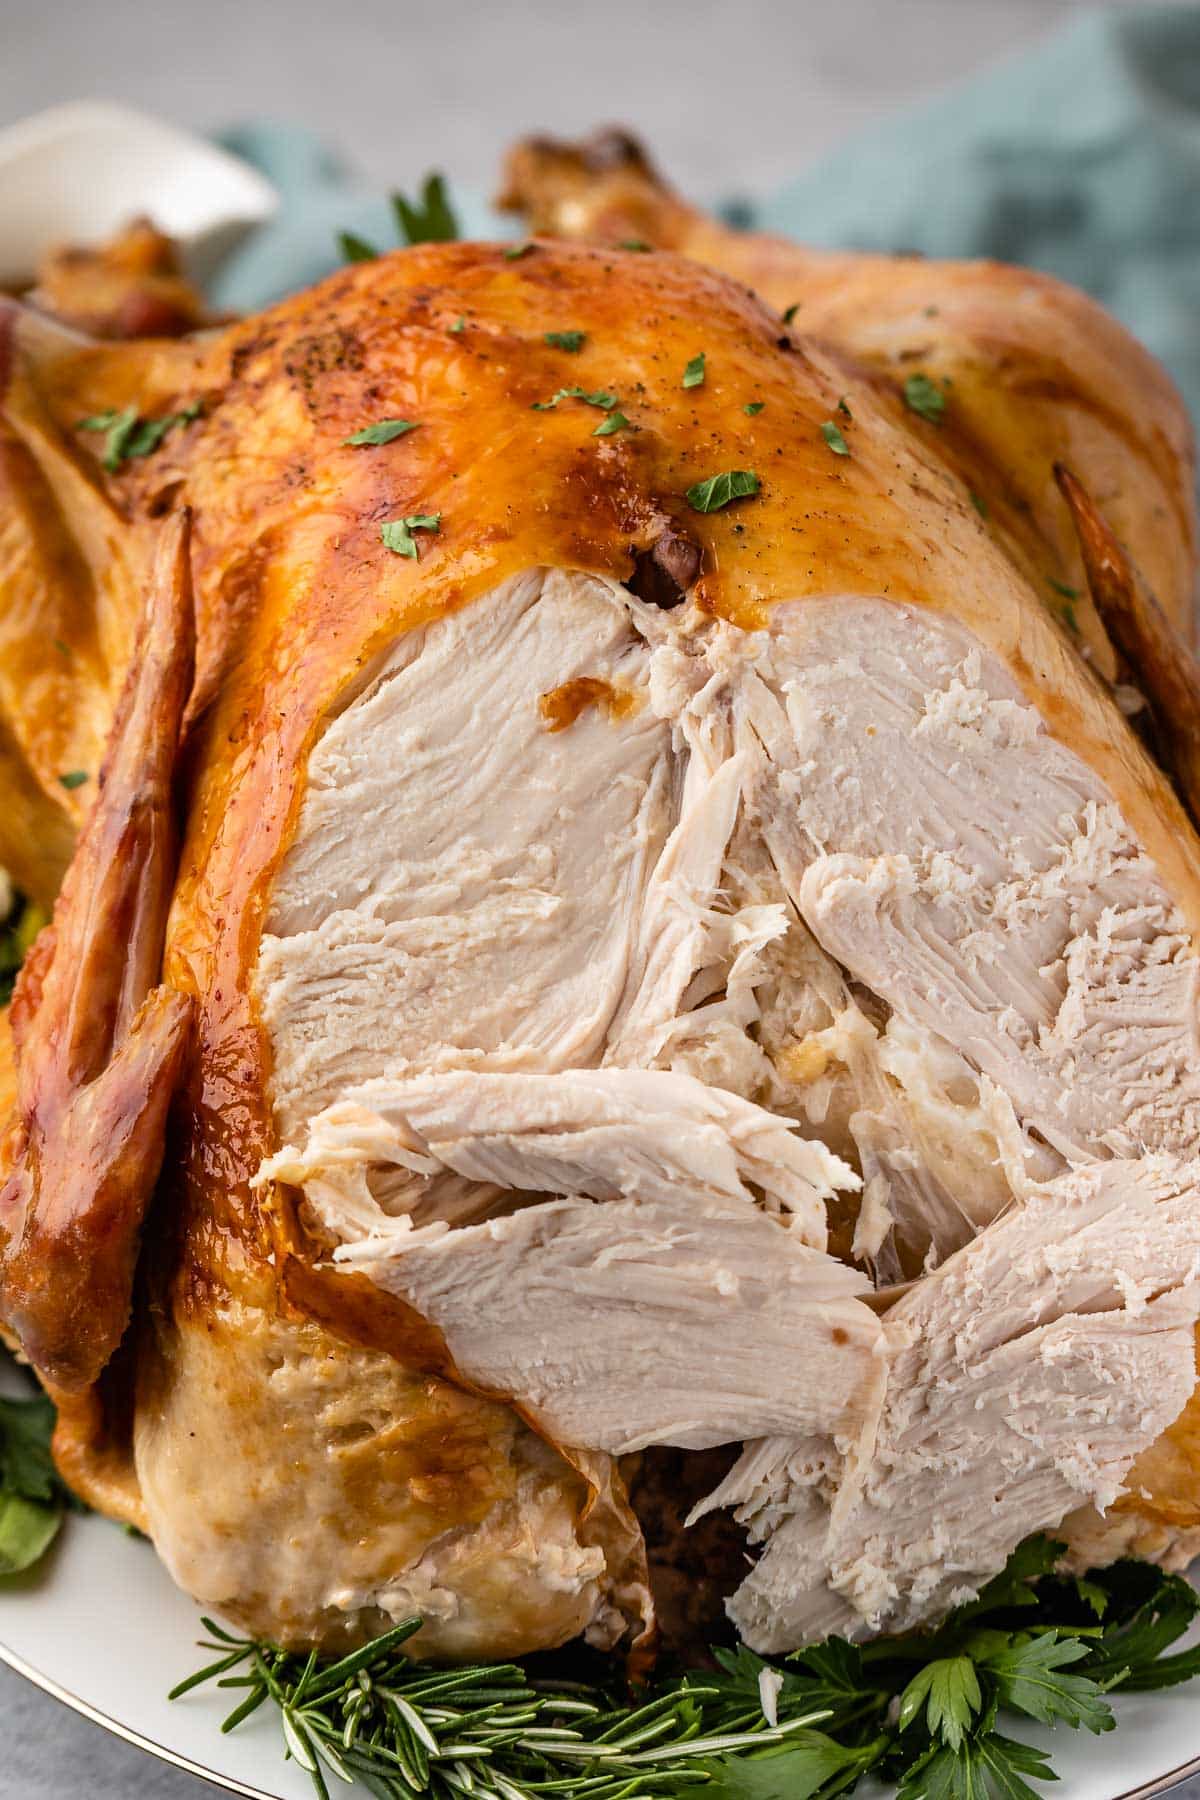
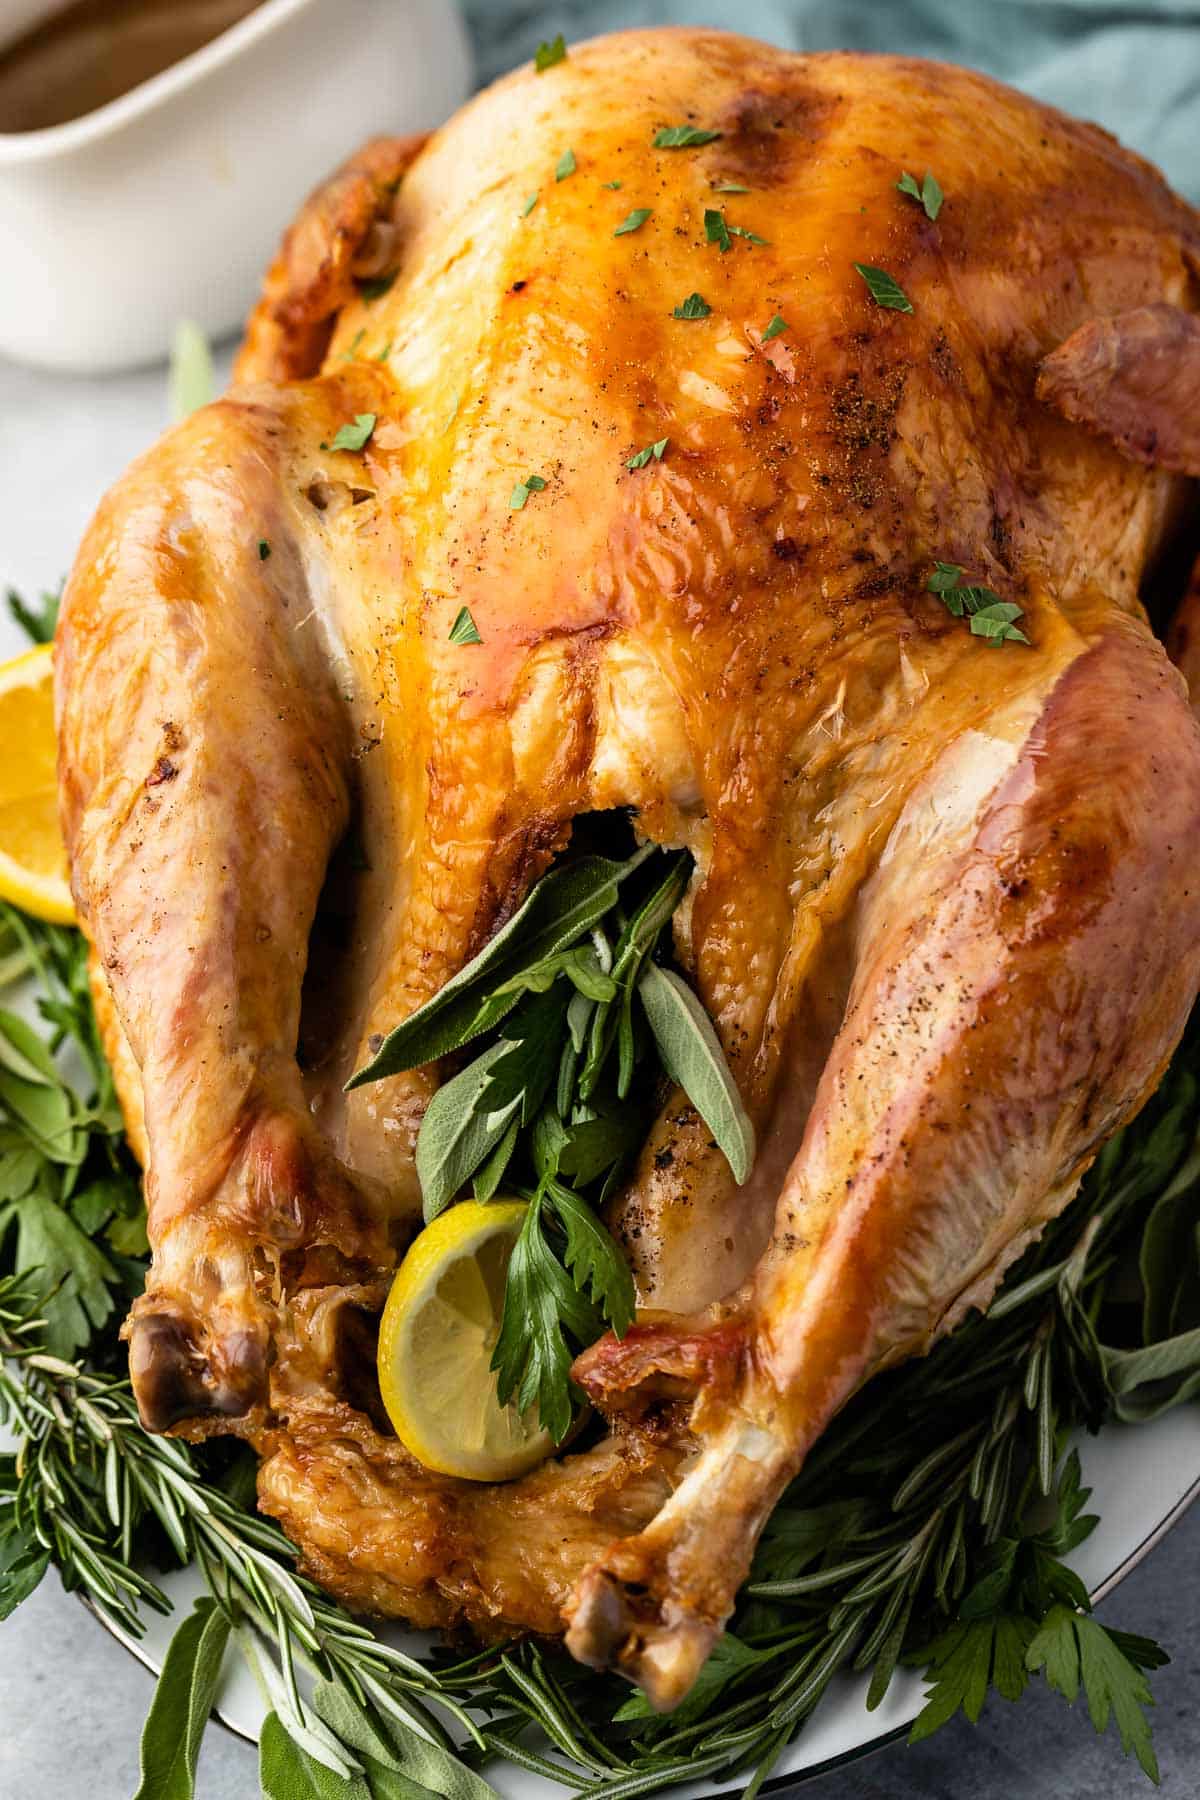
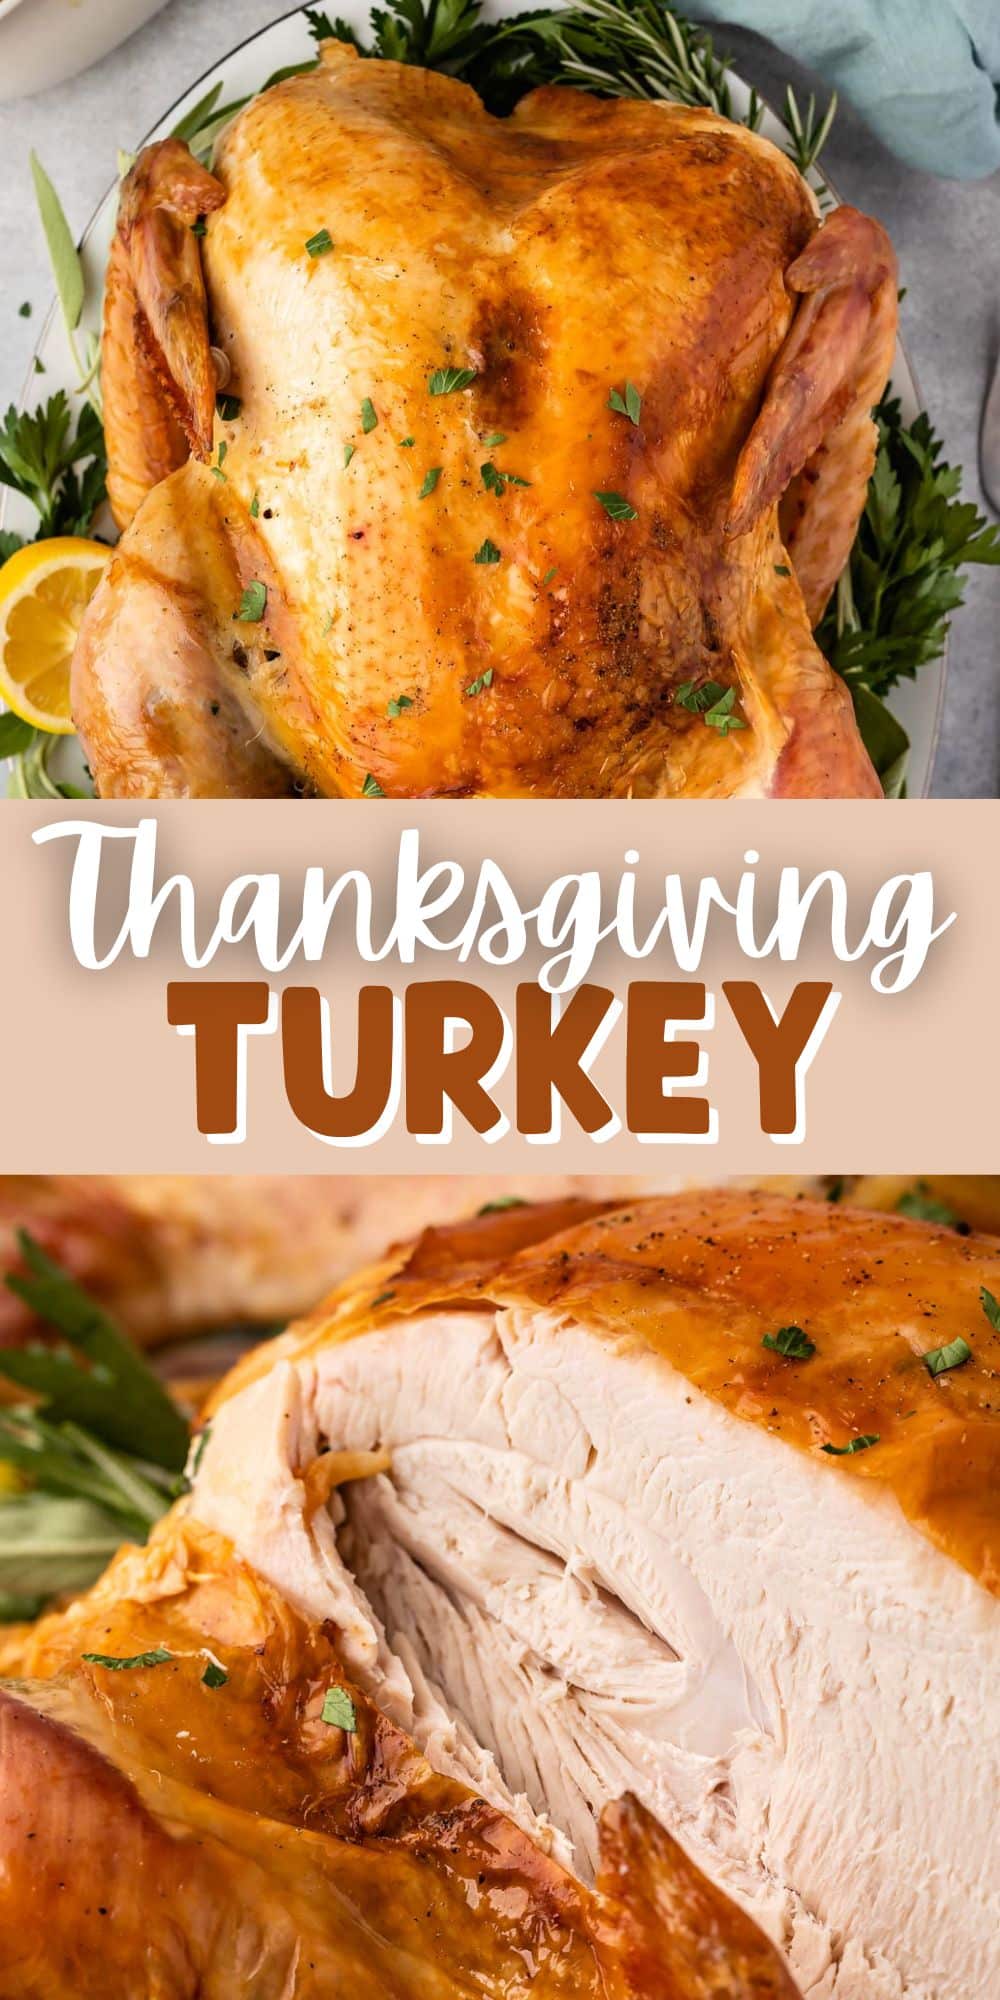
Have you ever made turkey in a bag? This is my Mom’s Thanksgiving Turkey Recipe – it’s moist every time with delicious flavor thanks to her secret sauce. Cooking a turkey in a bag creates a super moist turkey and it’s done in under 3 hours with no basting required. This is the FOOLPROOF method for cooking turkey.
Why make a turkey in a bag?
Why isn’t the oven bag some sort of revolutionary thing? I just don’t get it…if I lived in Star Trek and had the capability to say order up an instant Thanksgiving meal, I would. Using an oven bag is like doing that: poof! your turkey is done!
My mom cooks her Thanksgiving turkey in an oven bag. It’s just how she’s always done it. It’s the only way I’ve ever seen it done. It’s the way I learned how to cook a turkey, the way I cook it, and it’s the way I’ll teach Jordan.
- No basting required – just top the turkey with my mom’s super special secret “baste” sauce. The turkey bastes itself inside the bag.
- A 15 pound turkey only takes about 2 1/2 hours to make!
- The turkey is always moist – never dry – and super flavorful!
- The basting liquid and the turkey juices become the perfect gravy.
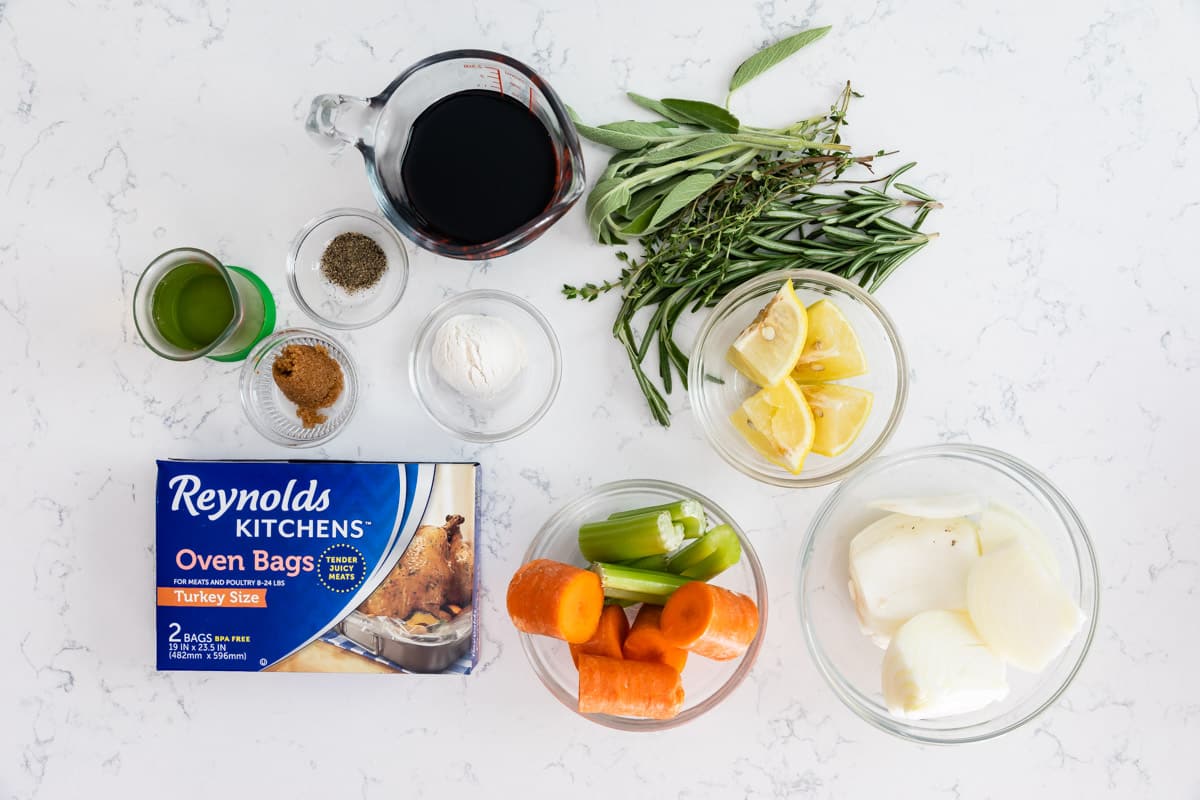
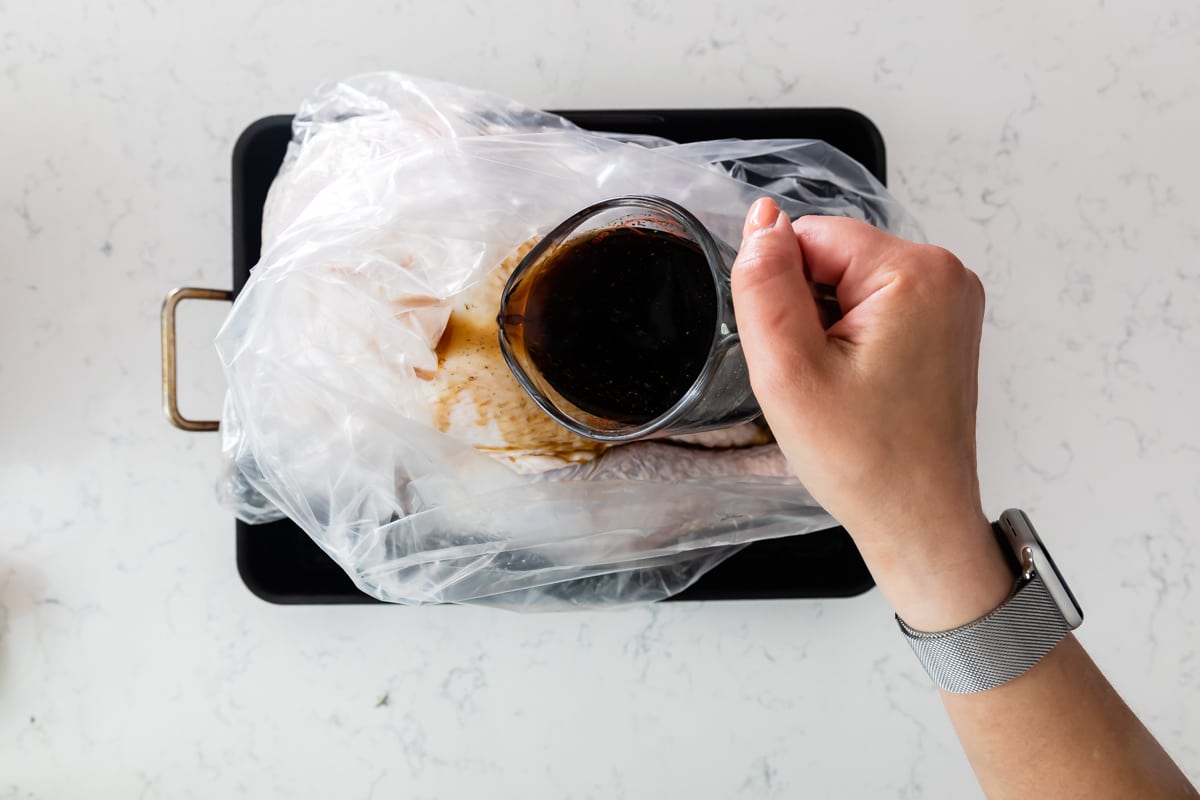
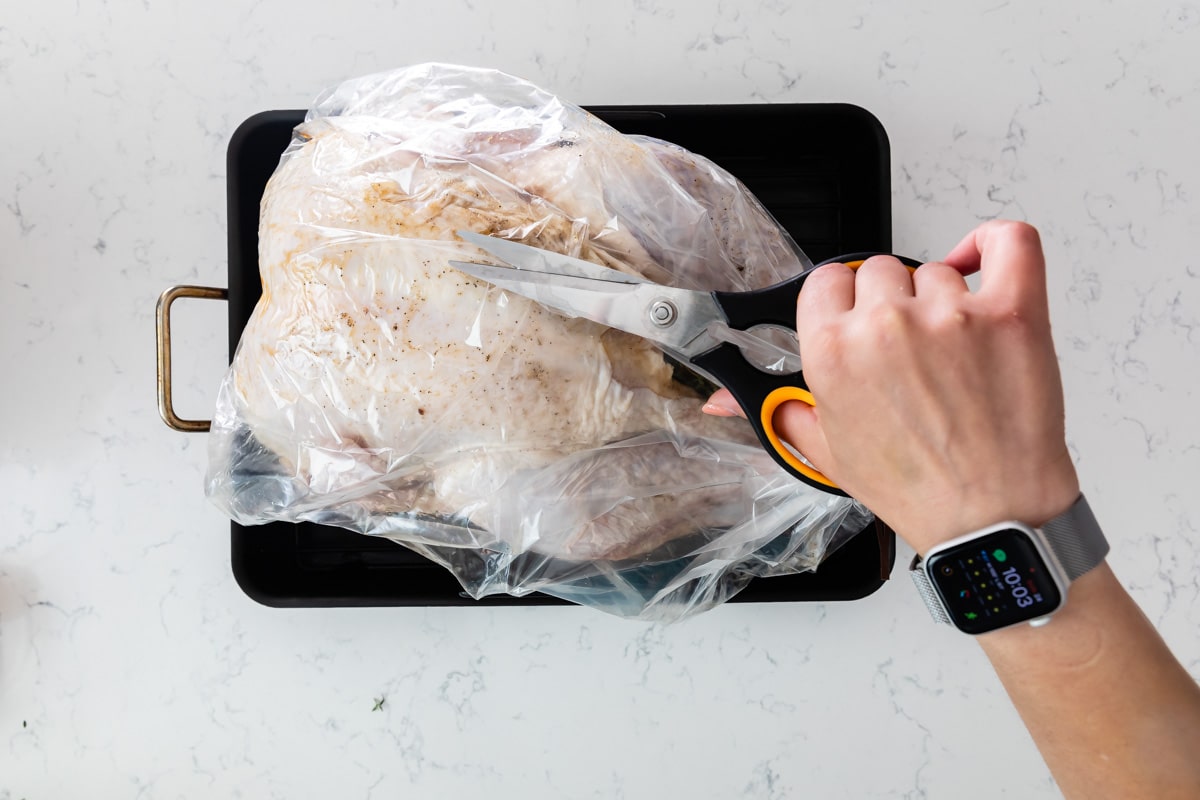
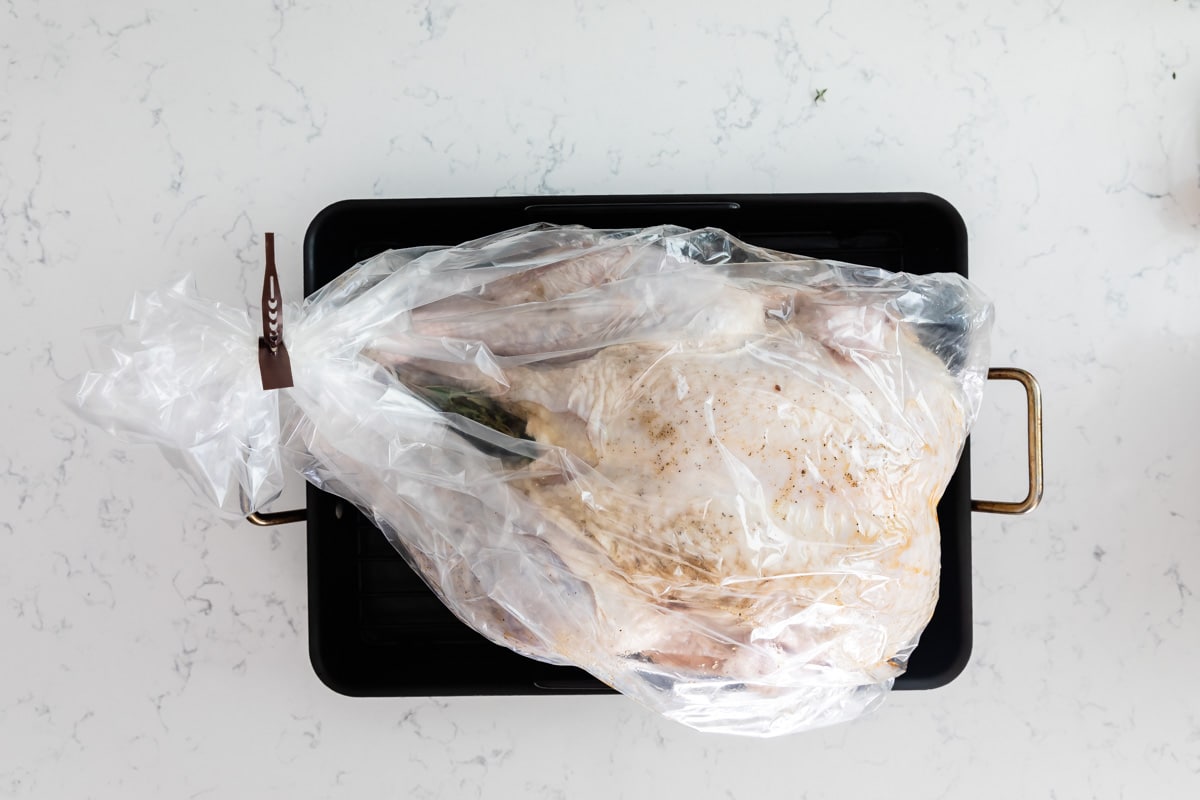
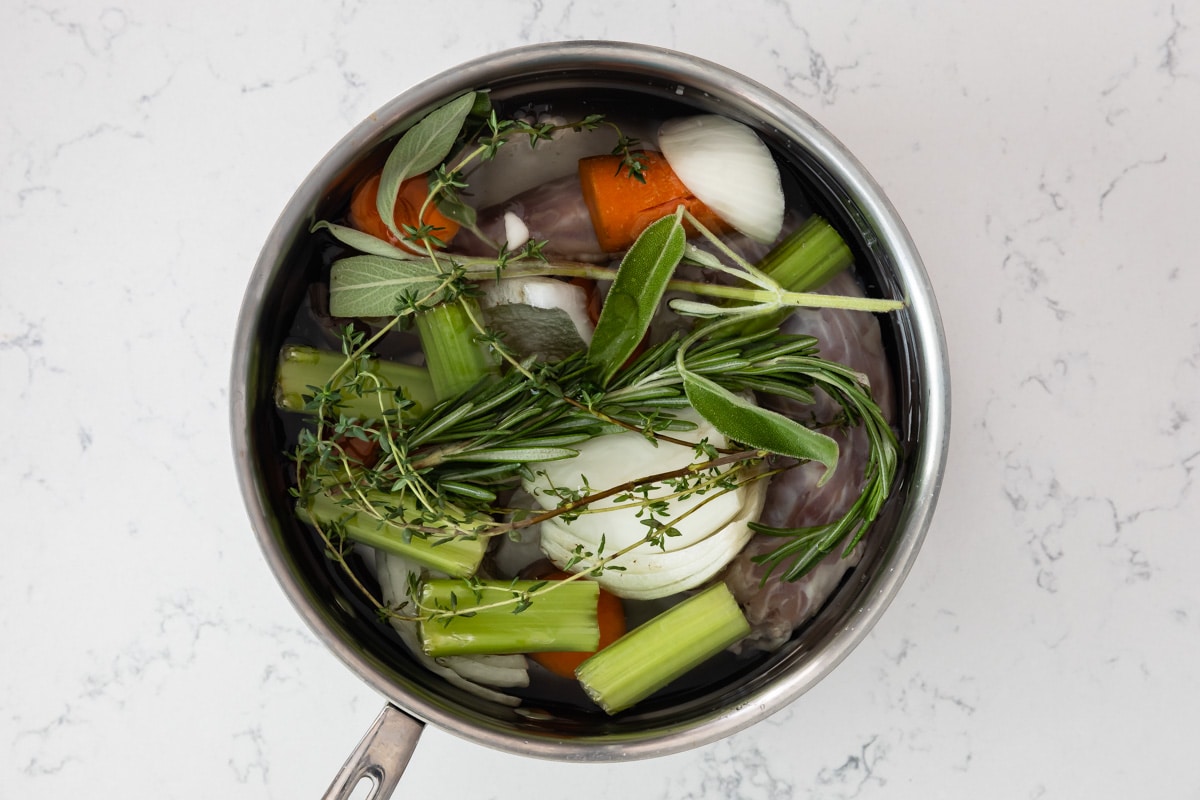
How to make your Thanksgiving turkey in a bag
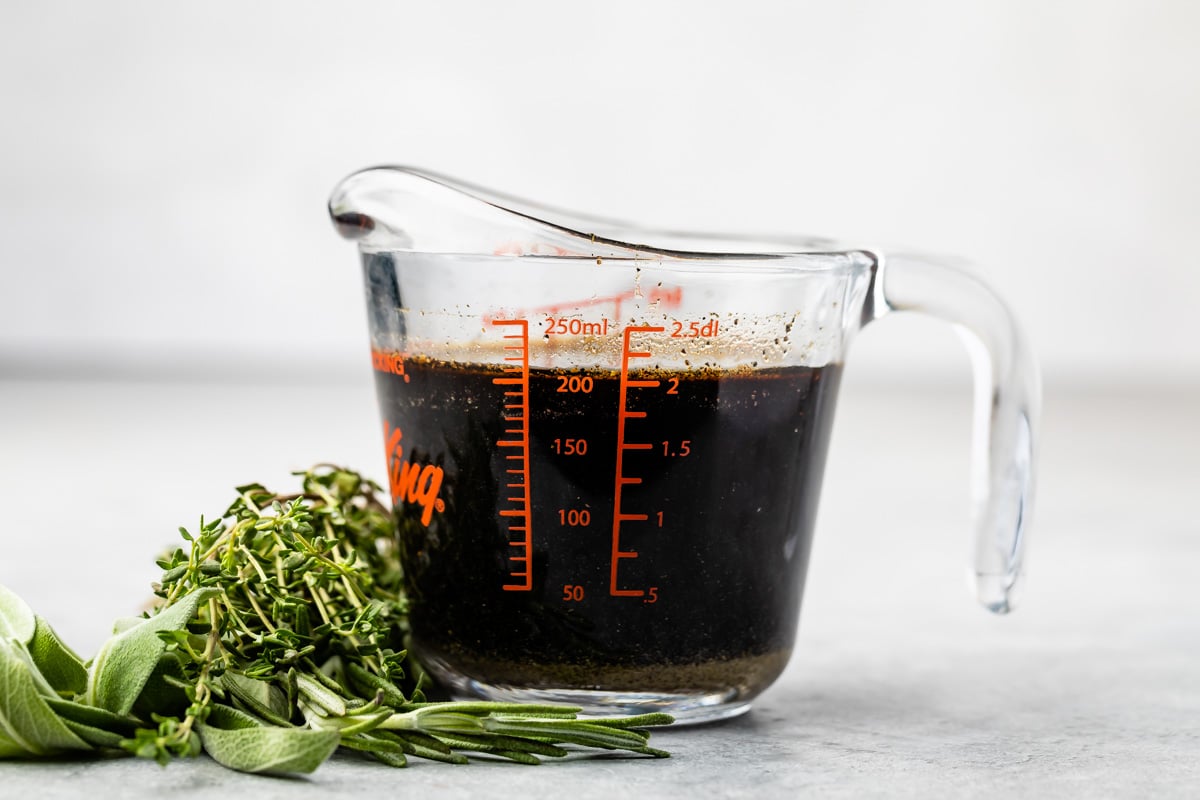
- Whisk all baste ingredients in a measuring cup.
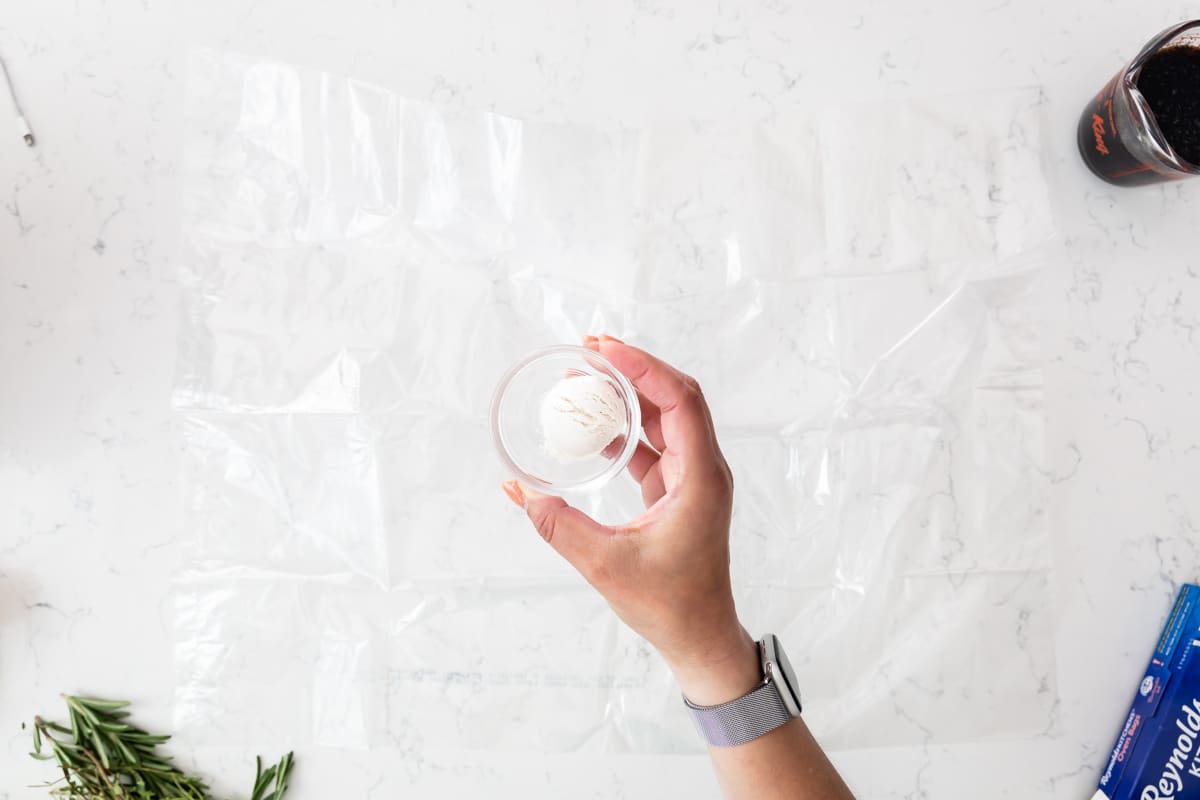
- Flour your bag with a tablespoon of all-purpose flour so the turkey doesn’t stick.
- Once you prep your turkey and add it to the bag, you just need to pour the baste all over it. The bag catches it, so there is no mess.
- Slice 6 slits in the bag for air to escape.
- The turkey cooks in the exact amount of time specified on the instructions in the bag box. There is a range of time for your turkey size, but basically, your turkey will be done in about 2-3 hours. Since your turkey cooks in a bag there is almost ZERO pan cleanup. << THAT is something I love.
- While the turkey is cooking I make stock using the turkey neck, herbs, onions, celery, and carrots. This will help supplement the drippings for the gravy.
SAVE THIS RECIPE
Expert Tips
- The baste is important, don’t skip that step. Use a sherry or wine you’d drink, not cooking sherry. You can omit it if you don’t do alcohol, just use chicken stock instead.
- Be sure to flour the bag as directed on the box, and to make sure to cut the holes in it. Both are really important steps.
- Be sure to save the liquid in the bottom of the bag for gravy. Strain it and scoop off the fat, then use it in your favorite gravy recipe.
- Follow the cooking times on the instructions on your box. It goes according to weight, but use a thermometer to make sure it’s done.
FAQ
I think it’s better because it cooks faster and is always moist.
Follow the directions on the insert in the box the bag comes in. There is a chart for weight and whether your turkey is stuffed or not. The turkey will always cook in the time specified on that chart.
Yes totally safe – the bags are made of food and heat-safe materials.
You can if you want just be sure to follow the directions on the bag box for how long. I don’t recommend stuffing the turkey in general because you need to be careful that it cooks all the way and that the stuffing is up to temperature – but you can do what you prefer.
Turkey in a Bag Recipe
Recipe Video
Equipment
Ingredients
- 1 whole turkey thawed (you can also use a bone in turkey breast)
- ½ orange or lemon sliced in quarters
- ½ medium yellow onion skin removed and sliced in quarters
- ½ cup (118ml) low sodium soy sauce
- ¼ cup (59ml) sherry or white wine
- ½ tablespoon (6g) packed brown sugar
- ¼ teaspoon pepper
- Reynolds Turkey Sized Oven Bag
- 1 tablespoon (9g) all purpose flour
Instructions
- Preheat oven to 350°F.
- Remove the neck and giblets from your turkey, then rinse and pat it dry. Discard giblets and neck (see note).
- Place sliced citrus and onion in the cavity of the turkey.
- Whisk soy sauce, sherry, brown sugar and pepper together in a measuring cup.
- Prepare the oven bag as directed on package (shake flour inside the bag and place the bag inside a roasting pan that is at least 2 inches deep).
- Place the turkey in the bag. Pour the baste over the whole bird. (You do not need to salt the bird; the soy sauce does that for you.)
- Seal the bag according to package directions and cut six 1/2 inch slits in the top of the bag.
- According to the directions in the bag, the cooking time will be 1.5-2 hours for an 8-12 lb turkey, 2-2.5 hours for 12-16 lb turkeys, 2.5-3 hours for 16-20 lb turkeys, and 3-3.5 hours for 20-24 lb turkeys.
- Cook turkey until the internal temperature reaches 180° in the thickest part of the thigh not touching the bone. Remove from oven and let stand in oven bag another 15 minutes.
- While turkey is still in the pan, cut open the bag carefully and remove the turkey from the bag. Save the juices. Place on cutting board to rest until ready to carve.
- Store leftover turkey in the refrigerator for 3 days. Freeze for up to 3 months.
Recipe Notes
- Servings depend on size of turkey, as does baking time.
- Because of the onion/citrus inside the bird, it may take to the longer end of the cooking times suggested on the bag instructions.
- Neck: Want to make your own stock while the turkey cooks? Add the neck with a roughly chopped onion, carrot, celery stock and herbs to a 4Qt saucepan and fill with water (at least 1 inch above the items in the pan). Cover and simmer for 2 hours or until it’s reduced by half. Drain out large chunks then strain through a wire mesh strainer. Use when making gravy.
- I love making gravy with the juices left in the bag. Pour juices into a measuring cup and spoon off fat, then measure out however much needed. Normally with a mid-range size turkey I get about 2-3 cups juice just from the bag. Supplement with homemade or store bought turkey stock to make gravy as needed.
- Turkey should rest at least 15 minutes before slicing.
- Turkey will take 1 day for each 4-5 pounds to defrost in the refrigerator so plan accordingly!



WOW! First time cooking a turkey in a bag and it is amazing. Super juicy and super flavorful. I added potatoes and onion to the bag and was also able to make a delicious gravy with the juices. 10/10
I’m so glad you enjoyed it!
Nice and moist.
First time I am trying to cook turkey in a bag. Question – I noticed the
picture of the done turkey with fresh parsley, thyme, rosemary & sage.
Is there a way to have those flavors in the bag when the turkey is cooking?
Please respond to Lee013188@gmail.com
Thank you
You can add them to the center of the turkey or chop them up and place them in the baste!
Featured In
Rate This Recipe
Recipe Ratings without Comment