This post may contain affiliate links. For more information, read my disclosure policy.
This All Butter Pie Crust is my absolute favorite pie crust recipe. It works EVERY time and produces flaky, buttery homemade pie crust that will make your pie recipe perfect!
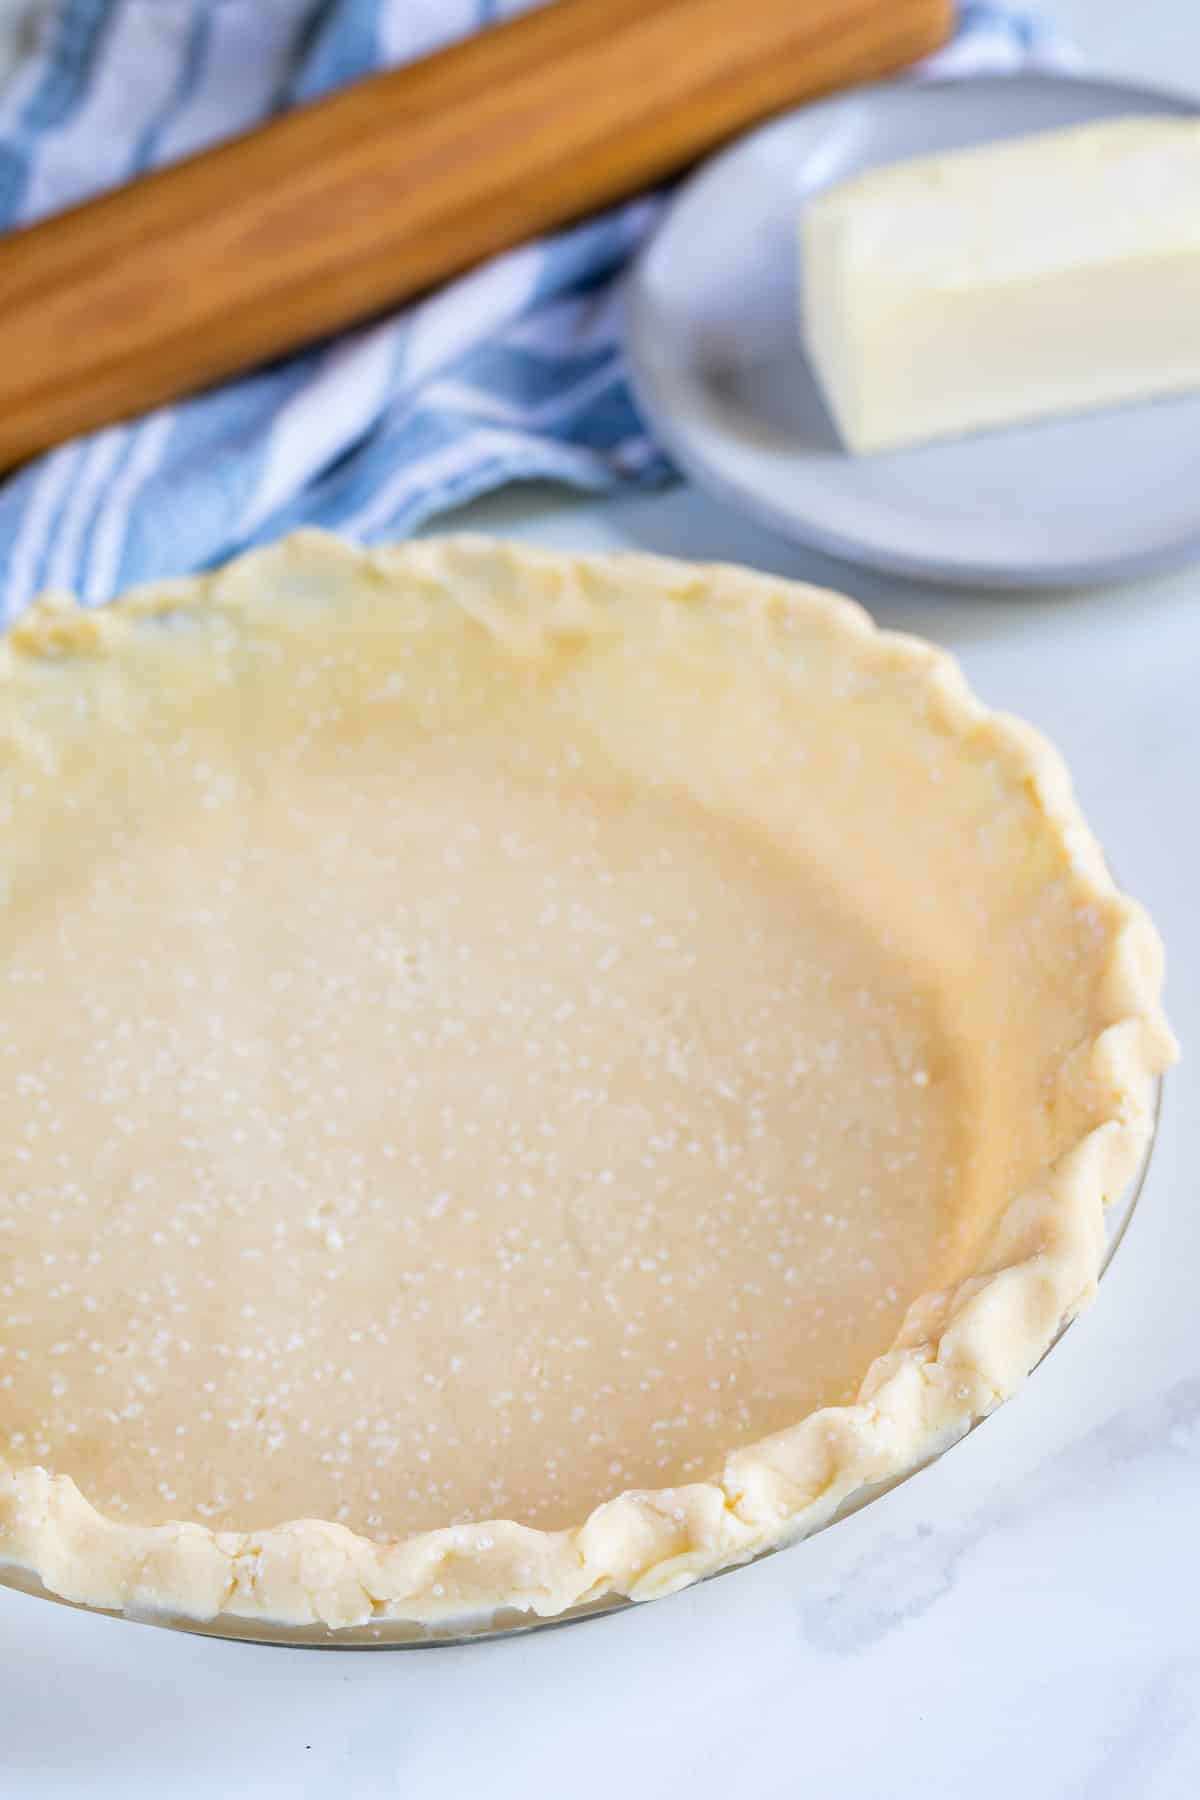
The BEST Pie Crust Recipe
I’ve been using this all-butter pie crust recipe for over 10 years. I always try other recipes but I come back to this one because it’s so easy and so good.
To make a good pie crust you need just 4 ingredients: fat, water, flour, and salt. You can use a few different kinds of fats for pie crust, the most popular being butter, shortening (Crisco), or lard. I’m going to go against the grain and tell you, my crust is all butter. I love butter and I find that the taste of an all butter pie crust is so much better than any other recipe.
My all butter pie crust recipe is quick, fast, easy and delicious! It’s the perfect vehicle for ALL your pie recipe needs.
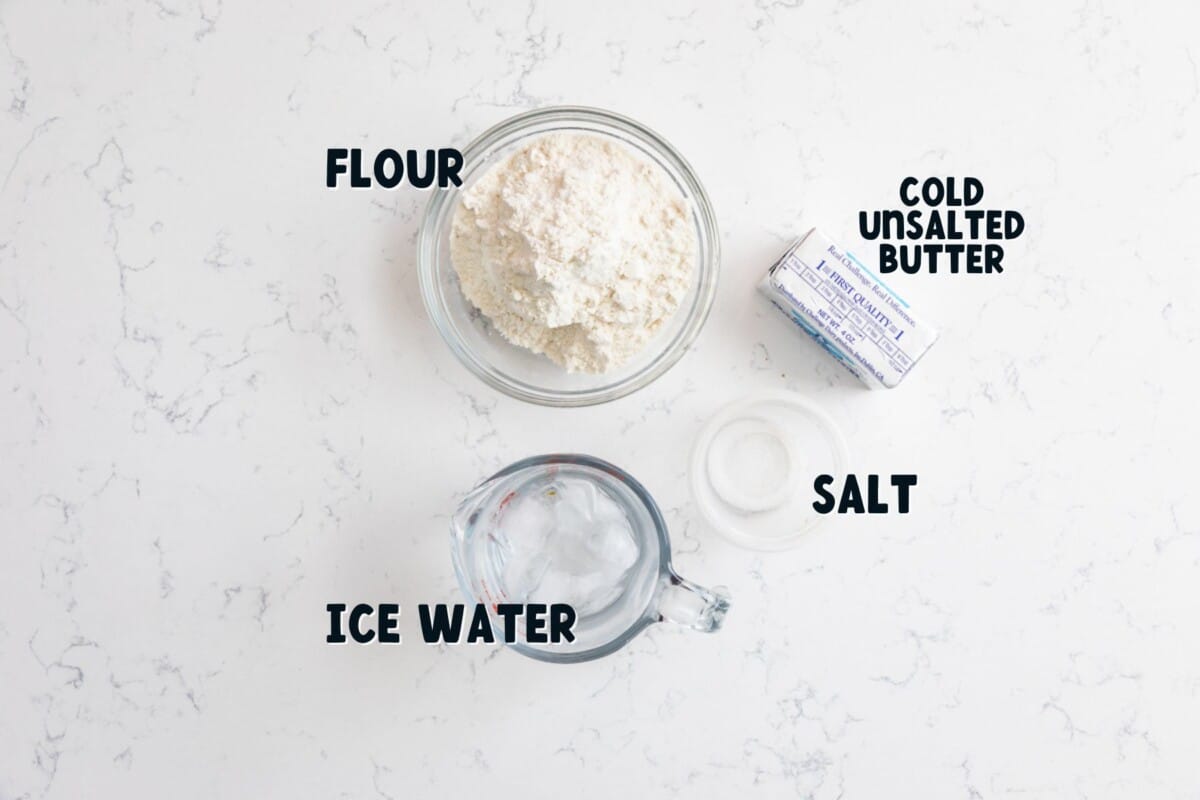
4 Ingredients Needed
A pie crust recipe with butter is such an easy pie crust to make. There are two ways I make this crust: in a food processor or by hand. You can do either one! This really is a no fail pie crust made with butter!
- Flour – plain all-purpose flour is best
- Salt – A little bit of salt helps add flavor to the pie crust.
- Butter – make sure your unsalted butter is COLD
- Water – make sure to use ICE WATER
This crust makes one 9-inch pie crust. If you want to make a double crust pie, just double the recipe.
Pie Crust Secret Tips
- All ingredients MUST be COLD when you make pie crust. Use cold butter (dice it then chill it again) and ice water. I always fill my measuring cup with ice and water to keep it super icy and cold.
- Use a food processor for a no fail pie crust! This comes out perfect EVERY TIME!
- Roll the pie crust BEFORE you chill it – this is a game changer.
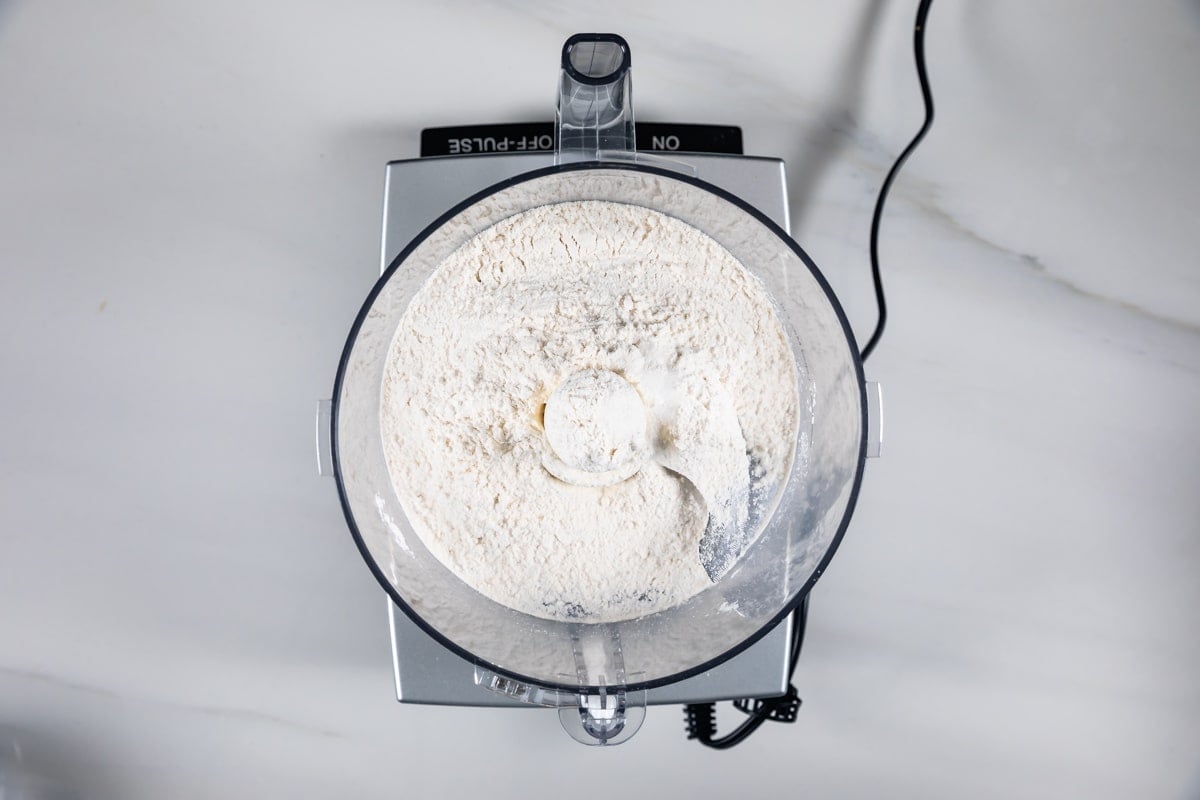
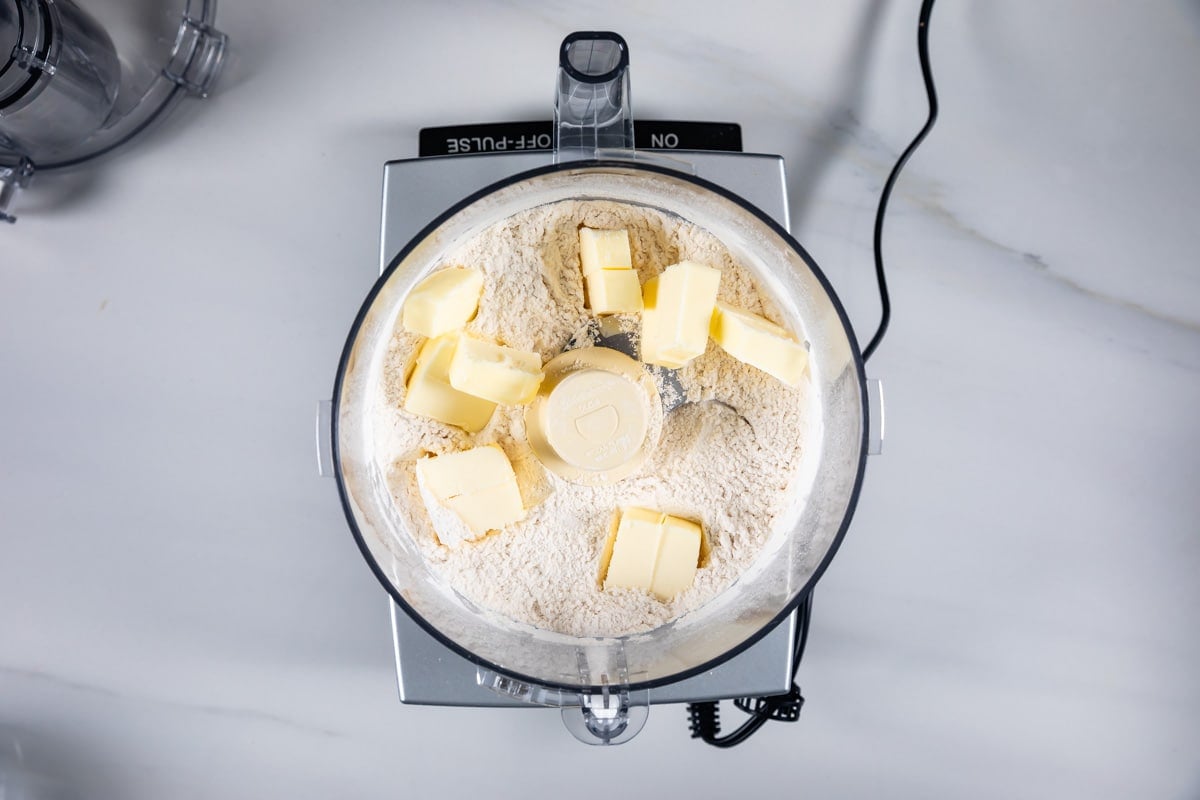
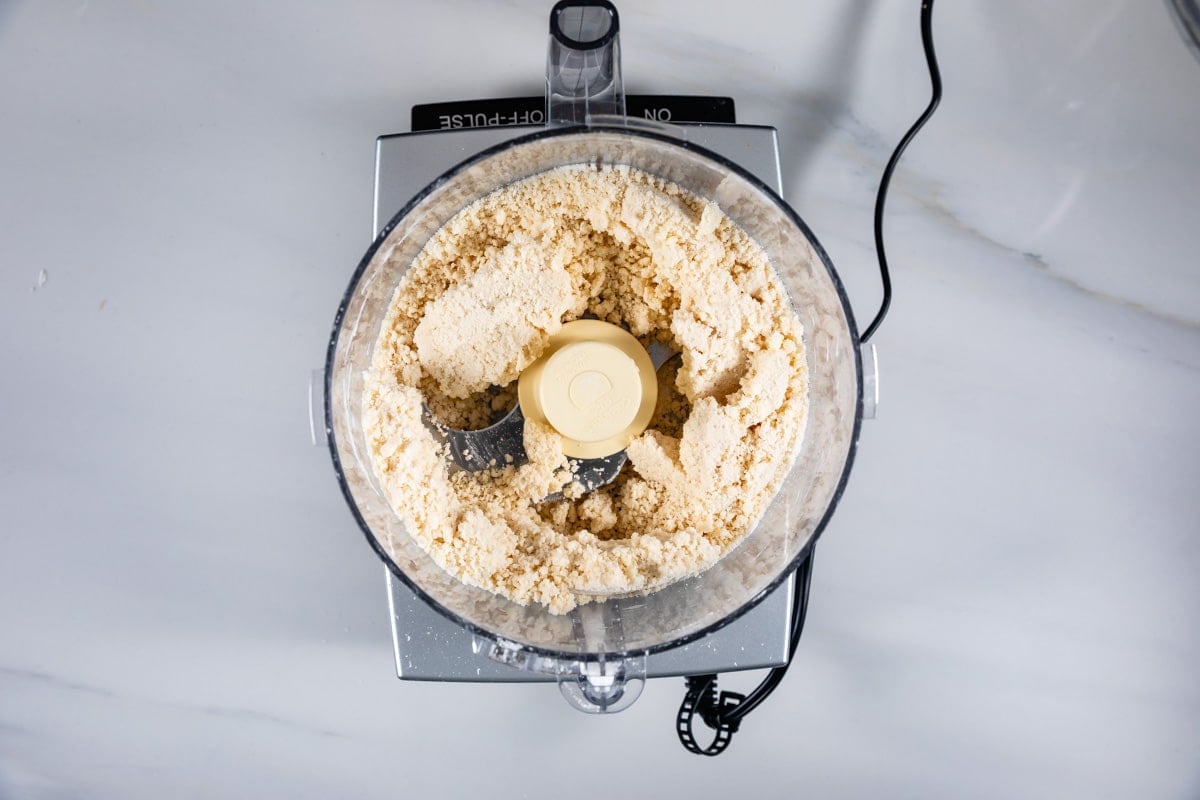
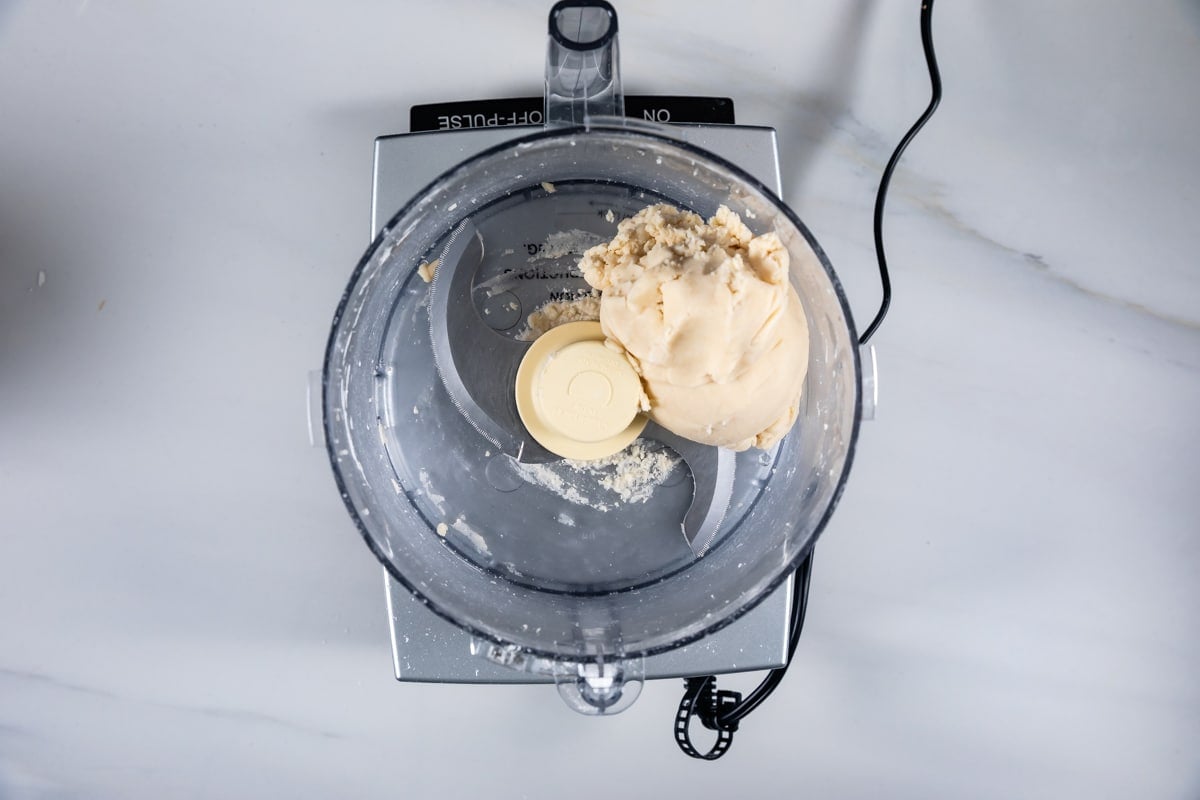
How to make Pie Crust in a food processor
- Add your all purpose flour and salt to your food processor. Pulse once or twice to combine.
- Add your butter. It’s COLD, straight from the fridge. Don’t touch it too much. Don’t go answer the phone. Cold, straight from the fridge to the food processor! Pulse a couple of times.
- Add your ICE water. Not the ice, just the cold water. Start with 1 tablespoon.
- Pulse a few times, let it run a few seconds. I always add a second tablespoon of water at that point, always. But, depending on altitude and humidity and your kitchen and the star alignment, you might need more.
- Wait to see if it comes together before adding more than 2 tablespoons of water. You do not want a wet dough. It takes a few seconds for it to turn into the ball of all butter pie crust!
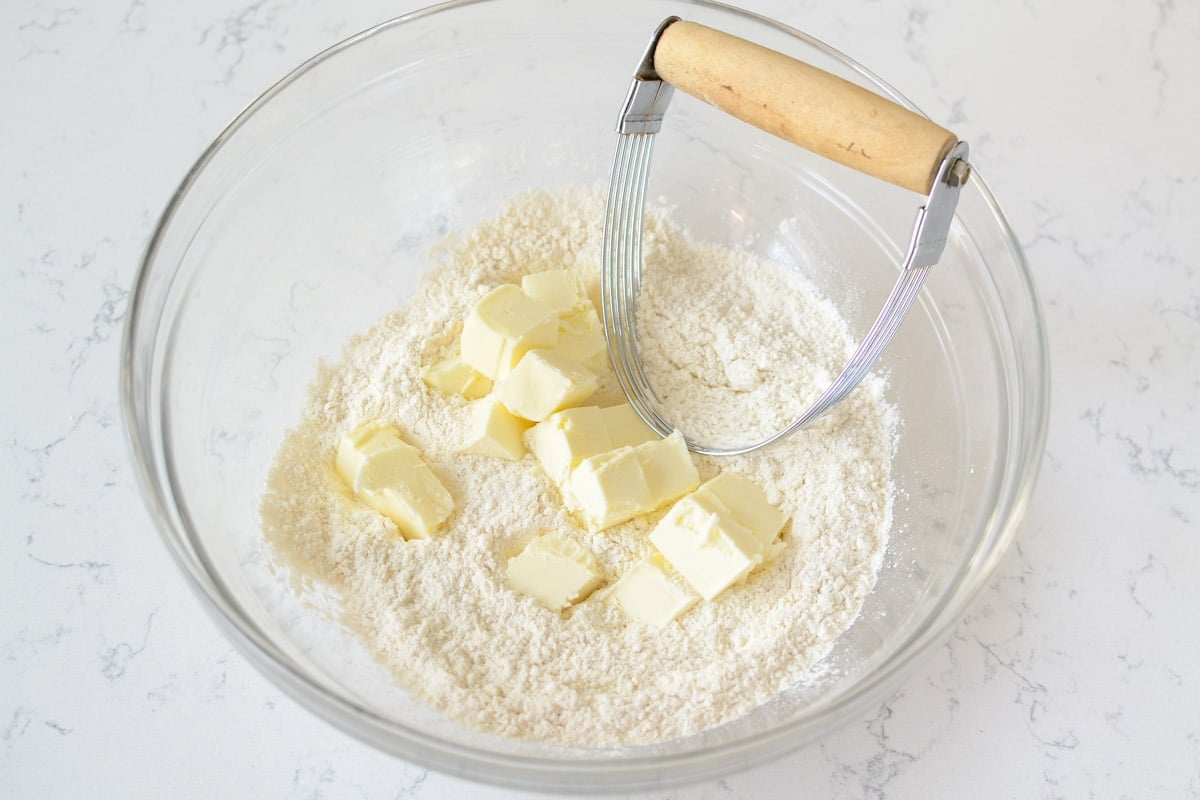
How to make pie crust by hand
- If you don’t have a food processor, you can do this by hand with a pastry cutter. Just whisk the flour and salt first. Then cut in the butter with your pastry cutter until you can’t anymore (this is called a shaggy dough).
- Turn the dough out onto a lightly floured surface and press it together until it forms a disk. Try not to work it too much – just enough so it comes together.
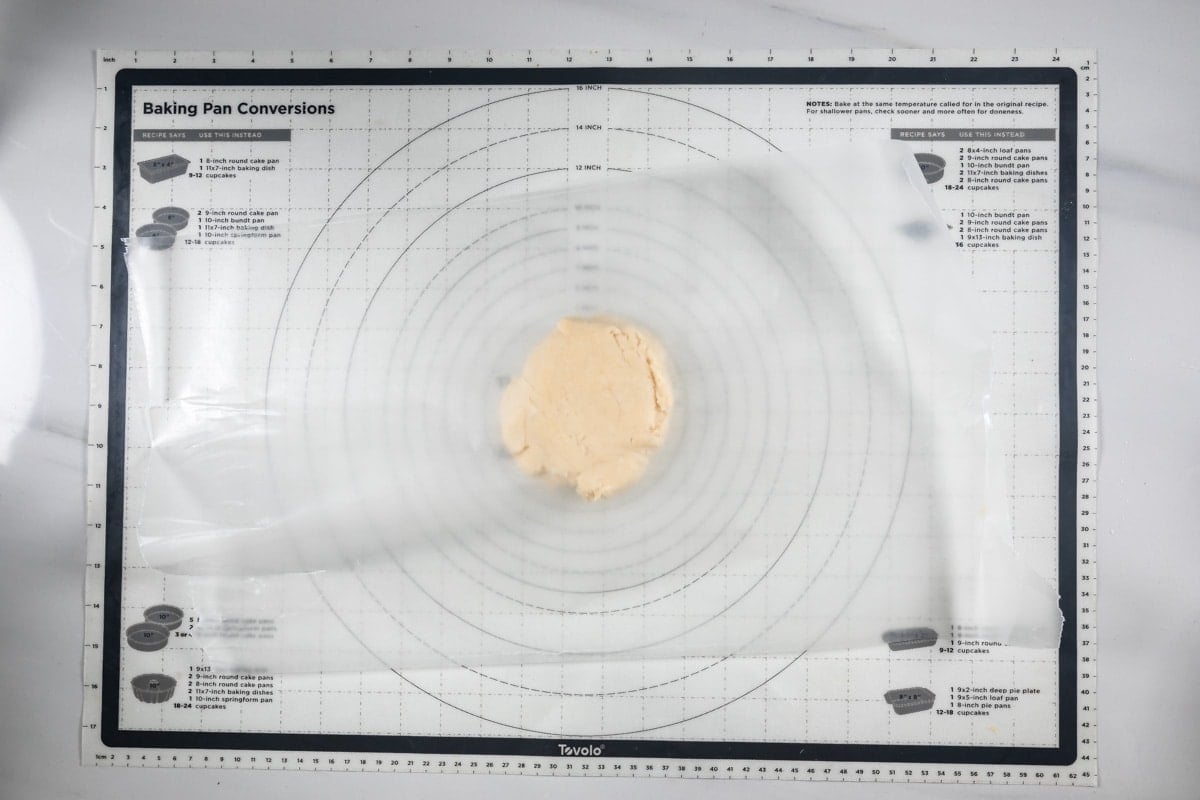
How to roll out pie crust
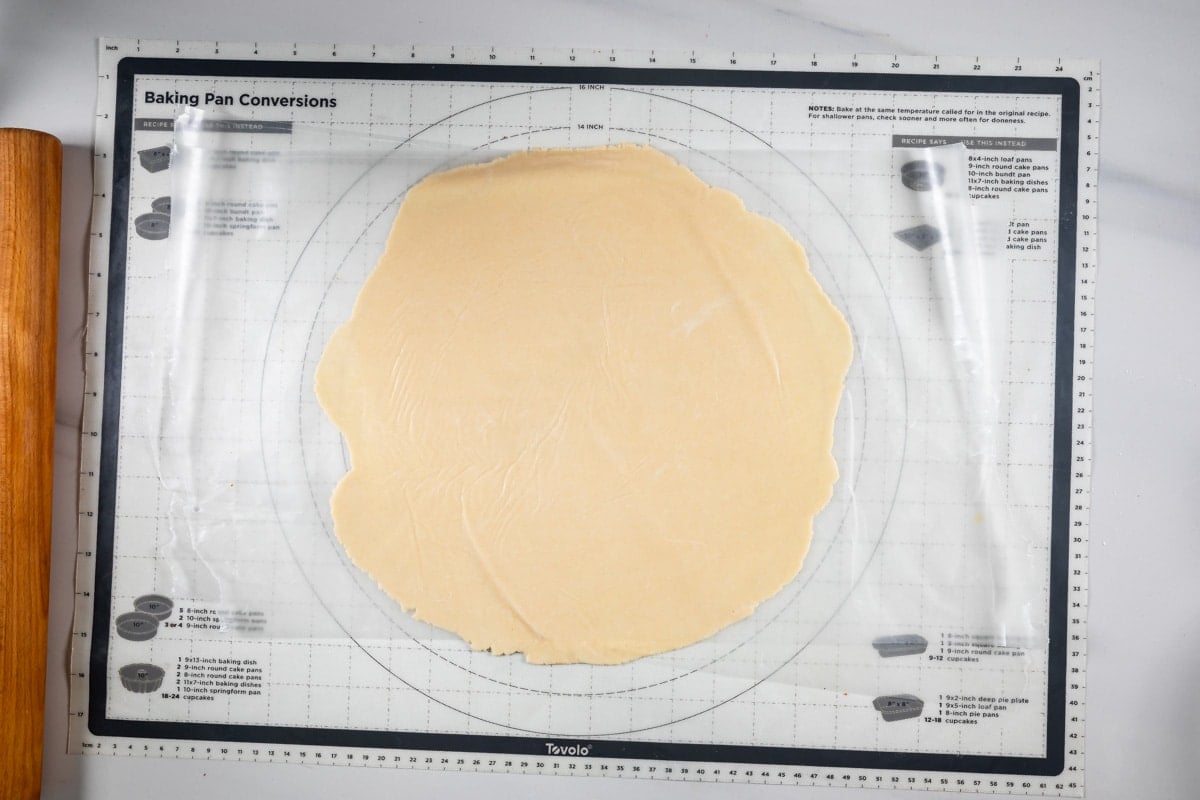
I roll out my pie crust before I chill it. This is unconventional but it works and makes your life so much easier! Roll it between two sheets of wax paper so it won’t stick to your surface or rolling pin. By not adding more flour you reduce the toughness of the crust.
- Place the dough between two sheets of wax paper or parchment paper. Roll to 1/8-inch to 1/4-inch thick.
- I like to pick mine up and flip it over and around every few rolls until it gets too big to do that. This is important because that way you know it’s not sticking to your surface. There is nothing worse than rolling out the perfect dough and have it crack and break when you go to pick it up.
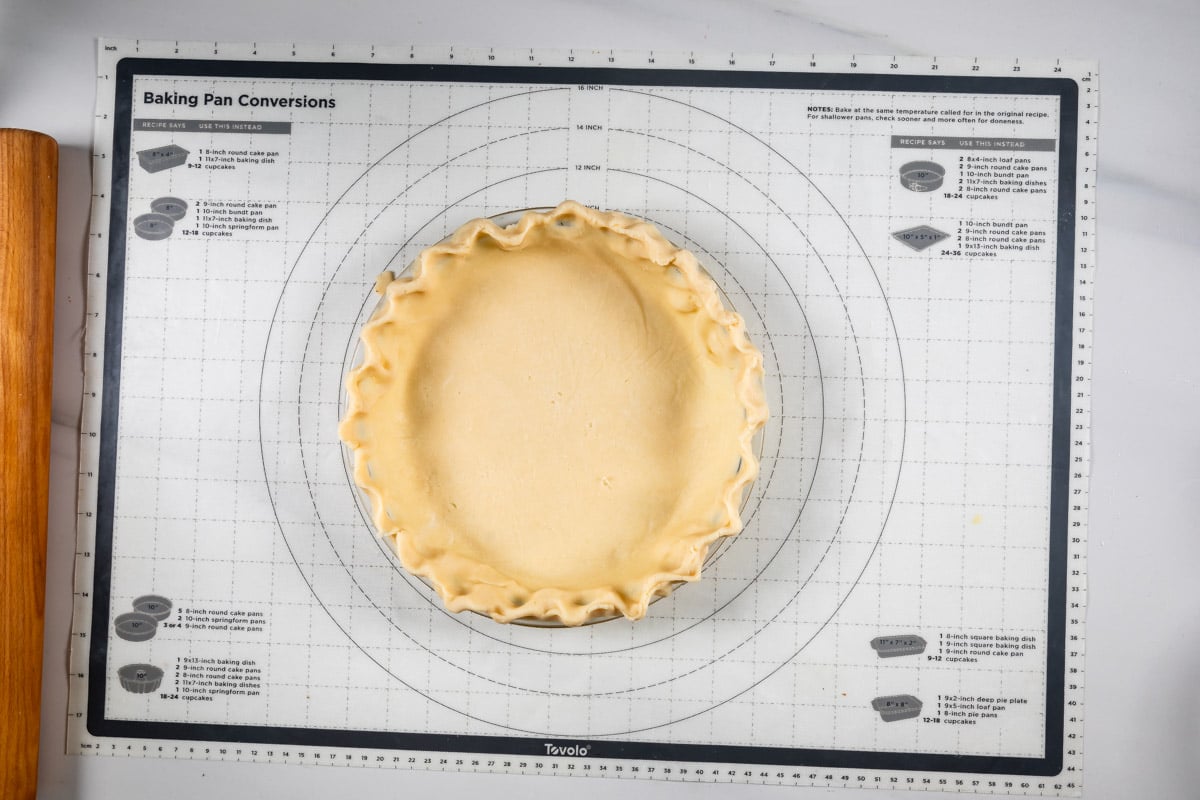
- The easiest way to transfer your all butter pie crust to your pie plate is to roll it up on the rolling pin. If you’ve moved your crust around a bit, it should roll up no problem.
Important Notes
Pie Plate Size: This crust fits best in a 9-inch pie plate (not deep dish). Not all pie plates are the same size. This crust will fit a smaller pie plate but not a larger one.
Use a pie crust shield to keep your edges from burning. If you don’t have a pie crust shield, you can use strips of foil. I add these before baking and remove them about 10-15 minutes before the pie is done baking.
How to crimp the edges
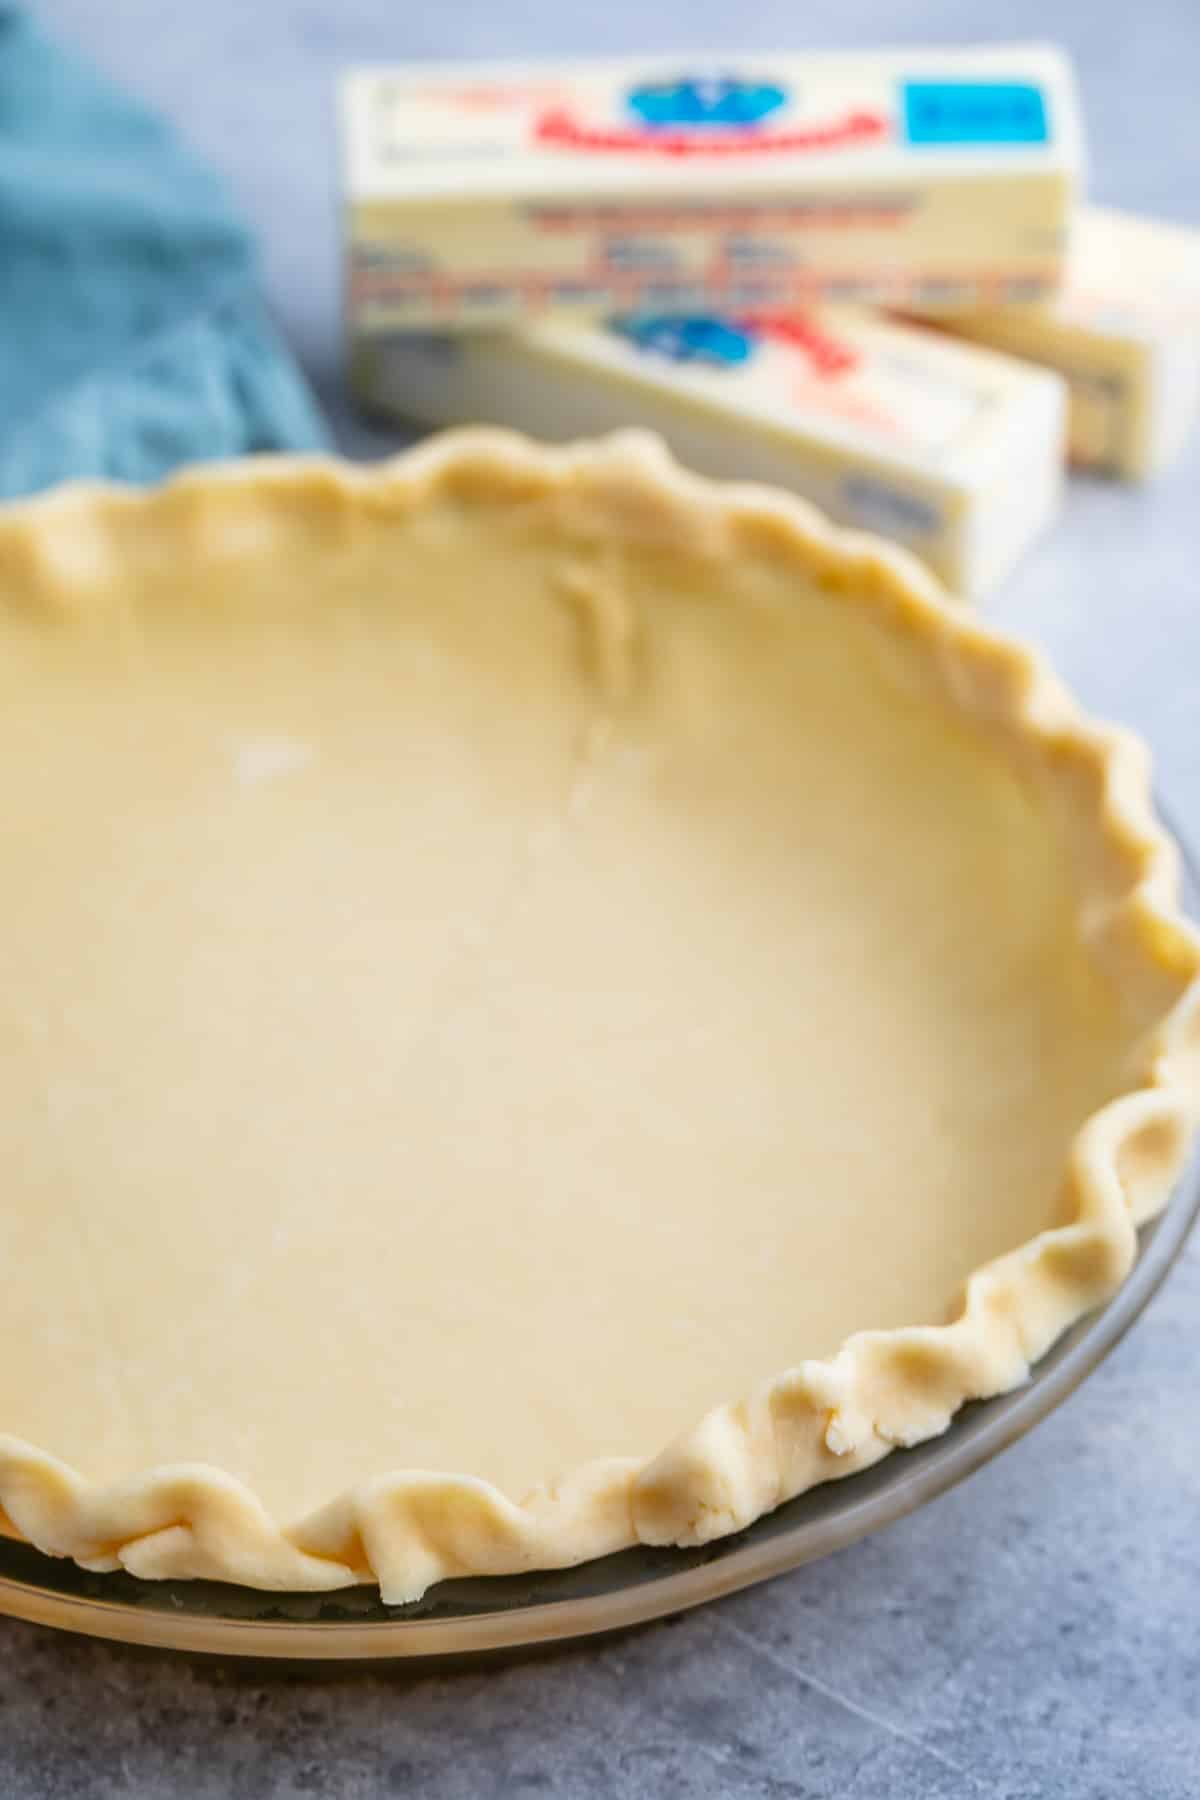
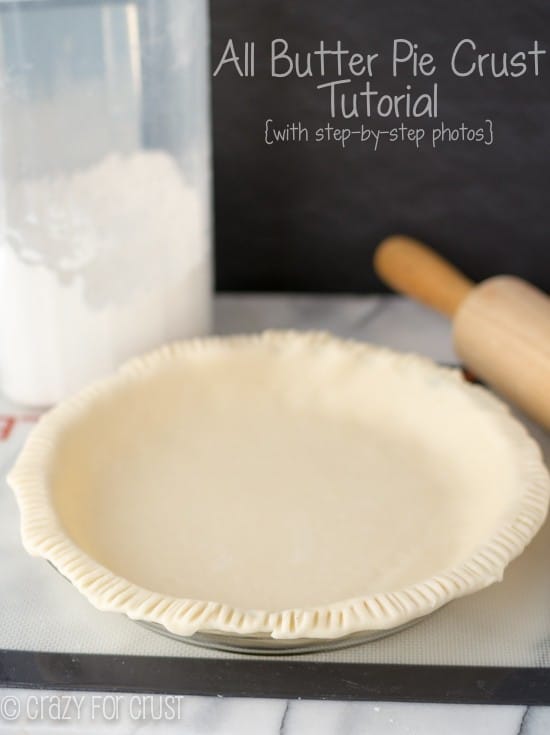
- Use your knuckles to crimp the edges.
- You can also skip the finger step and use the tines of a fork to crimp the edges.
- Make it decorative: Another way I like to dress up my pie edge is to make a second all butter pie crust and use small cookie cutters to cut shapes and put them around the edges.
Expert Tips
Cube your butter: while you’re assembling your ingredients, cube your butter and put it back into the refrigerator to chill at least 5 minutes. Starting with cubed butter makes it easier for the processor to work it into the dough.
Chill the crust before baking: regardless of whether you’re pre-baking the crust or making a filled and baked pie, chill the crust at least 30 minutes before baking – or even freeze it. Baking it COLD is the key.
Thickness: roll the crust to about 1/4-inch thick. If it fits in a 9-inch pie plate with just a bit of overhang, it’s the correct thickness.
Roll on a lightly floured surface if you’re not rolling between sheets of wax or parchment paper.
Only add 1 tablespoon of water at a time – it’s easy to add more but you can’t take it out once it’s in!
I like baking in glass pie plates – I find them the best at getting the bottom done and the best for slicing.
My Favorite Easy Pie Crust Recipe
Ingredients
- ½ cup (113g) unsalted butter diced and chilled
- 1 ¼ cups (155g) all-purpose flour
- ½ teaspoon salt
- 2-4 tablespoons ice water (I always use 2 tablespoons)
Instructions
- Make sure your butter is diced and cold before starting. Make sure you’re using ice water also.
Using a food processor:
- Combine flour and salt in food processor. Pulse once to mix.
- Add butter and process until it resembles coarse crumbs. Add 1 tablespoon of water and pulse, a few times. I always add a second tablespoon of water and pulse until the dough forms a ball. This takes a few seconds. If you find your mixture is too dry, you can add another tablespoon of water, one teaspoon at a time.
- Turn the dough out onto a silicone baking mat, if you have one. If you don’t, you’ll need to flour your surface. Press the dough ball into a disk and roll to about 1/4″ thickness. If it sticks to the rolling pin, place a sheet of wax paper on top of the dough so you don’t have to add more flour. Be sure to flip and rotate your dough as you go so it does not stick to your surface. Roll out the dough to a few inches larger than your pie plate (about 12″ for a 9″ pie plate).
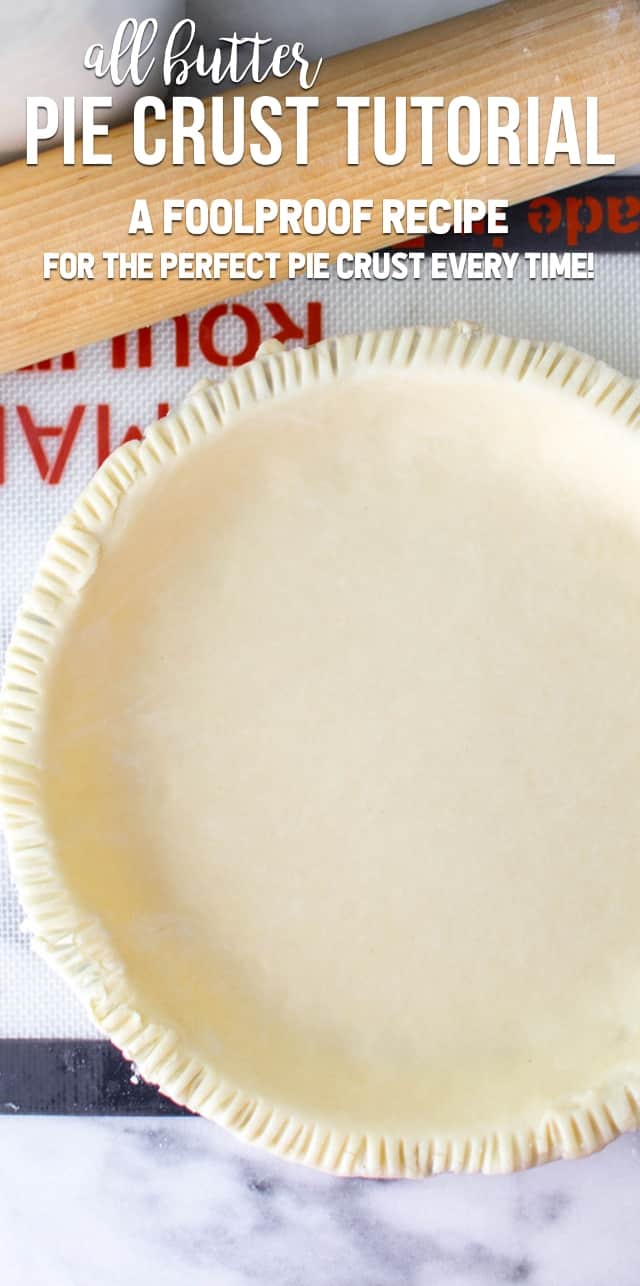
- Place in pie plate and press to fit. Tuck under any overhang and crimp or use the tines of a fork to decorate the edges. Chill until ready to fill.
By Hand:
- Add flour, butter, and salt to a large bowl. Cut your butter in using a pastry cutter. Work in one tablespoon of water at a time. I find I need to use 2-3 tablespoons of water when I’m doing this by hand.
- Turn the dough out onto a silicone baking mat, if you have one. If you don’t, you’ll need to flour your surface. Press the dough ball into a disk and roll to about 1/4″ thickness. If it sticks to the rolling pin, place a sheet of wax paper on top of the dough so you don’t have to add more flour. Be sure to flip and rotate your dough as you go so it does not stick to your surface. Roll out the dough to a few inches larger than your pie plate (about 12″ for a 9″ pie plate).
- Place in pie plate and press to fit. Tuck under any overhang and crimp or use the tines of a fork to decorate the edges. Chill until ready to fill.
- This pie crust is great for filling and the recipe makes 1 crust that fits comfortably in a 9″ pie plate. For a bigger pie plate or for a double crust, double the recipe.
- Make sure to chill the pie crust at least 30 minutes before filling or baking. If you’re blind baking the crust, chill at least 2 hours or freeze 30 minutes.
- The crust can be wrapped well with plastic wrap and stored in the refrigerator up to 2 days or frozen for up to one month before baking.
Baking instructions
- For Blind Baking: follow the link in the notes below for detailed instructions. Prick the bottom of the pie crust with a fork. Layer a sheet of parchment paper in the bottom and up the sides of the crust. Fill the crust with pie weights (or dry beans/rice/etc) and bake at 400°F for about 15-20 minutes. Remove the parchment and pie weights carefully, then continue baking until cooked through and golden brown.
- For filled pies: bake as directed in the recipe you're using.
Recipe Video
Recipe Notes
Recipe Nutrition
FAQ
I think an all butter pie crust tastes better than one made with shortening or lard. Butter has so much flavor, plus produces a tender crust.
Yes – wrap it well in plastic wrap and place it in an airtight container or bag to freeze. You can also put it in your pie plate and wrap that well and freeze – either baked or raw.
No, there is enough butter in this you do not need to grease your pie plate.
Yes – if you use salted butter reduce the amount of salt in the recipe to 1/4 teaspoon.
Yes easily – just double everything but use 2 tablespoons water to start. You may only need 2-3 tablespoons water for the dough to come together. Doubling the recipe is perfect for a 2-crust pie.
This depends on the recipe you’re using. Be sure and make the crust according to this recipe but then follow the baking instructions on the recipe you’re using!
Favorite Pie Recipes
Last Updated on October 24, 2023







This is the best pie crust I ever made. So buttery and flaky! The tips made it (relatively) easy to make too.
I cannot even begin to tell you how happy I am to have found this recipe! I’ve been making pies around the Holidays for the past 4 years. I’ve always HATED making the crust because it would take me forever to find a recipe that worked for me and even then, it wasn’t the best. That all changed today! This recipe was SO easy and the crust was delicious! I was nervous about leaving the dough mixture in the food processor thinking it would never turn into a ball, but then it did! I was able to take it out and roll it immediately. I was amazed and would rate this 100 stars if I could. Thank you so much!!
I’m so glad you like it!! It’s my favorite crust for sure.
Haven’t made yet. Is this recipe for a 9” plate. Would like to make a 10” crust. Do you have measurements for this size.
Thanks.
Linda
You can just roll the crust bigger for a 10-inch. There will be less overhang – if it gets too hard to transfer since it’s large and warmed from rolling, chill 10 min before putting in the pie plate.
Love your recipe! Finally I have my go to crust recipe, thank you! since I am a cook I did make changes and they worked fine. Did not use a processor, mixed butter in with my fingers (always my go to for flour and butter). Rolled out between to sheets of waxed paper lightly floured. Everything else the same and loved it. Thank you
Gigi
Love that you did it by hand! I’m much too lazy for that!
Easy and delicious! Probably the best. Today I baked it in a tomato pie.
I made the pie crust yesterday to see how it would turn out. It was perfect. I used it to make a cinnamon sugar roll which my grandson loves. He’s 18 and still can’t get enough of it. Today, I doubled the recipe and it’s a winner. This is going to be the only recipe I use going forward. Thank you.
It didn’t work for me. Grams for flour should be 160. I doubled recipe and the dough was too moist. I never added water. What did I do wrong?
The way I measure my flour, it’s 124g for 1 cup of all purpose, so 155g for 1 1/4 cups. Was your butter soft or cold? What brand butter did you use?
Where are the measurements for each ingredient
In the recipe card.
This crust is amazing and the best crust I have ever made.
I must be missing something. It sounds like you roll your dough then chill AND THEN YOU ROLL IT AGAIN???? It just did not make sense to me. Please clarify
I hate rolling chilled dough. Like, I’d rather eat beets. So instead, I roll out my dough, put it in my pie plate, THEN chill it while I make my filling. This dough is sturdy enough to roll right away, and if it’s rolled out, it chills faster.
Roll the dough after mixing in the food processor, then line the pie plate with it then chill it. No need to chill before rolling as long as you’re starting with COLD ingredients.
Featured In
Rate This Recipe