This post may contain affiliate links. For more information, read my disclosure policy.

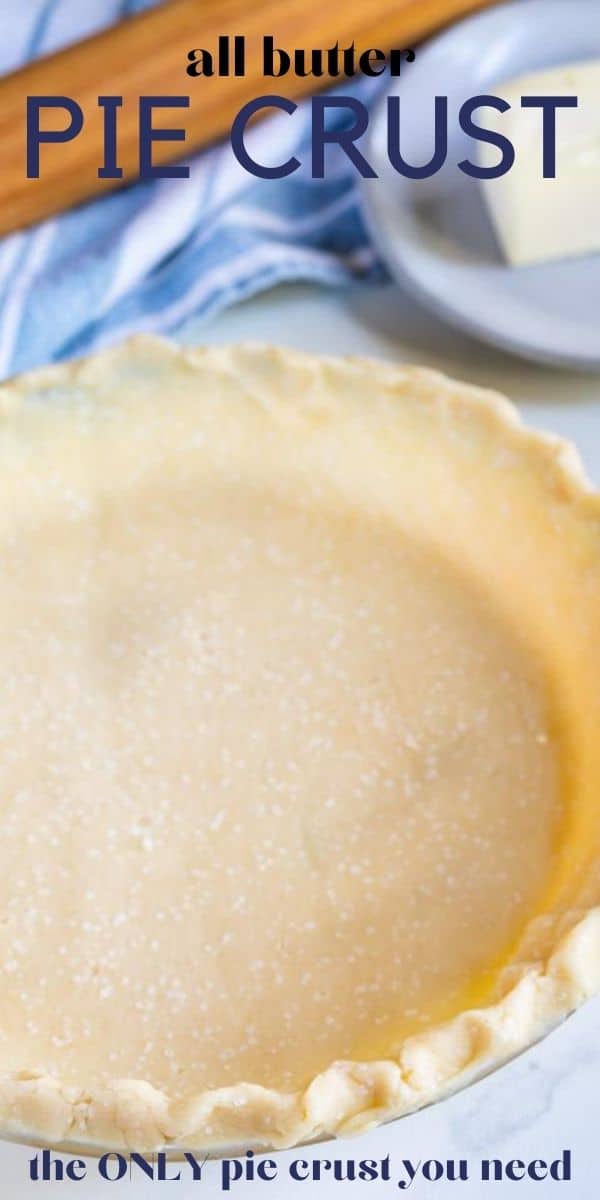

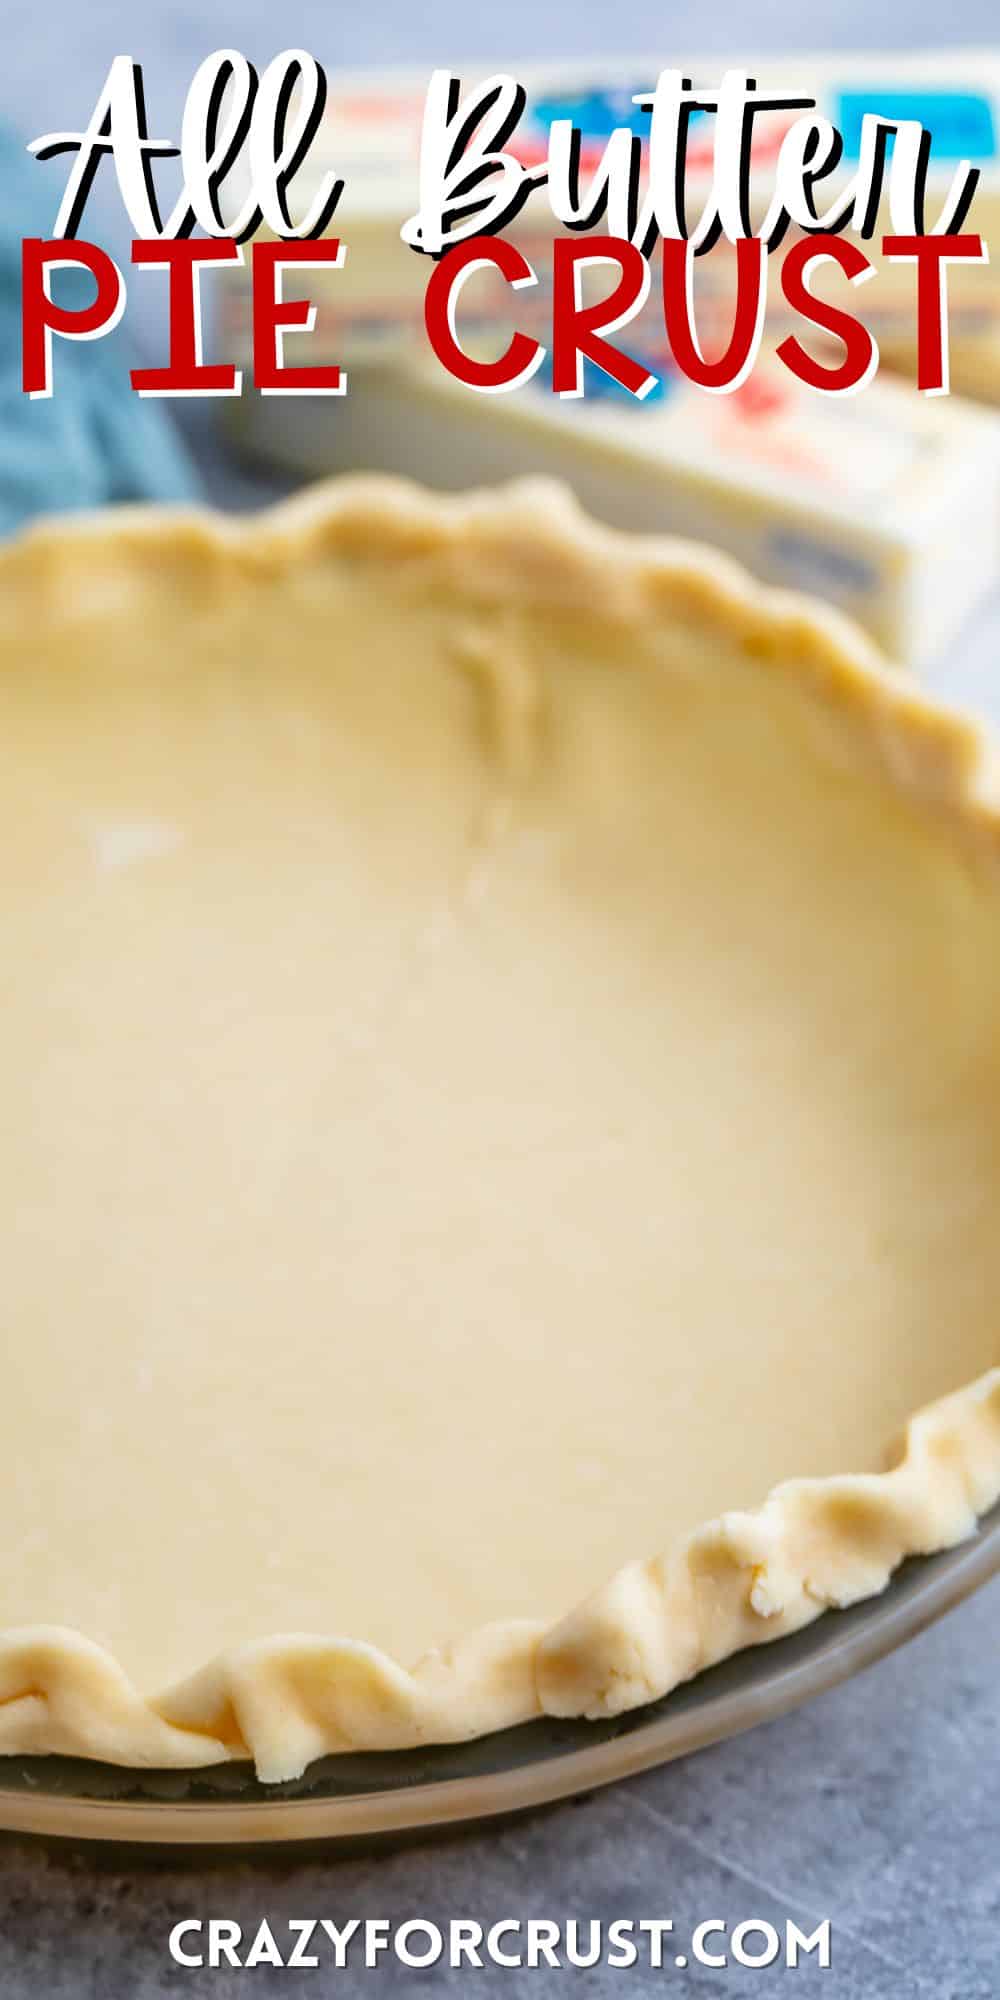
This is the only All Butter Pie Crust recipe you will ever need! After over 10 years of testing, this 4-ingredient dough is still my absolute favorite because it is reliable, incredibly flaky, and tastes so much better than anything you can buy at the store. Whether you’re making a sweet fruit pie or a savory quiche, this crust comes out perfect every single time. It’s the ultimate foundation for all your pies!
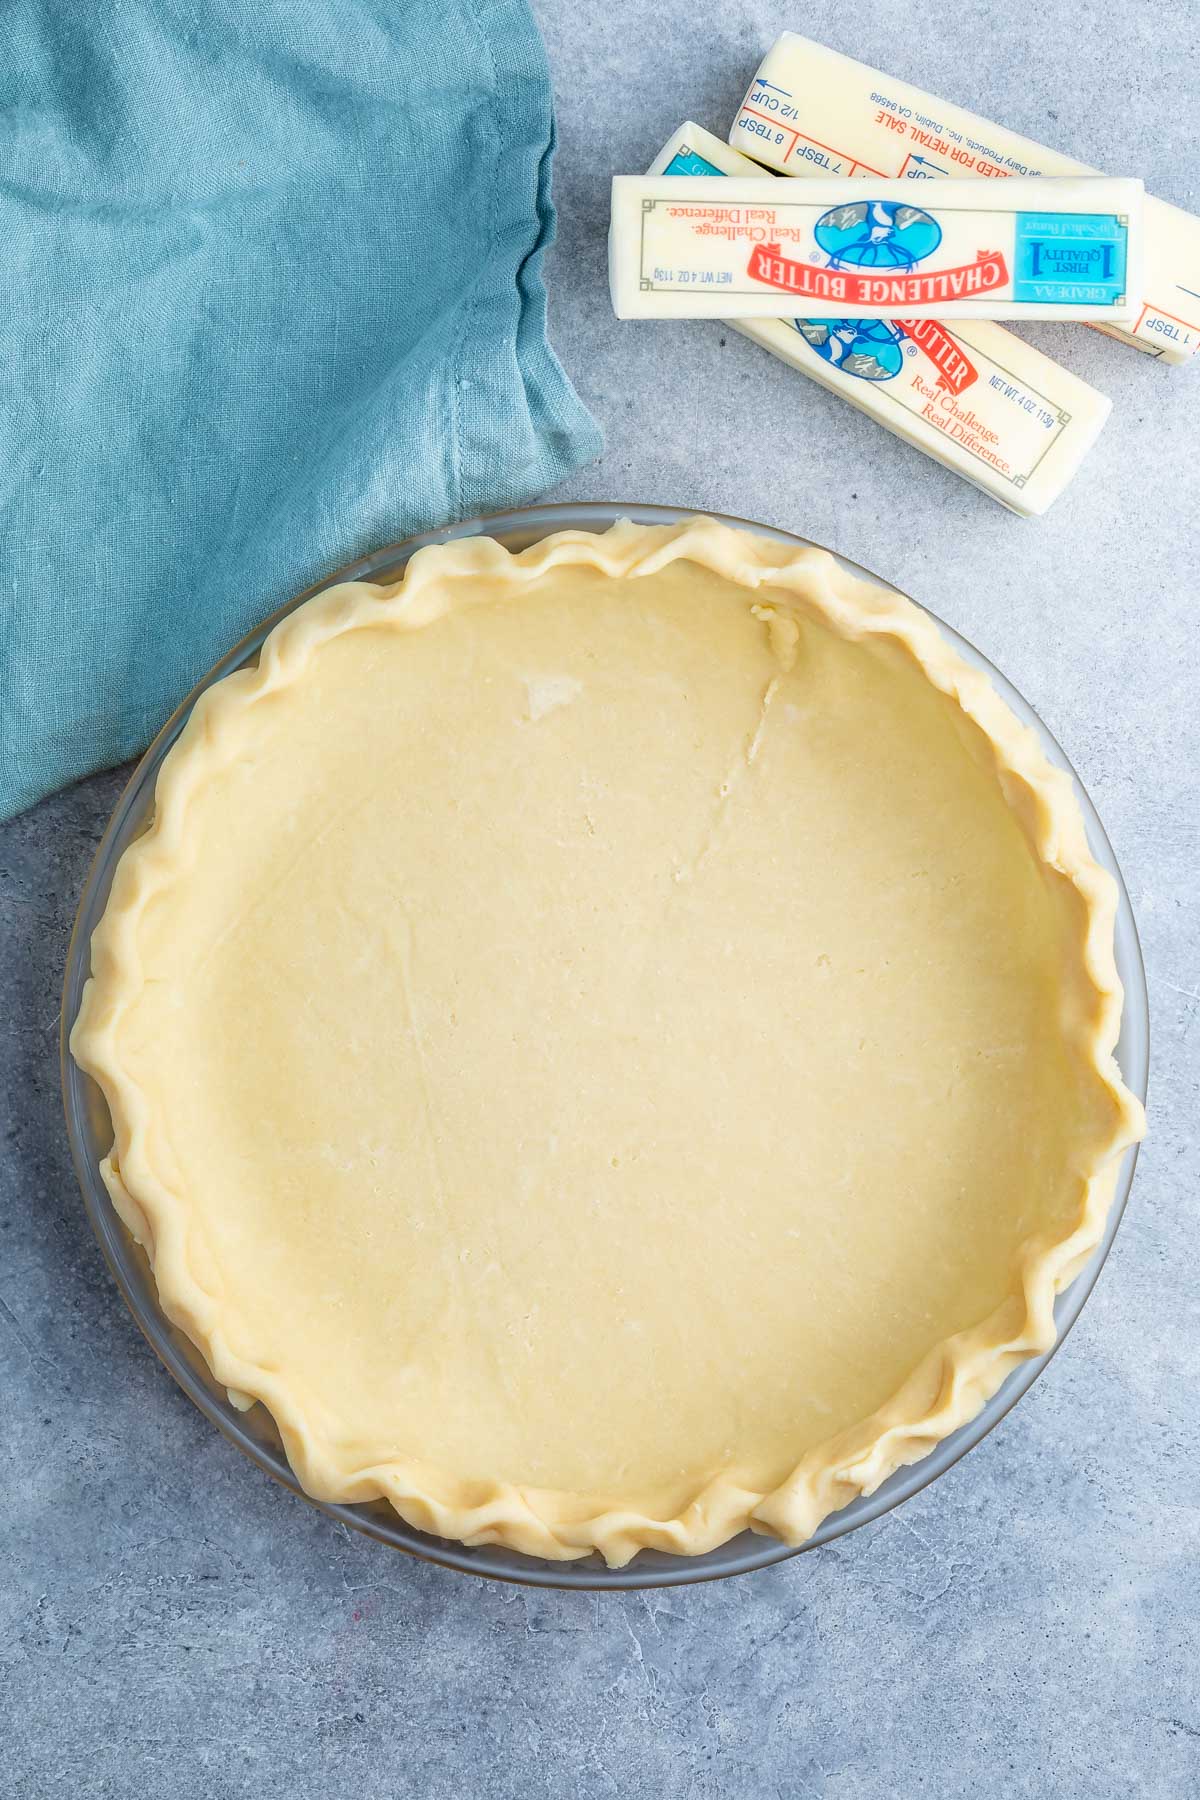
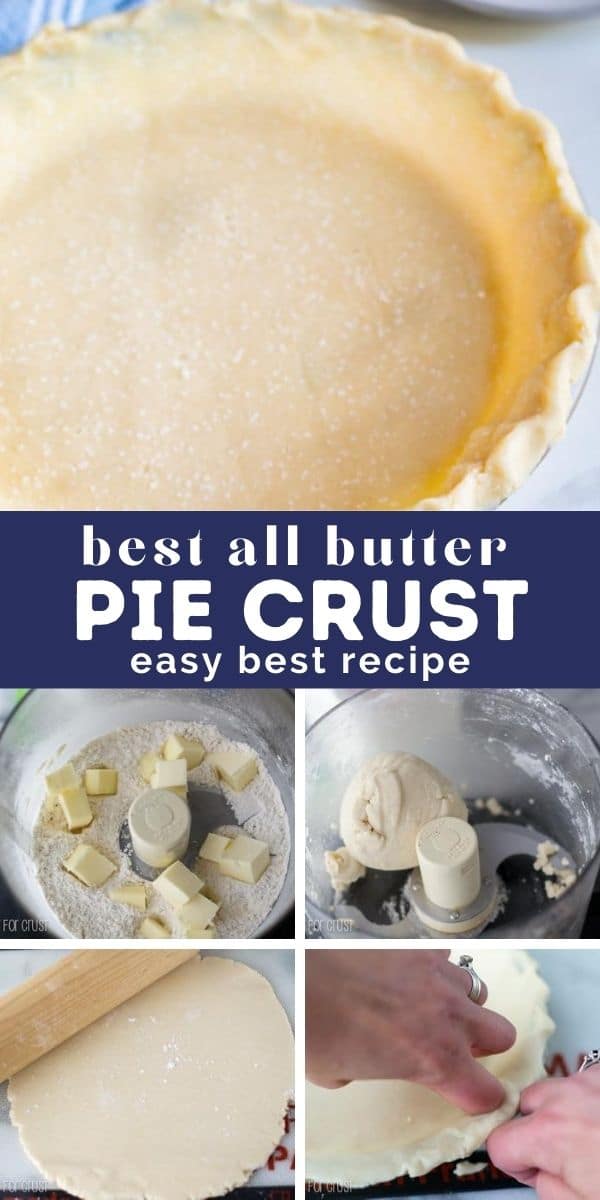
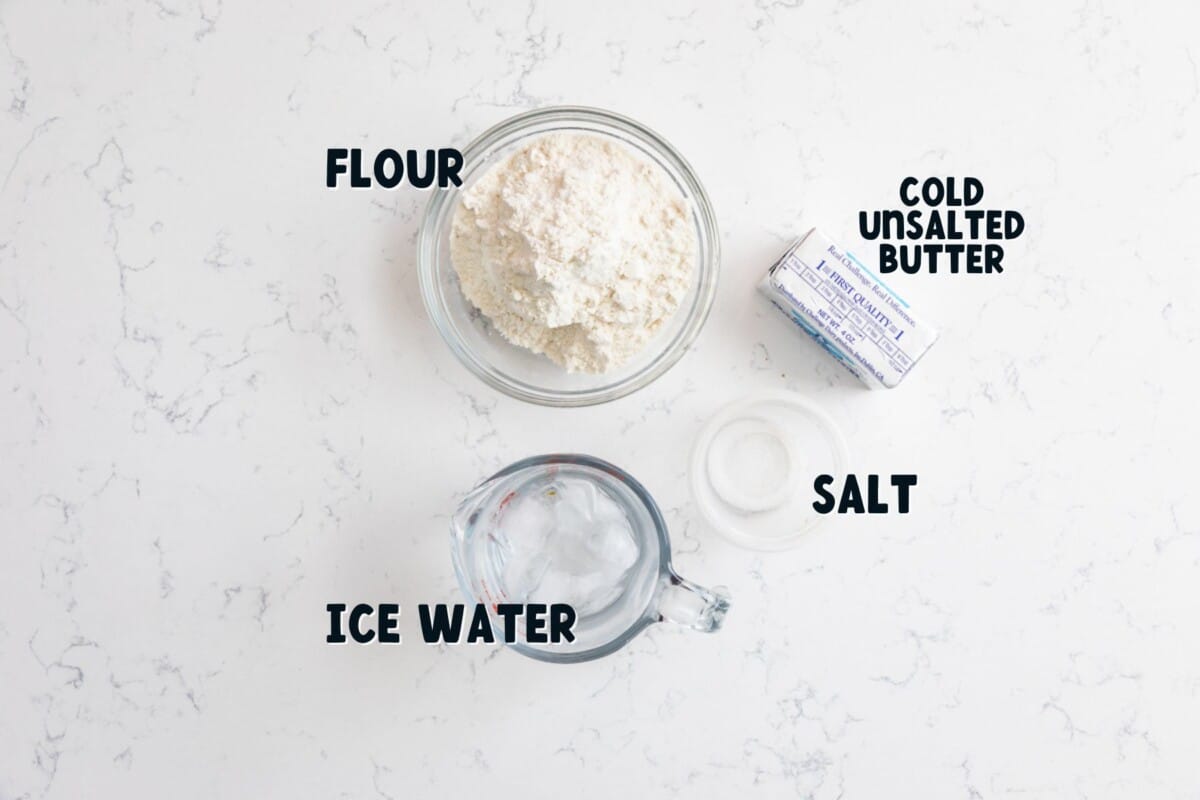
This 4-ingredient all-butter pie crust recipe requires only flour, salt, cold unsalted butter, and ice water. It can be prepared in a food processor or by hand using a pastry cutter. The technique focuses on maintaining cold ingredient temperatures to produce a flaky, tender texture suitable for both sweet and savory pies.
I’ve been using this all-butter pie crust recipe for over 10 years. I always try other recipes but I come back to this one because it’s so easy and so good.
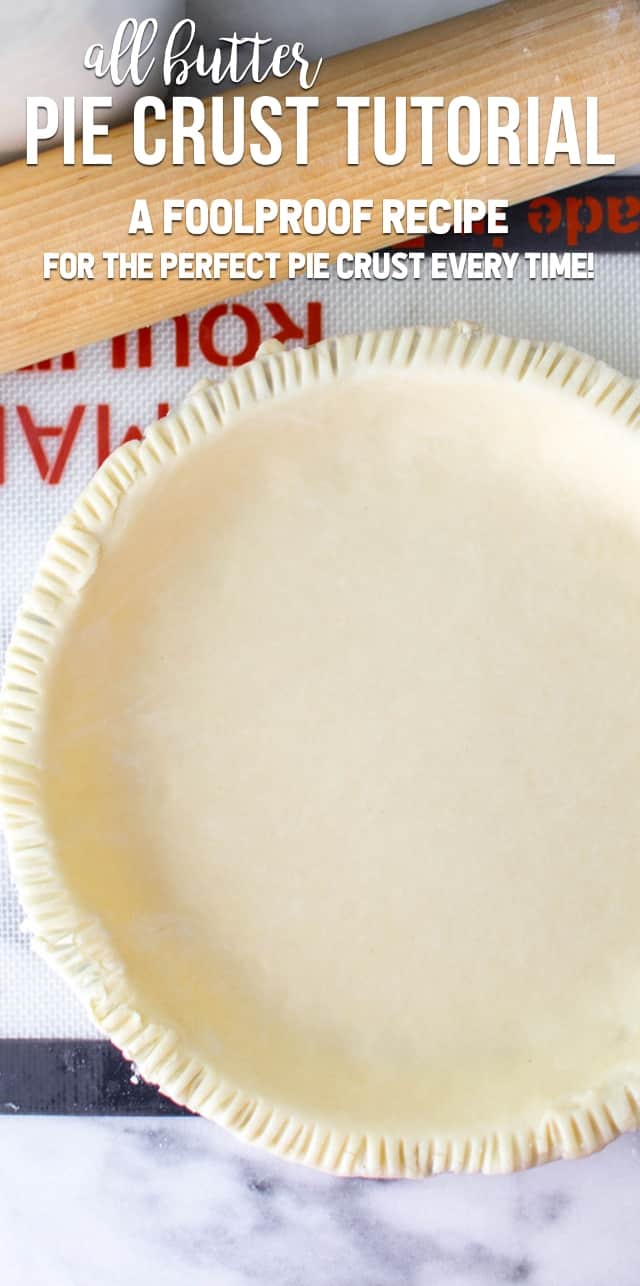
The secret to a successful homemade pie crust is simplicity and temperature. By using only cold unsalted butter and ice-cold water, we ensure the fat stays cold, even when using a food processor. When the cold butter hits the hot oven, they create steam, which is what gives you those coveted flaky layers. This no-fail method can be made in a food processor or by hand, making it the perfect starting point for any baker.
4 Ingredient Pie Crust
A pie crust recipe with butter is such an easy pie crust to make. There are two ways I make this crust: in a food processor or by hand. You can do either one! This really is a no fail pie crust made with butter!
- Flour – plain all-purpose flour is best
- Salt – A little bit of salt helps add flavor to the pie crust.
- Using butter straight from the refrigerator is non-negotiable for a flaky crust. This is especially important given the main method is using a food processor. Since the butter will become completely incorporated it must be cold so it does not melt. The cold butter, even when incorporated, will create steam during baking that lift the dough into thin, buttery layers.
- You must use ice water for the same reason: the whole purpose is to keep the butter ice cold even though it is being incorporated into the dough.
- This crust makes one 9-inch pie crust. If you want to make a double crust pie, just double the recipe.
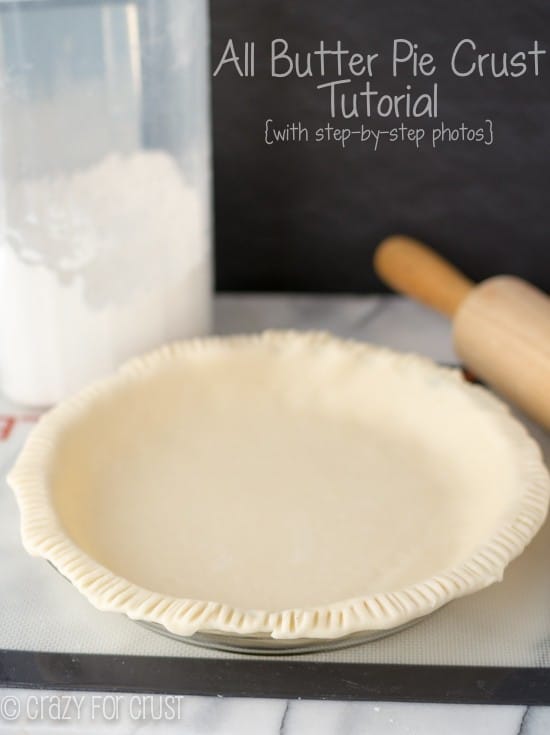
Click to see the recipe card below for full ingredients & instructions. See below the recipe card for even more information: process shots, variations, FAQ and more.
Dorothy’s Pie Crust Secret
Roll the pie crust BEFORE you chill it – this is a game changer. Why?
- By rolling the dough at room temperature between wax paper or parchment paper sheets, you do not need to use extra flour (no “floured surface) needed. This will help you work the dough less, forming less gluten, creating a flakier crust.
- It’s so much easier to roll it room temperature – less of an arm workout, which makes it a more accessible crust recipe.
- Pie dough that’s rolled out or already in the pie crust chills faster.
- Placing the rolled out dough into the pie plate and then chilling makes the pie go into the oven still cold which creates a flakier crust. Baking cold also prevents shrinkage and collapsing of the sides of the pie.
Dorothy’s Expert Pie Crust Tips
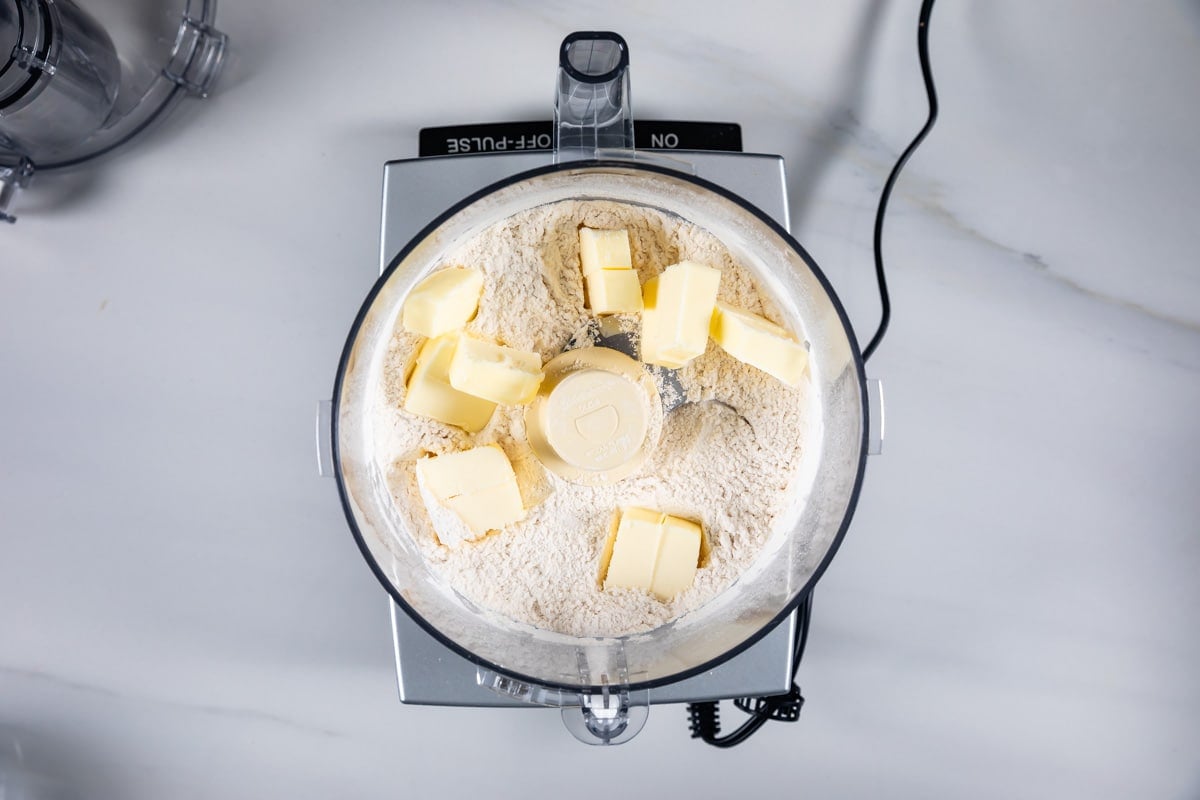
- Cube your butter: while you’re assembling your ingredients, cube your butter and put it back into the refrigerator to chill at least 5 minutes. Starting with cubed butter makes it easier for the processor to work it into the dough.
- Chill the crust before baking: regardless of whether you’re pre-baking the crust or making a filled and baked pie, chill the crust at least 30 minutes before baking – or even freeze it. Baking it COLD is the key.
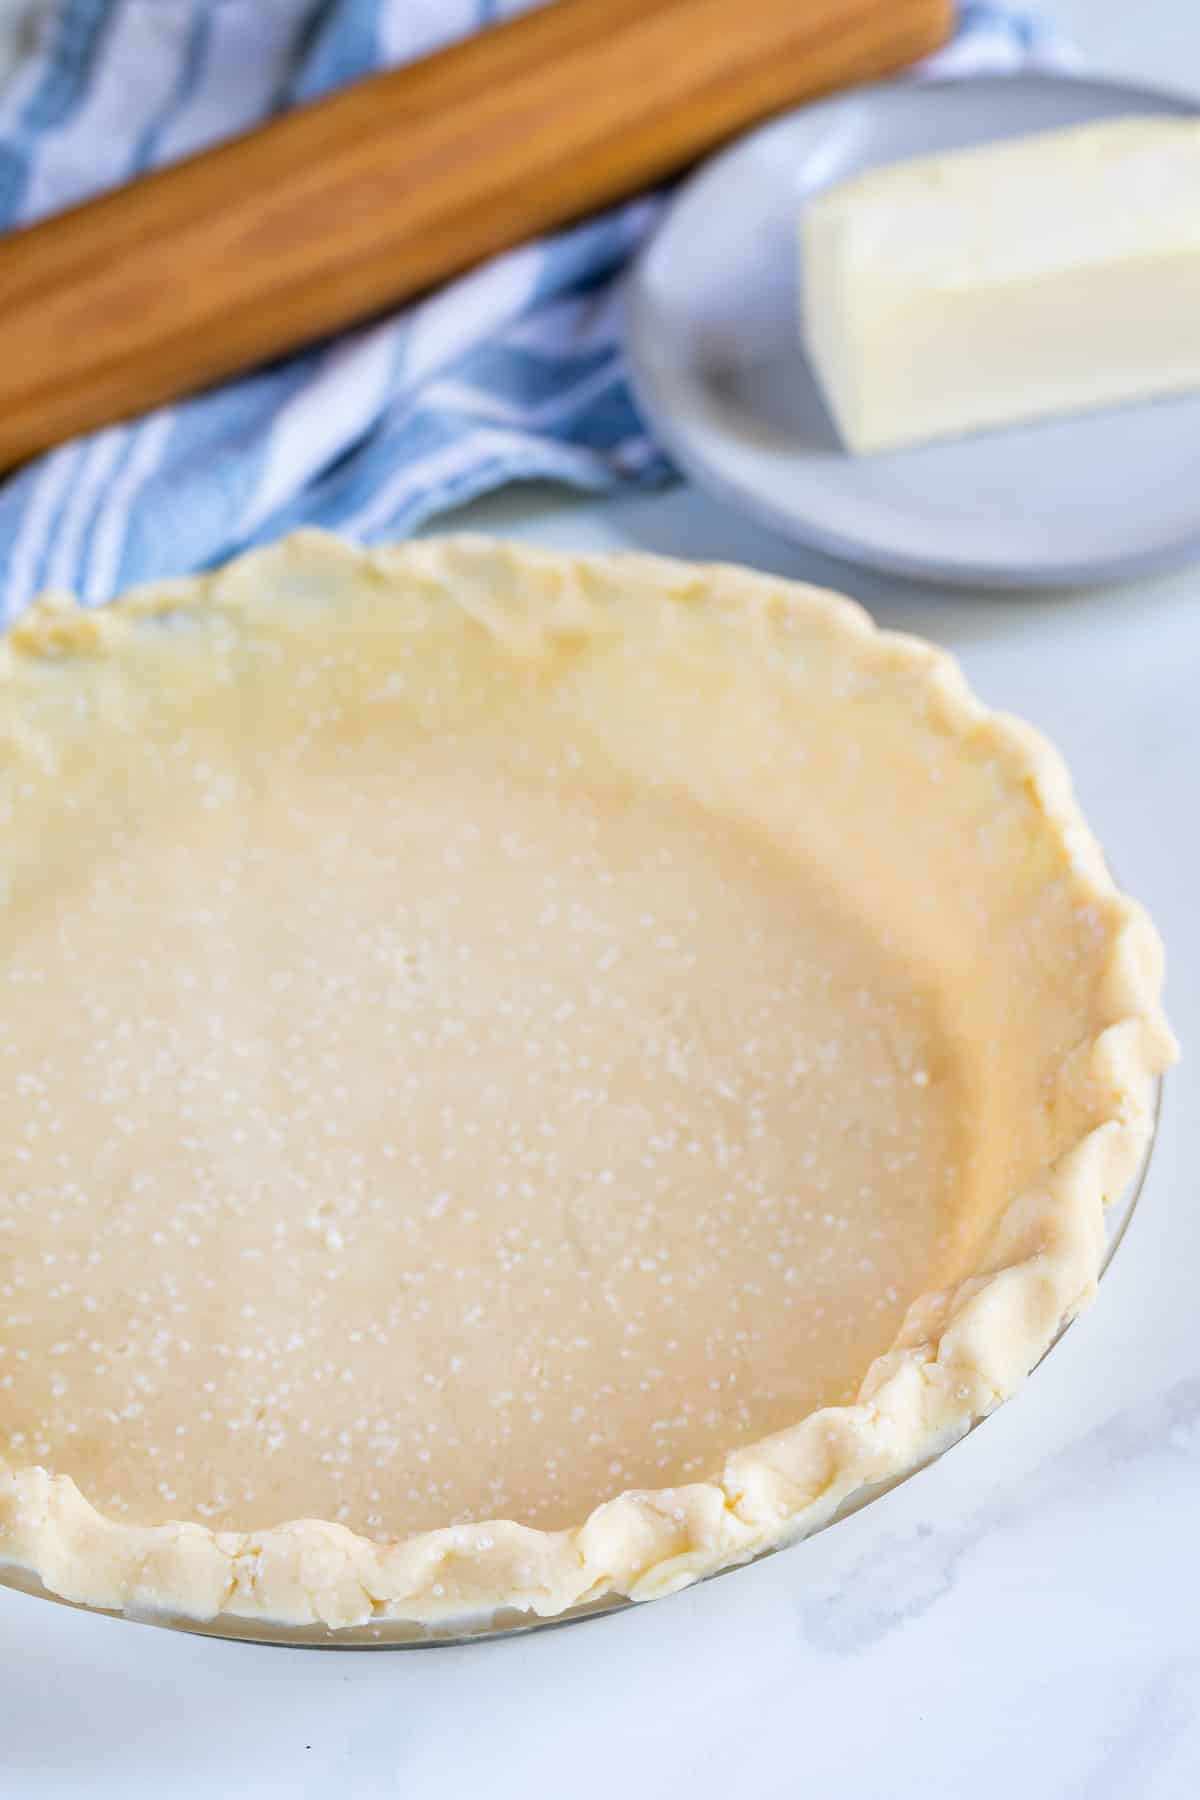
- Thickness: roll the crust to about 1/4-inch thick. If it fits in a 9-inch pie plate with just a bit of overhang, it’s the correct thickness.
- When adding ice water, start with just one or two tablespoons and pulse just until the dough begins to clump. A common mistake is adding too much liquid; the dough should look “shaggy” and barely hold together when pressed, as this prevents over-development of gluten and keeps the crust from becoming tough.
- I like baking in glass pie plates – I find them the best at getting the bottom done and the best for slicing. Pie Plate Size: This crust fits best in a 9-inch pie plate (not deep dish). Not all pie plates are the same size. This crust will fit a smaller pie plate but not a larger one.
- Use a pie crust shield to keep your edges from burning. If you don’t have a pie crust shield, you can use strips of foil. I add these before baking and remove them about 10-15 minutes before the pie is done baking.
- Have leftover crust? Make Pie Crust Cookies!
My Favorite Easy Pie Crust Recipe
Video
Ingredients
- ½ cup (113g) unsalted butter, diced and chilled
- 1 ¼ cups (155g) all-purpose flour
- ½ teaspoon salt
- 2-4 tablespoons ice water, (I always use 2 tablespoons)
Instructions
- Make sure your butter is diced and cold before starting. Make sure you’re using ice water also.
Using a food processor:
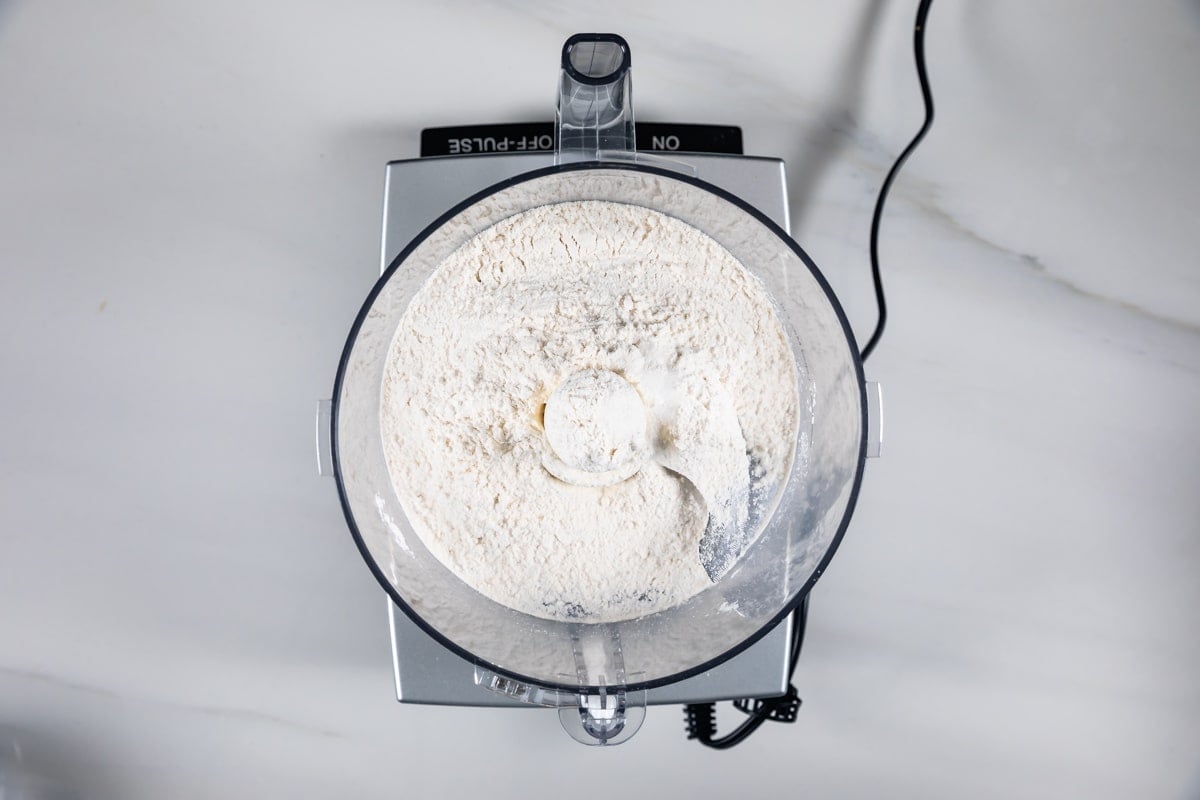
- Combine flour and salt in food processor. Pulse once to mix.
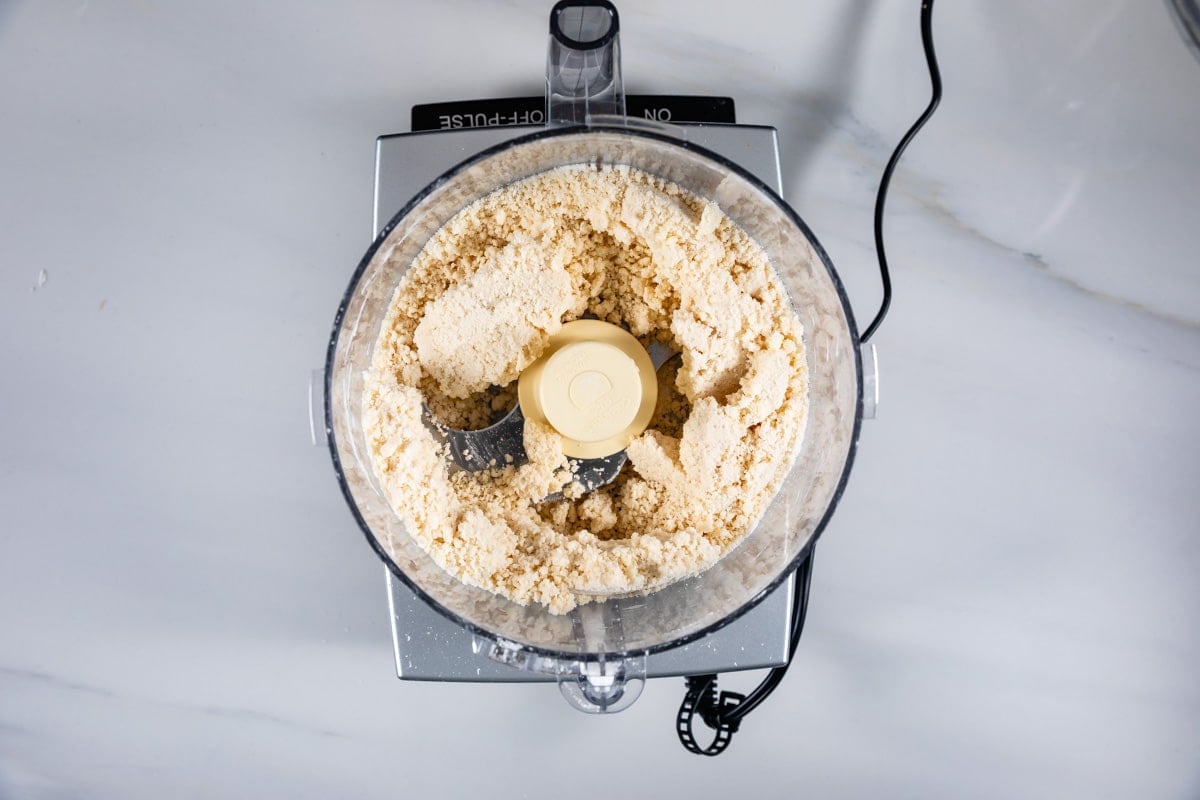
- Add butter and process until it resembles coarse crumbs. Add 1 tablespoon of water and pulse, a few times. I always add a second tablespoon of water and pulse until the dough forms a ball. This takes a few seconds. If you find your mixture is too dry, you can add another tablespoon of water, one teaspoon at a time.
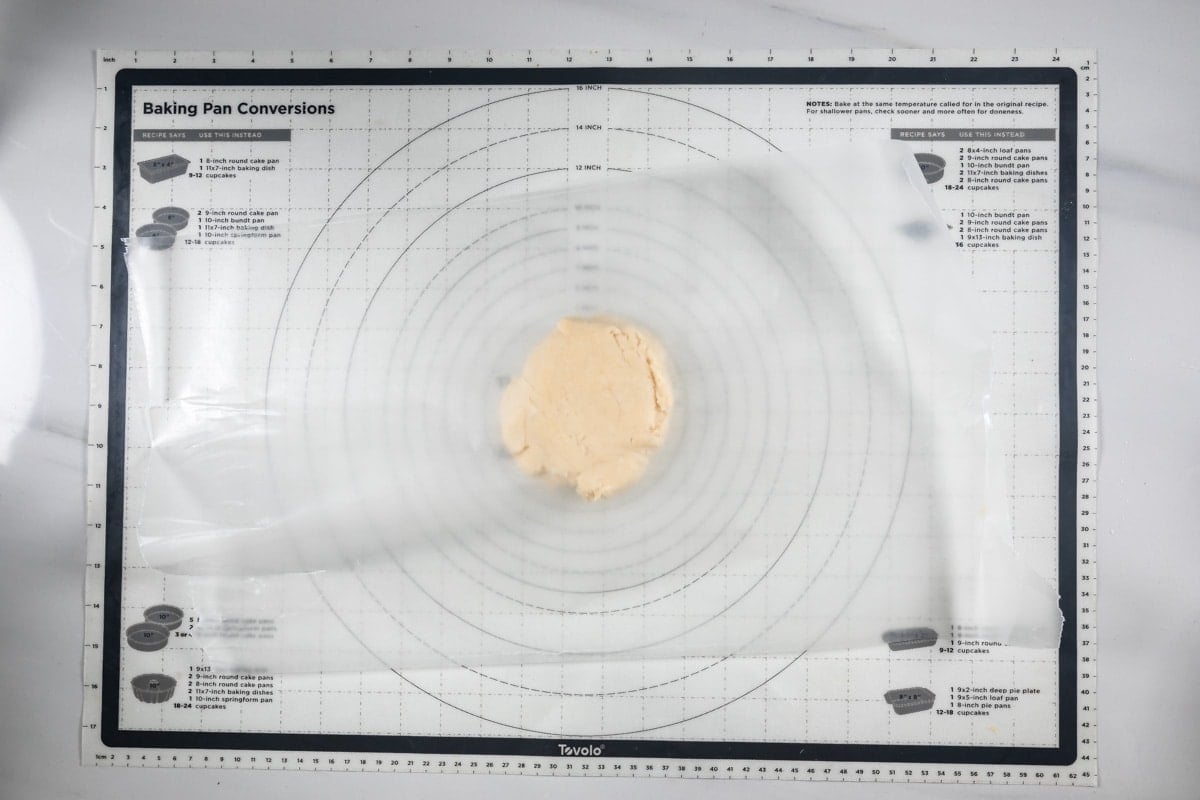
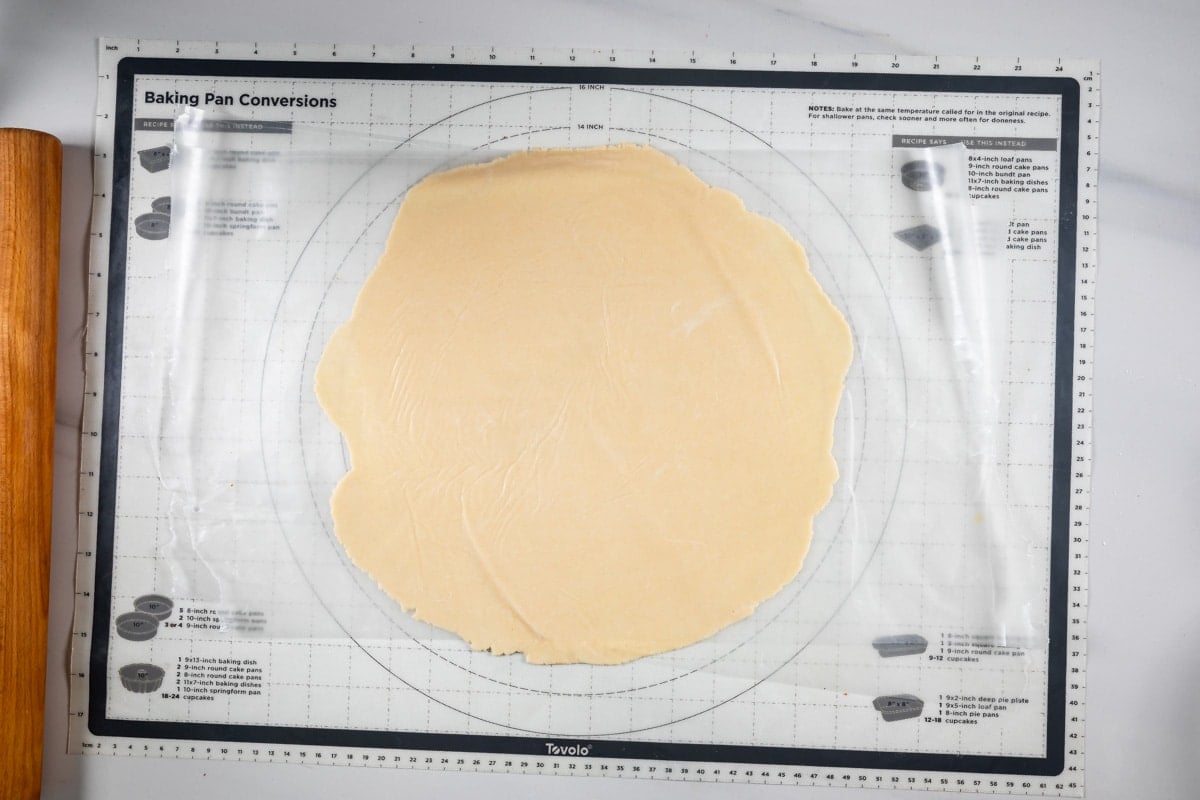
- Turn the dough out onto a silicone baking mat, if you have one. If you don’t, you’ll need to flour your surface. Press the dough ball into a disk and roll to about 1/4″ thickness. If it sticks to the rolling pin, place a sheet of wax paper on top of the dough so you don’t have to add more flour. Be sure to flip and rotate your dough as you go so it does not stick to your surface. Roll out the dough to a few inches larger than your pie plate (about 12″ for a 9″ pie plate).
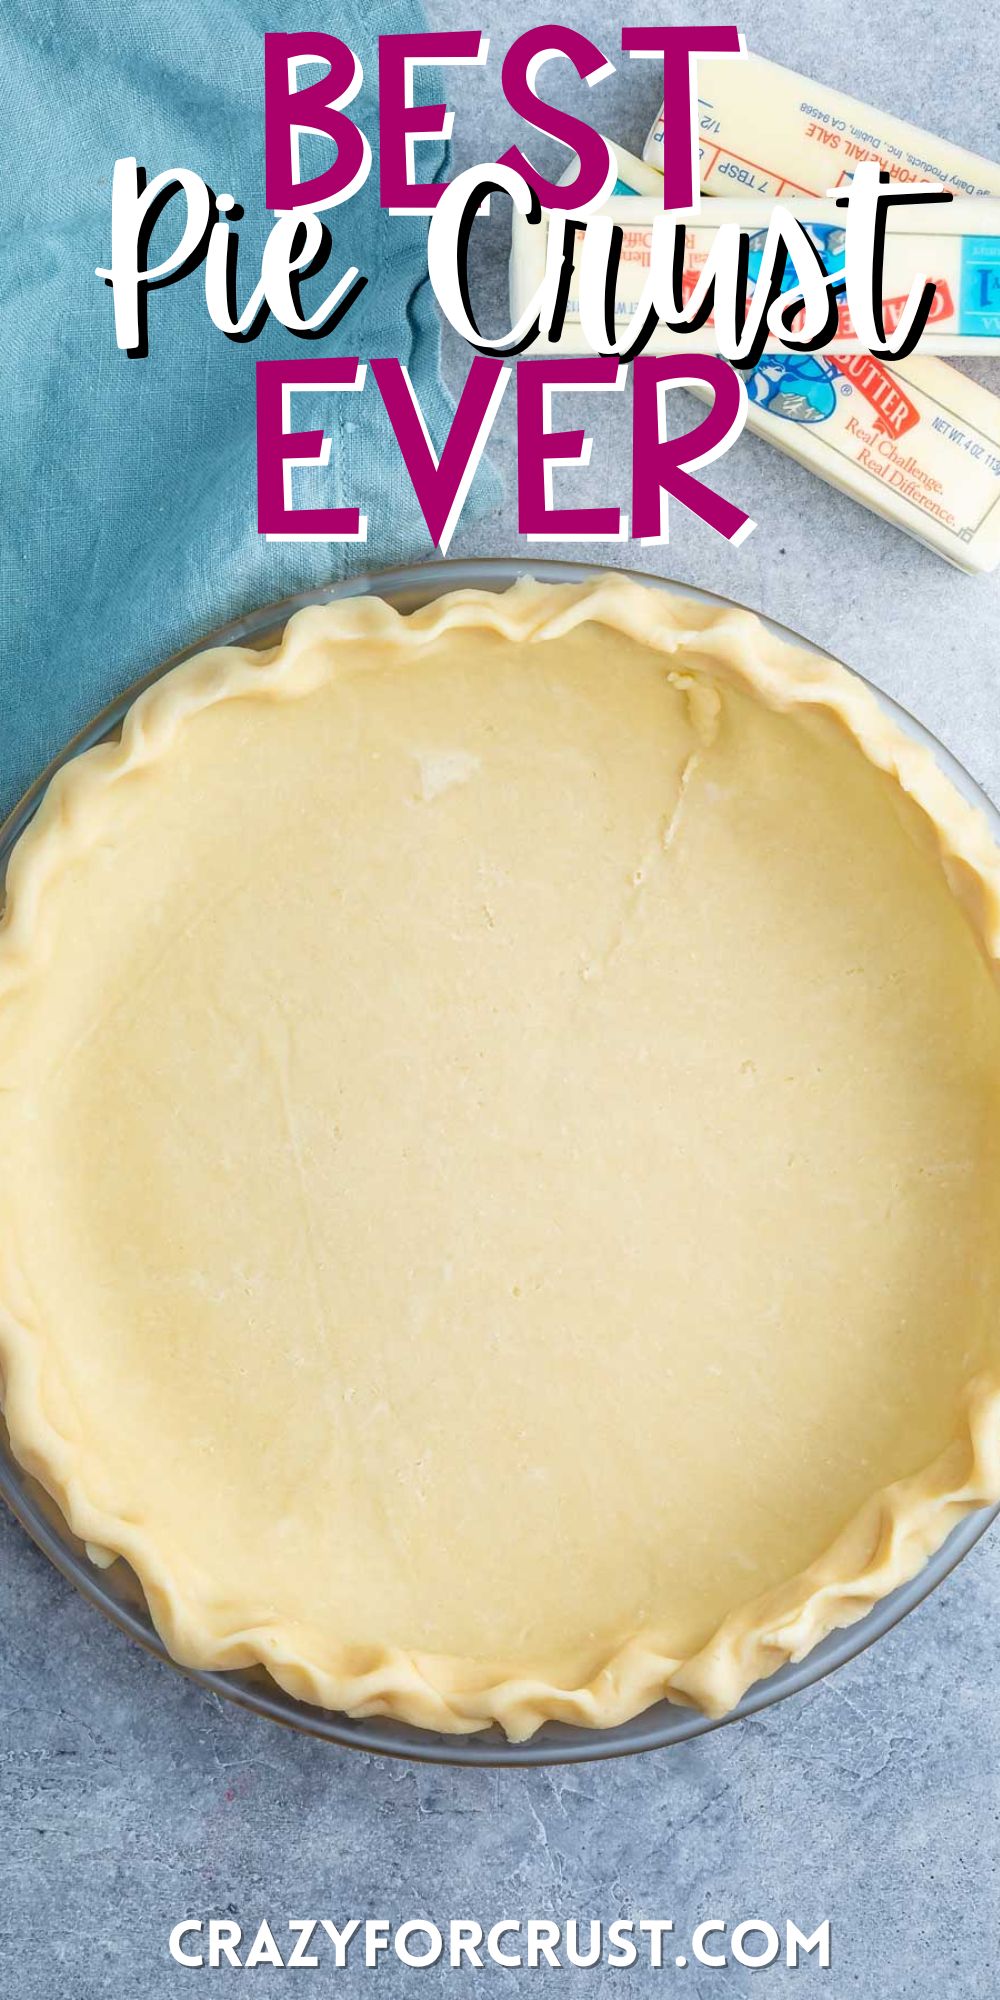
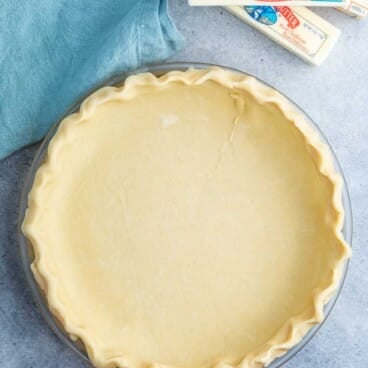
- Place in pie plate and press to fit. Tuck under any overhang and crimp or use the tines of a fork to decorate the edges. Chill until ready to fill.
By Hand:
- Add flour, butter, and salt to a large bowl. Cut your butter in using a pastry cutter. Work in one tablespoon of water at a time. I find I need to use 2-3 tablespoons of water when I’m doing this by hand.
- Turn the dough out onto a silicone baking mat, if you have one. If you don’t, you’ll need to flour your surface. Press the dough ball into a disk and roll to about 1/4″ thickness. If it sticks to the rolling pin, place a sheet of wax paper on top of the dough so you don’t have to add more flour. Be sure to flip and rotate your dough as you go so it does not stick to your surface. Roll out the dough to a few inches larger than your pie plate (about 12″ for a 9″ pie plate).
- Place in pie plate and press to fit. Tuck under any overhang and crimp or use the tines of a fork to decorate the edges. Chill until ready to fill.
- This pie crust is great for filling and the recipe makes 1 crust that fits comfortably in a 9″ pie plate. For a bigger pie plate or for a double crust, double the recipe.
- Make sure to chill the pie crust at least 30 minutes before filling or baking. If you’re blind baking the crust, chill at least 2 hours or freeze 30 minutes.
- The crust can be wrapped well with plastic wrap and stored in the refrigerator up to 2 days or frozen for up to one month before baking.
Baking instructions
- For Blind Baking: follow the link in the notes below for detailed instructions. Prick the bottom of the pie crust with a fork. Layer a sheet of parchment paper in the bottom and up the sides of the crust. Fill the crust with pie weights (or dry beans/rice/etc) and bake at 400°F for about 15-20 minutes. Remove the parchment and pie weights carefully, then continue baking until cooked through and golden brown.
- For filled pies: bake as directed in the recipe you're using.
Notes
Nutrition
Nutrition information is automatically calculated, so should only be used as an approximation.
© Crazy for Crust. Content and photographs are copyrighted. Sharing this post is much appreciated, but copying and pasting full recipes without authorization is strictly prohibited.
Did you try this recipe? Click here to rate the recipe below.
How to roll out pie crust
I roll out my pie crust before I chill it. This is unconventional but it works and makes your life so much easier! Roll it between two sheets of wax paper so it won’t stick to your surface or rolling pin. By not adding more flour you reduce the toughness of the crust.
- Place the dough between two sheets of wax paper or parchment paper. Roll to 1/8-inch to 1/4-inch thick.
- I like to pick mine up and flip it over and around every few rolls until it gets too big to do that. This is important because that way you know it’s not sticking to your surface. There is nothing worse than rolling out the perfect dough and have it crack and break when you go to pick it up.
- The easiest way to transfer your all butter pie crust to your pie plate is to roll it up on the rolling pin. If you’ve moved your crust around a bit, it should roll up no problem.
How to make Pie Crust in a food processor
- Add your all purpose flour and salt to your food processor. Pulse once or twice to combine.
- Add your butter. It’s COLD, straight from the fridge. Don’t touch it too much. Don’t go answer the phone. Cold, straight from the fridge to the food processor! Pulse a couple of times.
- Add your ICE water. Not the ice, just the cold water. Start with 1 tablespoon.
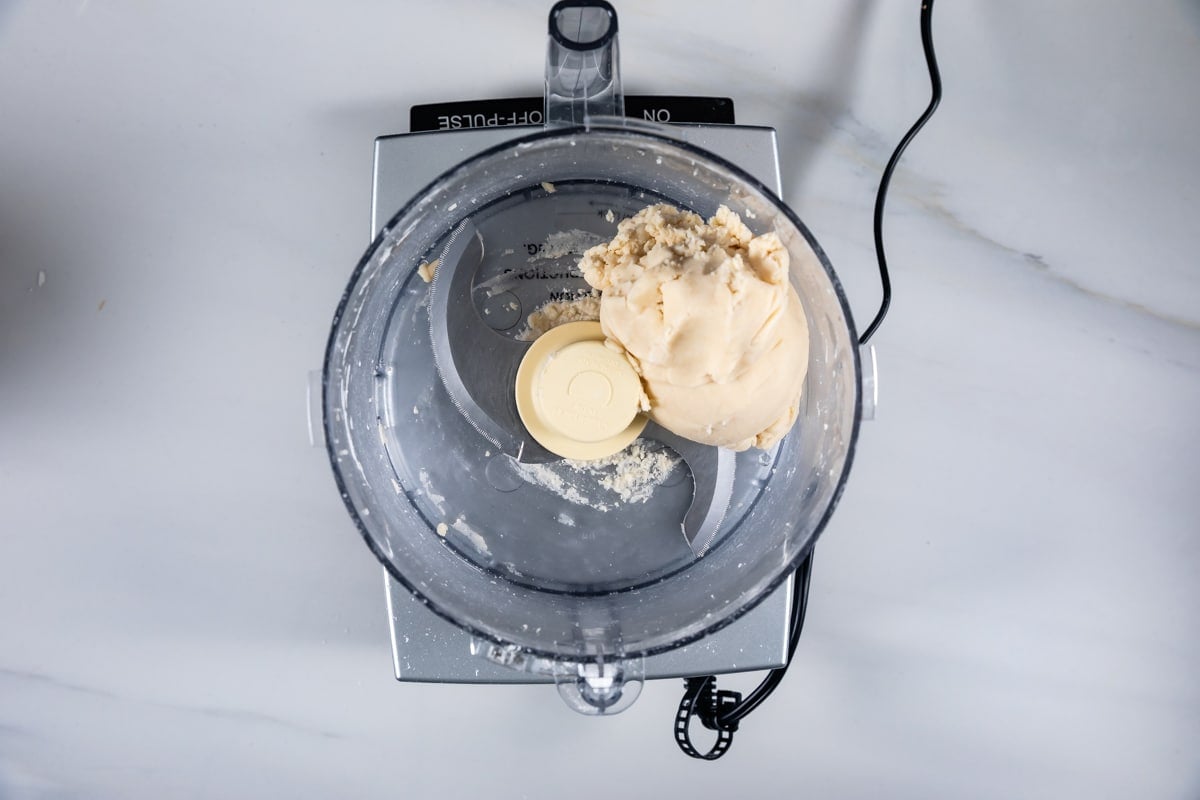
- Pulse a few times, let it run a few seconds. I always add a second tablespoon of water at that point, always. But, depending on altitude and humidity and your kitchen and the star alignment, you might need more.
- Wait to see if it comes together before adding more than 2 tablespoons of water. You do not want a wet dough. It takes a few seconds for it to turn into the ball of all butter pie crust!
SAVE THIS RECIPE
How to make pie crust by hand
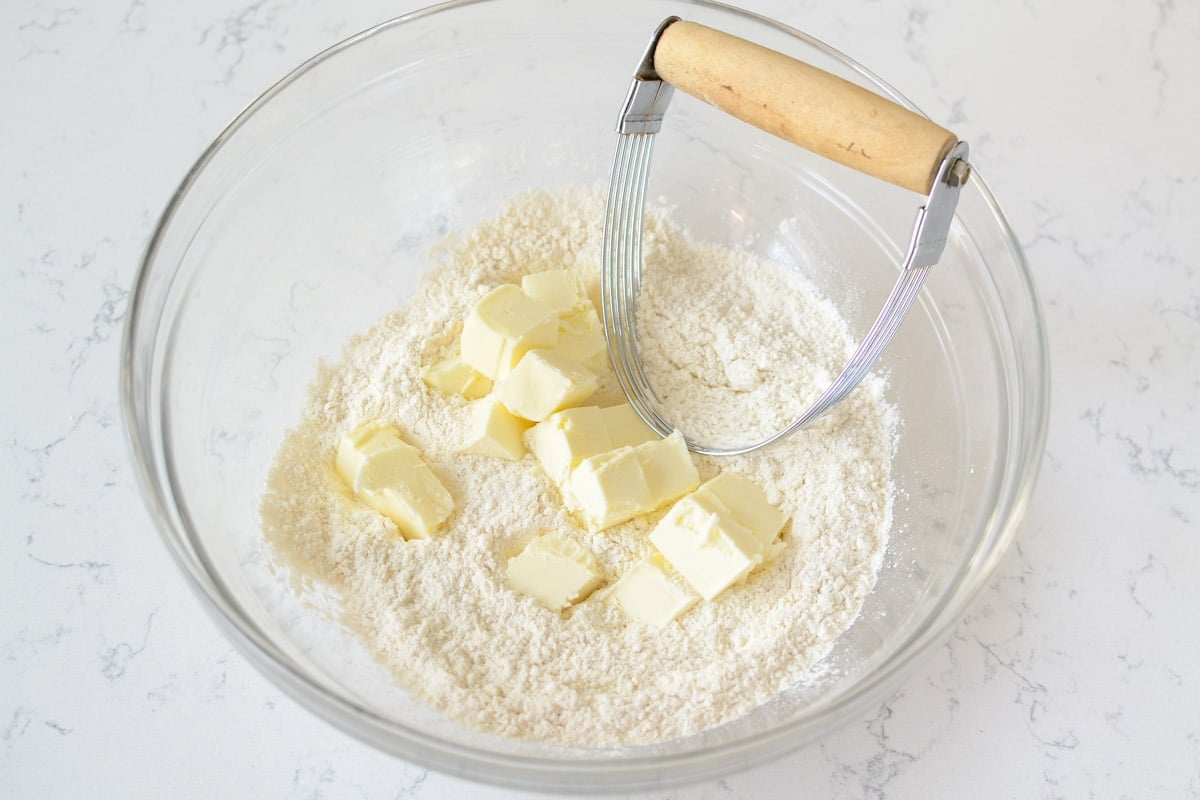
- If you don’t have a food processor, you can do this by hand with a pastry cutter. Just whisk the flour and salt first. Then cut in the butter with your pastry cutter until you can’t anymore (this is called a shaggy dough).
- Turn the dough out onto a lightly floured surface and press it together until it forms a disk. Try not to work it too much – just enough so it comes together.
How to crimp the edges
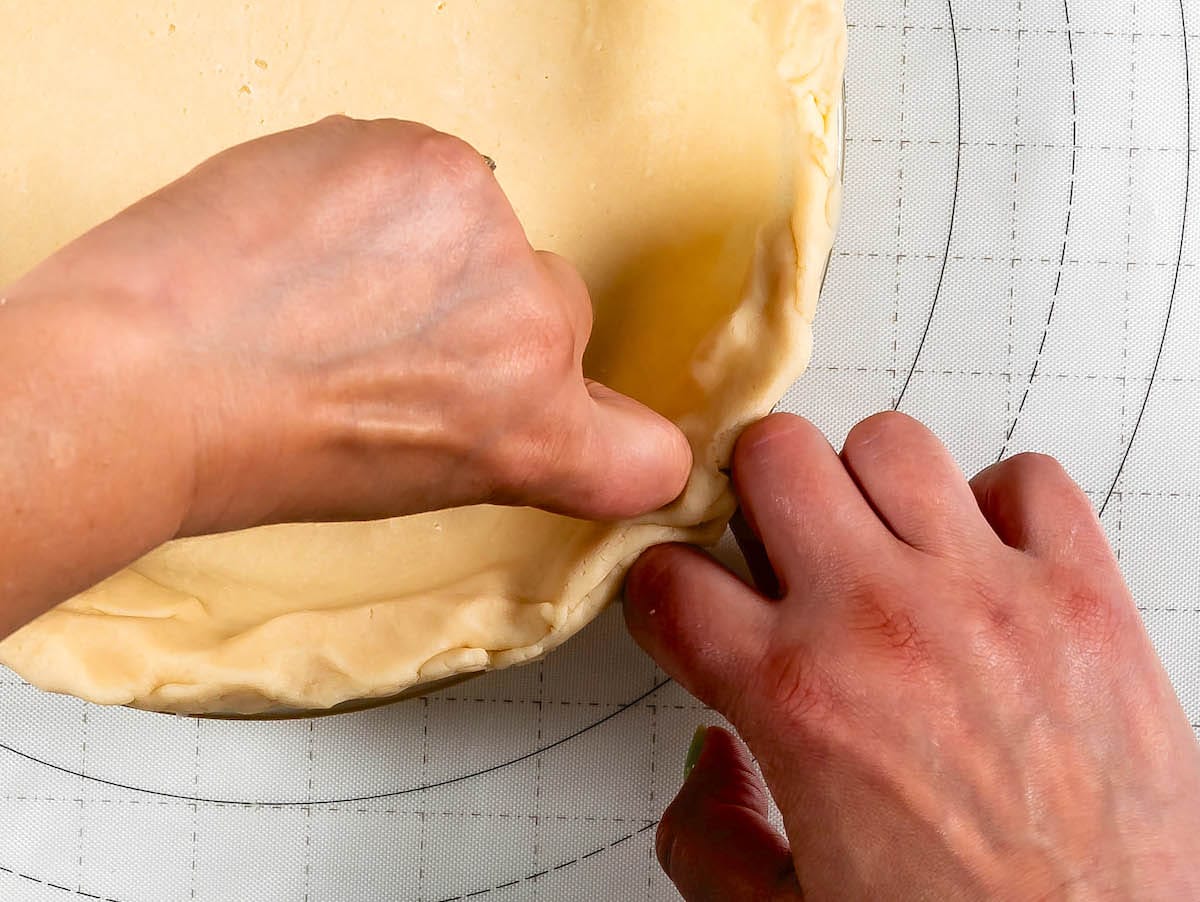
- Use your knuckles to crimp the edges.
- You can also skip the finger step and use the tines of a fork to crimp the edges.
- Make it decorative: Another way I like to dress up my pie edge is to make a second all butter pie crust and use small cookie cutters to cut shapes and put them around the edges.
FAQ
I think an all butter pie crust tastes better than one made with shortening or lard. Butter has so much flavor, plus produces a tender crust.
Yes – wrap it well in plastic wrap and place it in an airtight container or bag to freeze. You can also put it in your pie plate and wrap that well and freeze – either baked or raw.
No, there is enough butter in this you do not need to grease your pie plate.
Yes – if you use salted butter reduce the amount of salt in the recipe to 1/4 teaspoon.
Yes easily – just double everything but use 2 tablespoons water to start. You may only need 2-3 tablespoons water for the dough to come together. Doubling the recipe is perfect for a 2-crust pie.
This depends on the recipe you’re using. Be sure and make the crust according to this recipe but then follow the baking instructions on the recipe you’re using!
This usually happens from over-working the dough or adding too much water, which develops too much gluten.
While shortening provides a high melting point, this recipe specifically uses all butter for a superior, rich flavor and flaky texture.
Start with 1 tablespoon of ice water and add more only as needed until the dough just starts to form a ball; usually, 2 to 3 tablespoons is sufficient depending on your kitchen’s humidity.
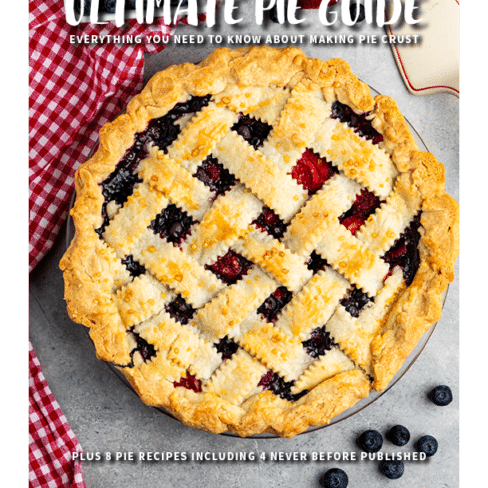
Ultimate Pie Guide Video Course
Want more detail on how to make Pie Crust? Check out my Pie Making Course which explains how to make everything from crust to lattice and get some of my favorite recipes!


I have to say I have tried a lot of pie crust recipes and have experimented with my own. This is one of the best yet – the flavor was absolutely buttery and delicious, the color was perfect, and it made the perfect amount of dough. Thank you for this!
I followed your pie crust recipe yesterday. I was told that was one of the best pies I have ever made. Thank you for this recipe.
Best crust ever! I’ve never made a pie crust before and the video was super helpful!! Easy to make and great detailed instructions! 100% recommend!
What about using salted butter and no extra salt?
I do not recommend doubling if you have a regular-sized processor. It barely fit in the processor. Then when I mixed with the butter, it had to mix too long, causing the butter to heat up a bit. I added the water and it wouldn’t form a ball due to size, so I ended up adding too much water. It was impossible to then roll out due to being way too sticky. I even tried refrigerating, but it did not work. I just had to use it by pressing the dough into the pie plate. I’ve used the Crisco recipe for like 10 years, so I’m not a stranger to dough. I don’t know about taste yet, but I thought I should post a warning in case others tried the same.
Featured In
Rate This Recipe
Recipe Ratings without Comment