
This post may contain affiliate links. For more information, read my disclosure policy.
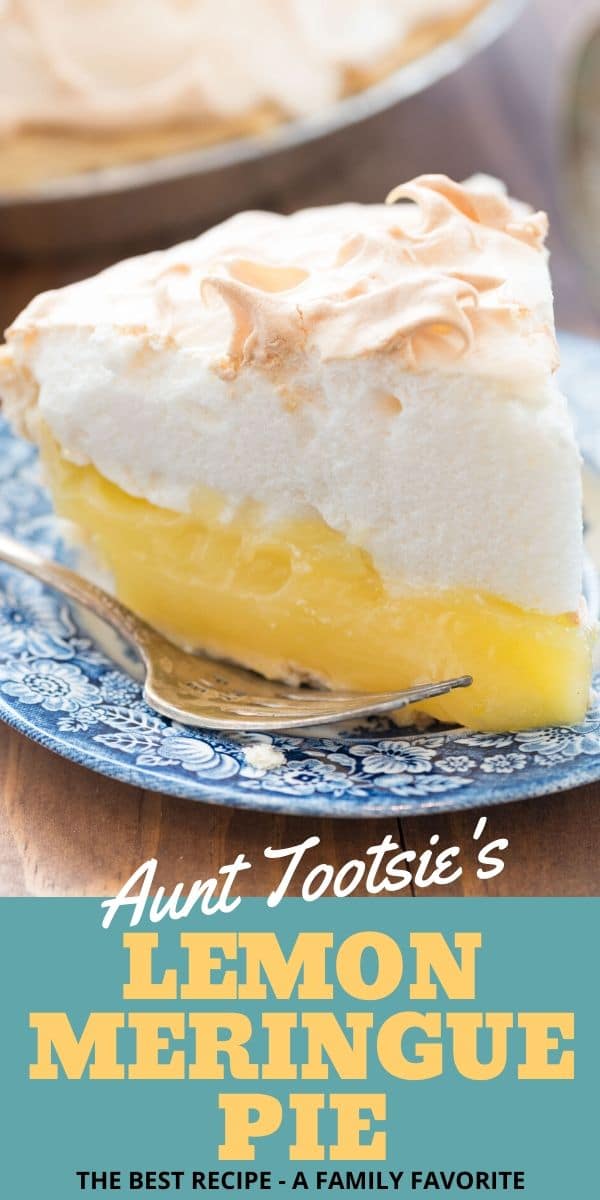

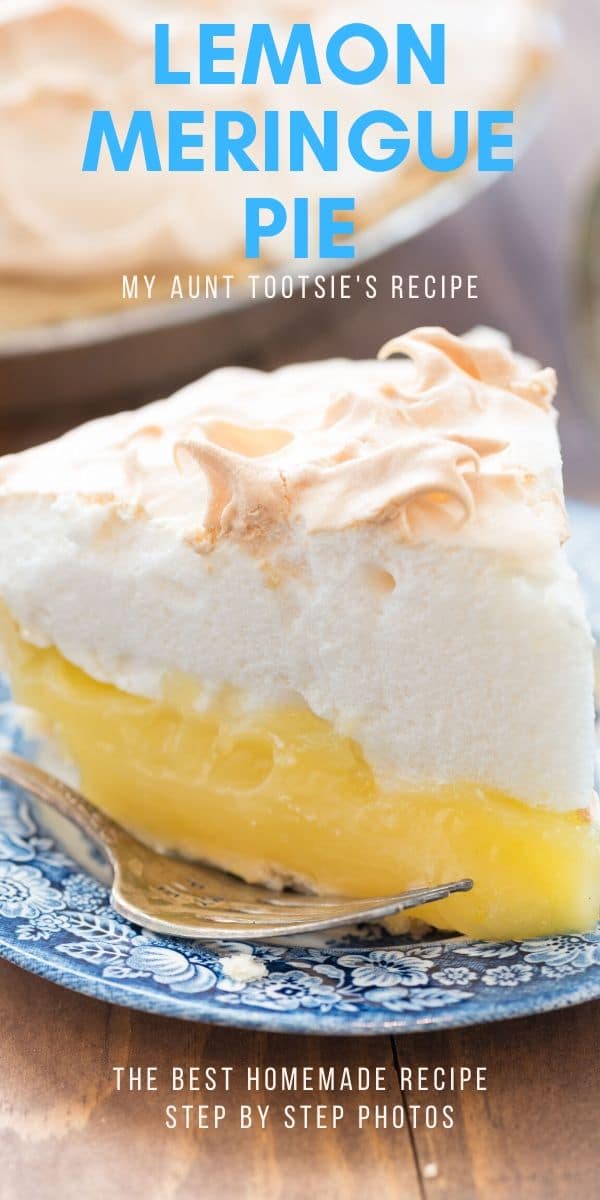
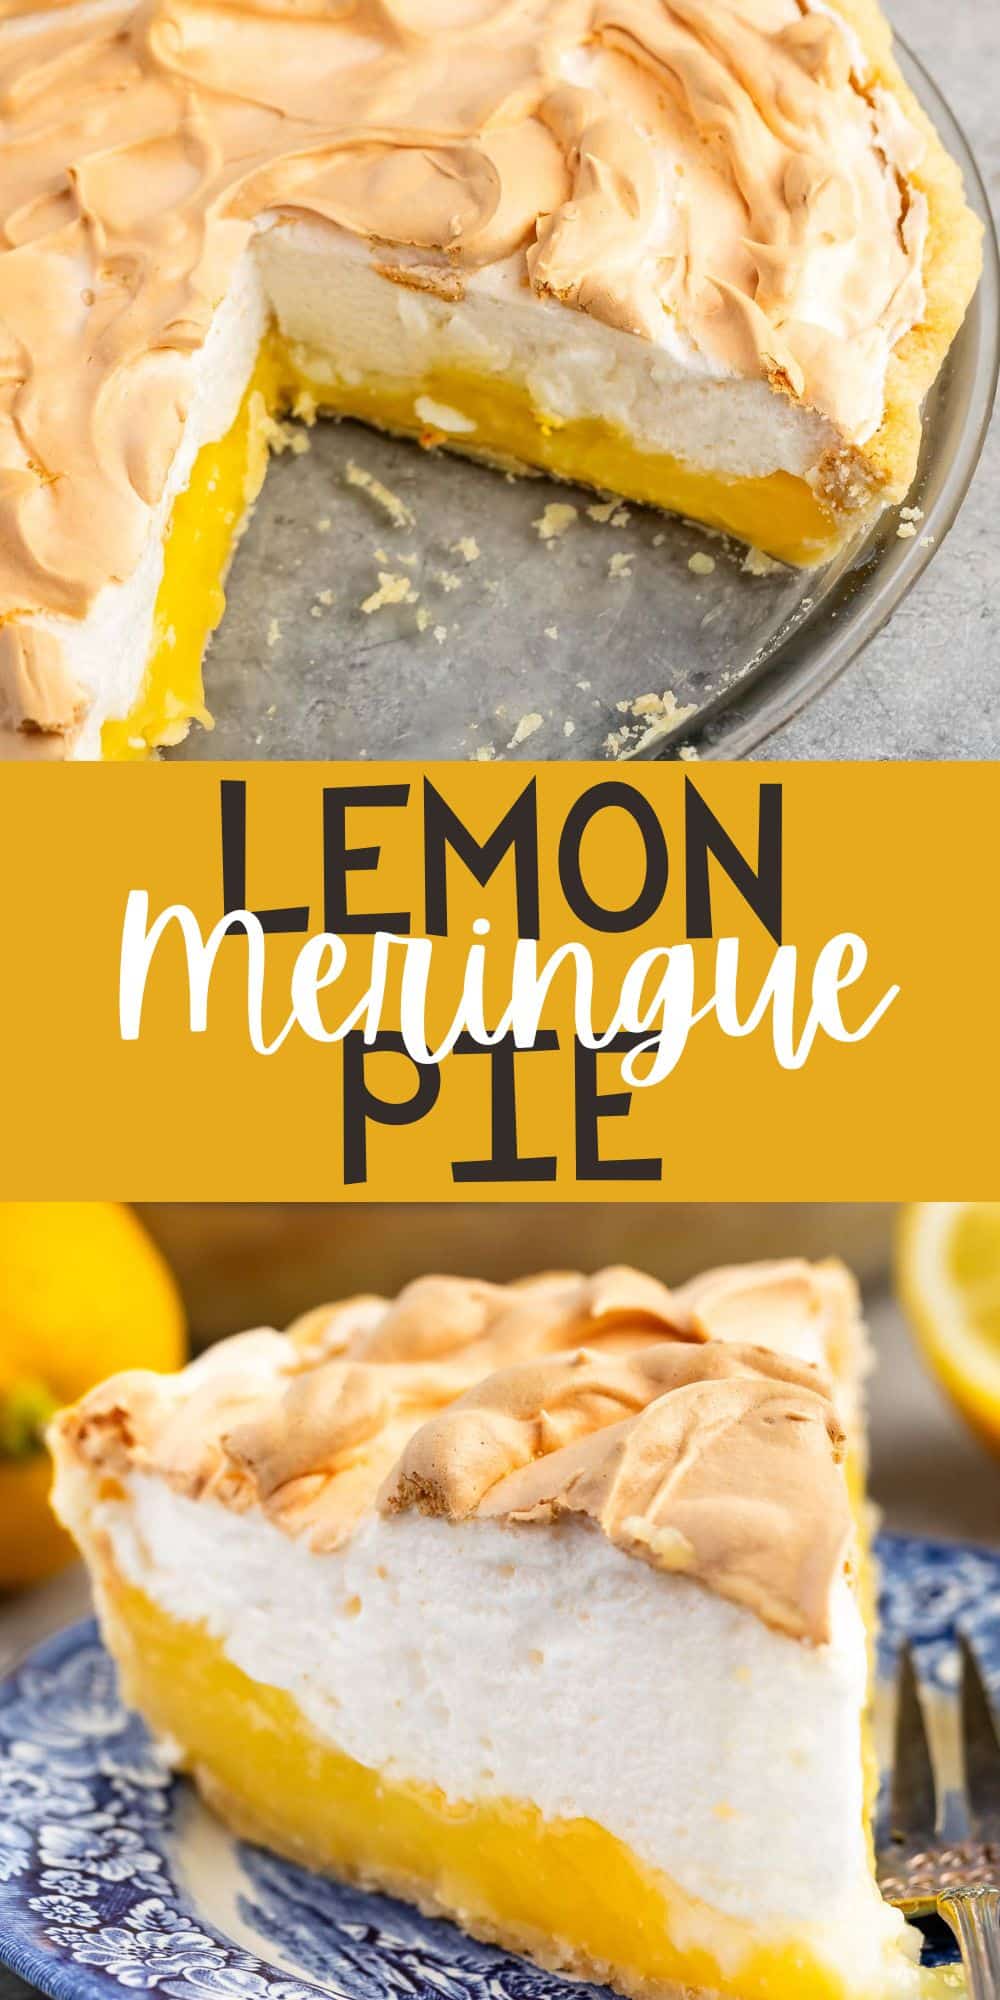

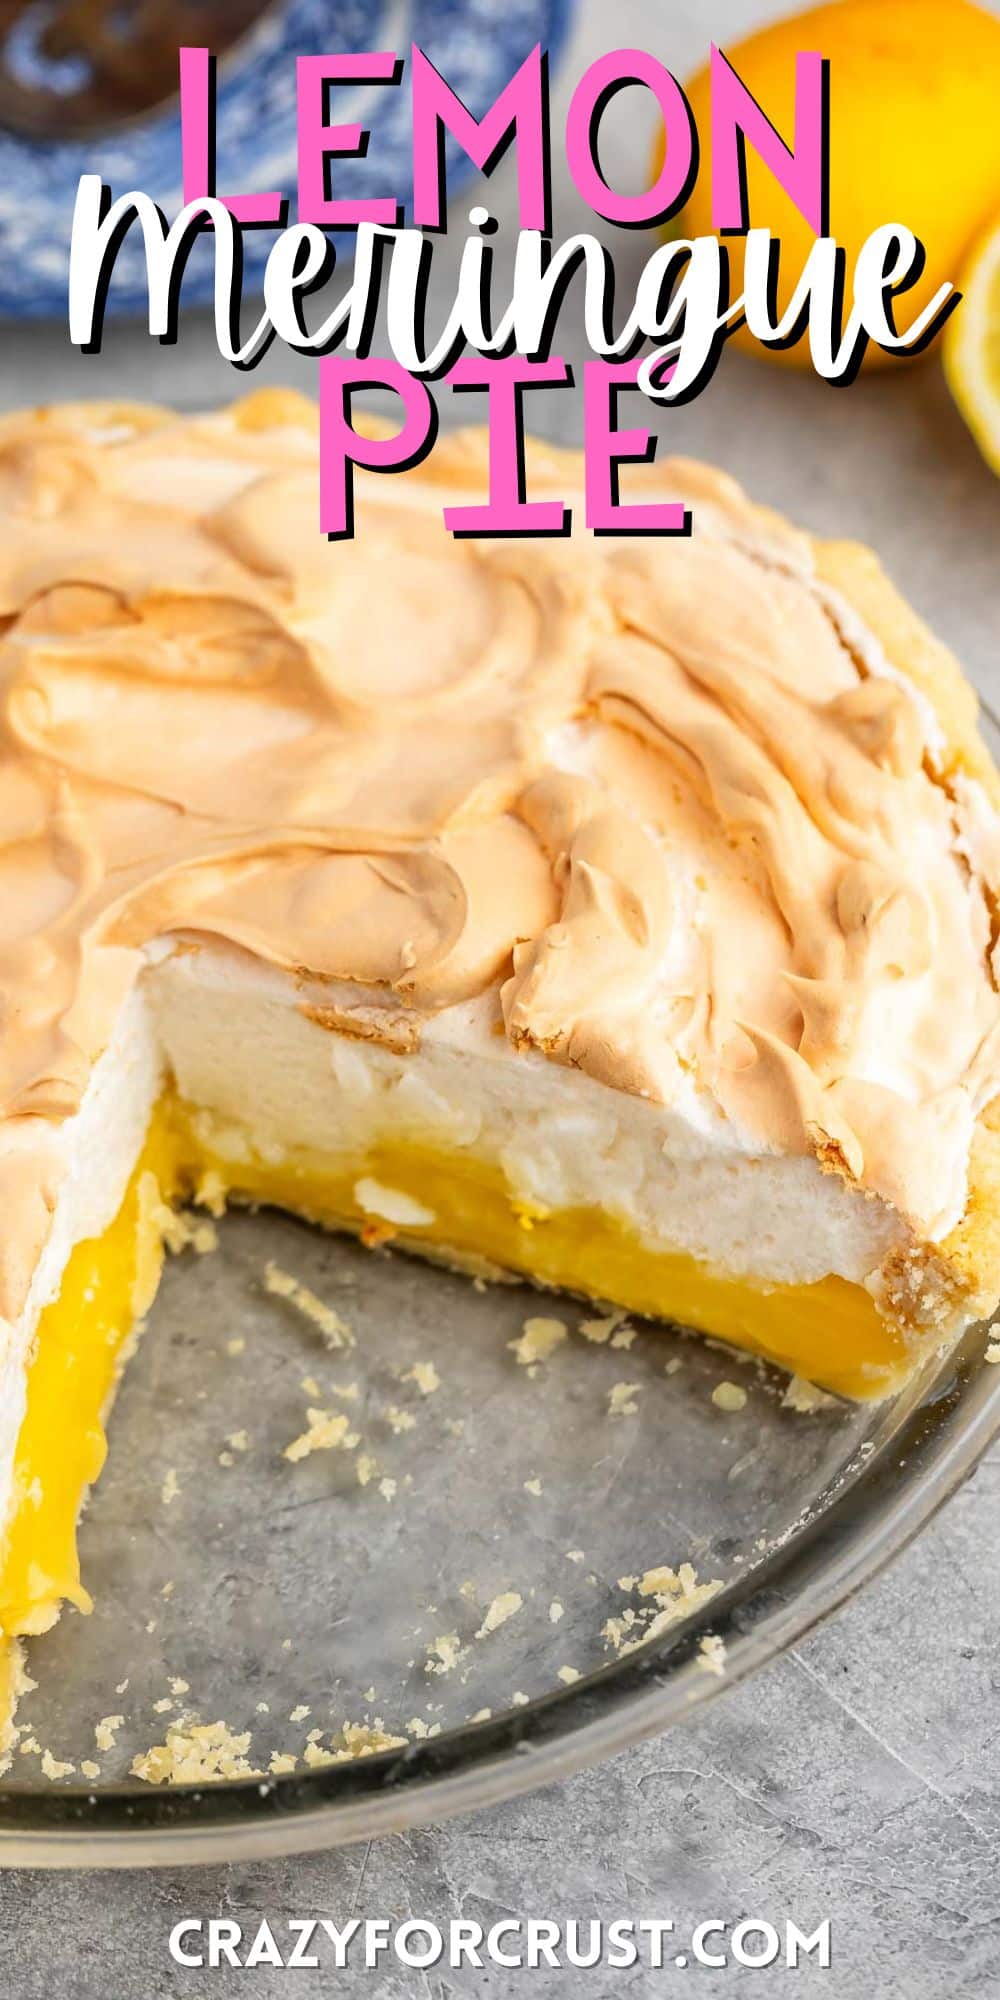
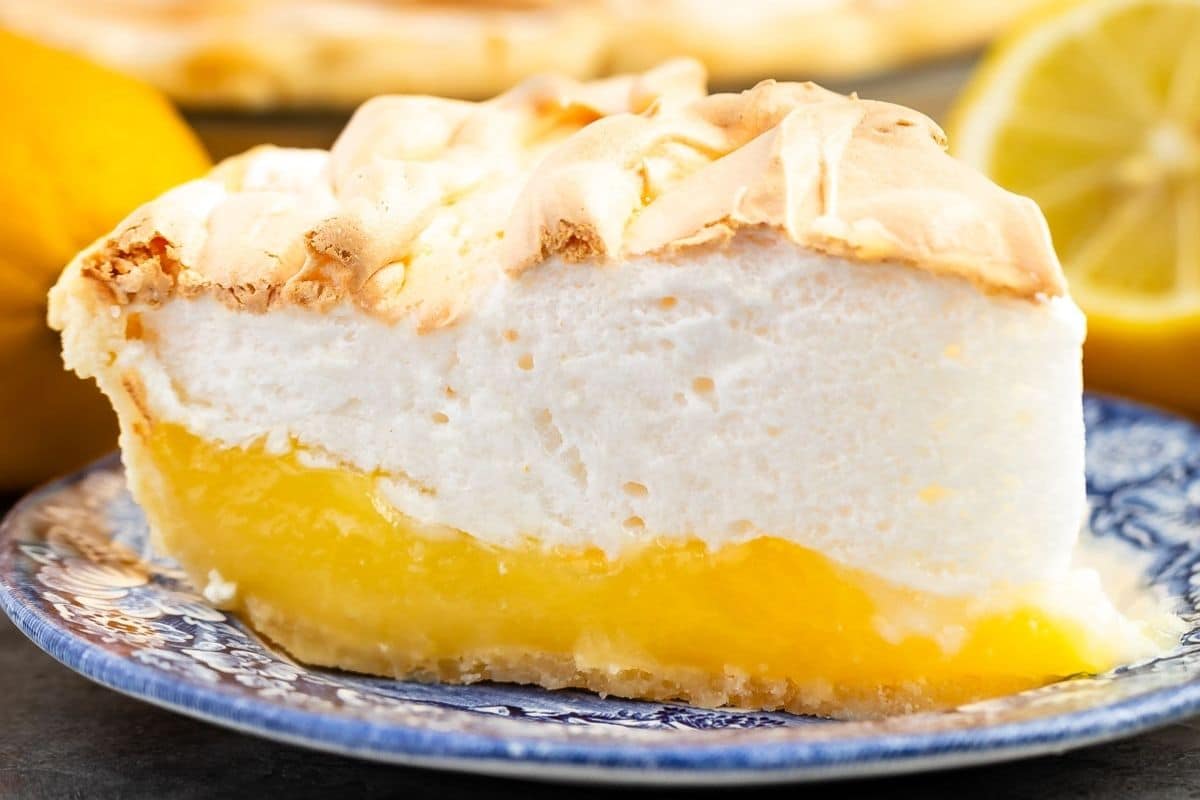
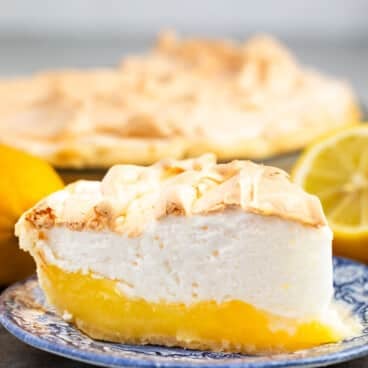
The best Lemon Meringue Pie is an old family recipe: It has a flaky pie crust, smooth sweet and tart creamy lemon filling, and a soft and fluffy meringue topping. My dad has talked about this pie for as long as I can remember, especially how perfect the crust and filling are, so finding her handwritten recipe felt like uncovering a little piece of our family history.
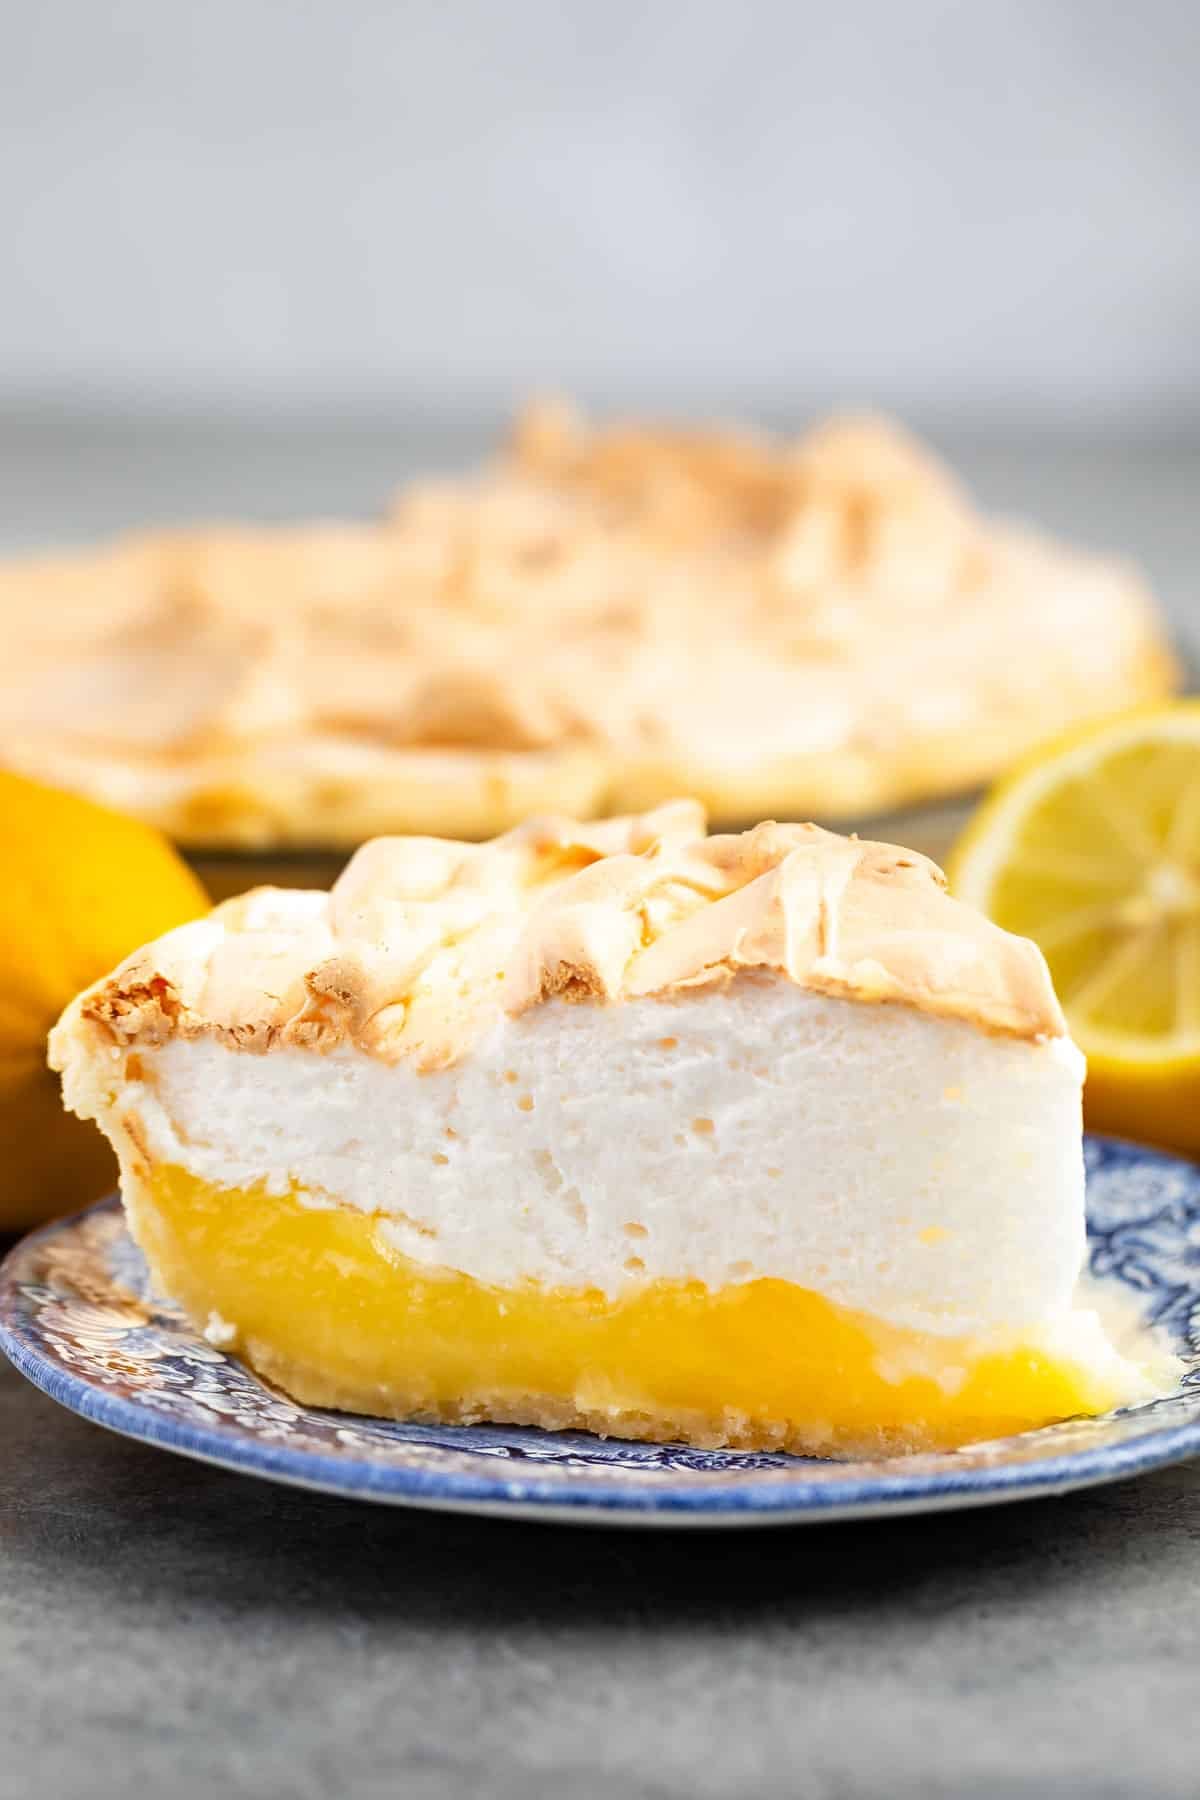
A few years ago, I was given an envelope filled with old handwritten recipes and newspaper clippings that had been tucked into my Nana’s recipe book, and Aunt Tootsie’s Lemon Meringue Pie was one of them. Since pie crust and pie recipes are my thing, being able to recreate a pie that meant so much to my family made this recipe especially meaningful to me.
Lemon Meringue Pie has a few more steps than a simple pie, but none of them are that difficult when you know exactly what to do and look for. I’m going to teach you how to make the perfect baked, flakey pie crust for lemon meringue pie, how to make that tart and sweet lemon curd-like filling and, of course, the pillowy mile-high meringue on top. You’ll be able to get all the layers perfect (no weeping!) and enjoy a family favorite right on your table.
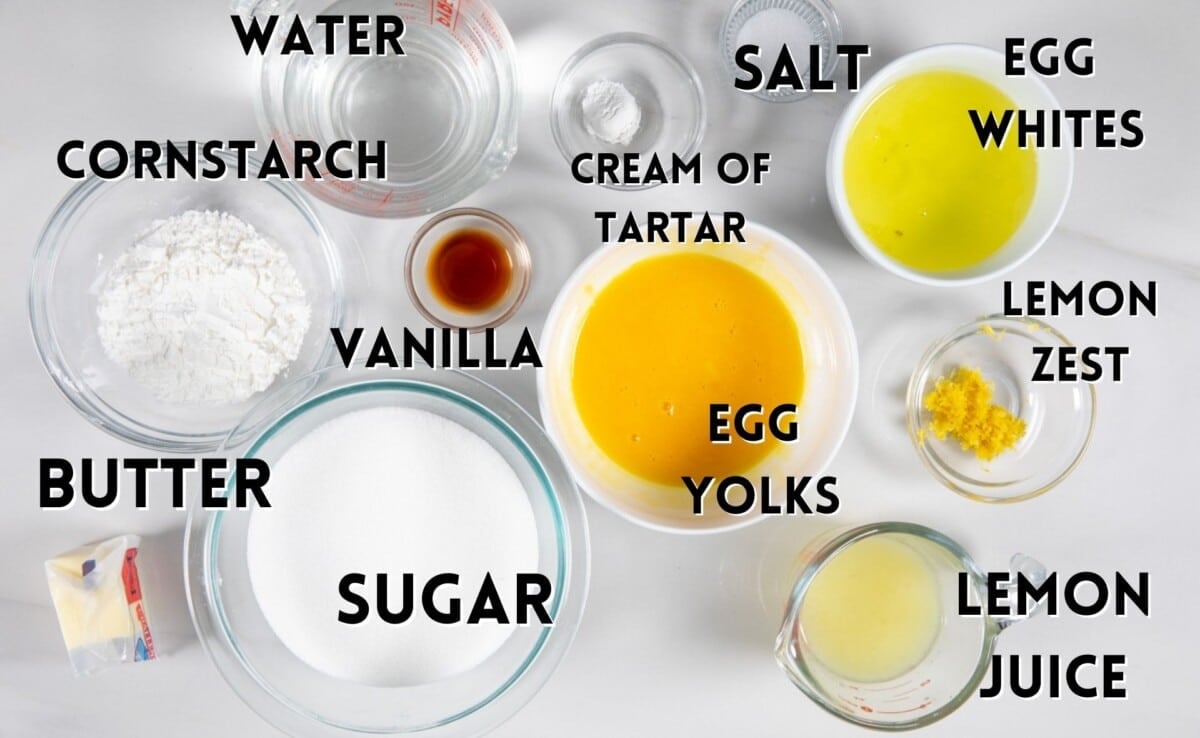
Lemon Meringue Pie Ingredients
- Best Pie Crust for Lemon Meringue Pie: You can use a store bought crust (frozen or refrigerated) or my all butter pie crust (it’s the best one in the world and easy to make!)
- Egg Yolks are the body of the custard, along with cornstarch. Save the egg whites for the meringue and make sure there are no bits of yolk in the whites at all or you risk a falling meringue! It’s also important to start with room temperature eggs.
- Lemon Zest and Lemon Juice are the most important flavor additions, obviously. The lemon zest is really where all that lemon flavor lives, so don’t omit!
- Cream of tartar is a crucial ingredient in getting the stiff and stable peaks for the egg whites in the meringue so you cannot omit it!
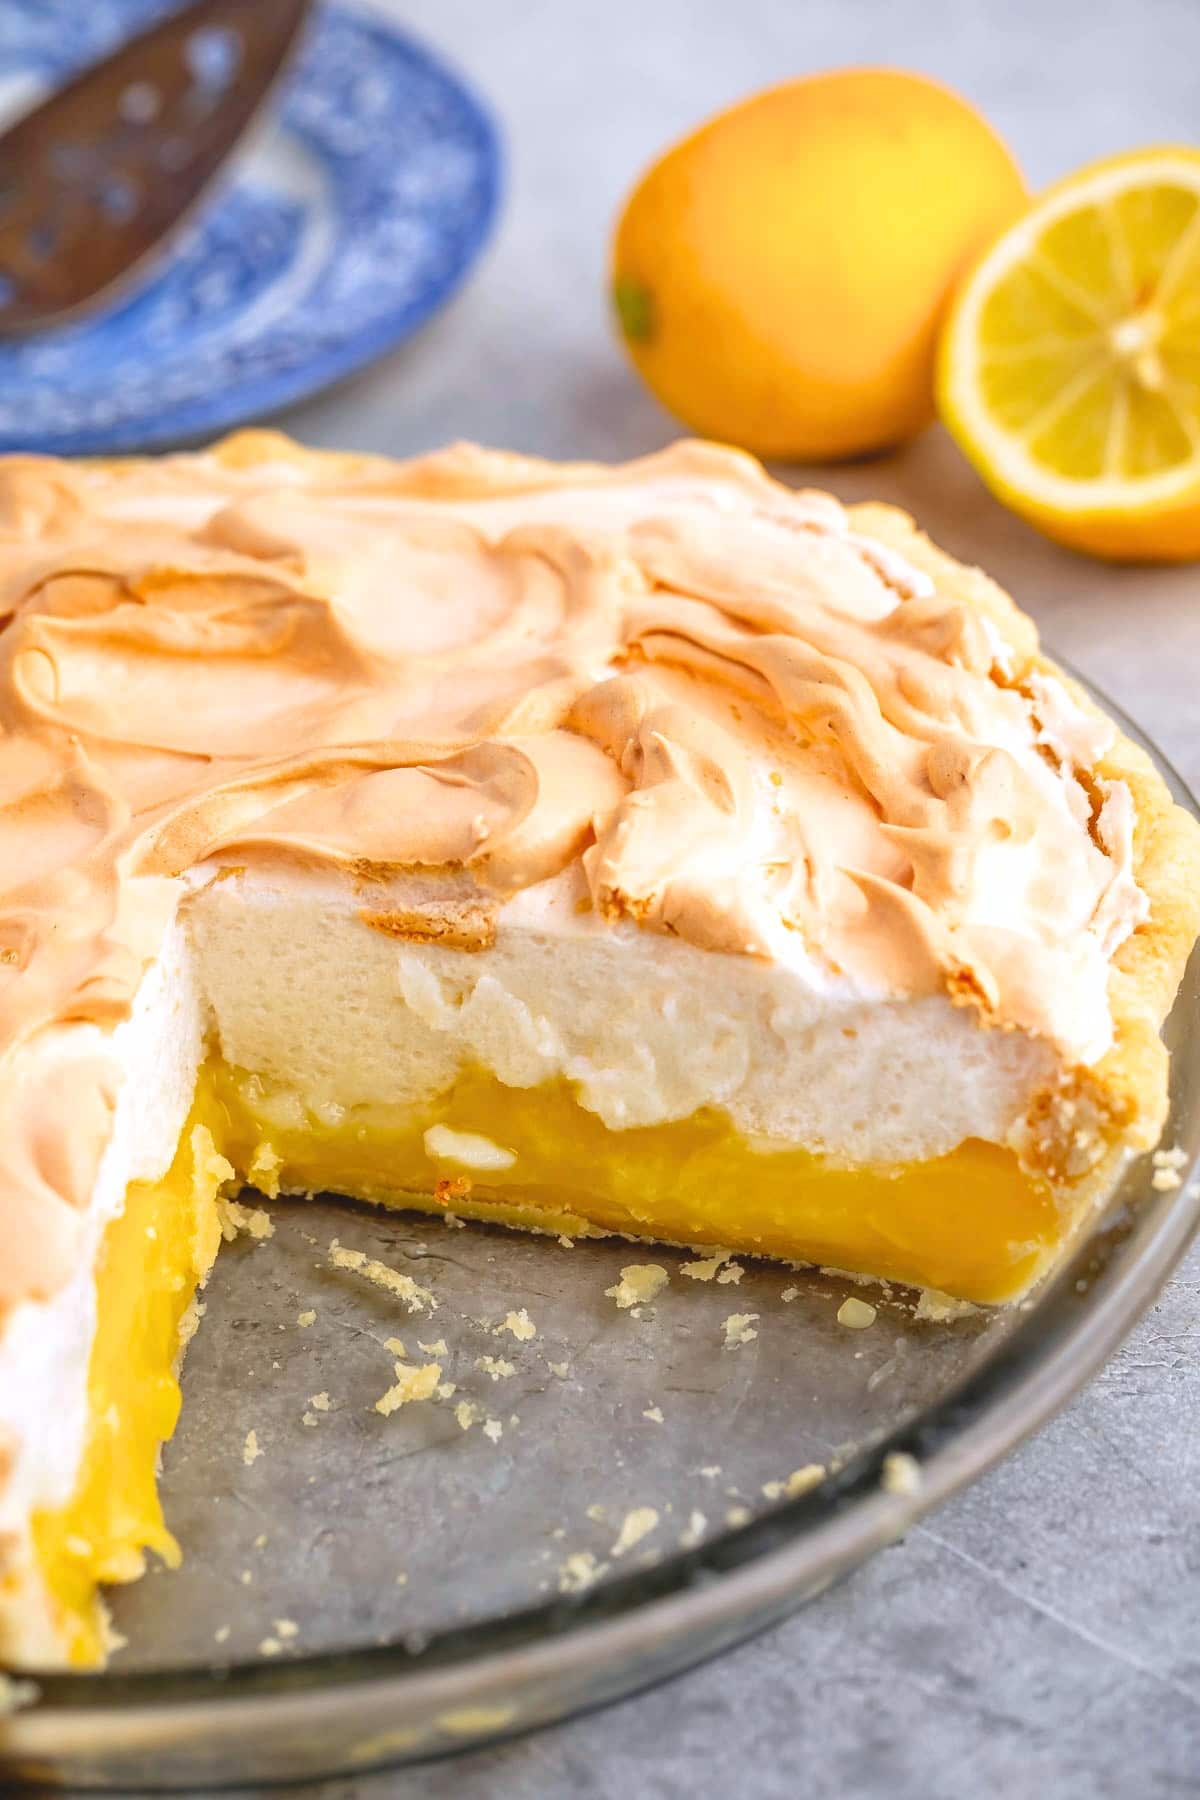

Dorothy’s Testing Notes
- Make sure you have all your ingredients assembled and ready before you start. Whisk your egg yolks in a small bowl and set aside so they’re ready to temper.
- Make sure there are NO egg yolks in your whites. When separating your eggs, err on the side of white-in-yolk but not yolk-in-white, if that makes sense. Egg whites don’t whip right if they have the fat from the yolk in them.
- If you’re using a packaged pie crust, be sure to follow the partially blind baking instructions on the box. If it only talks about fully blind baking you’ll want to only do about half the time; the bottom should be semi-opaque but not fully baked.
- Always strain your lemon mixture before adding it to the pie to remove any bits of egg that may have cooked or scrambled.
Aunt Tootsie’s Lemon Meringue Pie Recipe
Video
Ingredients
For the filling:
- 1 All Butter Pie Crust, pre-baked and cooled (or a pre-made crust from a pack of two or frozen)
- 1 ½ cups (355ml) water
- 1 ½ cups (300g) granulated sugar
- 5 tablespoons (40g) cornstarch
- ½ cup (118ml) fresh lemon juice
- 1 tablespoon lemon zest
- ½ teaspoon salt
- 4 large eggs yolks
- 3 tablespoons (42g) unsalted butter
For the meringue:
- 4 large egg whites
- ½ teaspoon cream of tartar
- 1 teaspoon vanilla extract
- ½ cup (100g) granulated sugar
Instructions
- Preheat oven to 425°F. Place crust in 9-inch pie plate.
- Partially blind bake the crust: poke holes in the bottom of the crust with a fork. Line the crust with parchment paper and fill with dried beans or pie weights (dried rice and lentils work too). If you're using my pie crust recipe, bake about 20 minutes, checking that the crust is browned (but the bottom won't be completely done yet, that's ok). If you're using a Pillsbury crust, it'll only take about 10 minutes to partially bake. Carefully remove parchment and pie weights.
- Lower oven temperature to 300°F.
- Whisk water, sugar, cornstarch, salt, lemon juice, and lemon zest in a medium saucepan. Place over medium-low heat and cook, stirring often, until it’s thick and bubbly.
- Place egg yolks into a medium sized bowl. Whisk them gently. Once the lemon mixture is thick and bubbly, carefully pour about half the lemon mixture into the egg yolks, whisking constantly, then place the egg mixture back into the pan with the remaining lemon mixture, continuing to whisk. You want to avoid scrambling the eggs. Bring to a gentle boil, then cook for 2 minutes. Remove from heat and stir in the butter until melted.
- Strain the mixture to remove any bits of egg. Pour mixture into the prepared pie crust. Cover with plastic wrap while you prepare the meringue and keep it hot (the meringue needs to go onto hot filling).
- Place egg whites, cream of tartar, and vanilla in the bowl of a stand mixer fitted with the whisk attachment (or you can use a large bowl with a hand mixer). Beat on high speed until soft peaks form (if you remove the beaters the tips curl slightly) and then continue mixing while gradually adding the granulated sugar. Continue mixing until stiff peaks form (they’ll be glossy and stand straight).
- Spread the meringue on the top of the lemon mixture in decorative peaks, being sure that the meringue touches the crust and no lemon shows through. Bake about 30 minutes or until the meringue is browned. Cool at room temperature for one hour, then chill at least 5 hours before slicing.
Notes
- Have all your ingredients ready to go when you start; have your egg yolks beaten.
- The meringue needs to go on top of warm pie filling so make the meringue as soon as the filling is done being made.
- Make sure the meringue touches the crust – no holes or gaps – to avoid weeping.
- The pie will last about a day in the fridge – the meringue will start to weep after about 24 hours – it’s best eaten the day it’s made.
- If you don’t like this kind of meringue topping, you can use my marshmallow meringue frosting (it’s more like a Swiss meringue) instead. In that case, completely blind bake the pie crust, add the filling, let it cool, then top it with that frosting and use a kitchen torch to brown the tops.
Nutrition
Nutrition information is automatically calculated, so should only be used as an approximation.
© Crazy for Crust. Content and photographs are copyrighted. Sharing this post is much appreciated, but copying and pasting full recipes without authorization is strictly prohibited.
Did you try this recipe? Click here to rate the recipe below.
Storing Lemon Meringue Pie
The meringue will deflate and get a bit weepy after a day so it is recommended that you make your pie the same day it’s going be eaten. There is lots of chill time involved so make sure to plan accordingly. I do not recommend making lemon meringue pie ahead of time.
It’s not recommended to freeze this pie.
How to make Lemon Meringue Pie
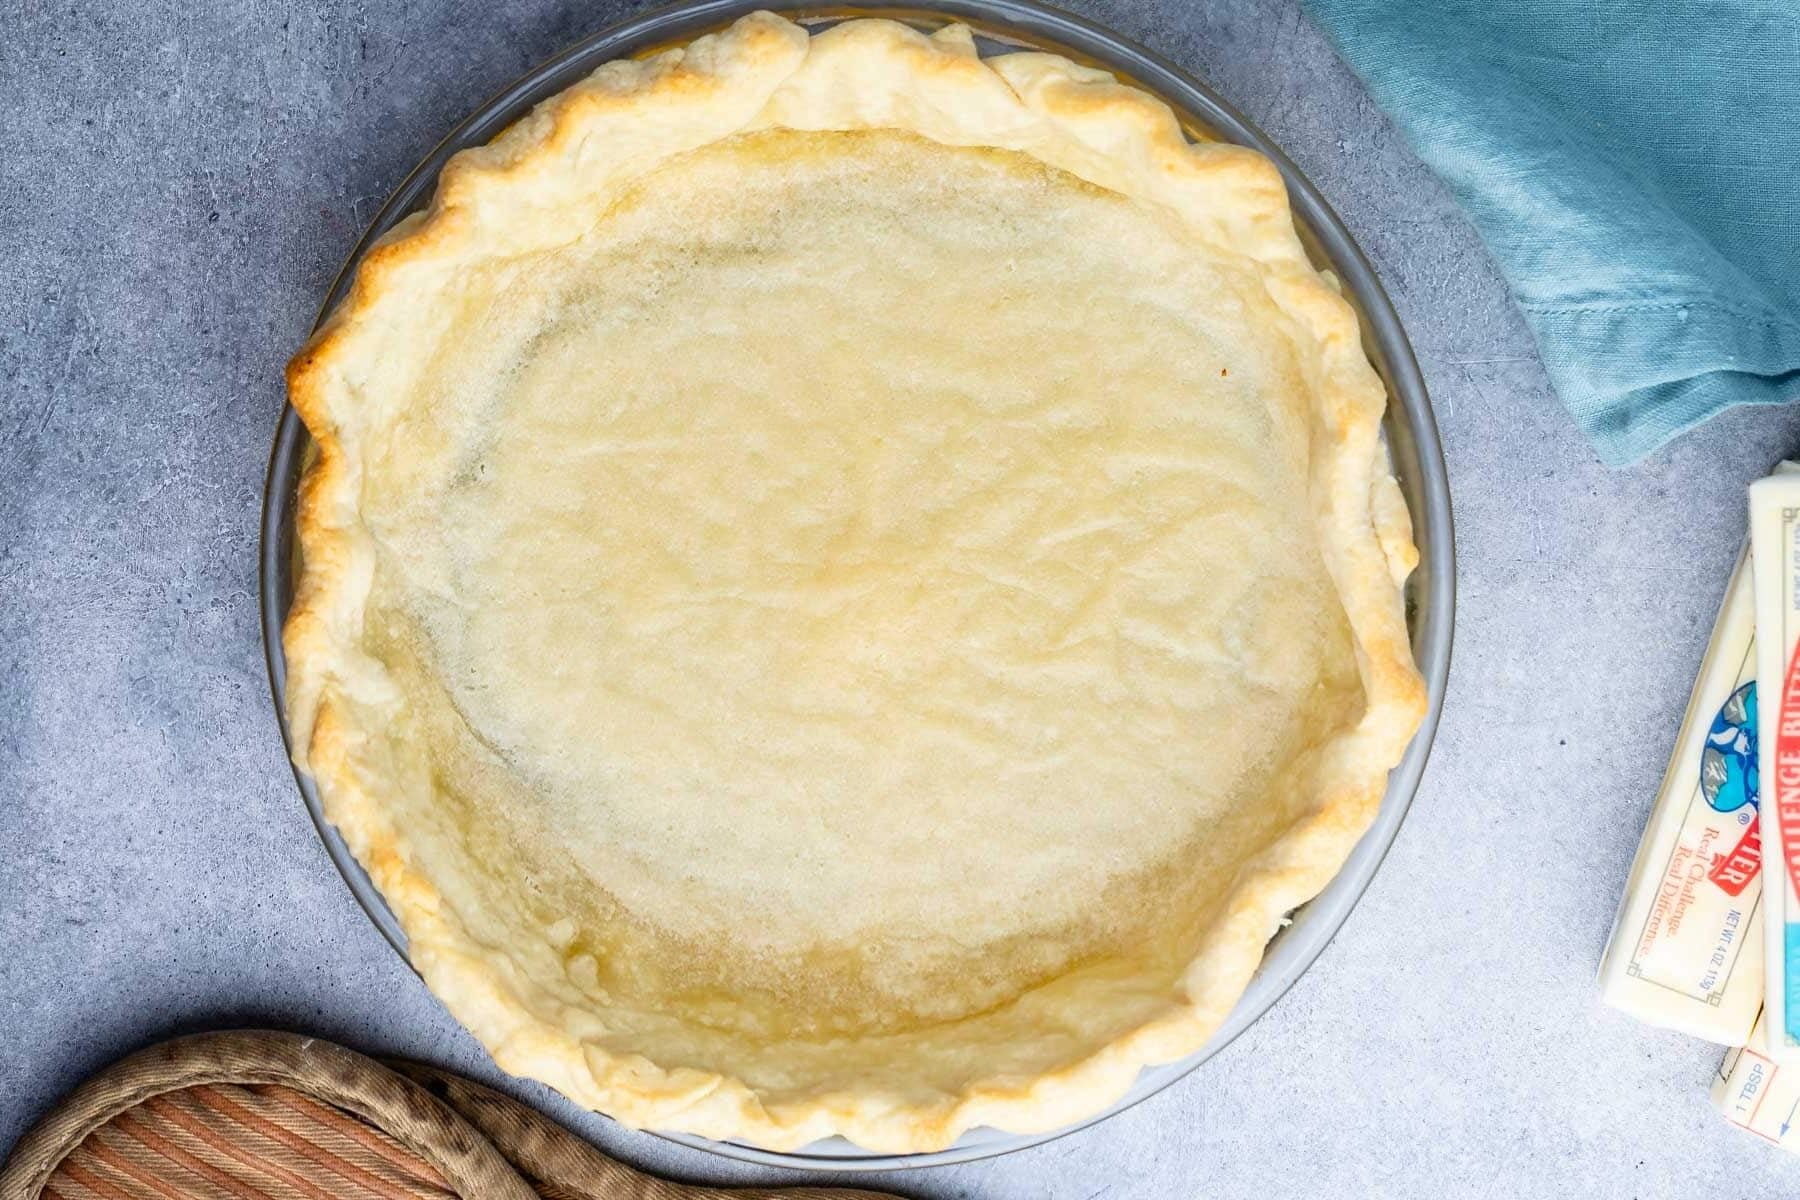
1. When you partially blind bake your crust, the sides and edges should be light but semi-baked through and the bottom should be semi-opaque but still a little greasy looking.
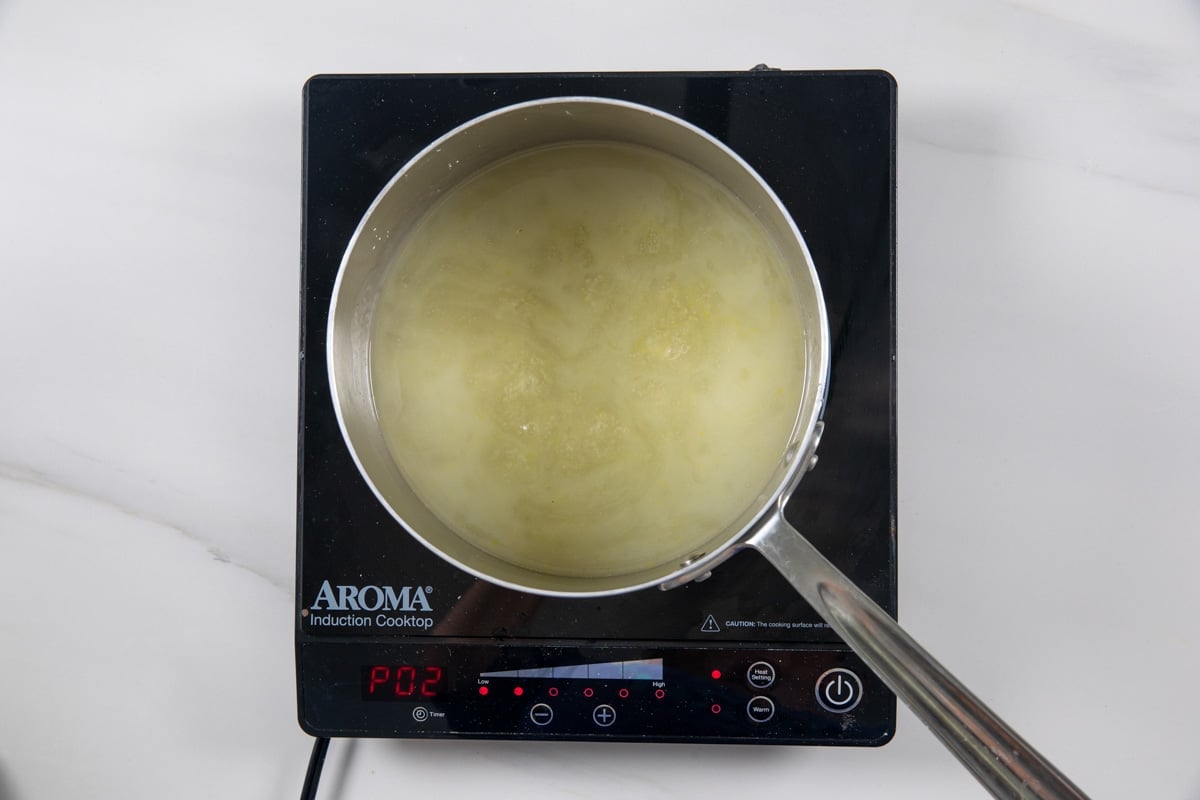
2. Making the filling is like making pudding: stir often to make sure it doesn’t stick. It’s ready for the yolks when it’s thick and bubbly.
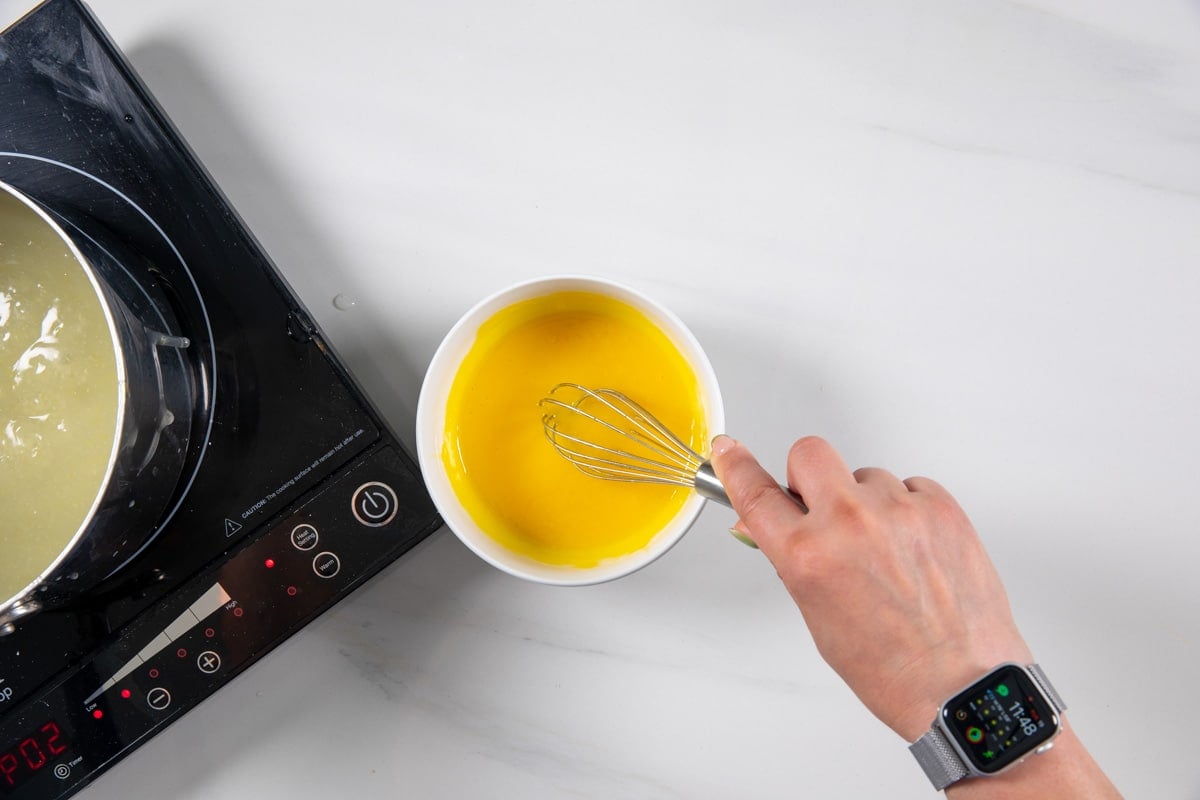
3. Pour a bit of the hot mixture into the egg yolks, whisking constantly. Then, pour the egg yolk mixture back into the pot, whisking constantly. Then you can continue making your filling without worrying about scrambled eggs.
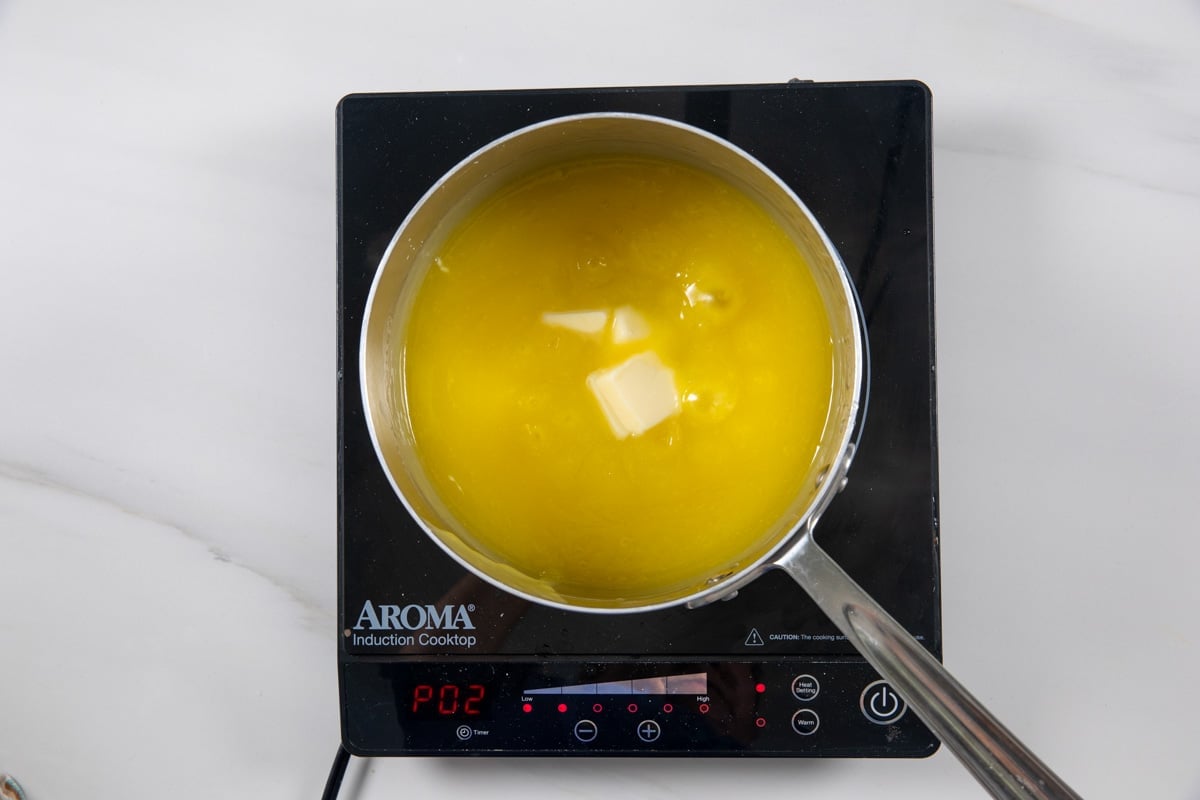
4. Always stir in the butter and vanilla last after removing from the heat.
SAVE THIS RECIPE
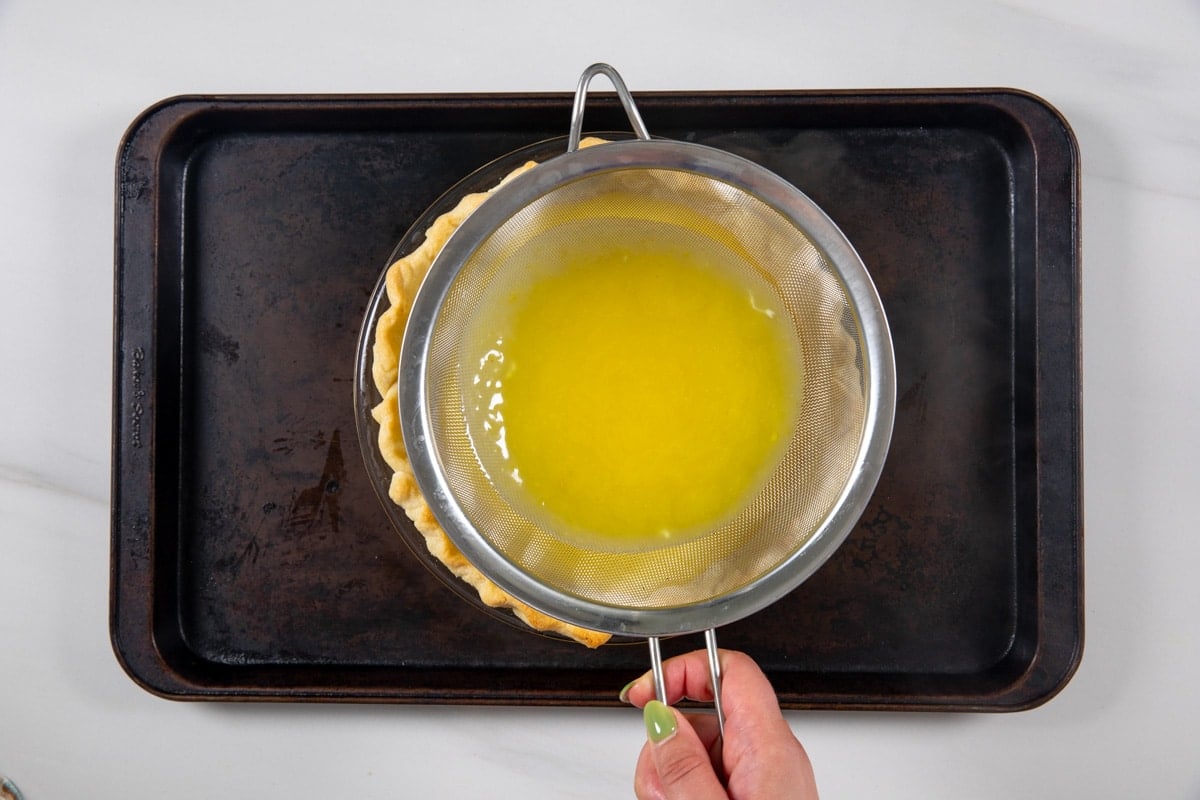
5. Straining into a bowl or into the pie crust is very important. The filling will be thicker than traditional lemon curd at this point.
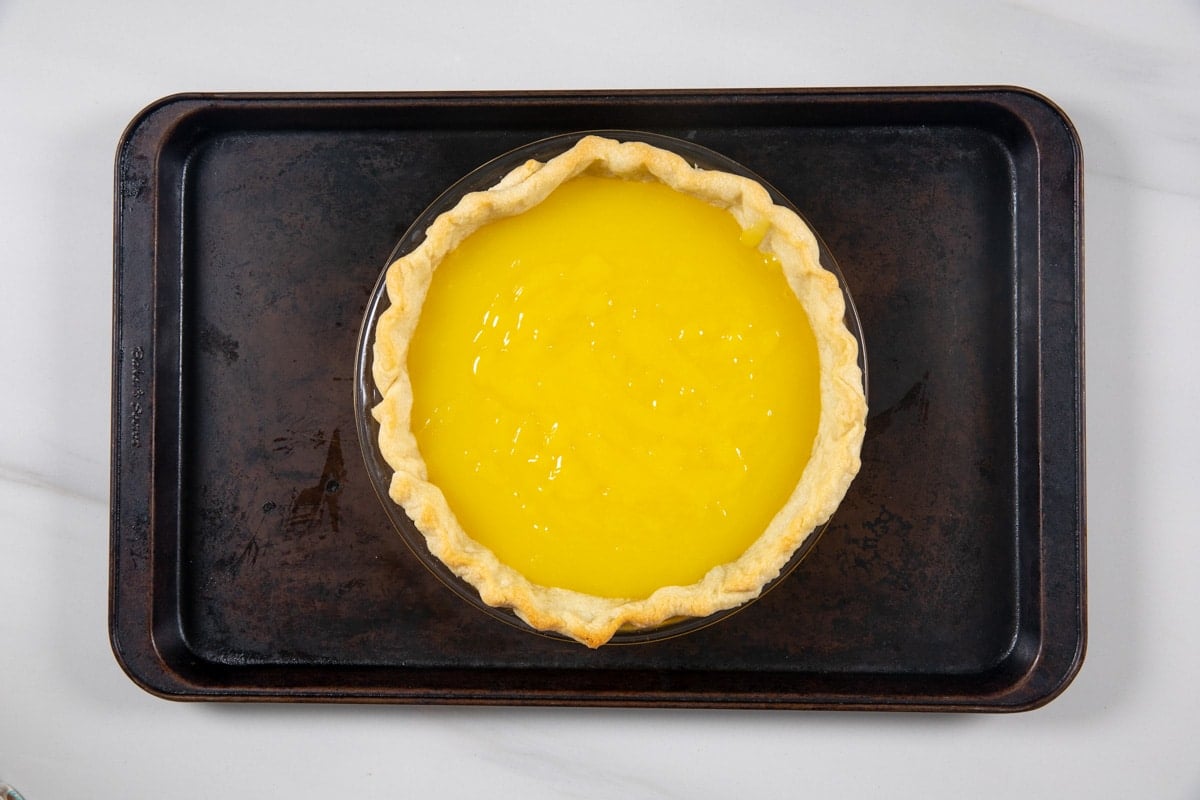
6. You don’t want the pie to cool too much before adding the meringue and baking the pie. The heat from the filling will make the meringue “cook” to the top of the pie.
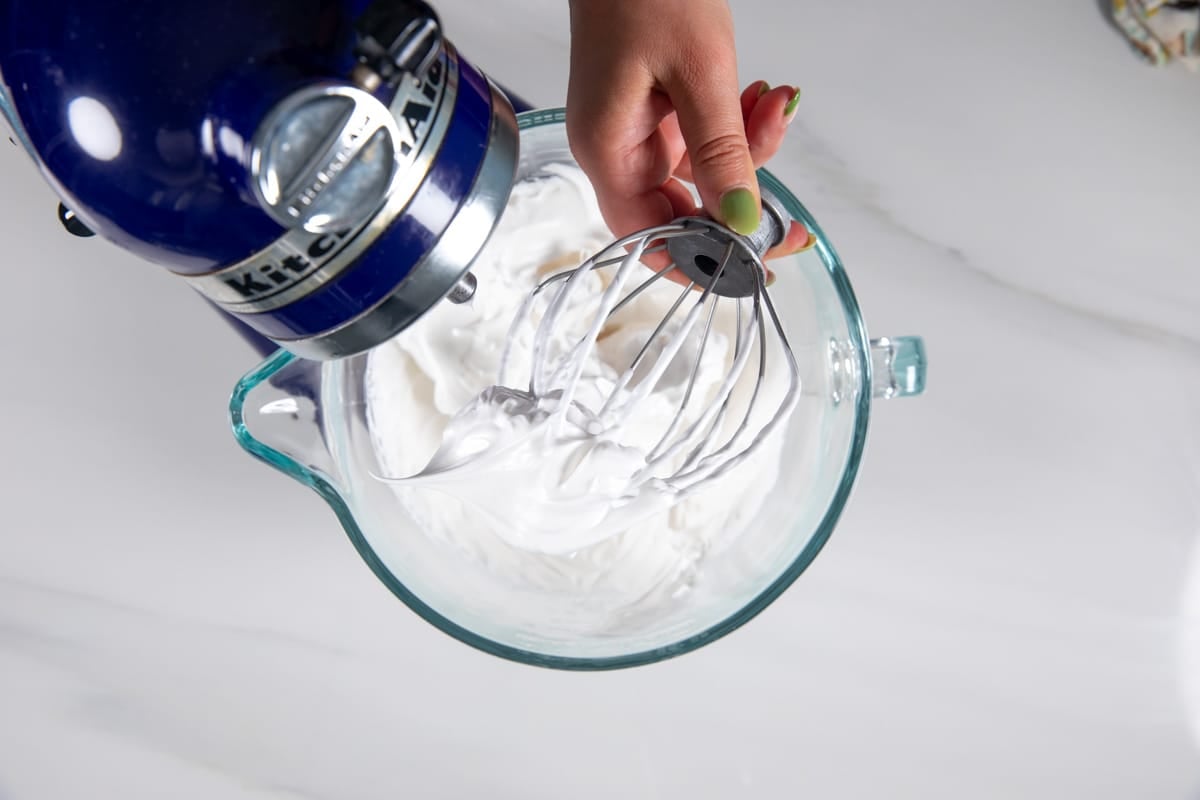
7. Soft peaks means that the egg whites are fluffy, but the peaks will just start to hold if you turn the whisk upside down. Once you add the sugar and beat the egg whites until stiff peaks form, you’ll see they are glossy and the peaks hold their shape.
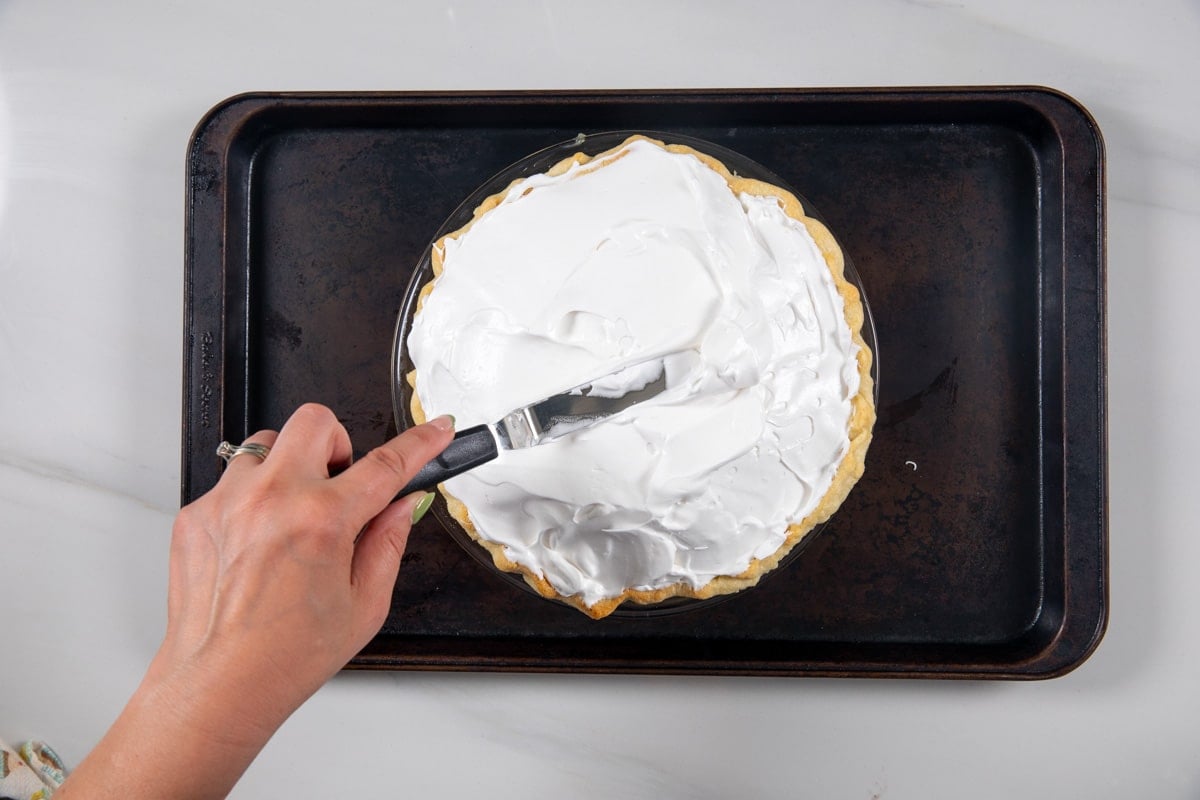
8. Always add the meringue to the still-hot filling. Make sure to completely seal the meringue to the pie crust edges.
FAQs
You can prepare the crust a day ahead but make and assemble the pie the day of. It won’t last more than about 24 hours before weeping.
Make sure it’s stiff peaks and make sure that you are topping the pie while the filling is still hot. And make sure the meringue touches the edges of the crust with no holes or gaps. This will ensure you do not have a watery pie – however it will weep after a day (meringue doesn’t last that long).
Always add the meringue to the HOT filling to avoid weeping and separating.





I’m going to try that pie. I hope it’s nice and tart.
Hope you love it!
por favor en Español , entiendo algo de inglés , pero los detalles me los pierdo.Las recetas me encantan gracias
Hola Beatriz, usé el Traductor de Google, así que puede que no sea exacta. Aquí está la receta.
Ingredientes
Para el relleno:
1 Base de pastel de mantequilla precocida y fría (o una base precocida de un paquete de dos o congelada)
1 ½ tazas (355 ml) de agua
1 ½ tazas (300 g) de azúcar granulada
5 cucharadas (40 g) de maicena
½ taza (118 ml) de jugo de limón fresco
1 cucharada de ralladura de limón
½ cucharadita de sal
4 yemas de huevo grandes
3 cucharadas (42 g) de mantequilla sin sal
Para el merengue:
4 claras de huevo grandes
½ cucharadita de crémor tártaro
1 cucharadita de extracto de vainilla
½ taza (100 g) de azúcar granulada
Instrucciones
1. Precalentar el horno a 220 °C. Colocar la base en un molde para pastel de 23 cm.
2. Hornear parcialmente la base a ciegas: hacer agujeros en la base con un tenedor. Forra la masa con papel vegetal y rellénala con frijoles secos o pesas para tarta (también puedes usar arroz seco y lentejas). Si usas mi receta de masa para tarta, hornea durante unos 20 minutos, comprobando que la masa esté dorada (aunque la base no estará completamente cocida, no importa). Si usas una masa Pillsbury, solo tardará unos 10 minutos en hornearse parcialmente. Retira con cuidado el papel vegetal y las pesas para tarta.
3. Baja la temperatura del horno a 150 °C.
4. Bate el agua, el azúcar, la maicena, la sal, el zumo y la ralladura de limón en una cacerola mediana. Calienta a fuego medio-bajo y cocina, removiendo con frecuencia, hasta que la mezcla esté espesa y burbujeante.
5. Coloca las yemas de huevo en un bol mediano. Bátelas suavemente. Una vez que la mezcla de limón esté espesa y burbujeante, vierte con cuidado aproximadamente la mitad de la mezcla de limón en las yemas, batiendo constantemente. Luego, vuelve a colocar la mezcla de huevo en la cacerola con el resto de la mezcla de limón, sin dejar de batir. Evite que los huevos se revuelvan. Deje que hierva suavemente y luego cocine durante 2 minutos. Retire del fuego e incorpore la mantequilla revolviendo hasta que se derrita.
6. Cuele la mezcla para eliminar cualquier resto de huevo. Vierta la mezcla en la masa de tarta preparada. Cubra con film transparente mientras prepara el merengue y manténgalo caliente (el merengue debe ir sobre el relleno caliente).
7. Coloque las claras de huevo, el crémor tártaro y la vainilla en el tazón de una batidora de pedestal con el accesorio para batir (o puede usar un tazón grande con una batidora de mano). Bata a alta velocidad hasta que se formen picos suaves (si retira los batidores, las puntas se curvan ligeramente) y luego continúe mezclando mientras agrega gradualmente el azúcar granulado. Continúe mezclando hasta que se formen picos firmes (quedarán brillantes y se mantendrán rectos).
8. Extienda el merengue sobre la mezcla de limón formando picos decorativos, asegurándose de que el merengue toque la masa y no se vea el limón. Hornee durante unos 30 minutos o hasta que el merengue esté dorado. Dejar enfriar a temperatura ambiente durante una hora, luego refrigerar al menos 5 horas antes de cortar.
It is so good and pretty. I used duck eggs instead of chicken.
Hi Jerri, thanks for commenting. Glad you liked it!
Can this filling be made ahead and refrigerated?
No the topping needs to go on top of warm pie filling
I have been making this recipe for about seven years now and I love it so much. No other lemon pie can ever come close. I use this recipe for reunions, church gatherings and family gatherings. YUM!!!
Featured In
Rate This Recipe
Recipe Ratings without Comment