This post may contain affiliate links. For more information, read my disclosure policy.
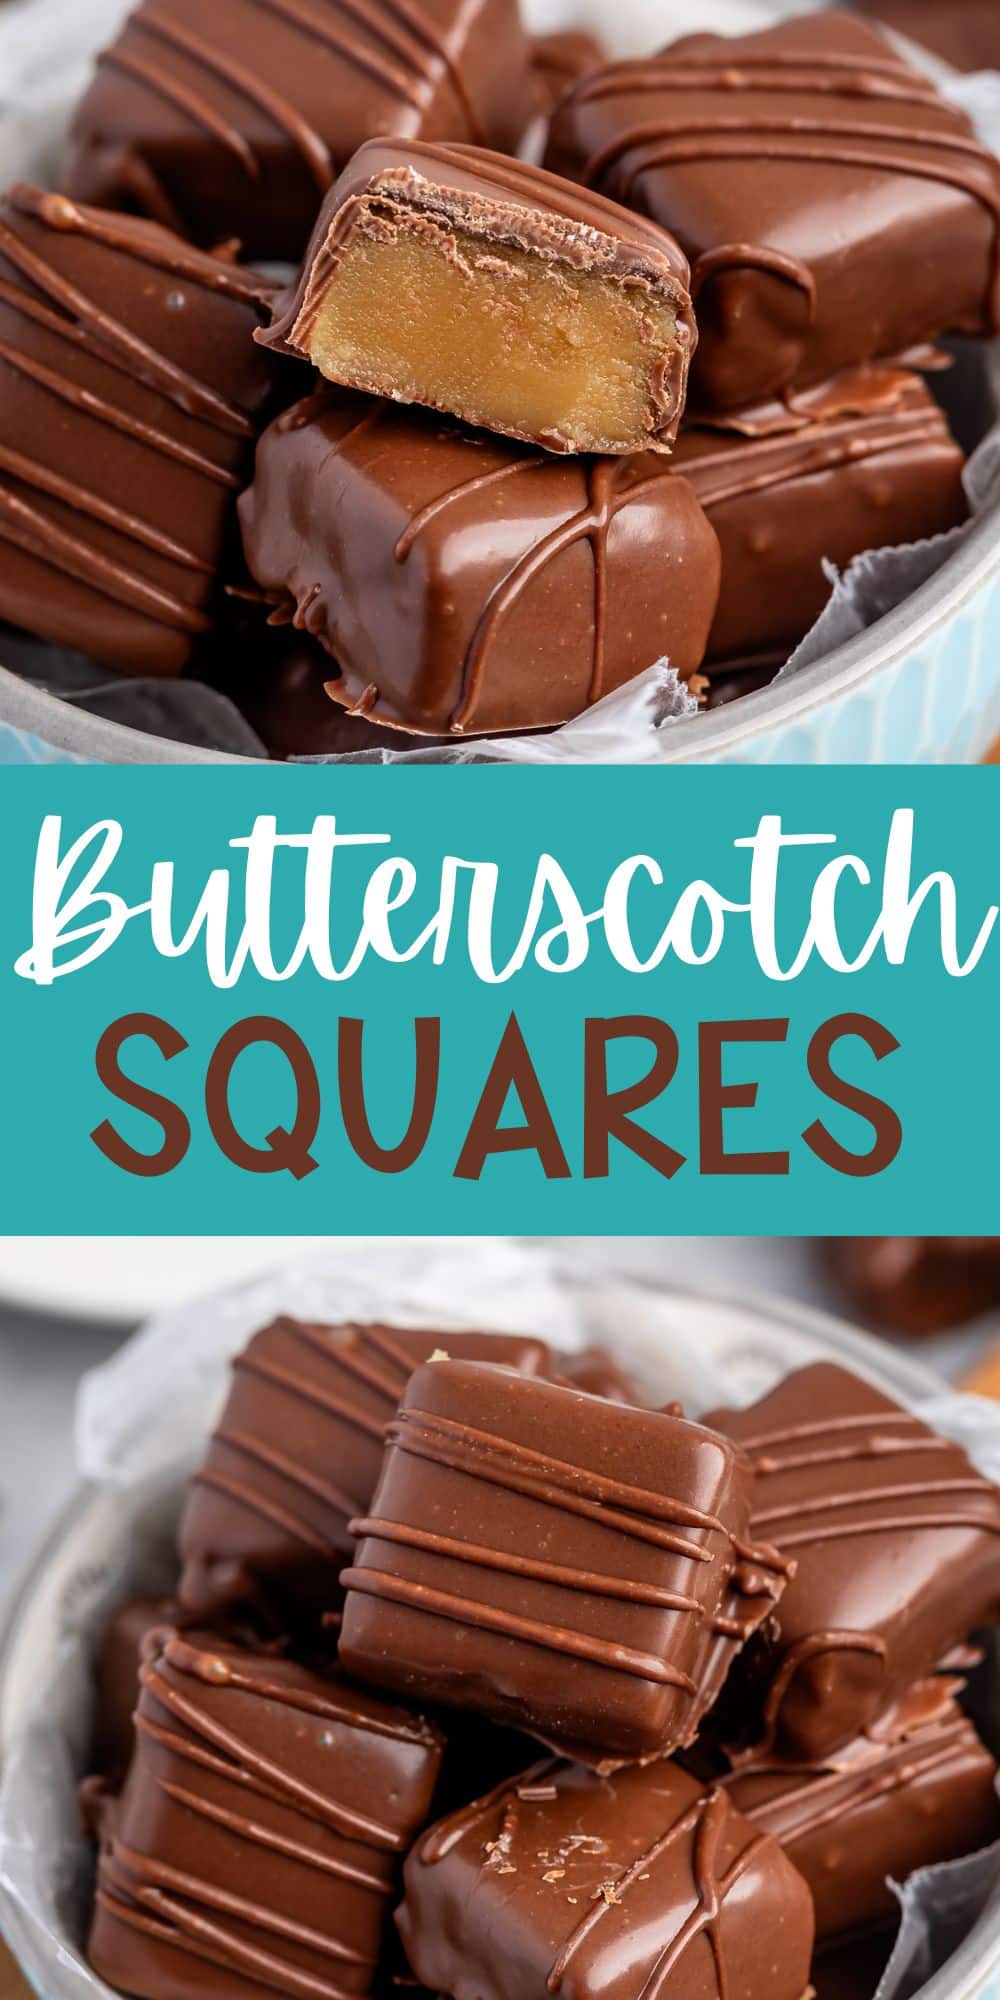
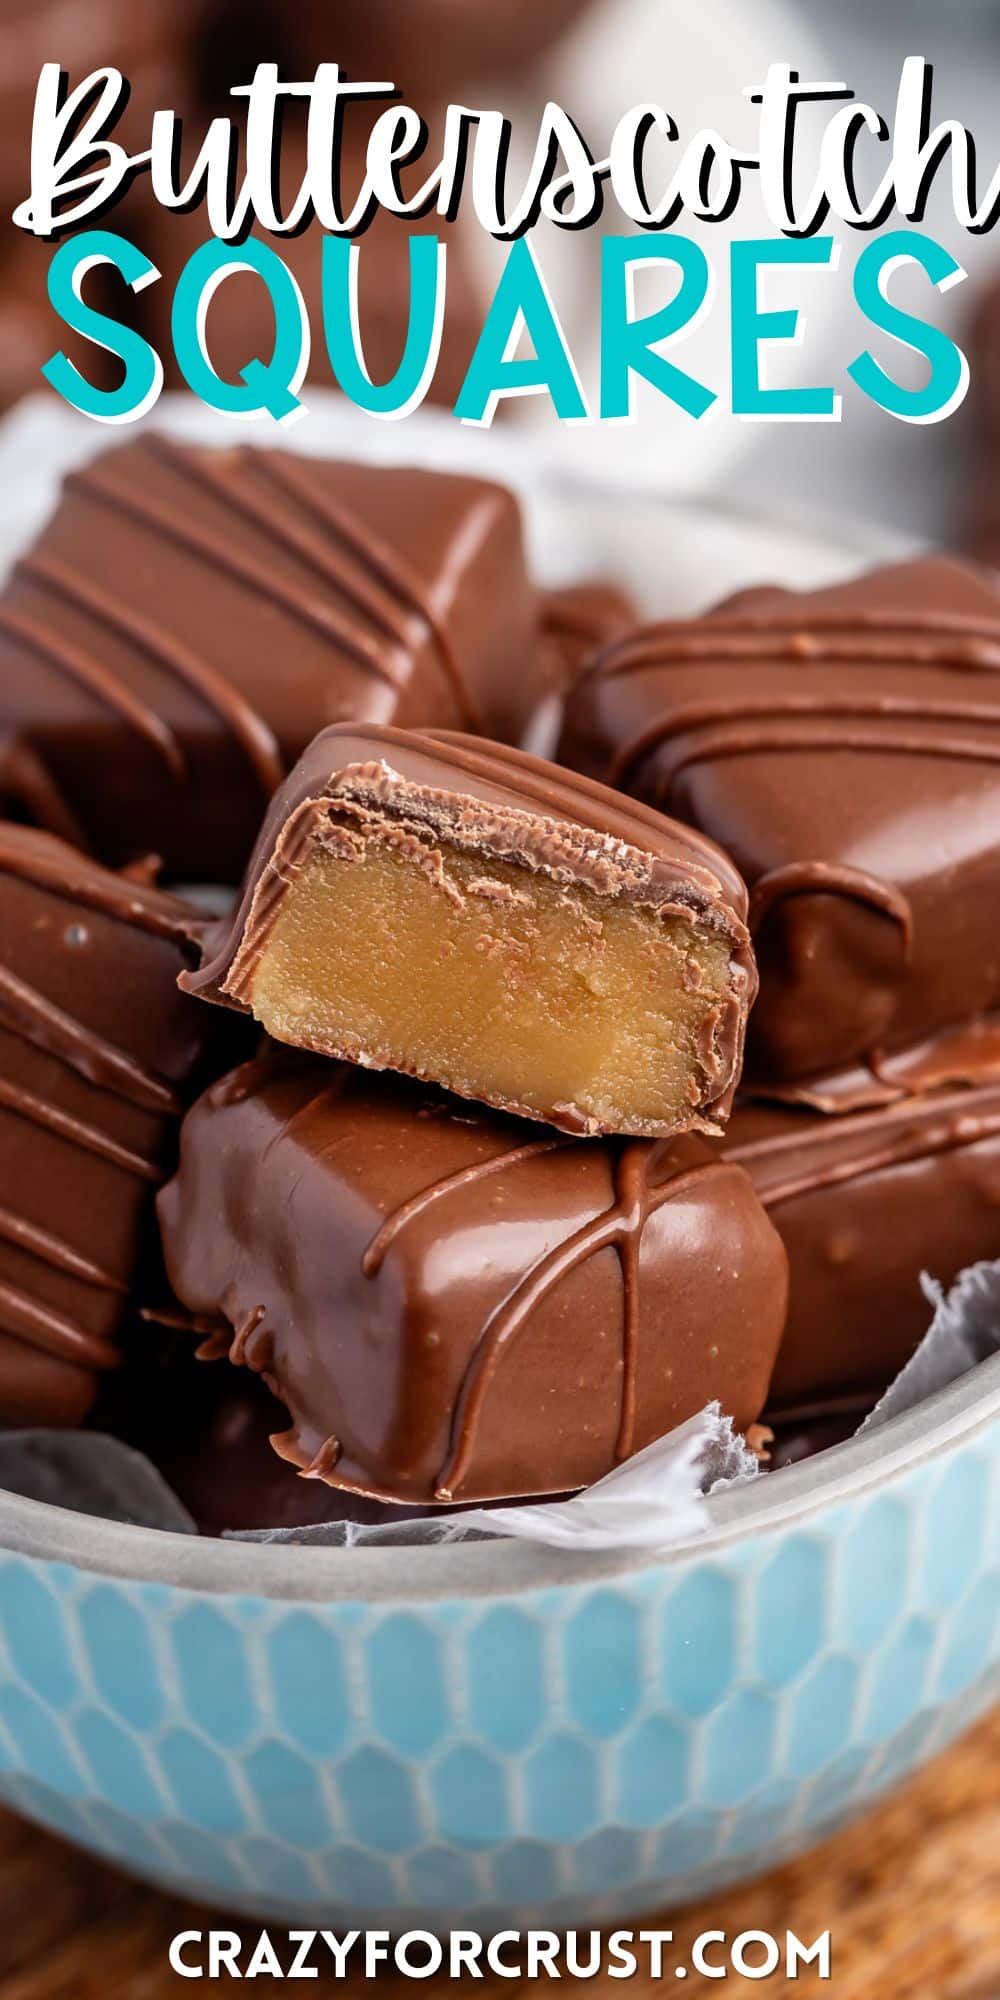
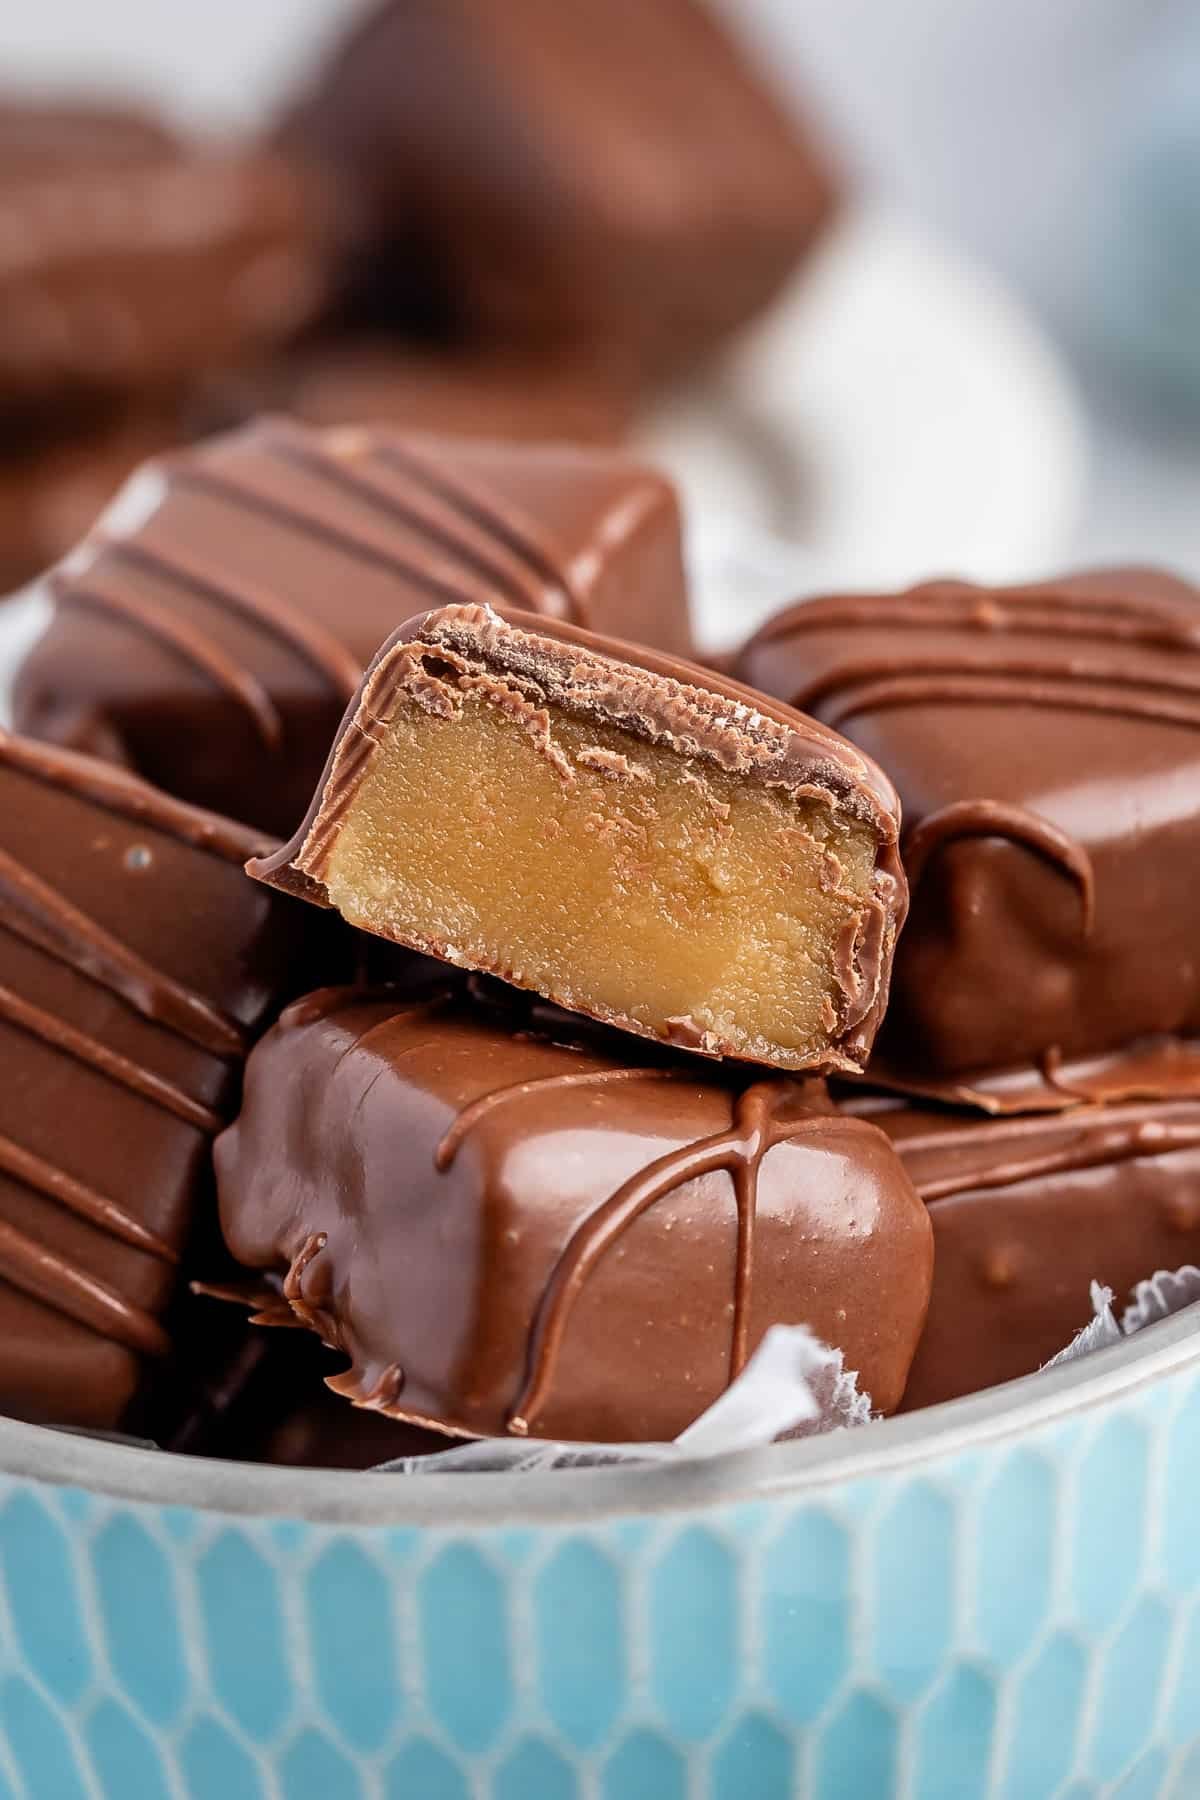
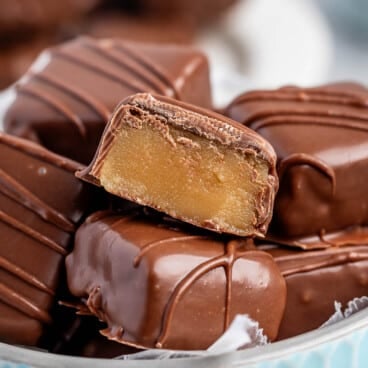
If you love those Butterscotch Squares from your favorite candy shop…this recipe is for you! It’s a copycat recipe – a soft brown sugar candy covered in chocolate. The perfect candy recipe!
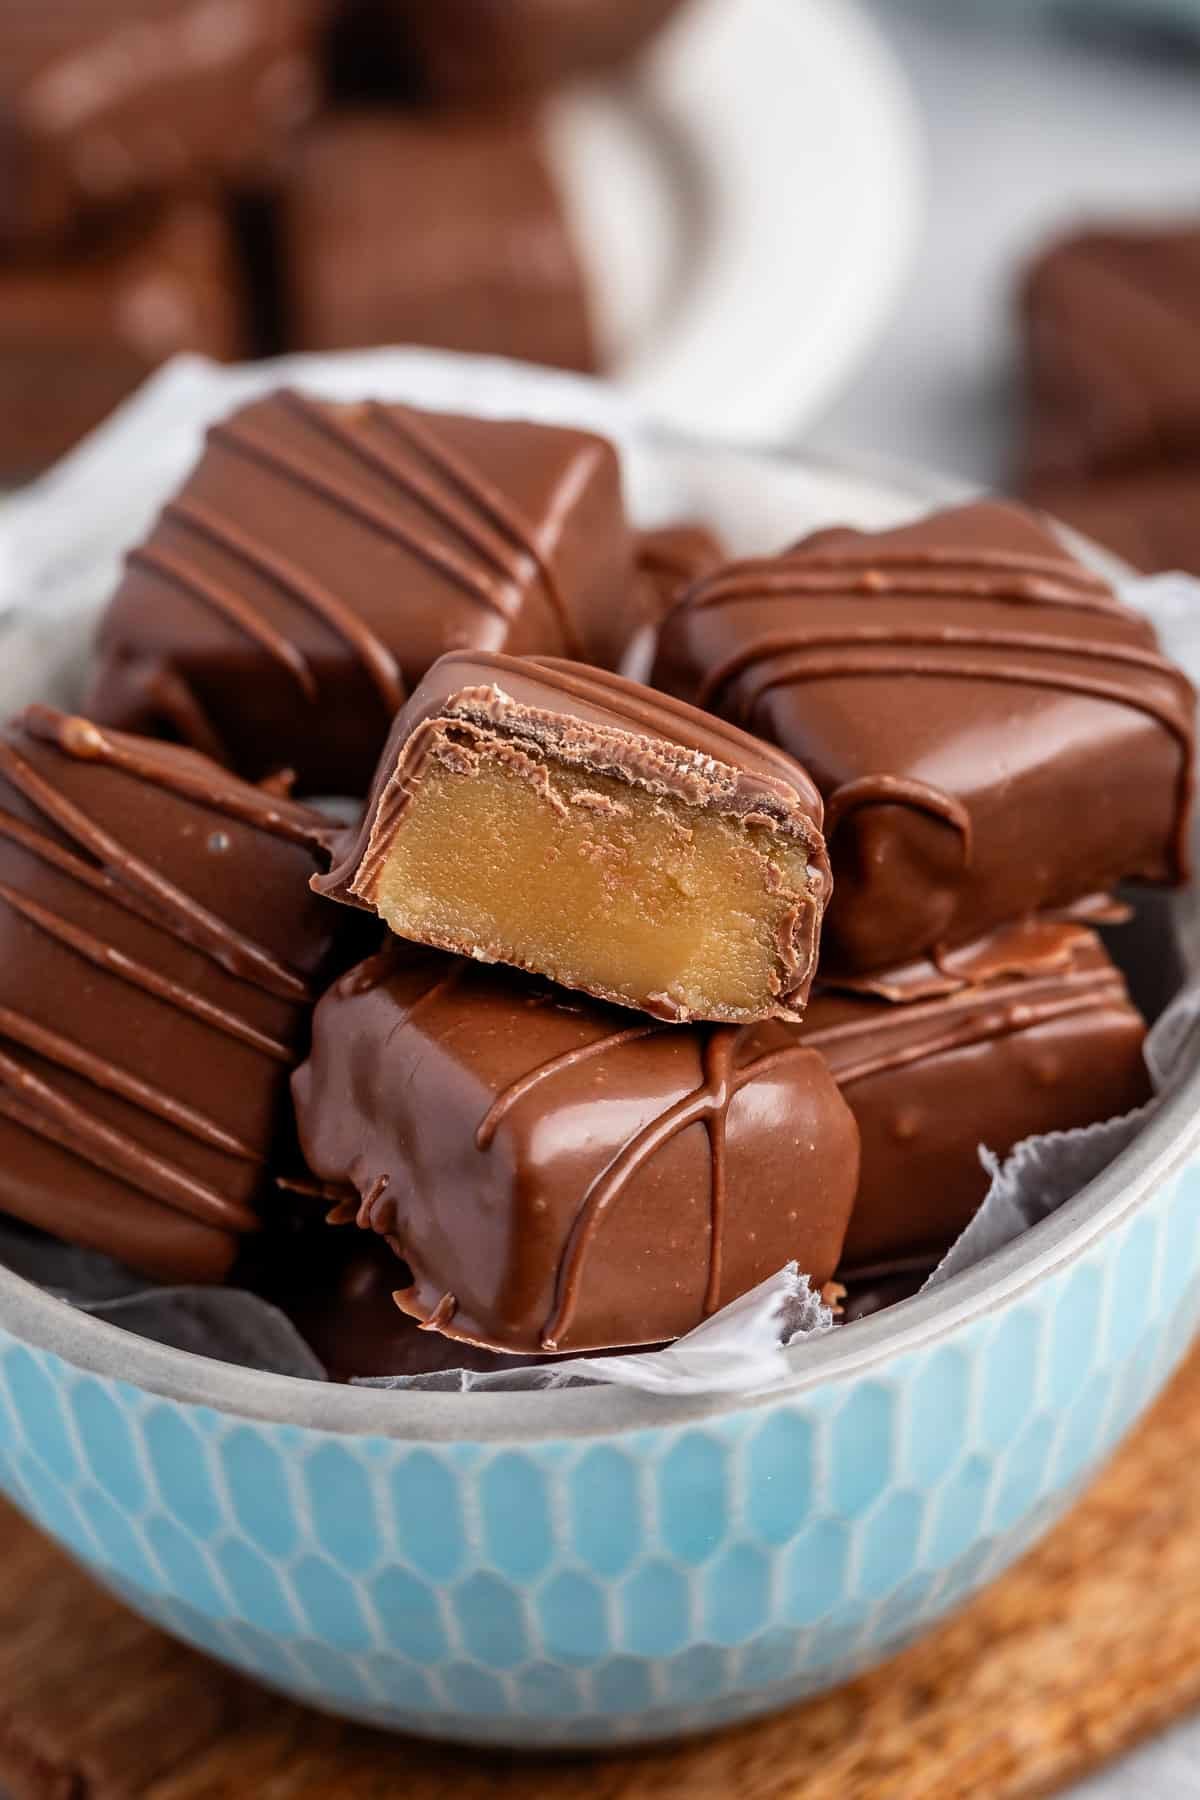
Table of Contents
I’ve mentioned before about my See’s Candy addiction. Growing up, a pound lasted less than a day. The chocolate factory is in my hometown, so that whenever I smell the inside of See’s store, I think I’m home.
If I had to pick one kind of See’s Candy to eat for the rest of my life it would be the Butterscotch Square (or the maple truffles). There would be no deliberation, hesitation, or hemming and hawing. Butterscotch Squares: they’re my favorite!
The boxes of See’s we’d get when I was a kid came with one butterscotch square. And it was mine – always. Everyone knew to back away from the square. My mom got the divinity, my dad the bordeaux. Me? I got the butterscotch square.
Of course, in true Dorothy fashion (and since I didn’t know the name for the longest time), called them brown sugar squares. I’d polish it off and then tell everyone I knew how much I hated butterscotch. Yes, I’ve learned the error of my ways. Butterscotch and me, we’re BFFs. And now I’ve made a copy cat of my favorite candy. So you can make it at home.
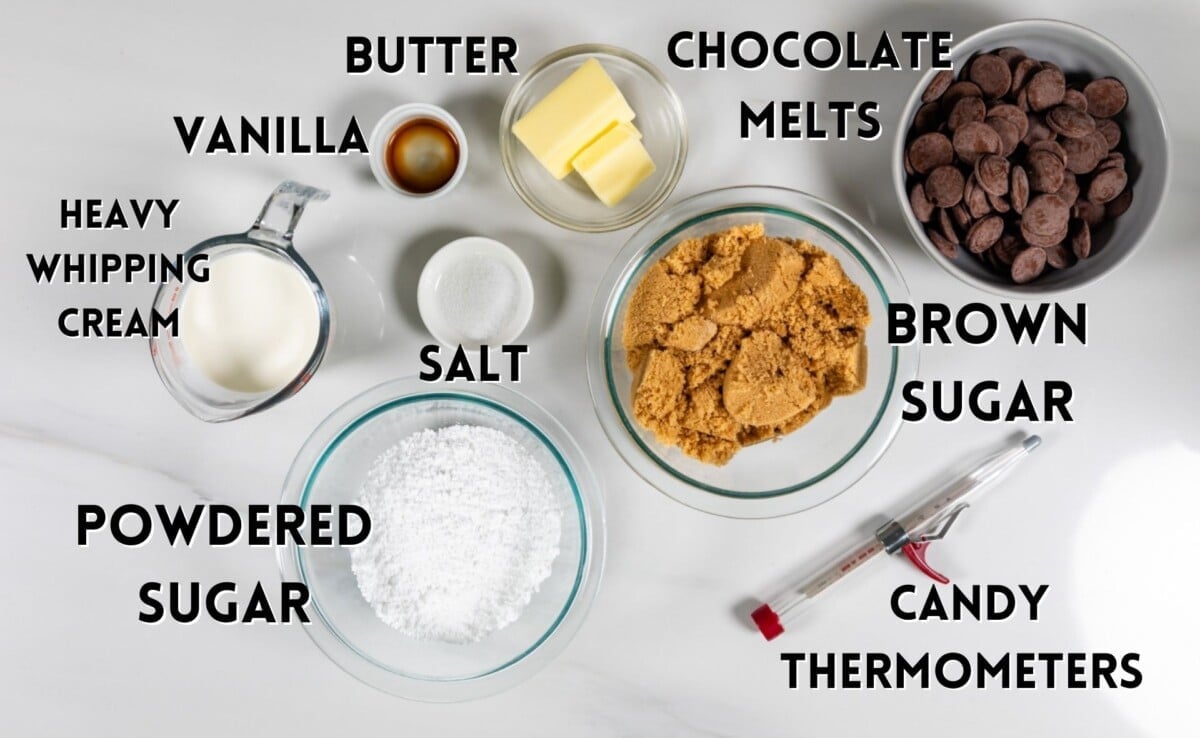
Ingredients Needed
The base of the recipe is a cooked mixture of unsalted butter, brown sugar and heavy whipping cream. When that trifecta boils together, you get a rich butterscotch candy.
Have you ever heard of penuche? This recipe is very similar to penuche candy/fudge. The difference is the amount of powdered sugar used at the end.
SAVE THIS RECIPE
How to make Butterscotch Squares
I did a lot of searching online for a copycat recipe and kept coming up with the same base recipe (some with just a few changes or additions) over and over. I finally traced it back to the oldest one I could find, but I’m not sure where that one came from.
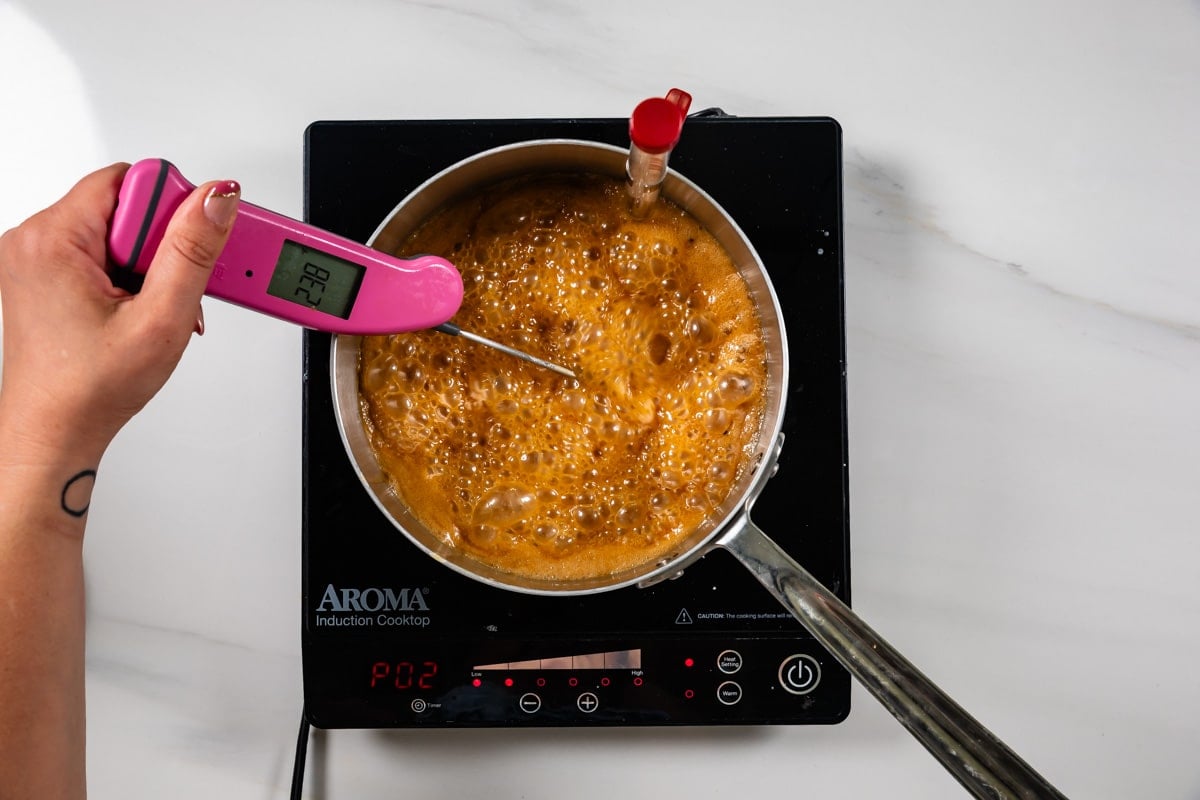
I do recommend using a candy thermometer for this recipe. The recipe I used as a guideline just gave times, and the first time I made this it really did not turn out. The candy has to cook to 236°F for it to set up properly and it’s too hard to gauge that without a thermometer.
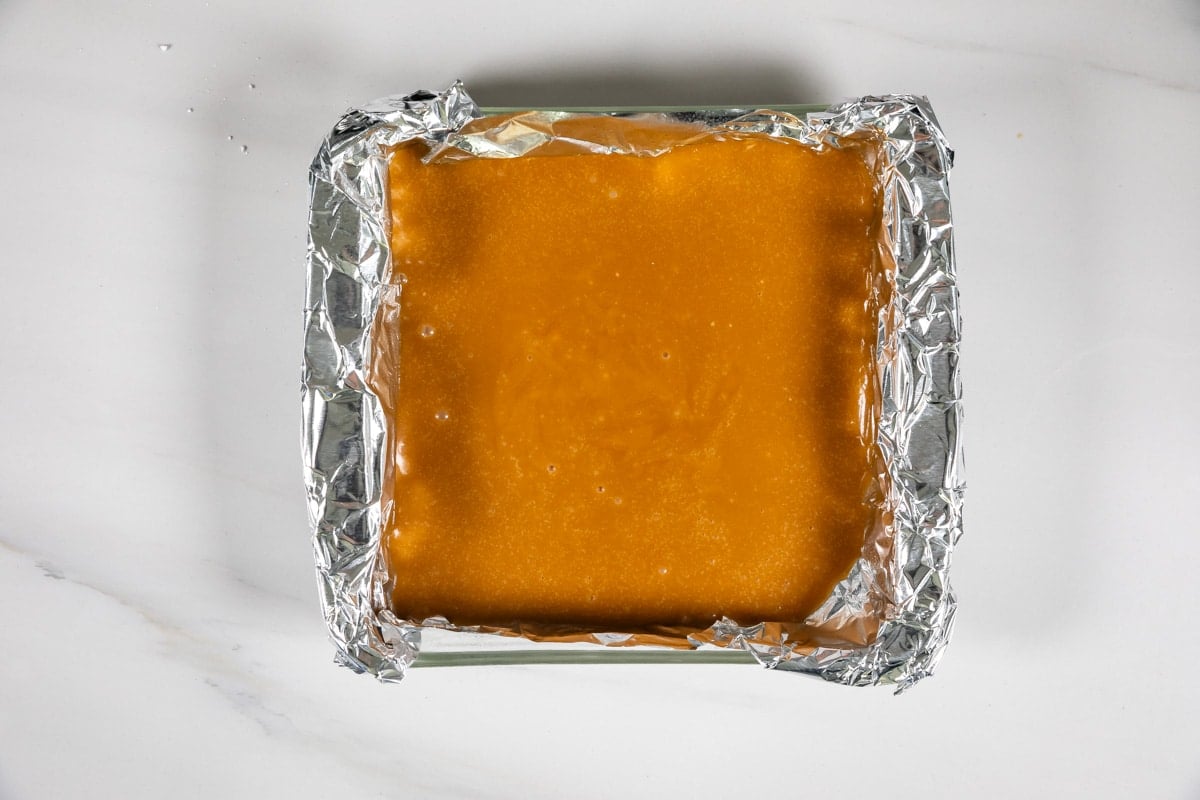
Once the candy is cooked you let it set in a 9-inch square pan lined with foil or parchment paper. Once it’s set you cut it into 64 squares and coat them with chocolate.

Tip From Dorothy
Expert Tips
- Use a large kitchen knife to cut the candy.
- Remove the candy from the pan using the foil. Cut it in quarters.
- Cut each quarter into slices, then cut each slice into squares. Make small cuts to avoid breaking the candy.
- I prefer using Ghiradelli candy melts – they taste the best. If you can’t find them, use Candiquik.
- Store these in an airtight container for up to a week in the refrigerator or freeze for up to a month.
Butterscotch Squares Recipe
Video
Ingredients
- 2 cups (400g) packed brown sugar
- ¾ cup (177ml) heavy whipping cream
- 6 tablespoons (84g) unsalted butter
- ½ teaspoon vanilla
- ¼ teaspoon salt
- 1 cup (113g) powdered sugar
- 16 ounces chocolate melts
Instructions
- Line a 9×9” pan with foil and spray with nonstick cooking spray.
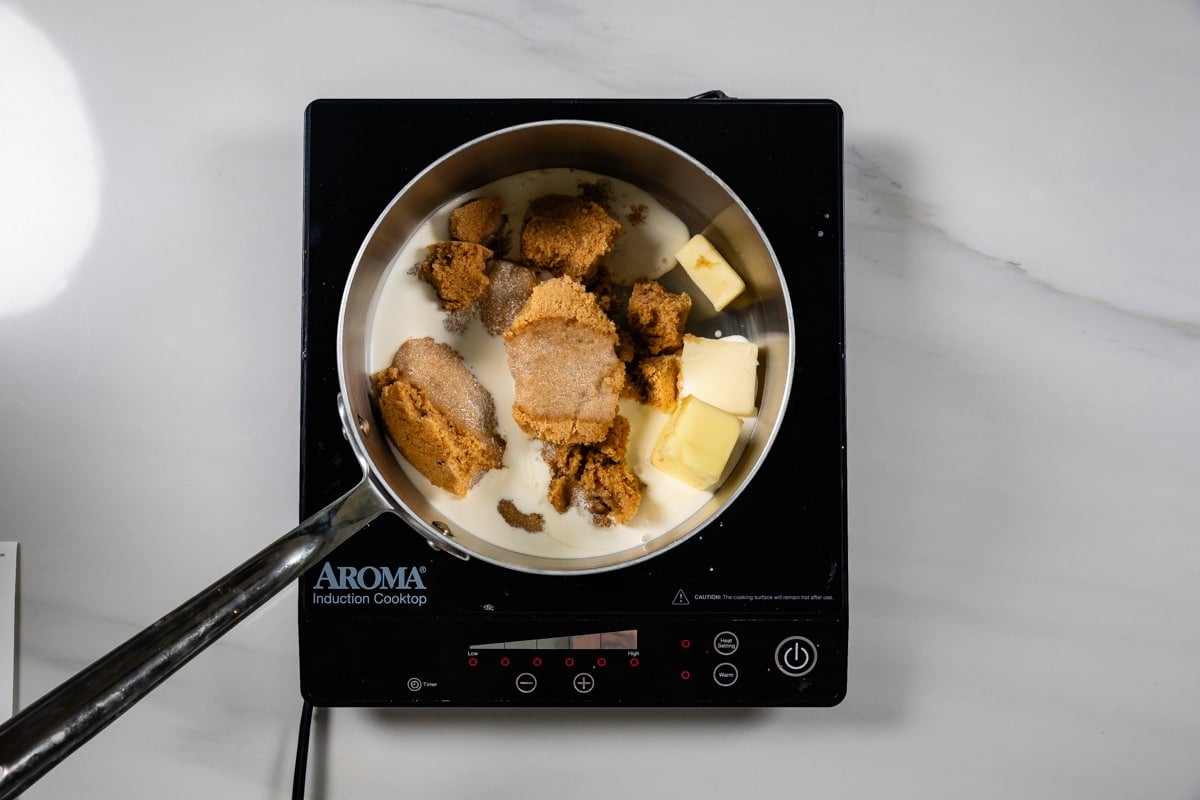
- Place brown sugar, cream, and butter in a saucepan over medium-high heat. Stir until melted. Bring to a rolling boil, then reduce heat to low and place a candy thermometer in the pot.
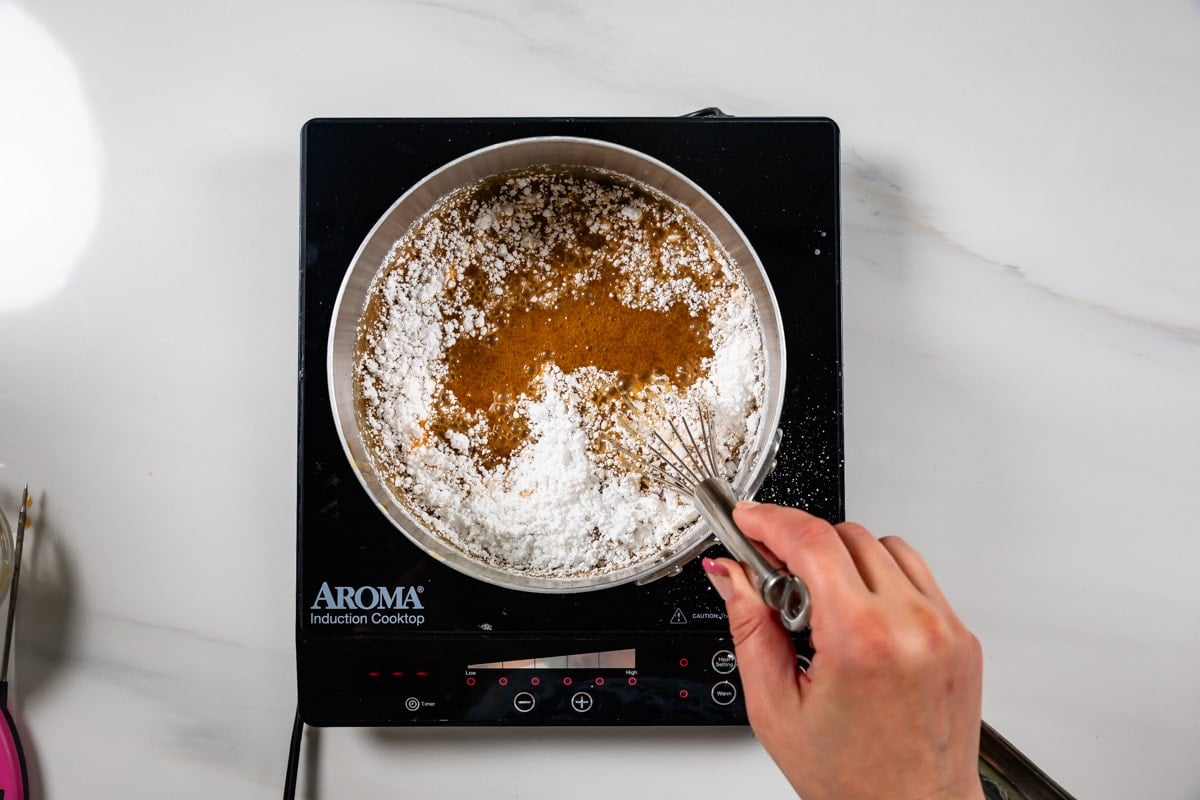
- Stir occasionally and simmer until the mixture reaches 236º, about 7-8 minutes. Turn off heat and stir in vanilla and salt. Whisk in powdered sugar. Pour into prepared pan and allow to set at room temperature (a few hours, but this can be done the day ahead).
- When ready to cut, remove from pan. Use a large kitchen knife and cut the square into quarters. From here, use small cuts to cut them into small squares (about 16 squares per quarter).
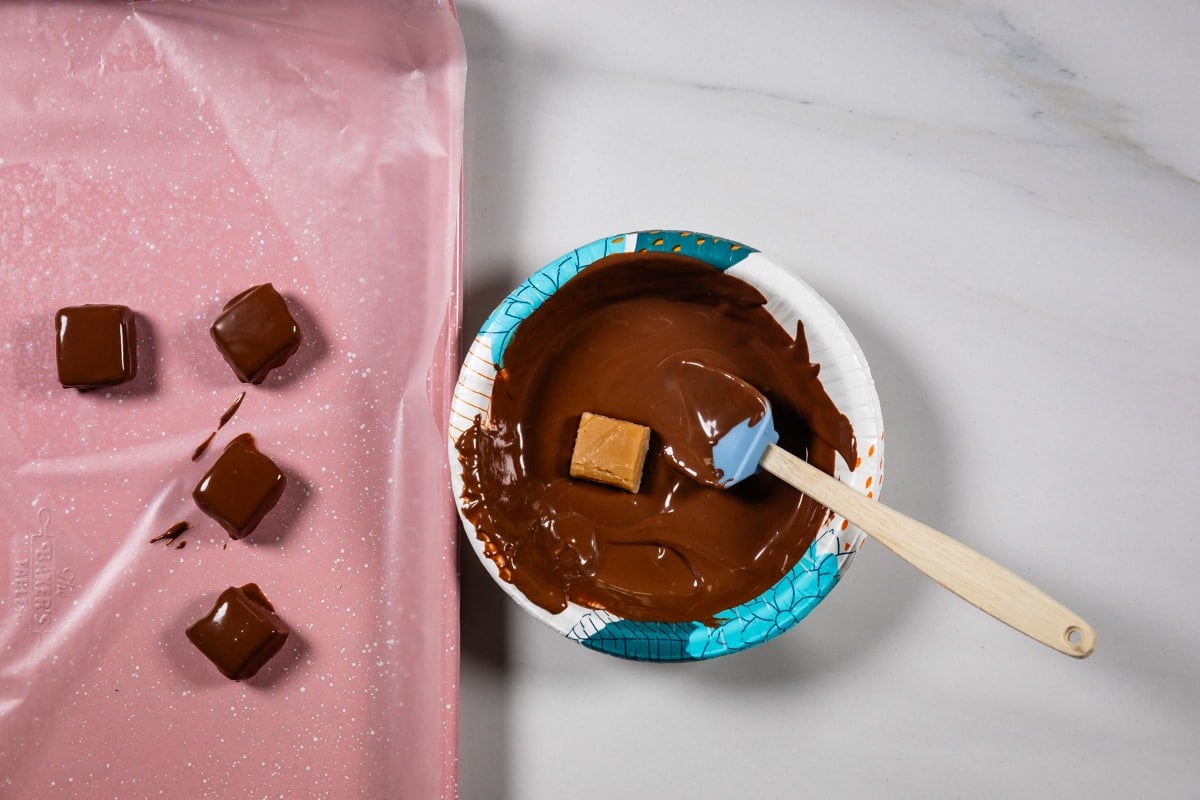
- Melt chocolate according to package directions and dip each square, tapping off excess. Place on a wax paper lined cookie sheet and chill to set.
Notes
- Be sure to use small but swift cuts. The candy can be fragile and is prone to flaking and breaking, so a quick cut will make the candy stay together.
- Read my post about dipping chocolate easily for tips.
- Store in an airtight container for up to 1 week in the refrigerator.
- You can freeze the candy, but know the chocolate might dull when defrosted.
Nutrition
Nutrition information is automatically calculated, so should only be used as an approximation.
© Crazy for Crust. Content and photographs are copyrighted. Sharing this post is much appreciated, but copying and pasting full recipes without authorization is strictly prohibited.
Did you try this recipe? Click here to rate the recipe below.
Favorite Candy Recipes


Absolutely phenomenal!!! We did a comparison of the real thing to your recipe and 3 out of 4 preferred yours. Of course, my squares were uneven and bigger than the real one, which is why everyone liked it better. You got a better bite of the center. Mine was a bit grainier than the real thing and what yours looks like. Full disclosure – I laughed at the 7-8 mins to reach softball stage and walked away to do something. Came back a couple minutes later and it was 238, instead of 236. Not sure that would make it grainy, but maybe. What should I do differently next time to get a slightly more creamy center but still a bit grainy (for that butterscotch texture).
BTW – we used Trader Joe’s milk chocolate bar with a 1/2 tsp of coconut oil for the coating and it was amazing.