
This post may contain affiliate links. For more information, read my disclosure policy.
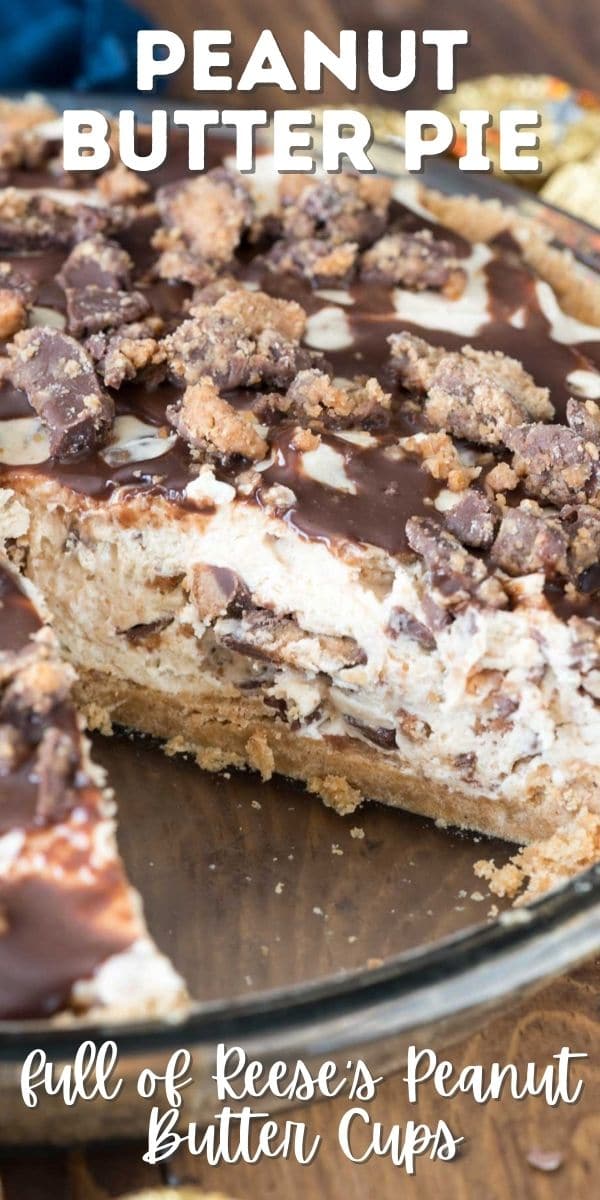
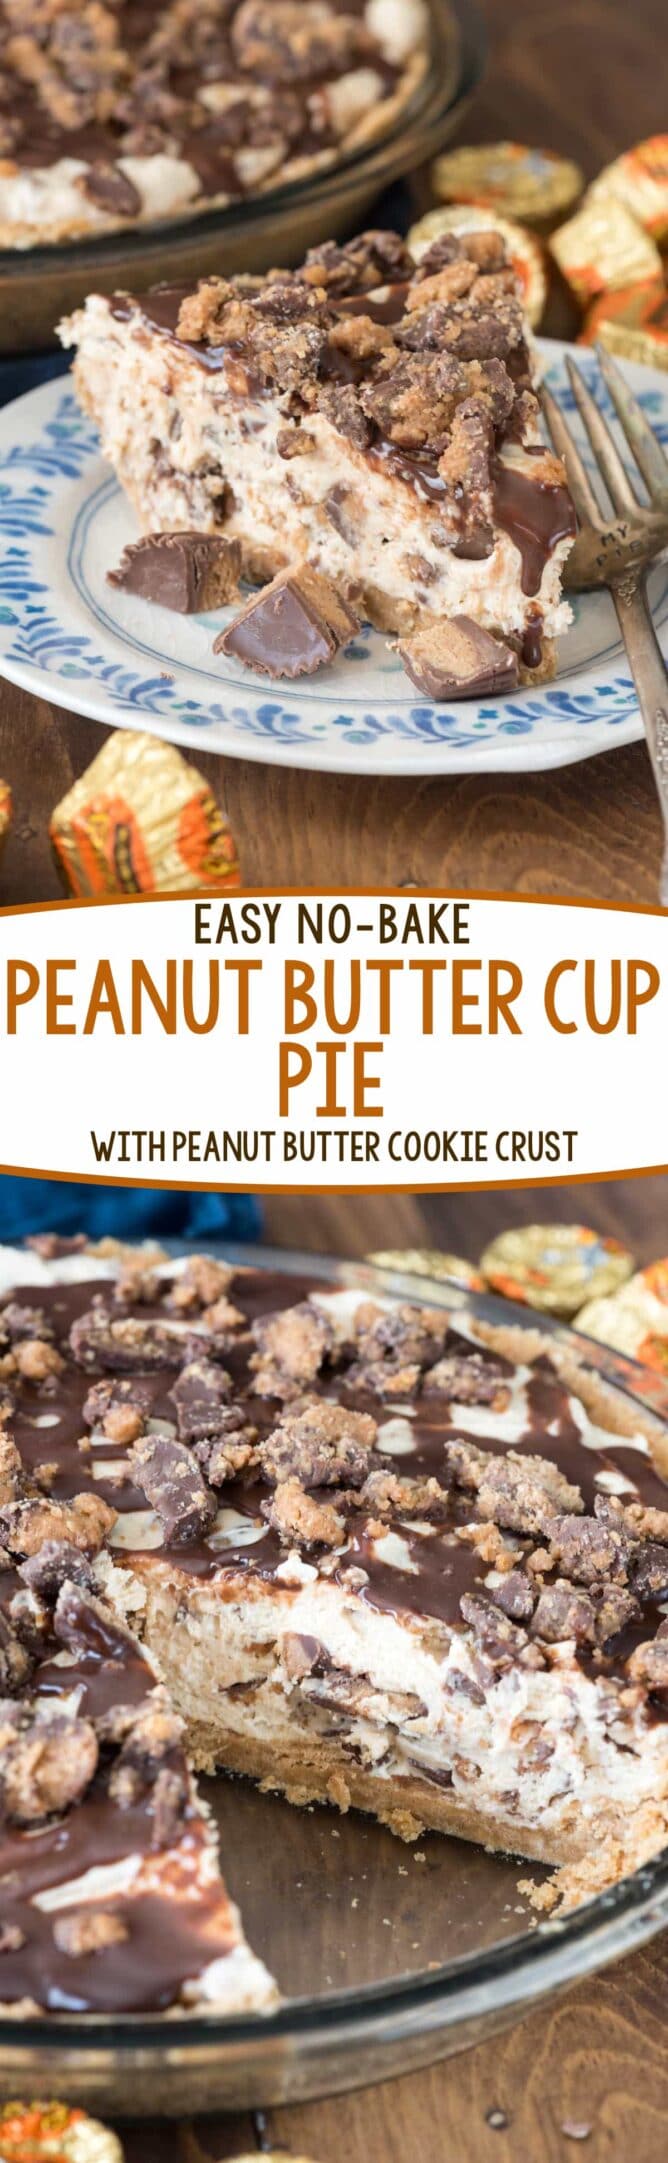
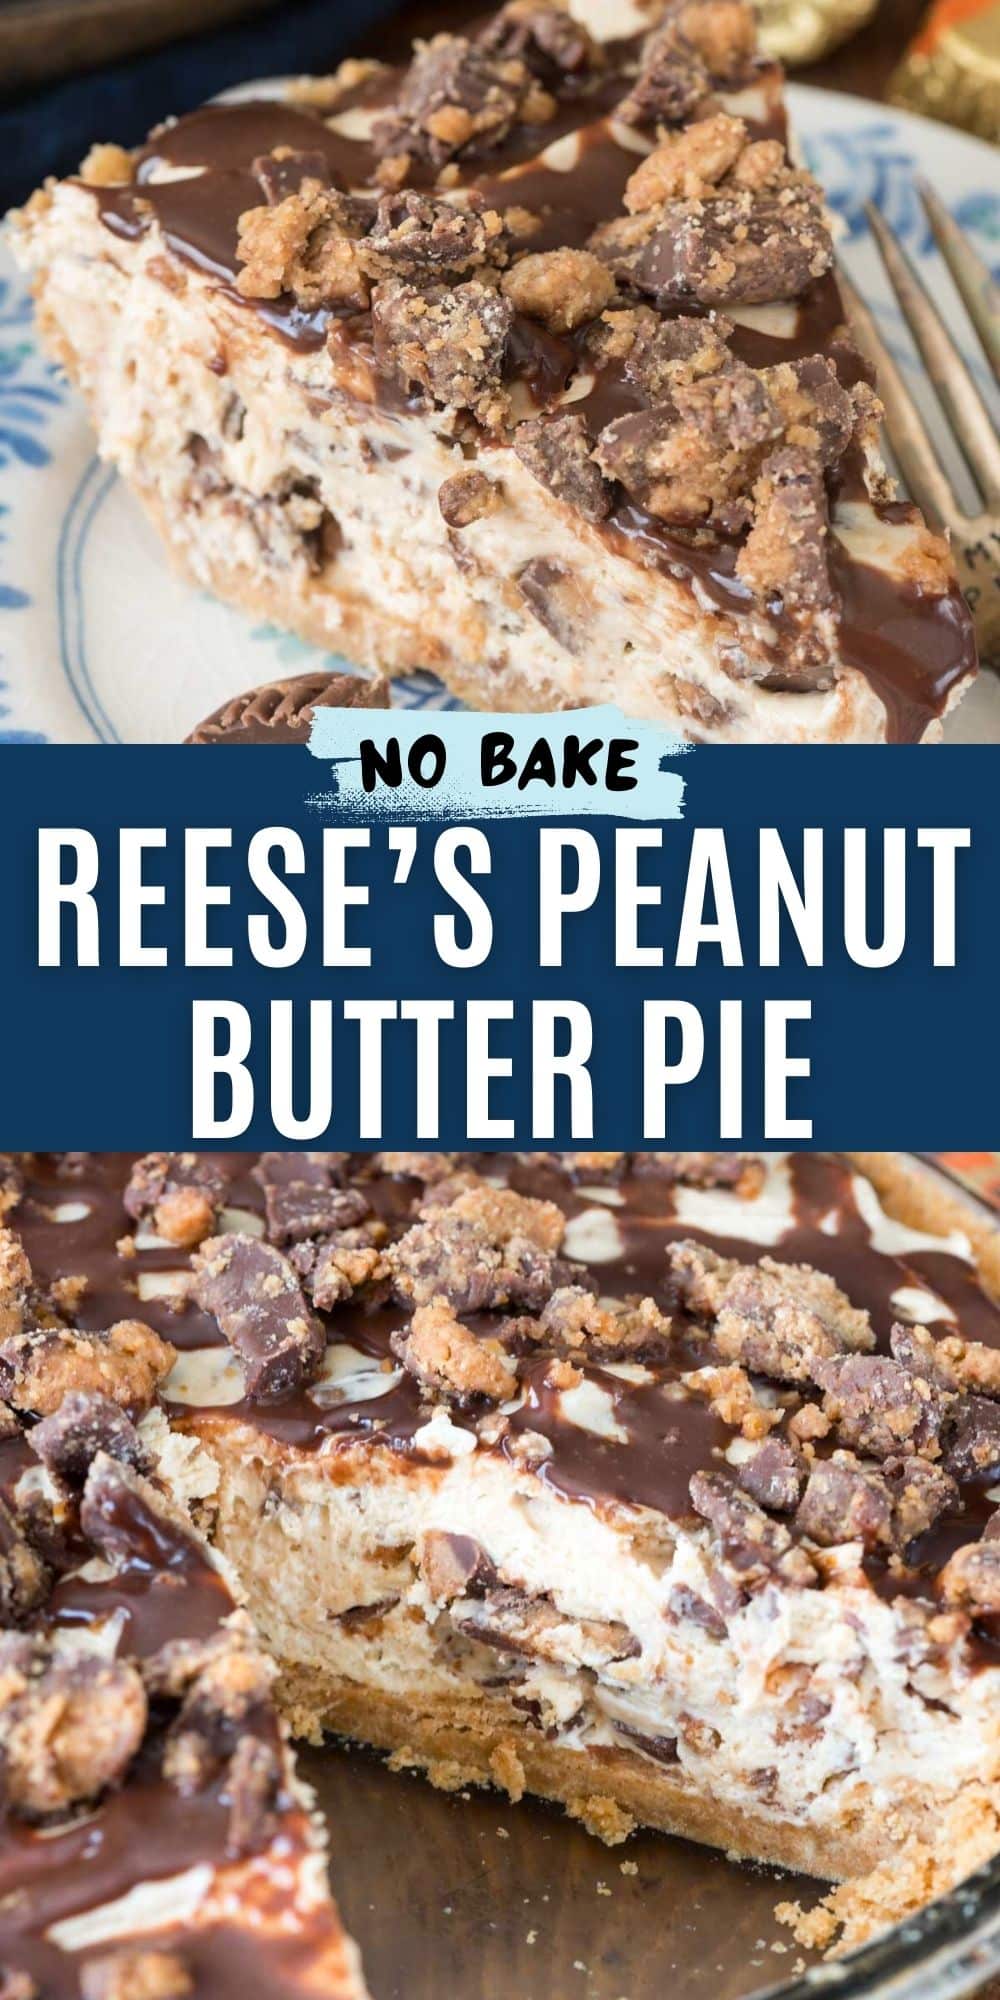
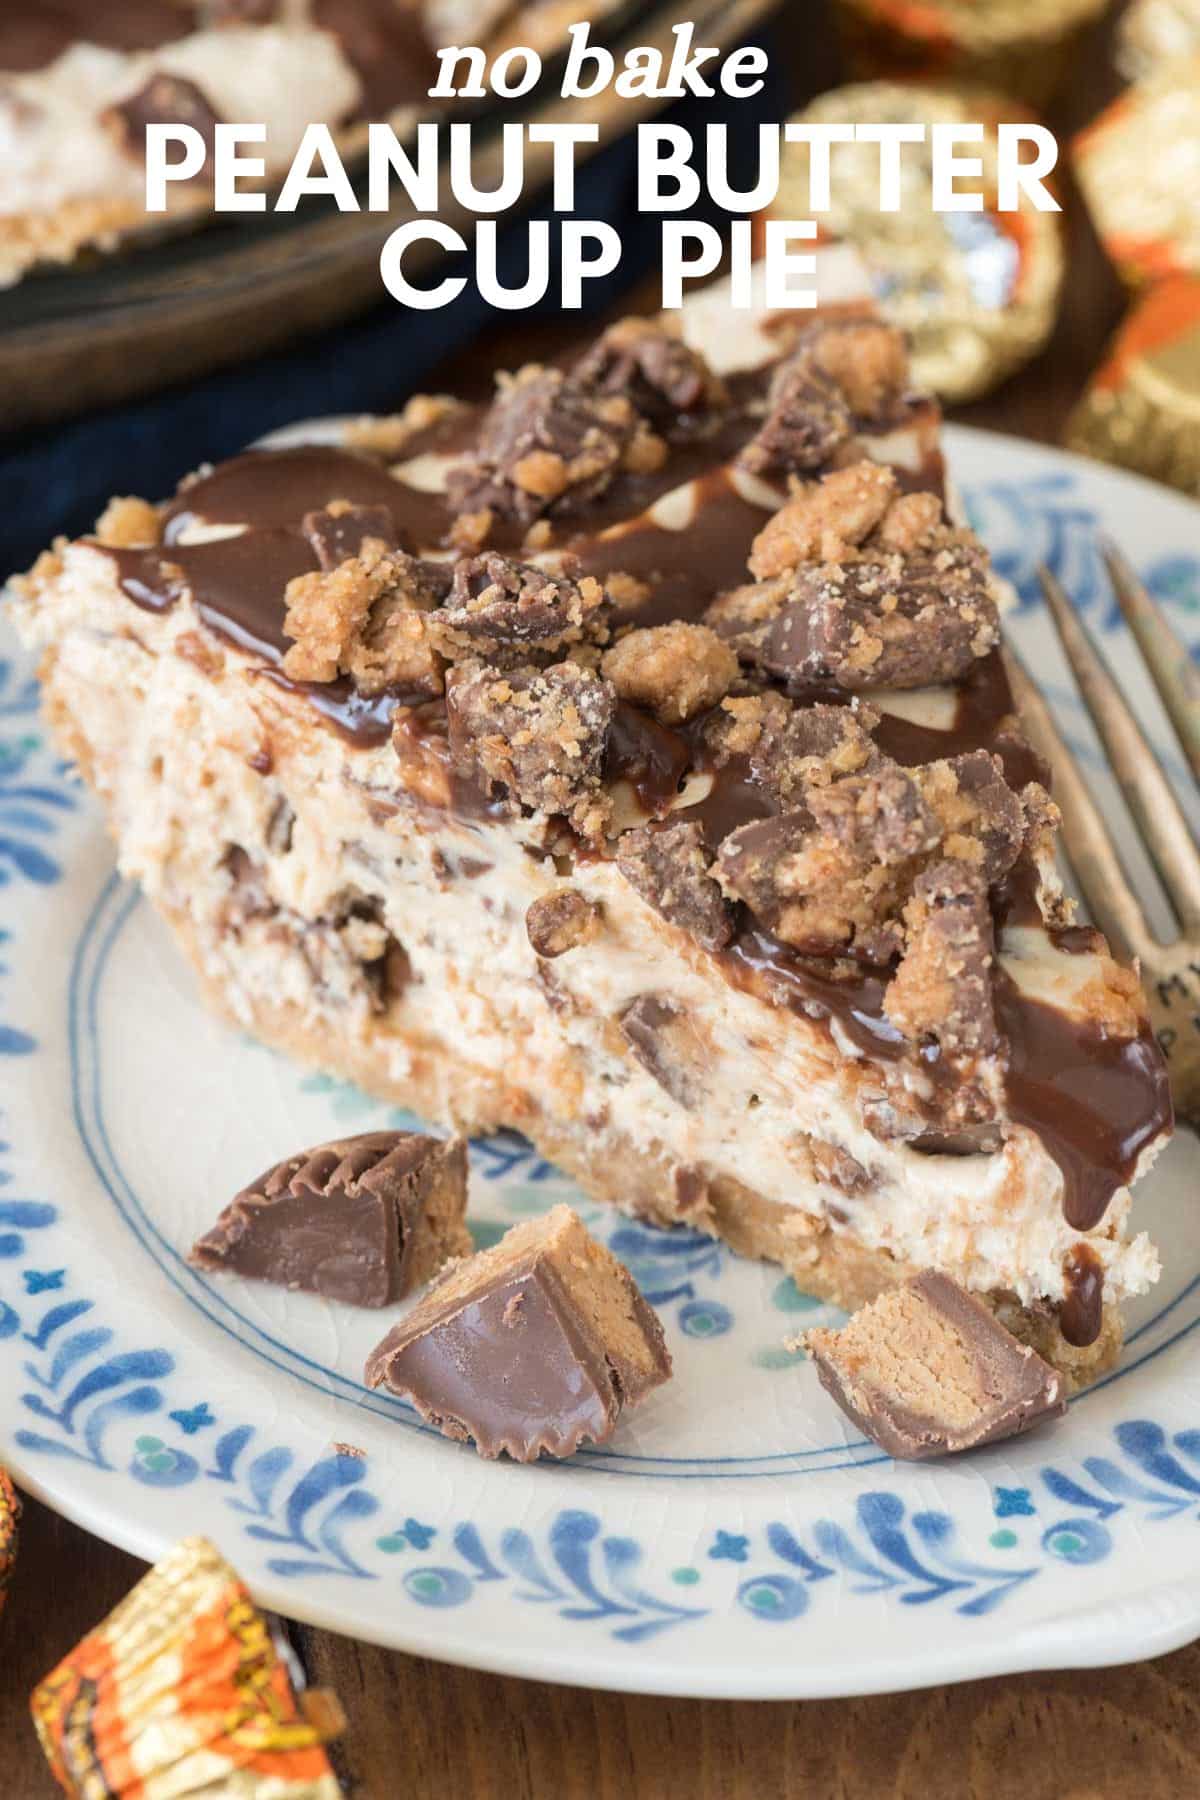
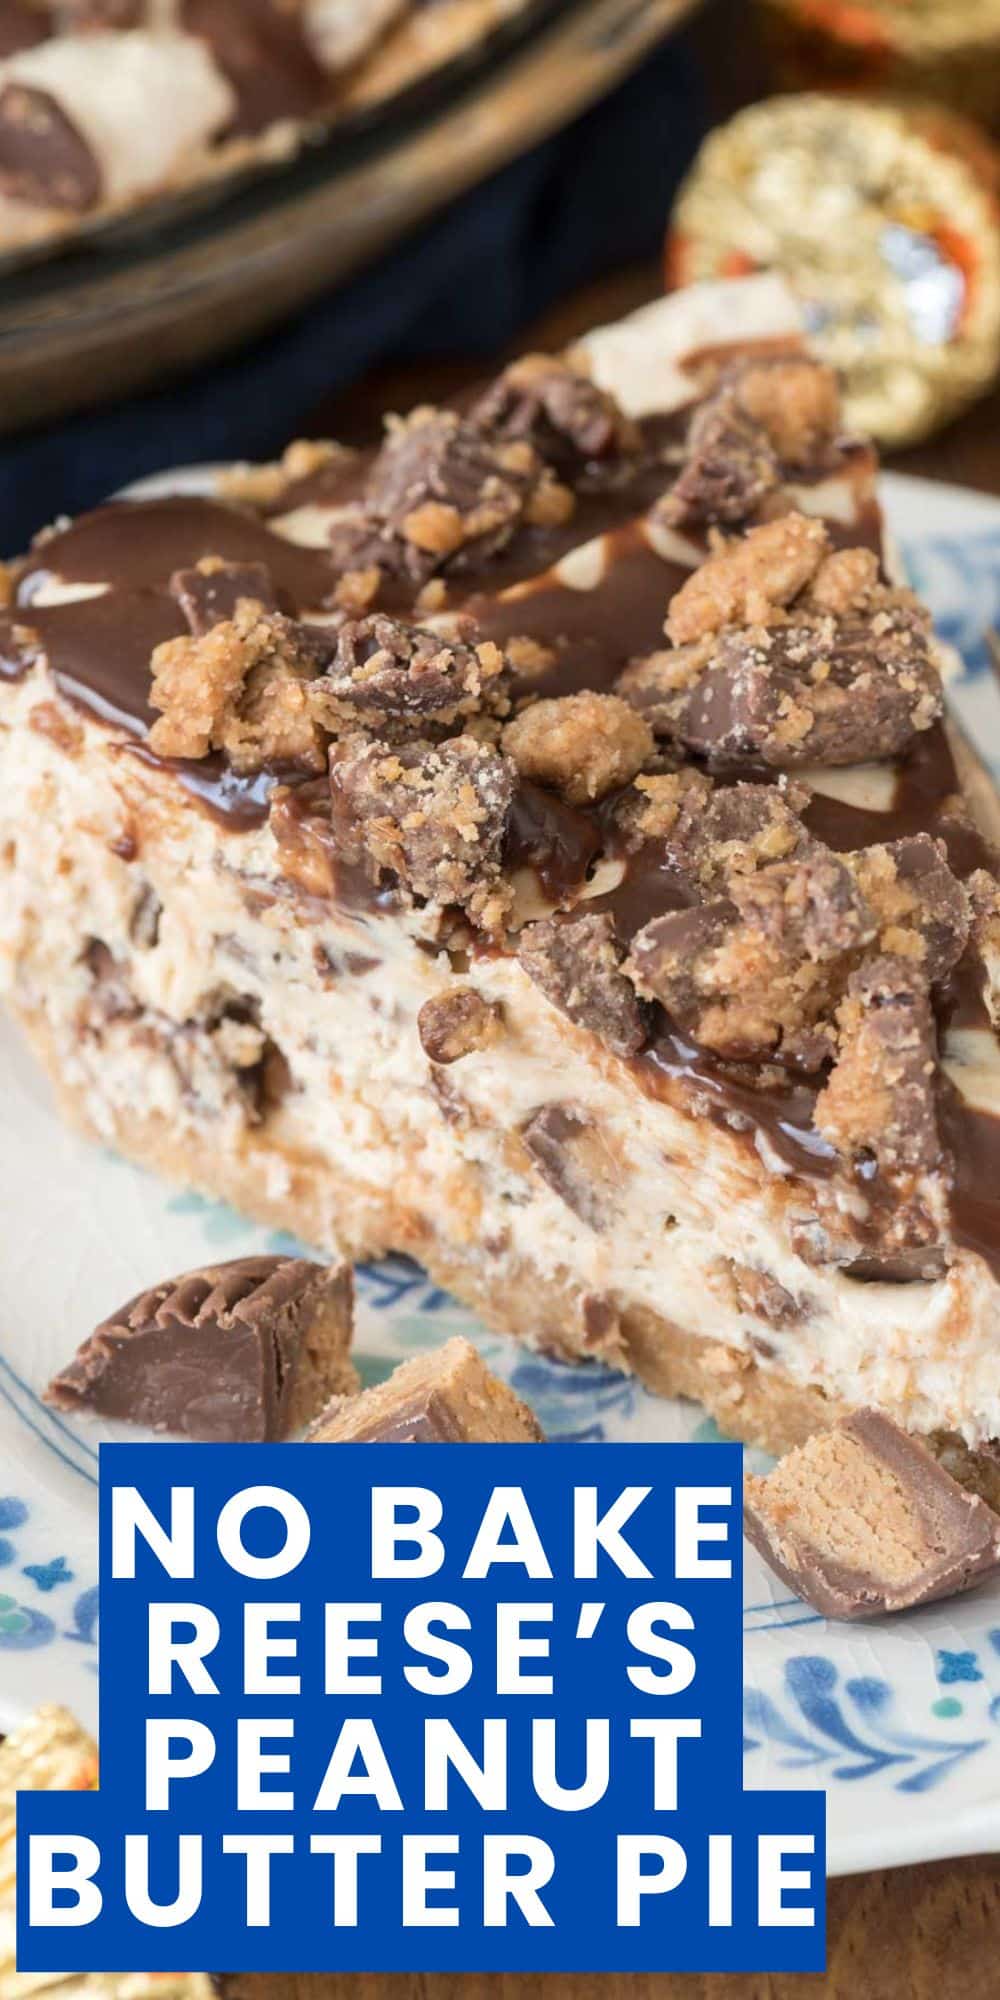
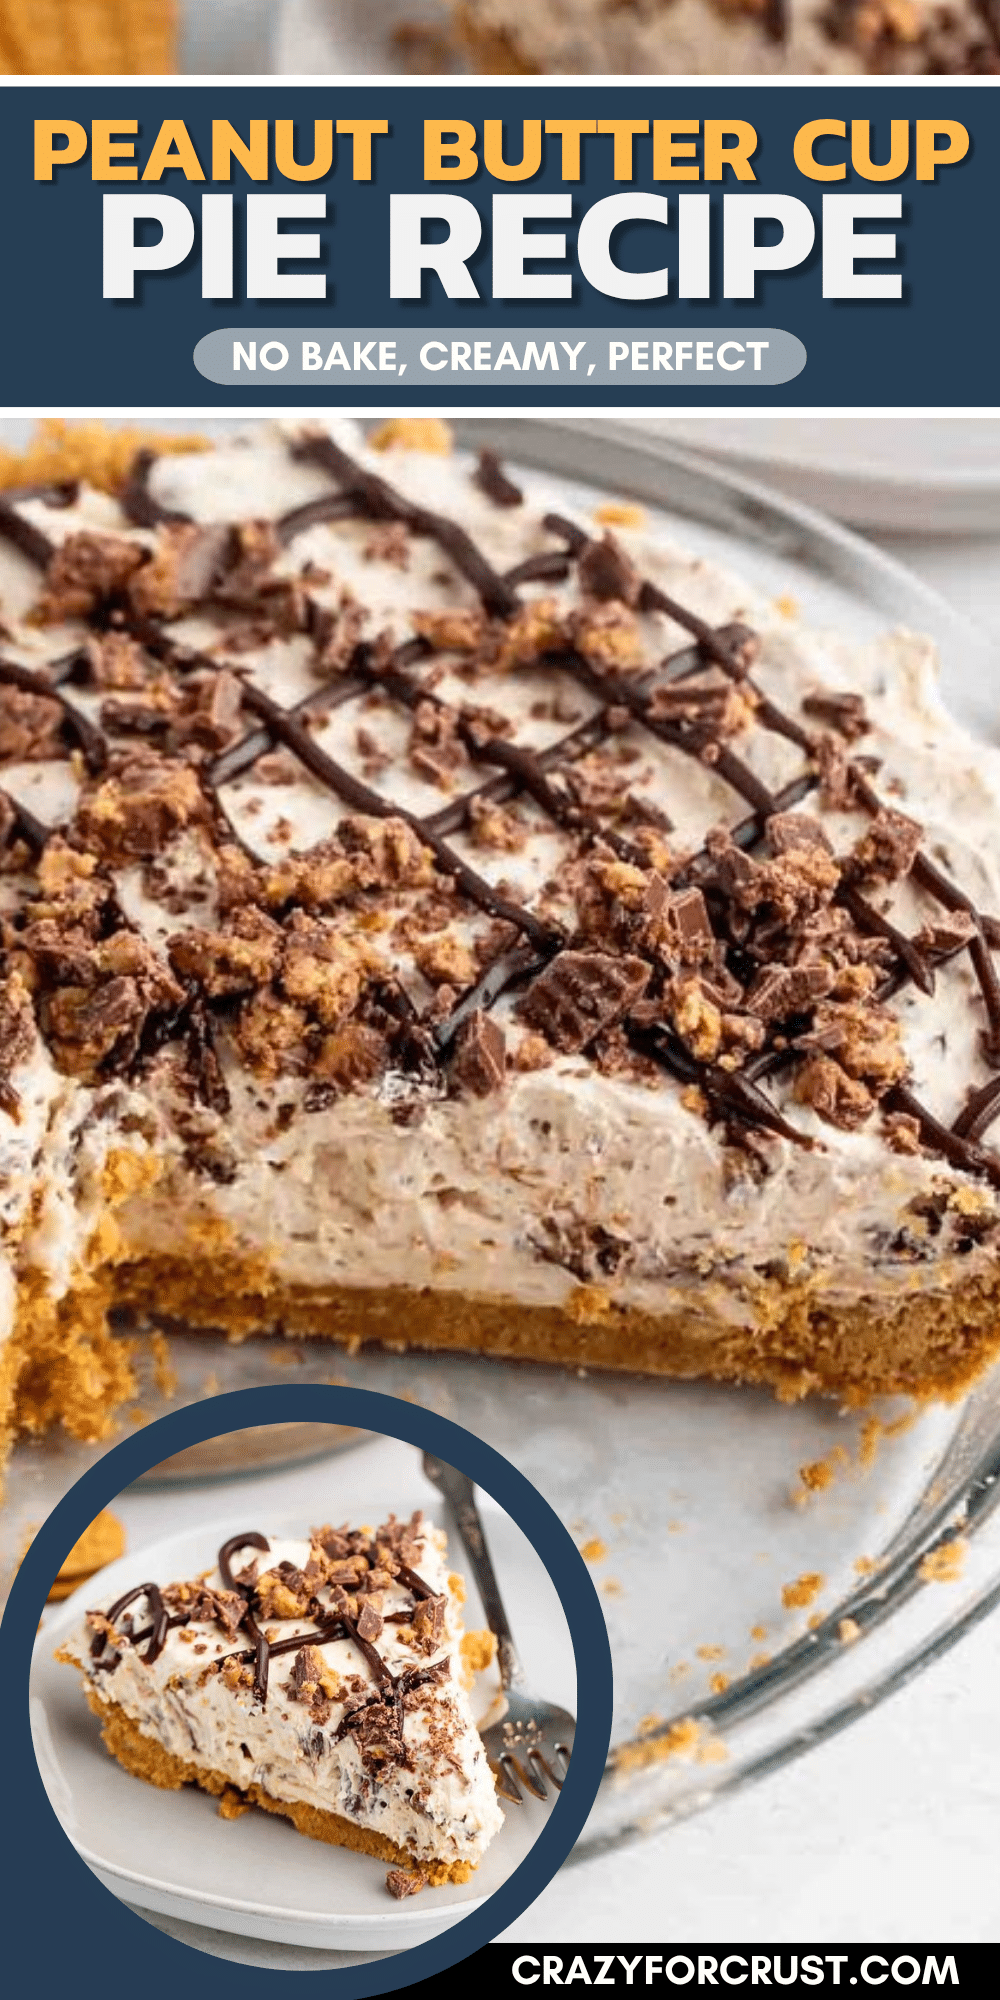
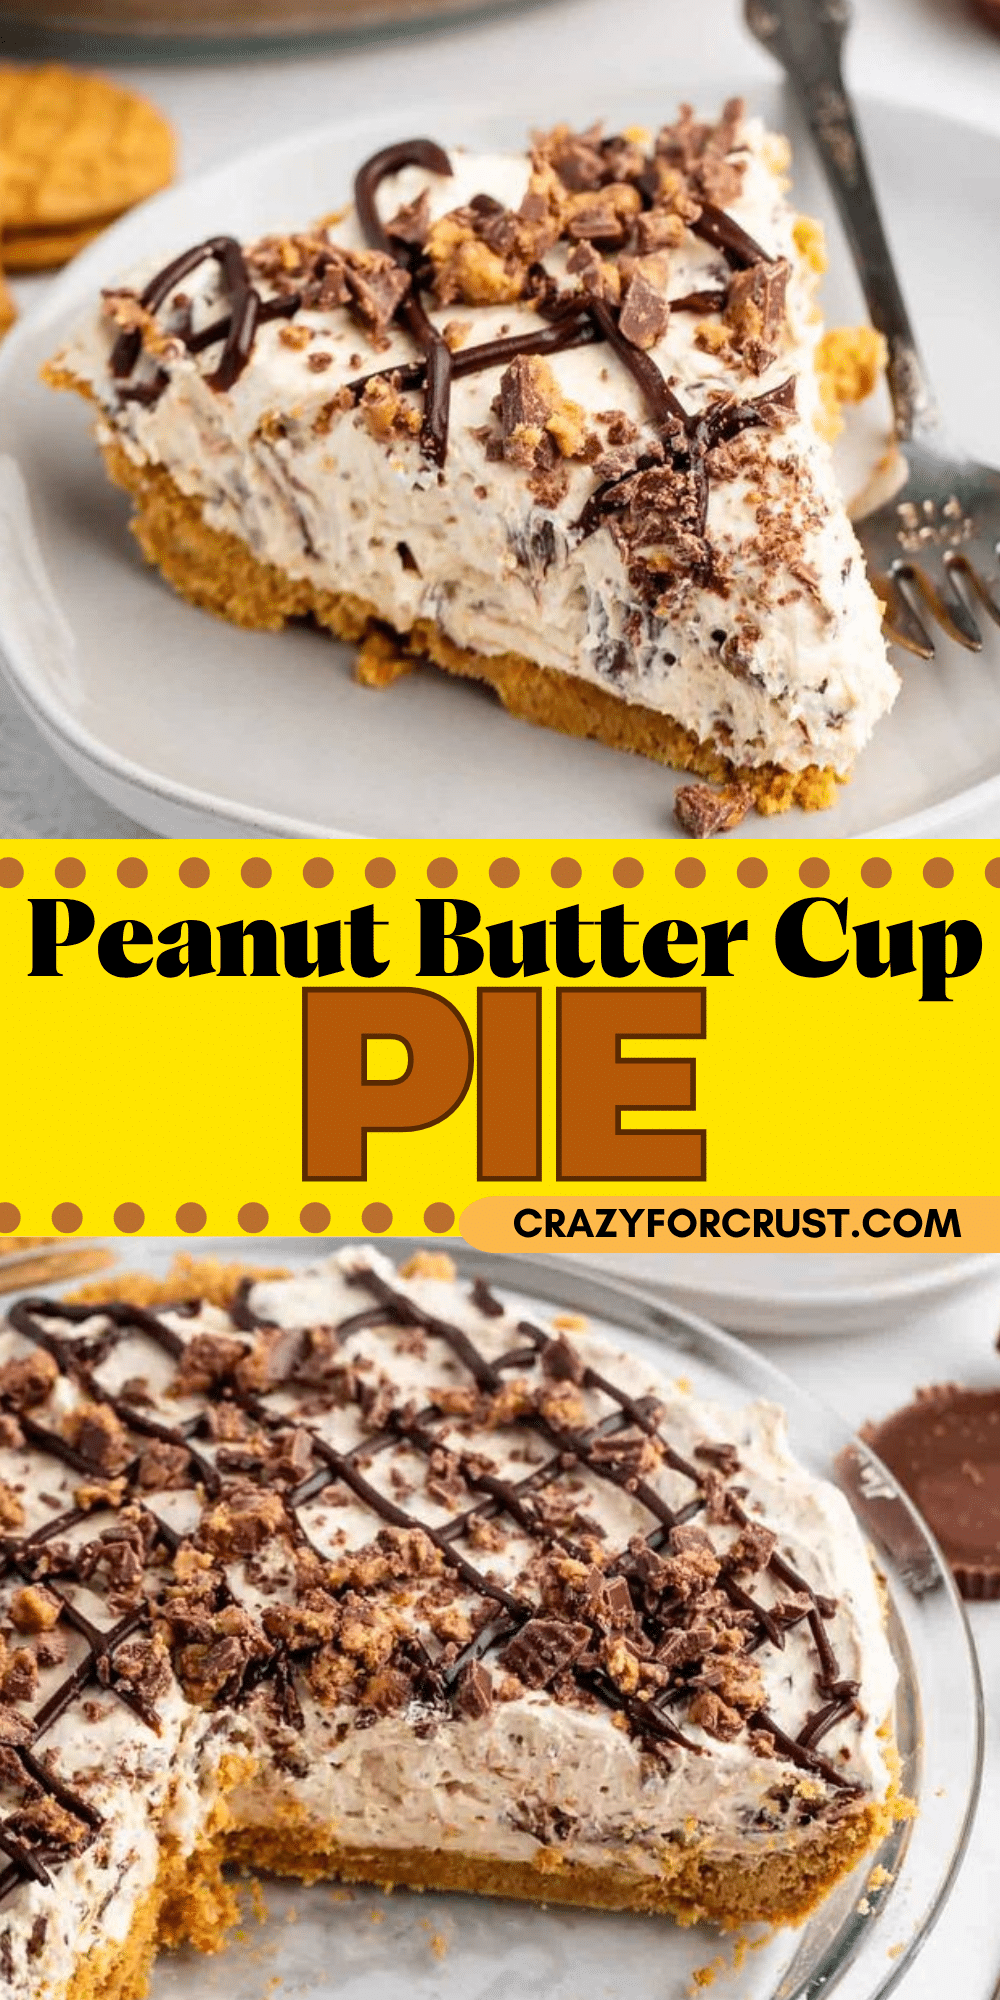
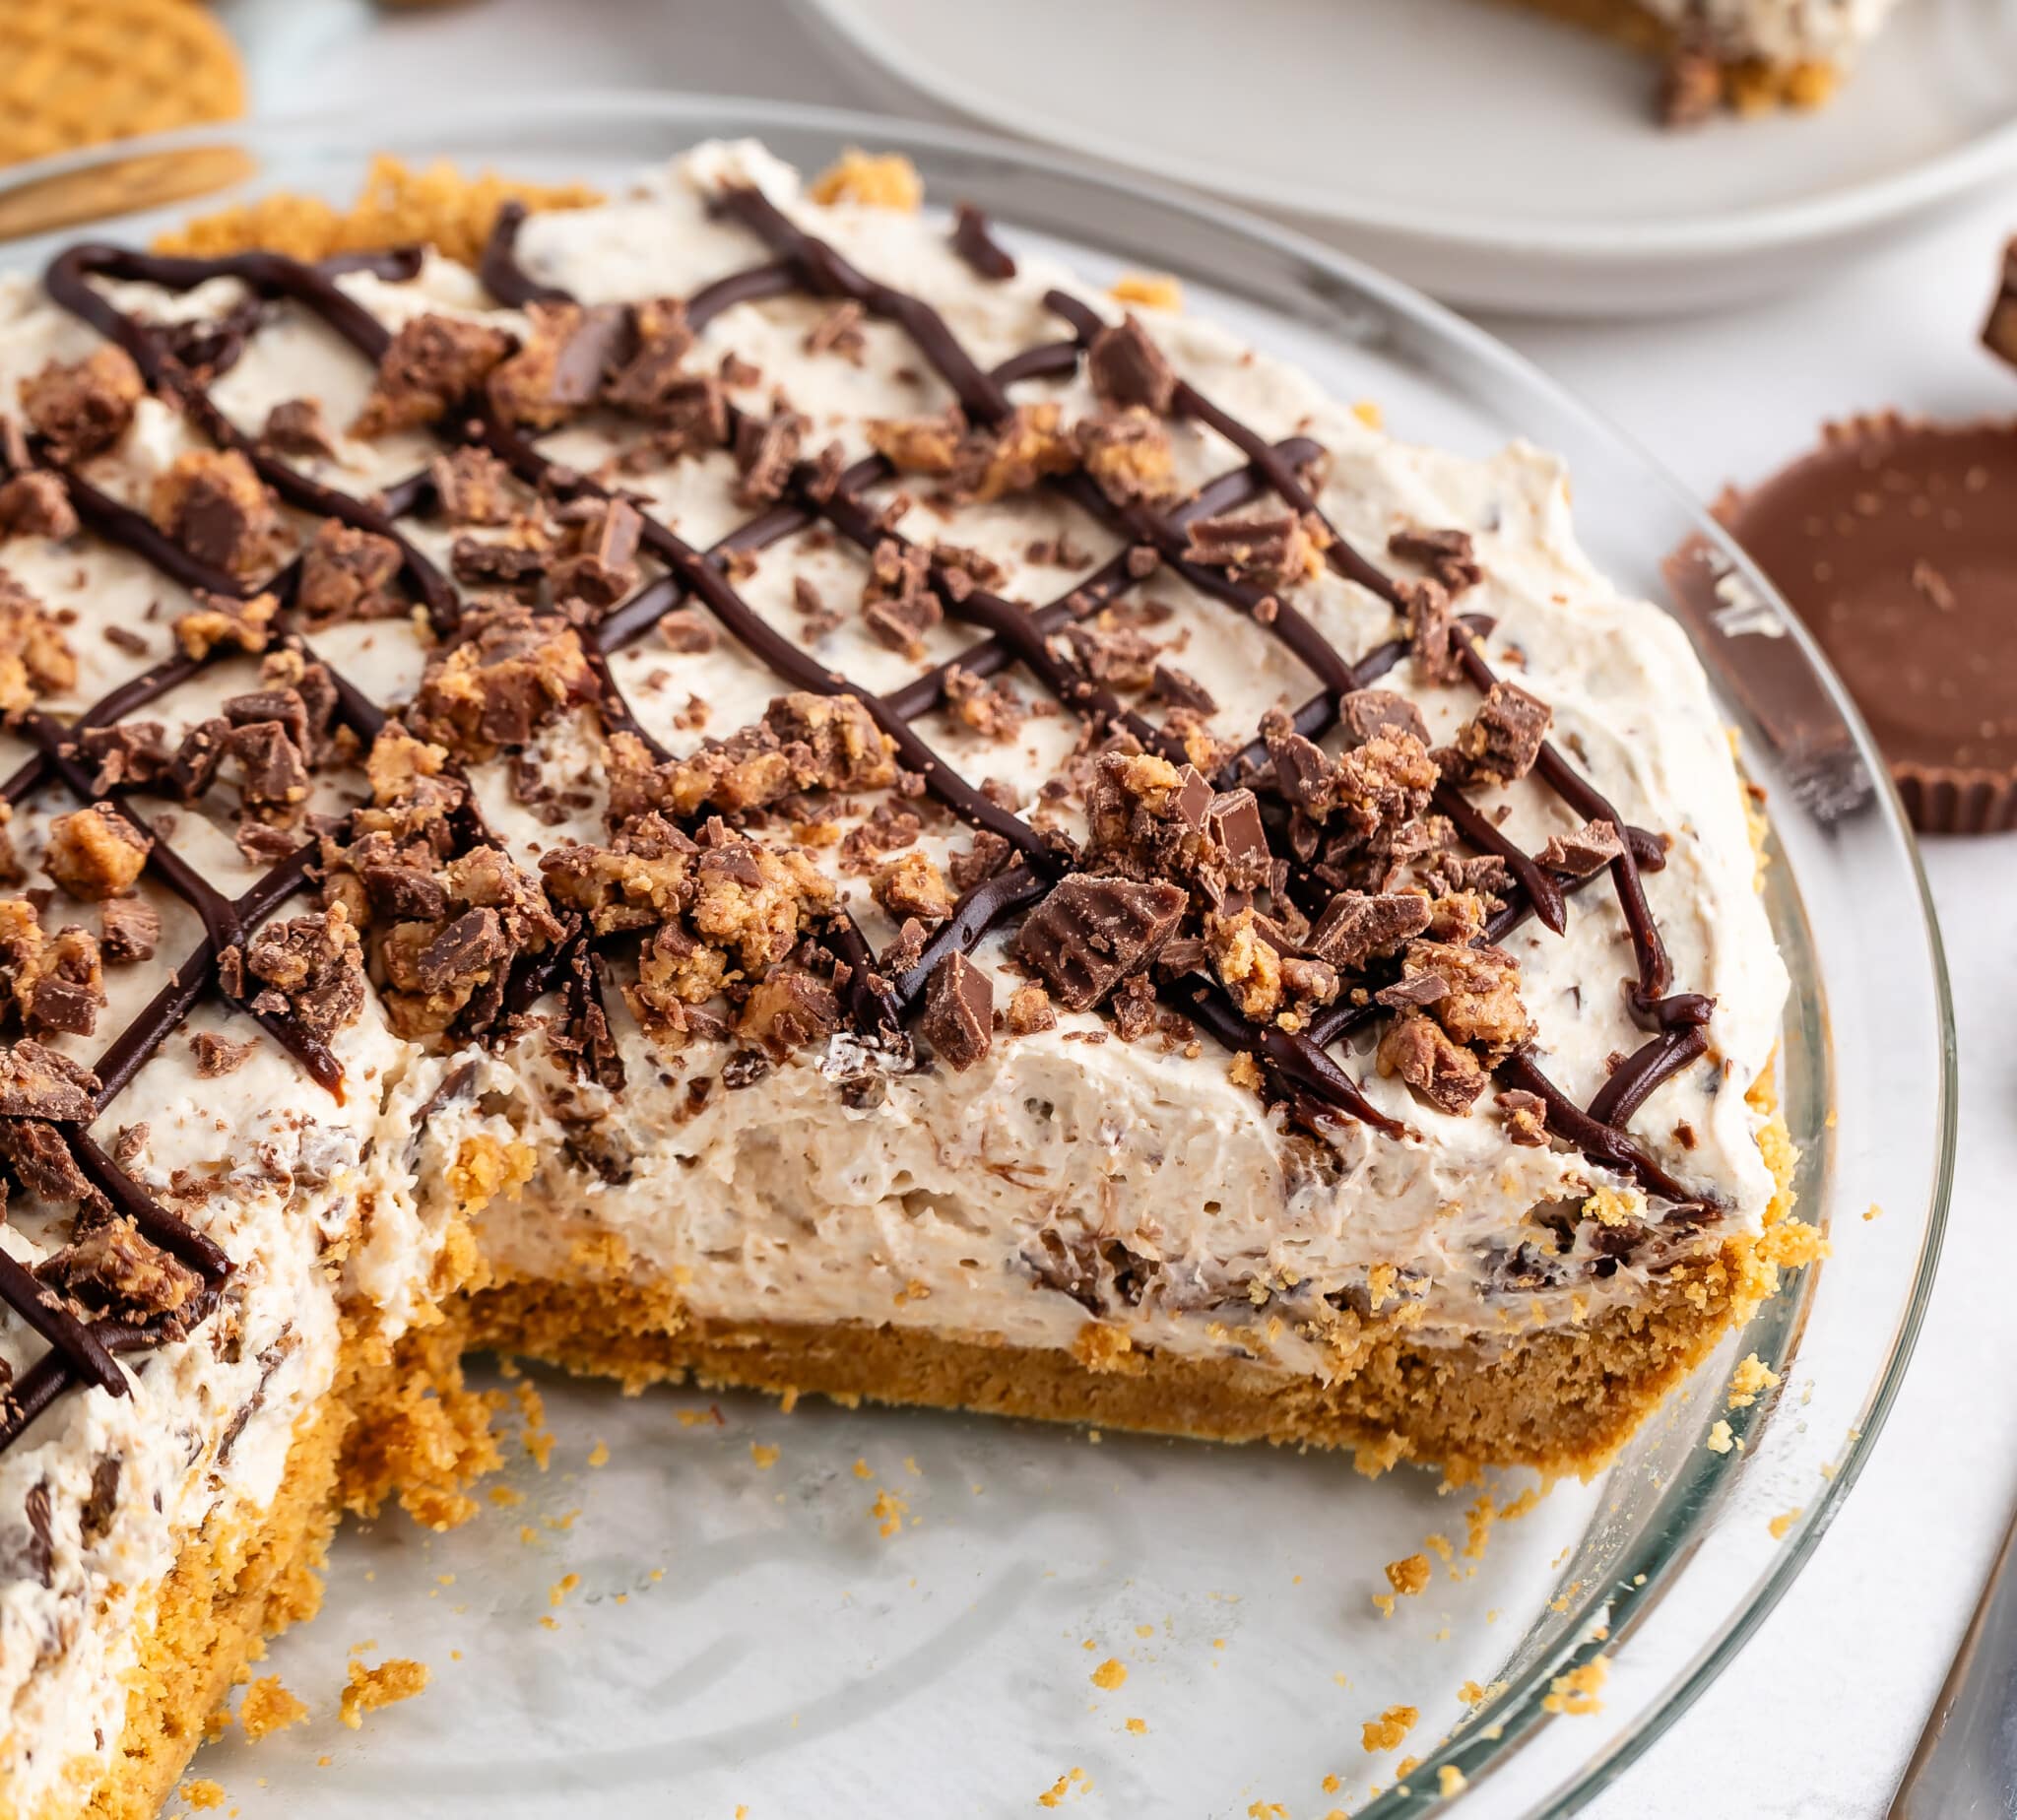
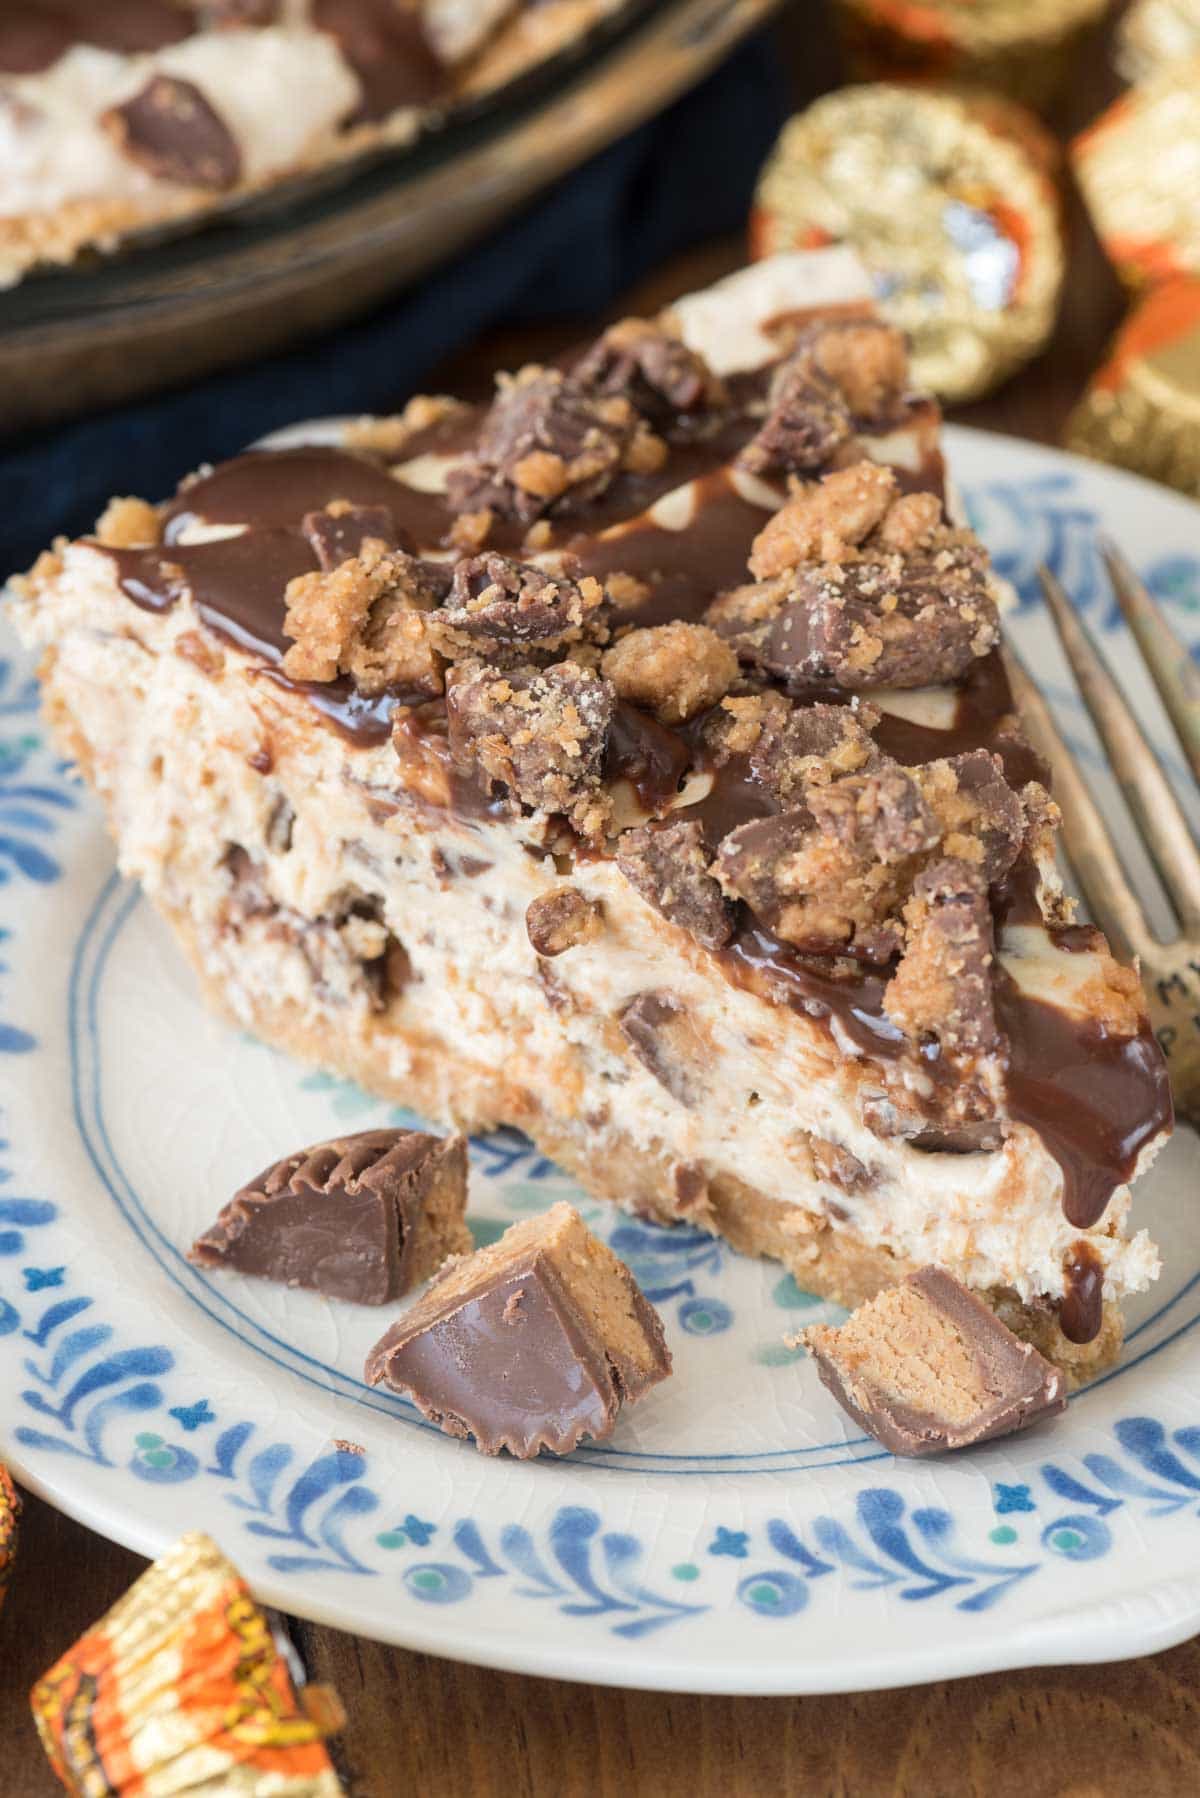
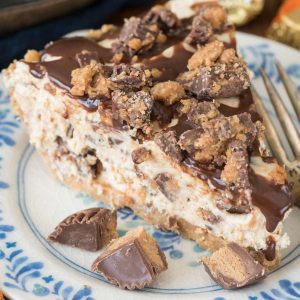
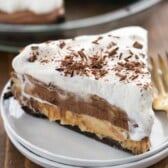
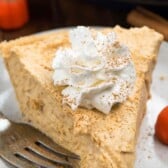
The BEST Peanut Butter Pie Recipe is this No Bake Peanut Butter Cup Pie: an easy creamy peanut butter pie full of chopped peanut butter cups with a no-bake cookie crust.
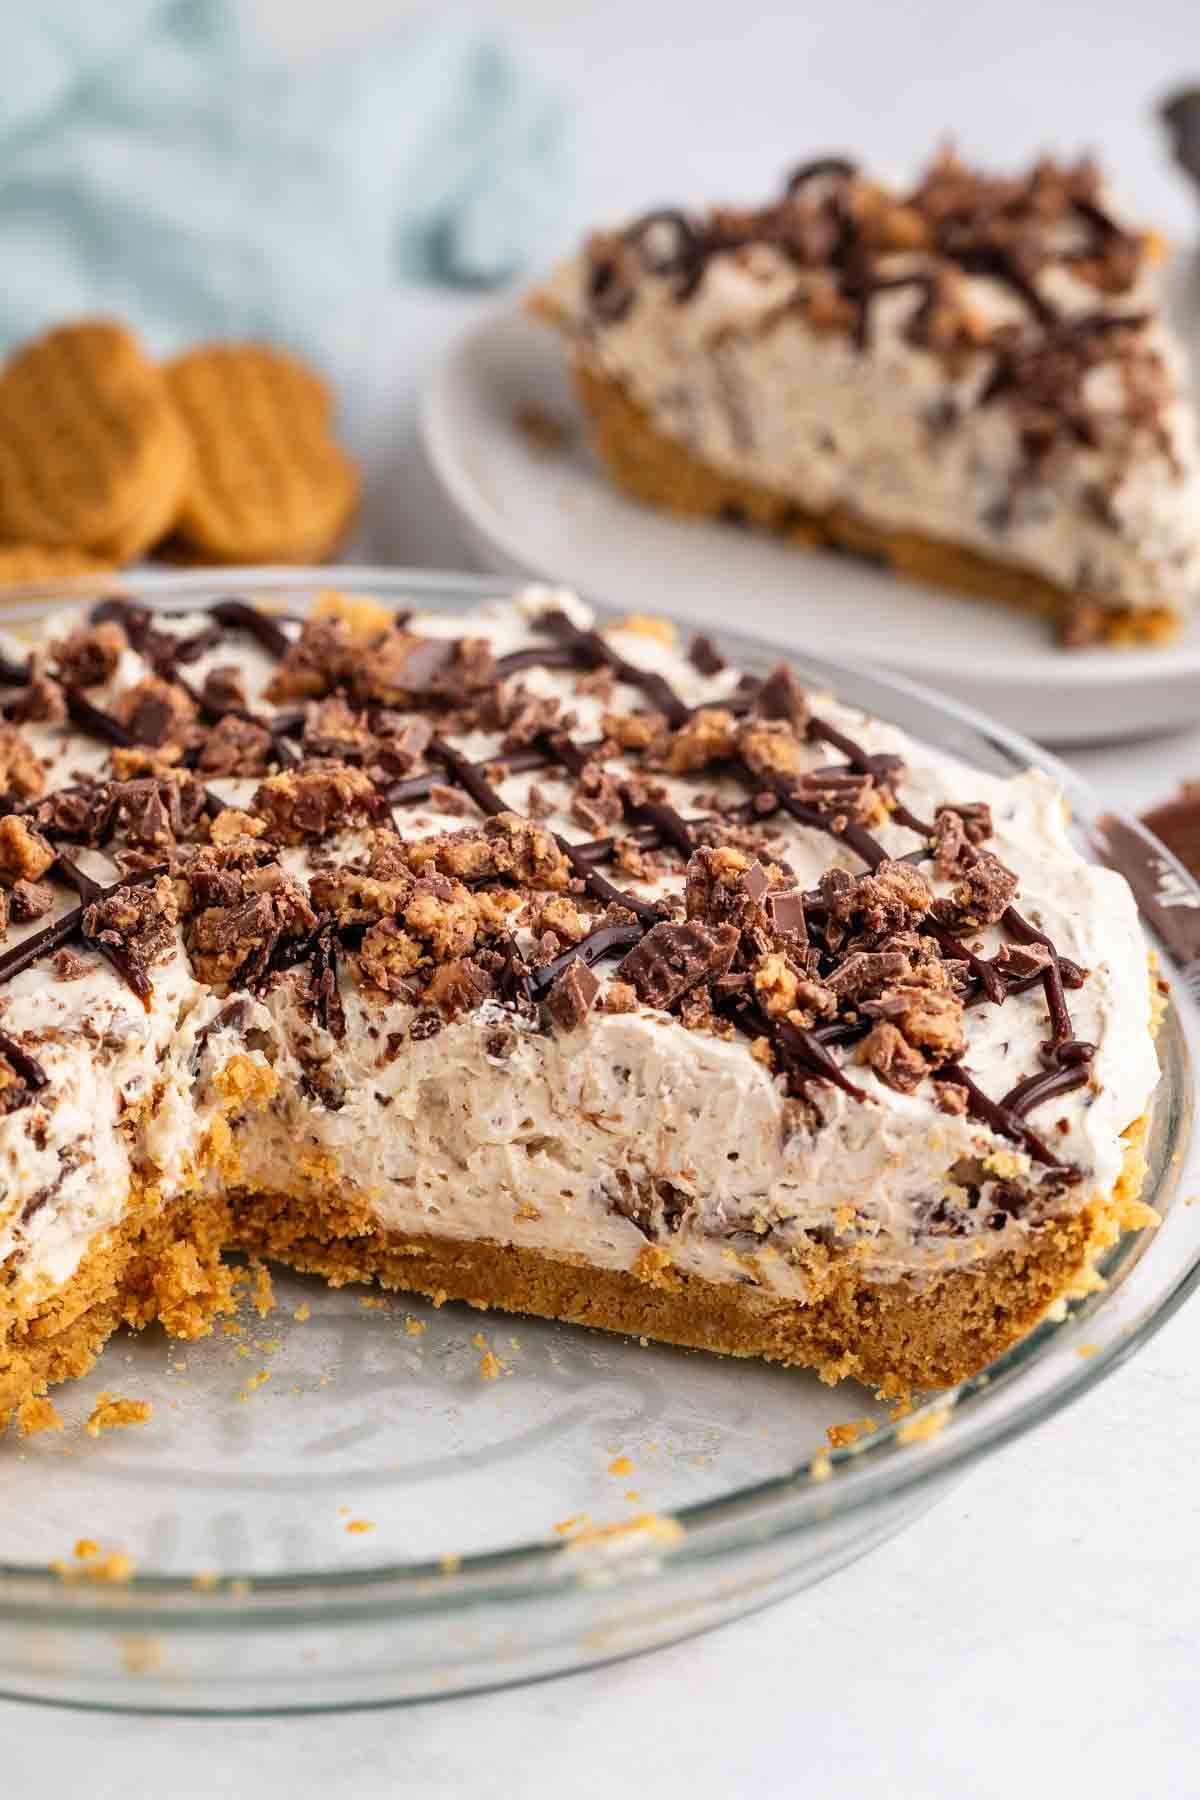
I originally shared this pie on Crazy for Crust’s 6th birthday. Now we’ve passed 15 years and this is STILL a favorite recipe! To celebrate the occasion needed a special recipe and we all know how big a fan of peanut butter cups I am. This pie fits that requirement: it’s a No Bake Peanut Butter Pie that’s filled with peanut butter cups all encased in a peanut butter cookie crust and topped with hot fudge and more peanut butter cups. Say that 3 times fast!
This pie is easy to make with any type of crust. It’s no bake, creamy, sweet and the perfect pie recipe!
Best Crust for Peanut Butter Pie
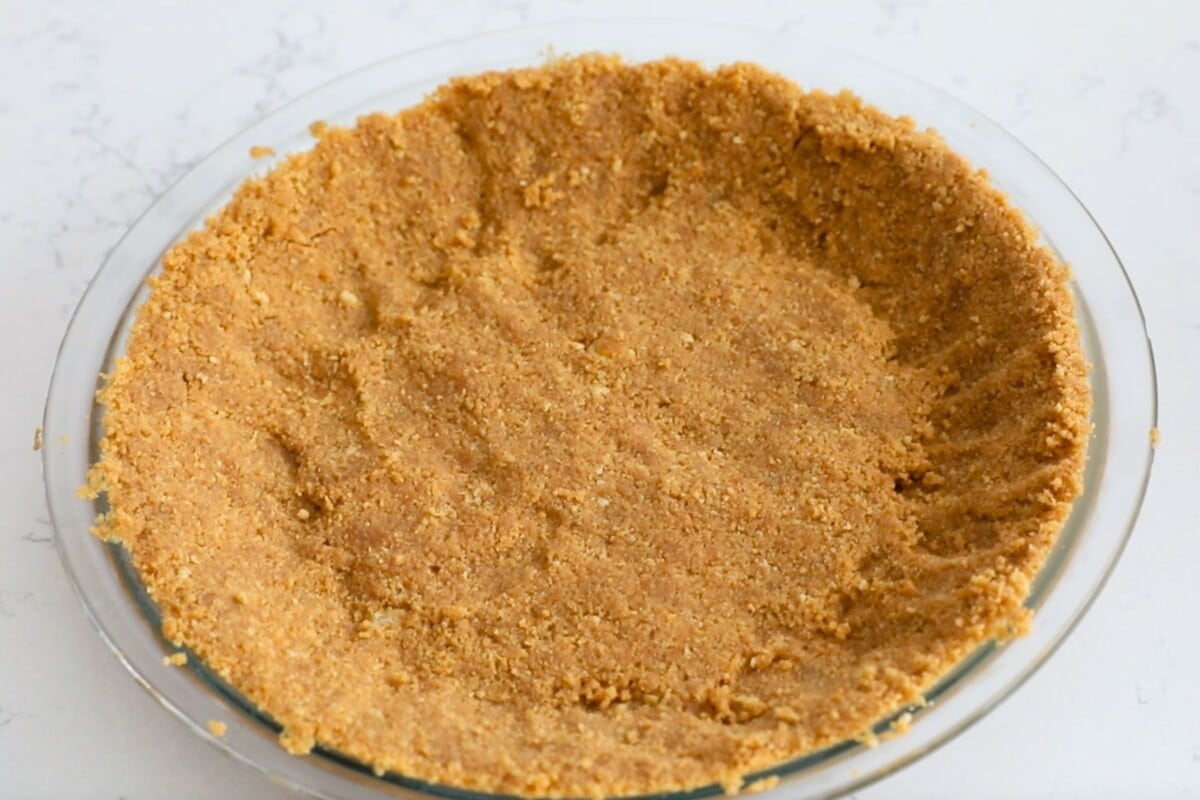
- I used my favorite peanut butter cookie crust for this recipe to make it ALL peanut butter. That’s an easy no-bake crust and I love making it instead of buying from the store, because it tastes so much better.
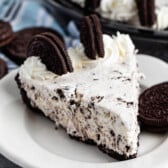
- Feel free to use an Oreo crust or Graham Cracker crust instead any of the three would be fabulous. You can buy one too, if that’s easier.
Reese’s Peanut Butter Pie Tips
- Make sure your cream cheese is softened to room temperature to avoid lumps in your filling.
- I find it easier to buy Reese’s peanut butter cups that are unwrapped (like the minis) but you can buy any size and unwrap and chop them (one of the giant peanut butter cups would work too).
- You can use creamy peanut butter or crunchy.
- I prefer using cool whip in no-bake pies – it’s less temperamental than fresh whipped cream. However you can make your own with heavy cream for the filling.
- I sprinkle the top of the pie with more chopped peanut butter cups and chocolate fudge, but you could also use chocolate ganache.
SAVE THIS RECIPE
Reese’s Peanut Butter Cup Pie Recipe
Ingredients
- 1 Nutter Butter Crust, Oreo Crust, or Graham Cracker Crust
- 8 ounces (226g) cream cheese, softened to room temperature
- ¼ cup (50g) granulated sugar
- ⅓ cup (89g) peanut butter, (no stir peanut butter only; not natural)
- 1 teaspoon vanilla extract
- 1 (8-ounce) container whipped topping
- 2 cups (274g) peanut butter cups, chopped, (divided)
- Hot fudge ice cream topping, optional
Instructions
- Beat cream cheese until smooth using a hand mixer. Mix in granulated sugar and peanut butter, then mix in vanilla, beating until smooth and no lumps remain. Fold in the whipped topping, then stir in 1 1/2 cups of the chopped peanut butter cups.
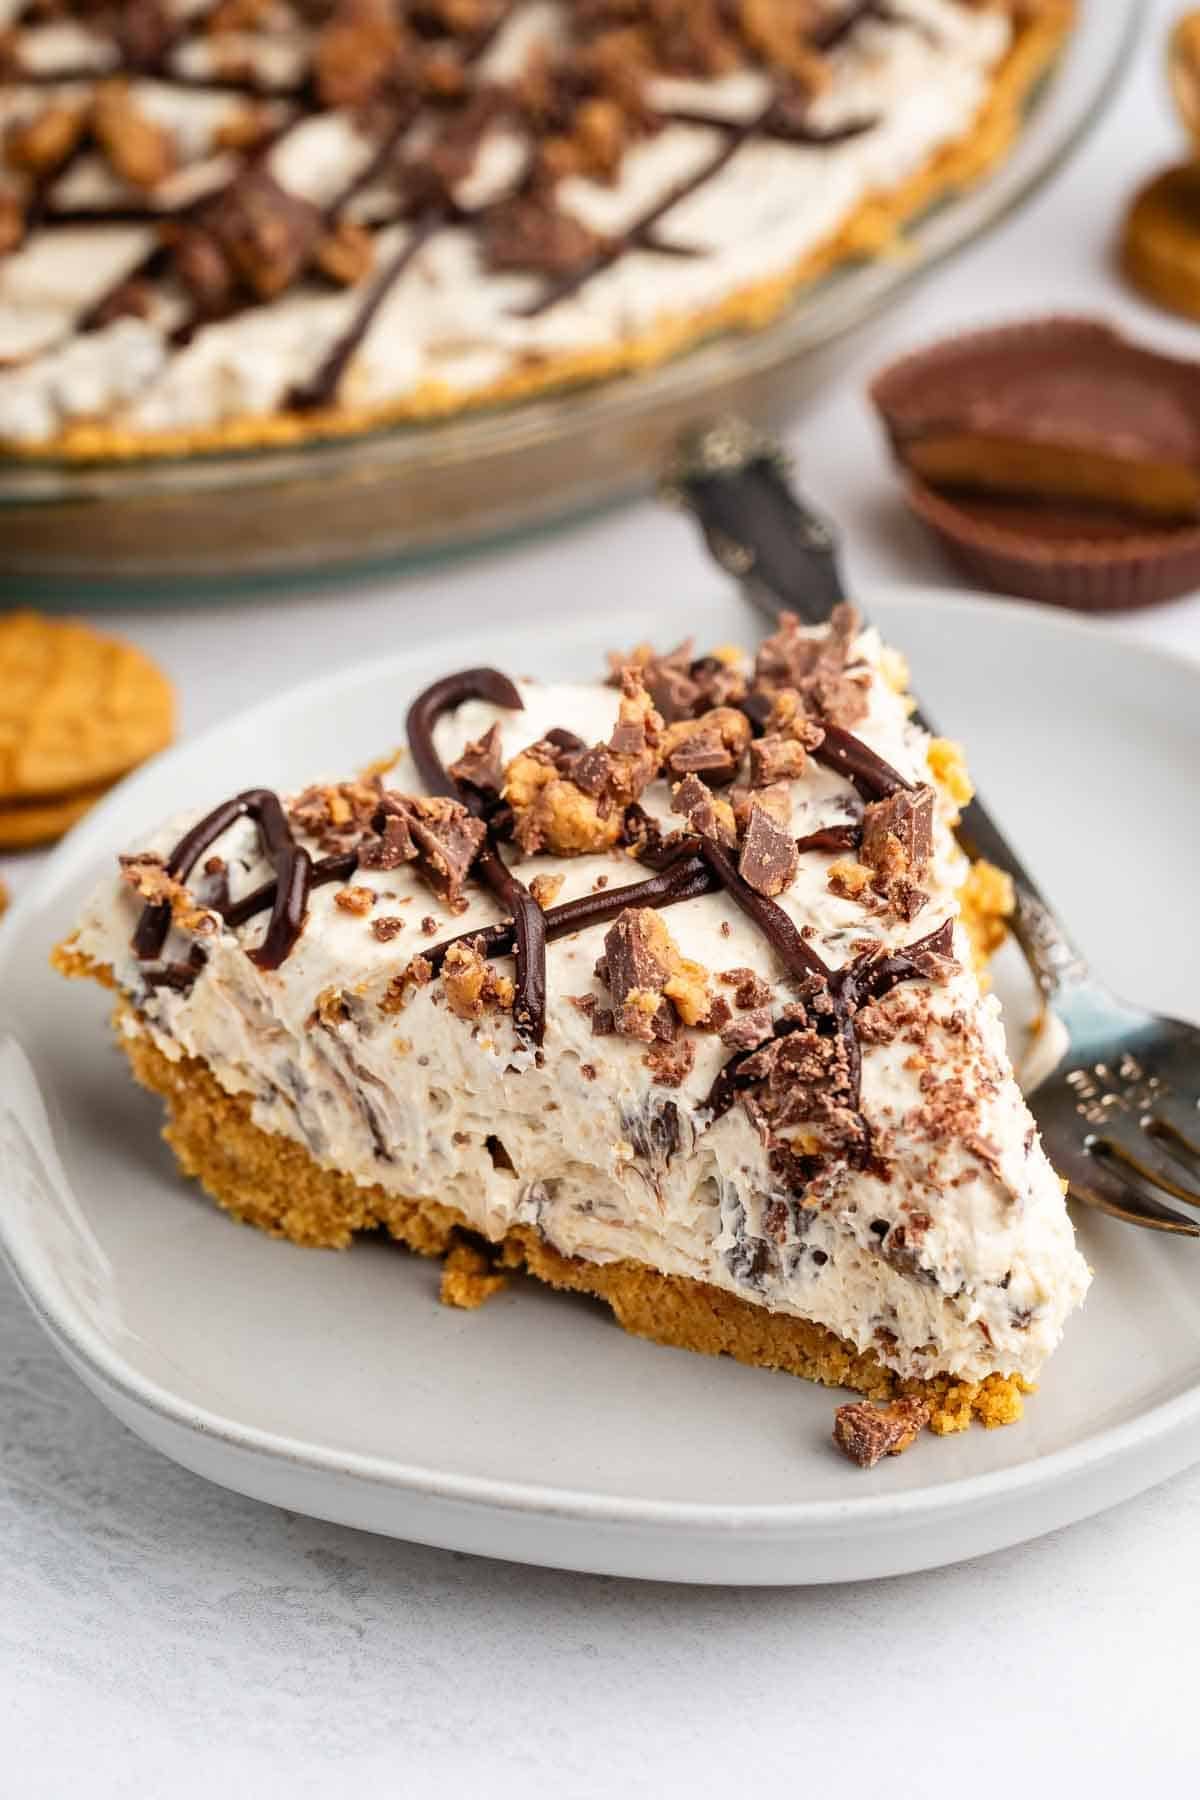
- Place filling in prepared pie crust. Sprinkle with remaining chopped peanut butter cups and drizzle with hot fudge ice cream topping. Chill at least 4 hours before cutting and serving.
- Pie lasts up to 3 days in the refrigerator or you can freeze it for up to one month.
Nutrition
Nutrition information is automatically calculated, so should only be used as an approximation.
© Crazy for Crust. Content and photographs are copyrighted. Sharing this post is much appreciated, but copying and pasting full recipes without authorization is strictly prohibited.
Did you try this recipe? Click here to rate the recipe below.
How to make Reeses Cup Pie
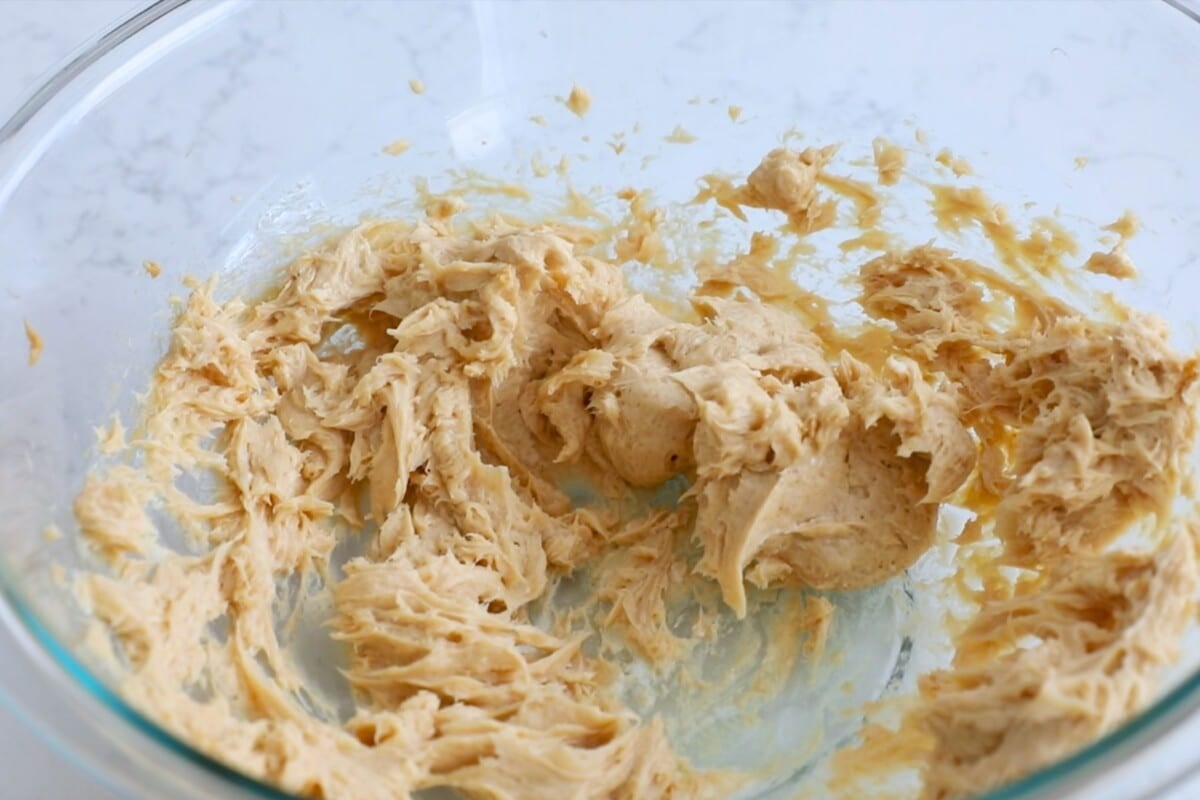
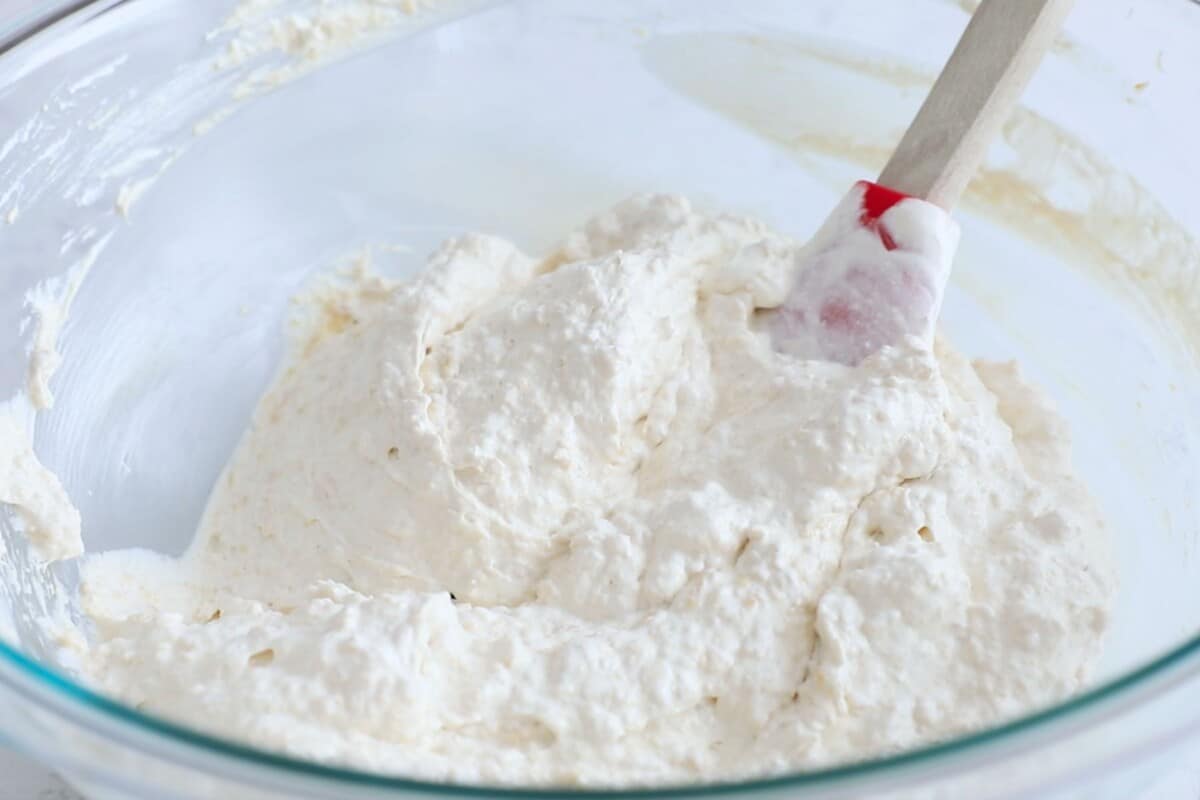
- The peanut butter and cream cheese should be creamy when combined – no lumps.
- When the whipped topping is added it will have a few lumps and that’s okay.
- Stir in the chopped peanut butter cups last and chill the pie in the crust before serving.

Congratulations on blogging for six years! Love your recipes.
Thanks!
YAYYY-happy blogiversary!!!!!!!!! I cannot believe it’s already been 6 years! And this pie is the tastiest way to celebrate–hooray for that nutter butter crust!
Happy Blog Birthday!!!!!!!
Happy 6th! I feel like I’ve been reading your stuff for forever! I probably even clicked over before I started blogging. Remember when Pinterest was invite only?!
Congrats on all your success and keep making tasty treats for us to drool over!! (More like this PB pie, please!!)
This peanut butter cup pie is the chocolate peanut butter dessert of my dreams- I love the no bake part, too 🙂
Featured In
Rate This Recipe
Recipe Ratings without Comment