This post may contain affiliate links. For more information, read my disclosure policy.
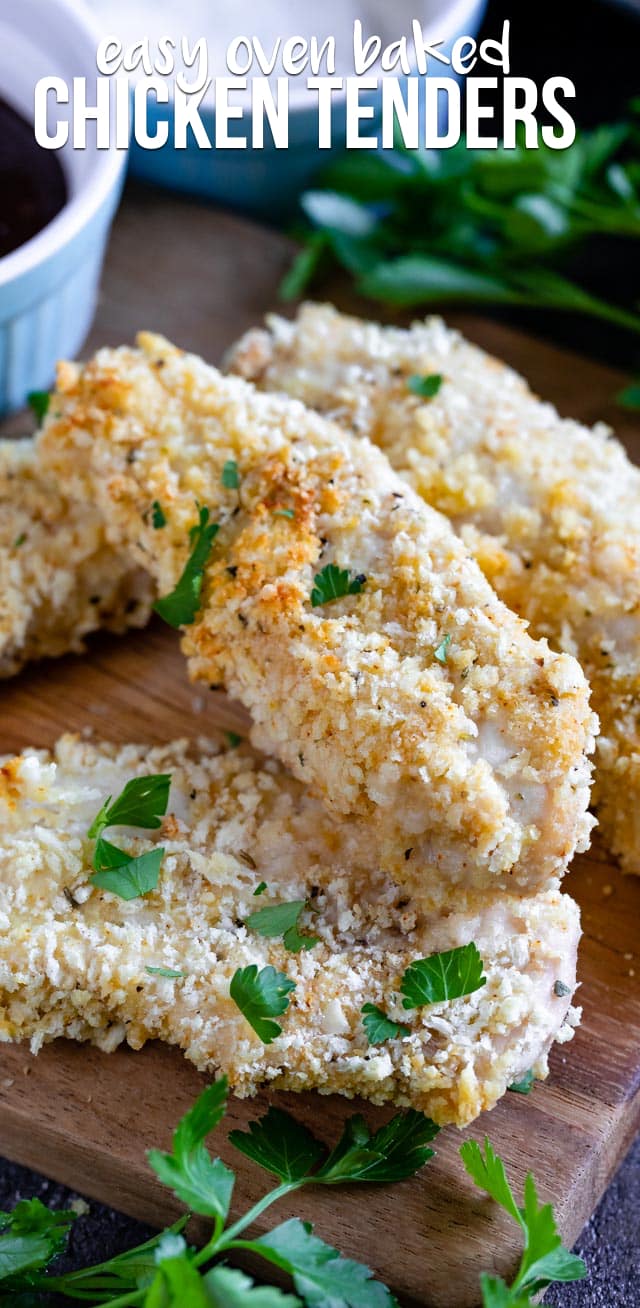
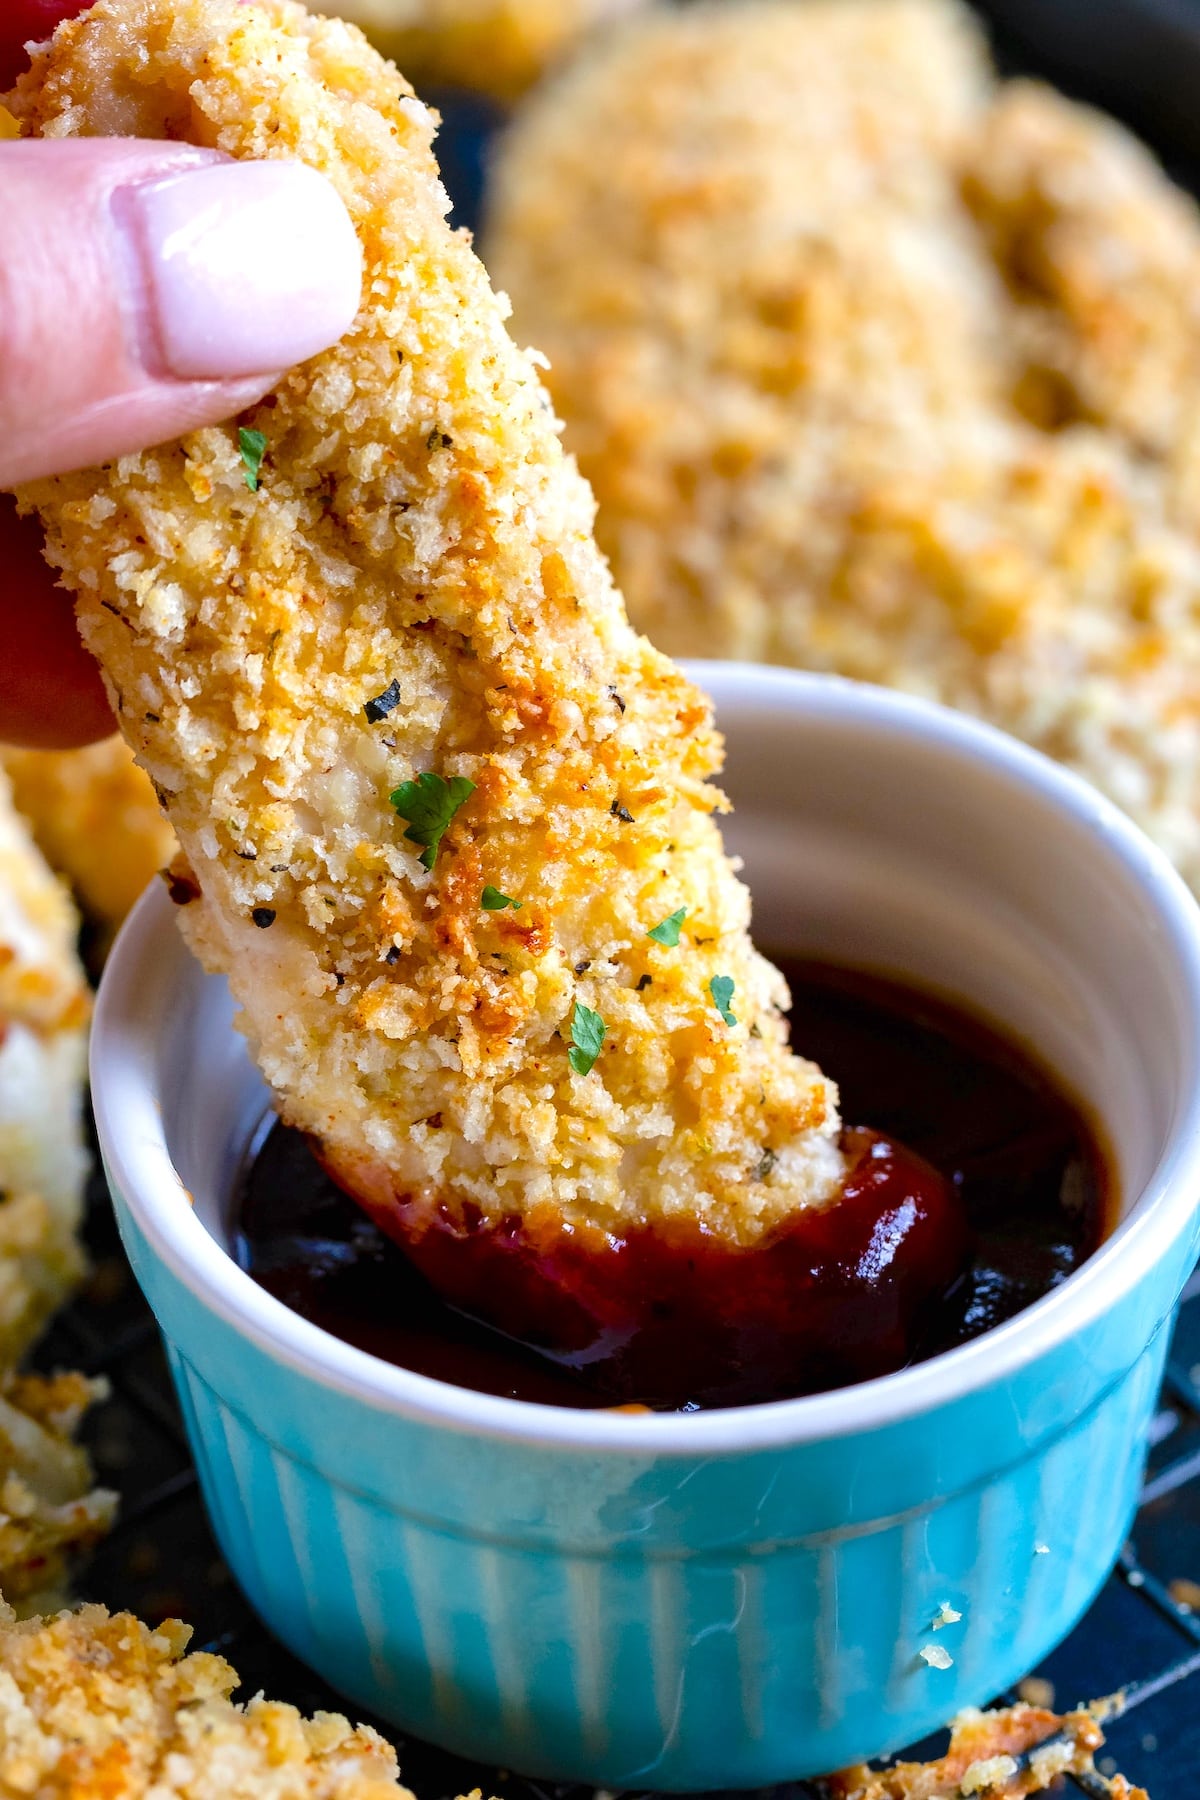
This Baked Chicken Tenders Recipe is the perfect easy dinner! These are baked in the oven, super crunchy and full of flavor. They’re the perfect weeknight meal, done in under an hour. All the kids will love these too, even the picky eaters!
I decided I wanted to make an at-home version of our favorite takeout chicken tenders, and I wanted them to be oven baked but crispy, like those fried ones we love.
This easy chicken tender recipe is made in the oven but they come out crunchy because of the breading and the way I bake them. Every layer of the coating is seasoned so they’re super flavorful and they’re the perfect oven-baked alternative to fried chicken tenders or chicken strips.
Ingredient Notes
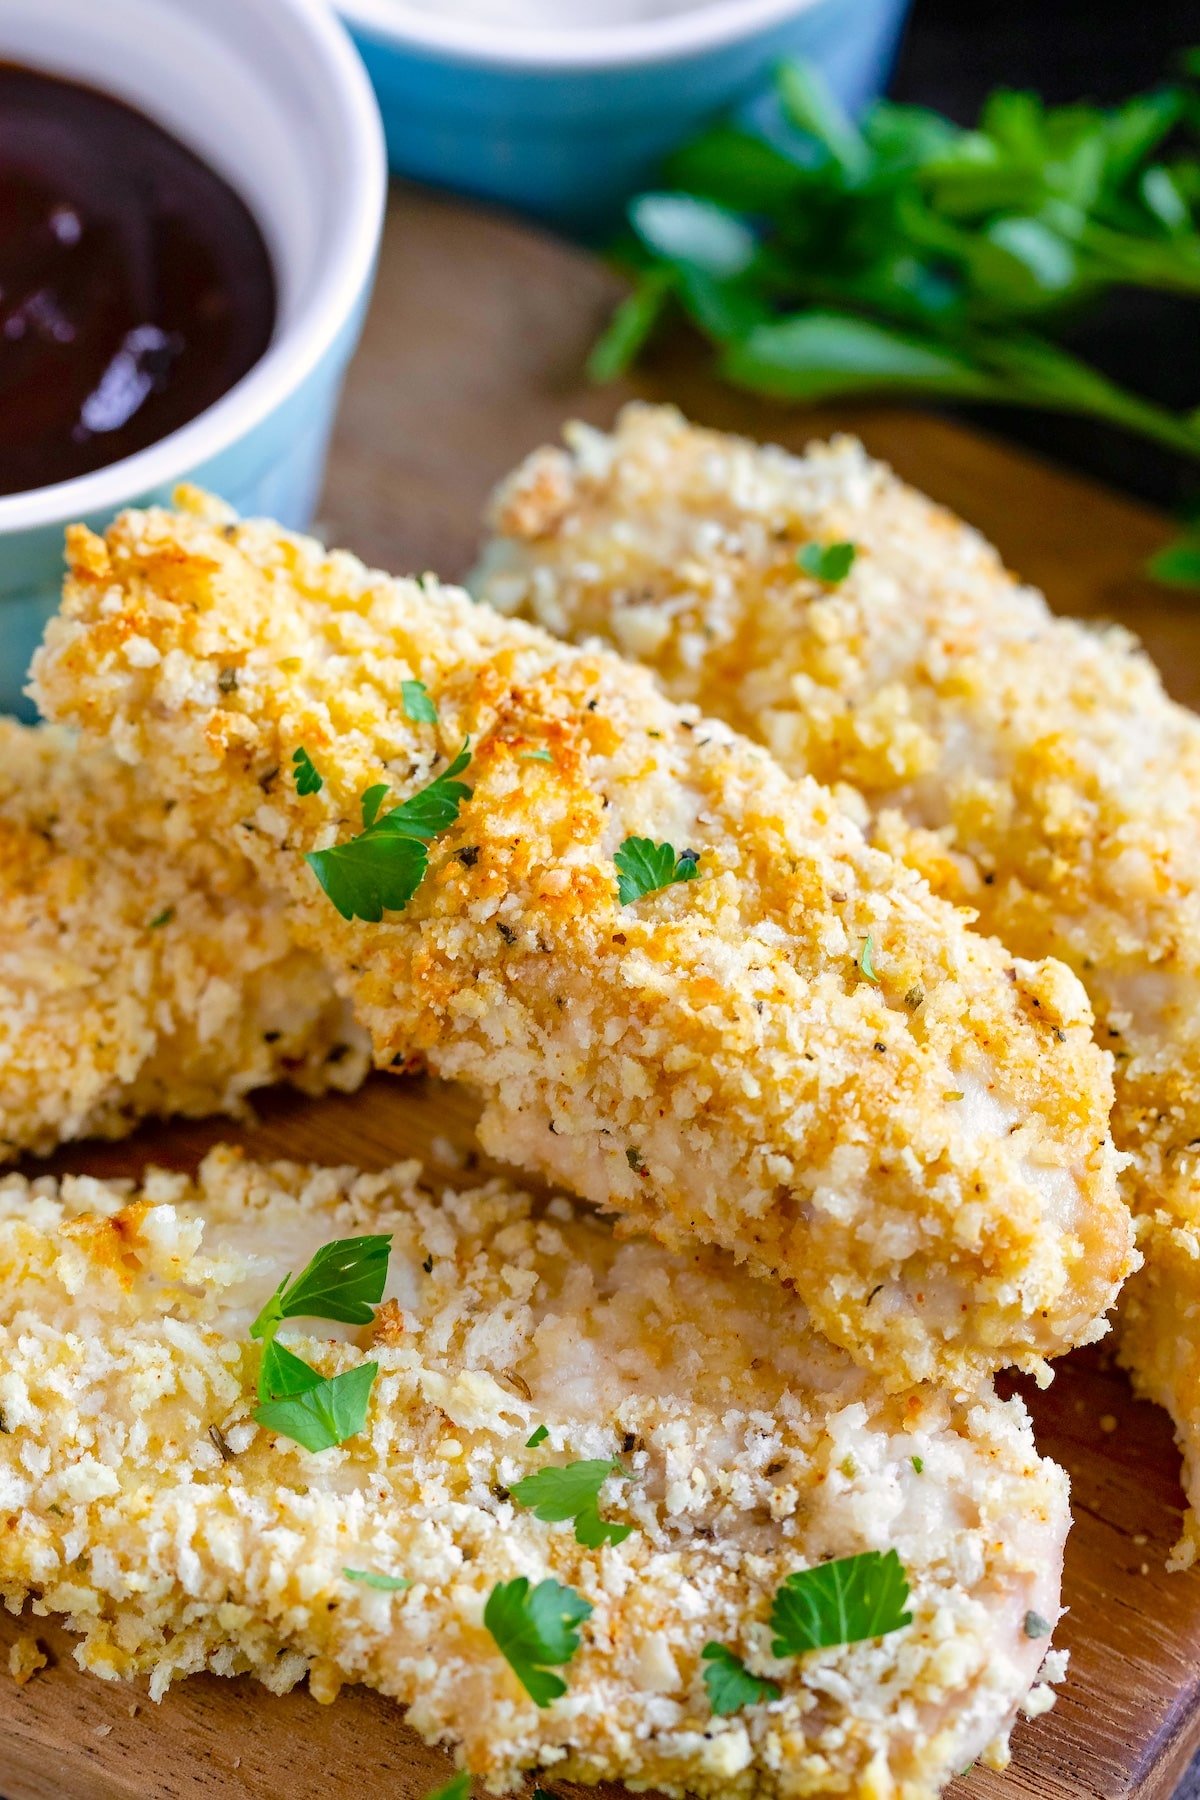
The secret to making oven baked chicken tenders juicy and crispy is the coating.
- Chicken Breast Tenders – the tenderloin is that little piece that is usually attached to boneless skinless chicken breasts. You can also just buy boneless skinless chicken breasts and slice them yourself.
- Flour + Spices: I add salt, pepper, garlic powder, onion powder, smoked paprika and Italian seasoning to my flour. Want some heat? Add a pinch of cayenne pepper.
- Eggwash so the breading sticks
- Panko (or breadcrumbs): I love using Panko breadcrumbs in this recipe. Panko is a Japanese-style breadcrumb that’s a bit lighter and fluffier than a traditional breadcrumb. Coating chicken tenders with panko ensures a crispy crunchy coating, but you can use regular breadcrumbs if you prefer.
Removing the Tendon
I usually remove the tendon from my chicken tenderloins because I don’t like eating it. You can skip that if you want but I use the fork method: place the edge of the tendon between the tines of a fork. Grip the tendon with your fingers using a paper towel and pull. It will slide out, keeping the tender intact under the fork.
SAVE THIS RECIPE

How to make Baked Chicken Tenders Crispy
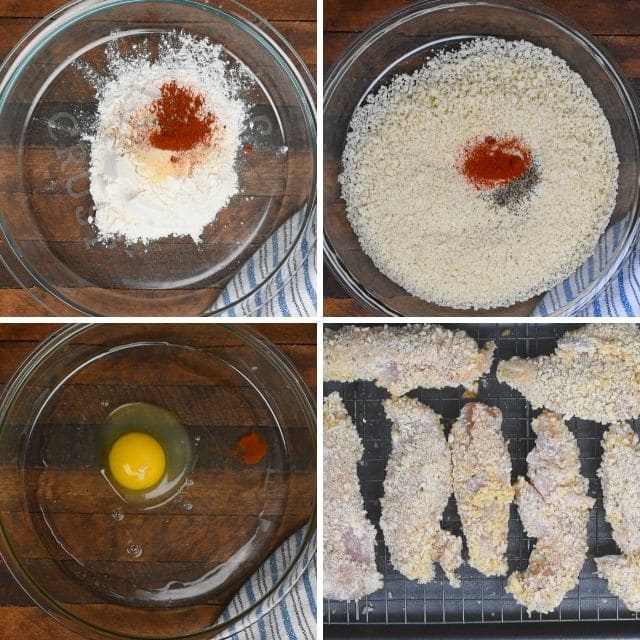
- Seasoning every layer of your food is the key to success; that is, season as you cook, not just at the end. I mix the flour, egg, and breadcrumbs all with the spices in shallow bowls (pie plates are perfect for this).
- Coat each chicken tender in the flour mixture, then the egg, then the breadcrumbs.
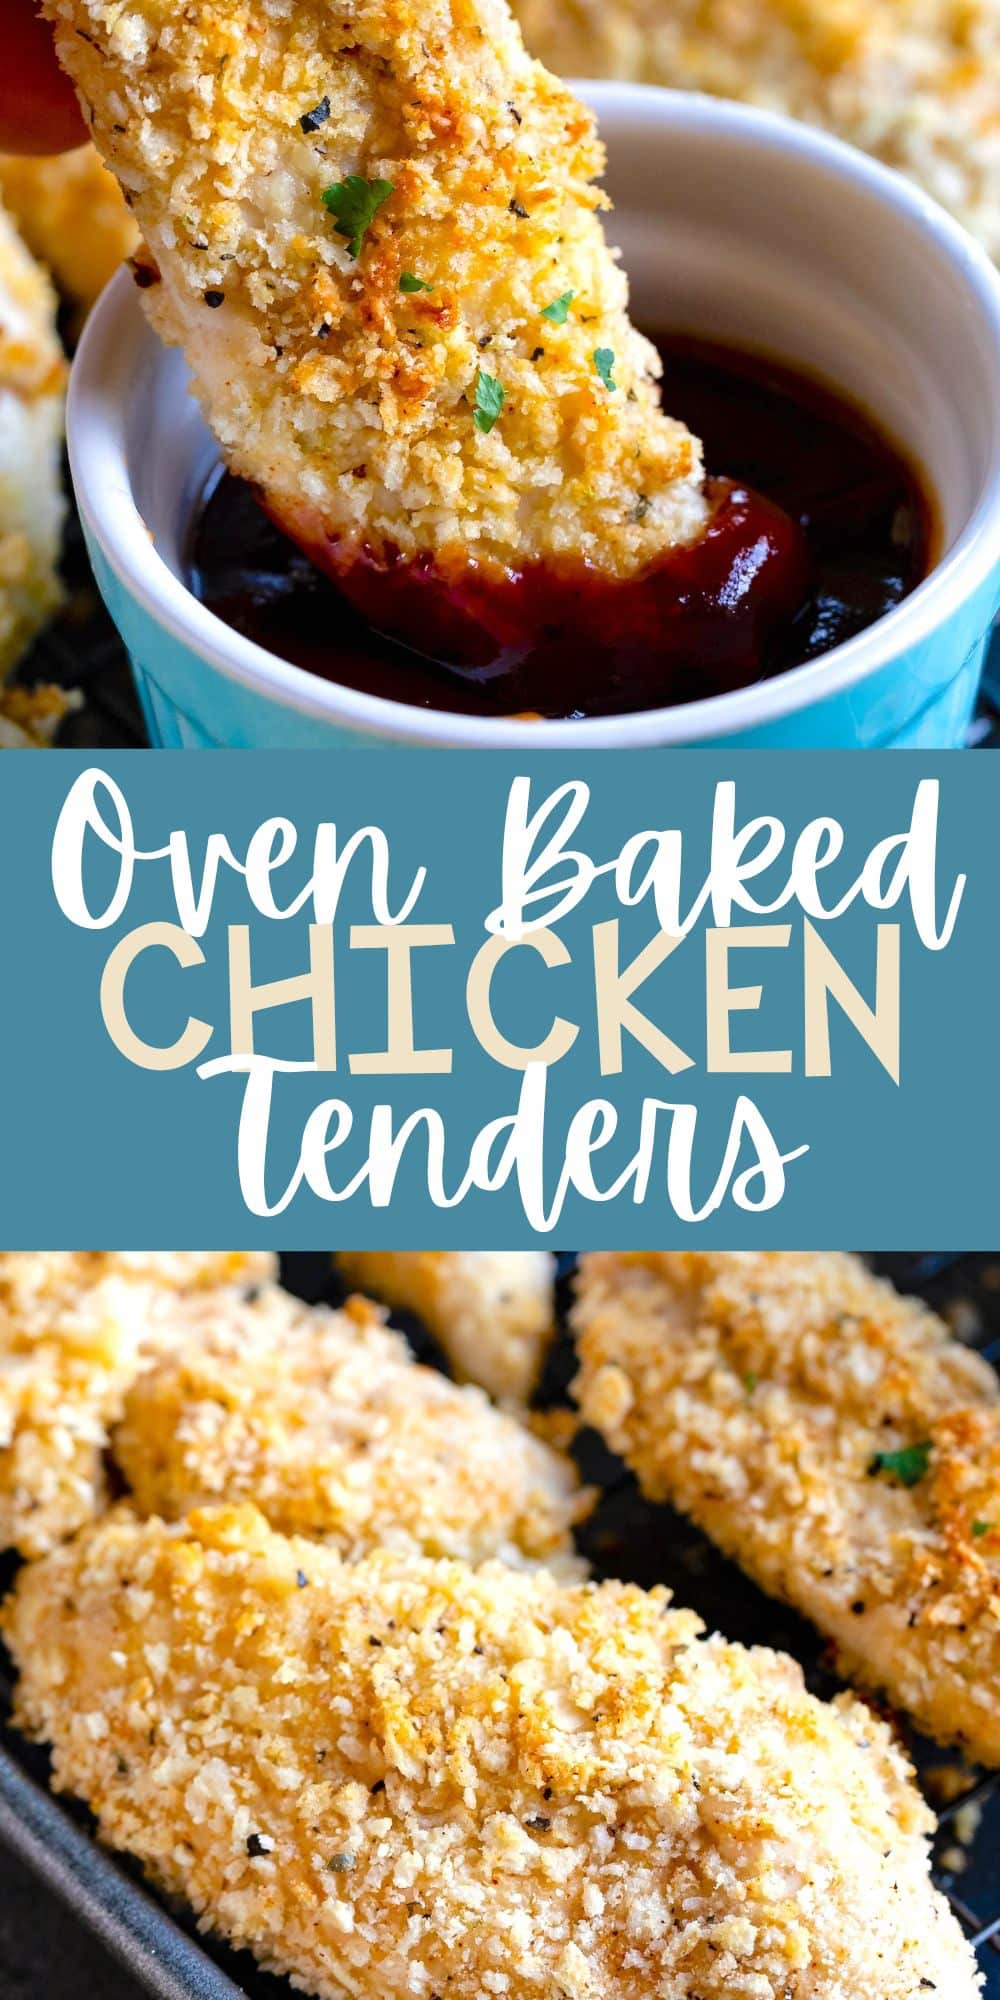
- The key to not having soggy baked chicken tenders is to bake them on a wire rack over a cookie sheet. Spray them with nonstick cooking spray then bake in a hot oven, turning them once during cooking. This will keep them super crunchy!
- Bake your chicken nuggets at 400°F for about 40 minutes, give or take, depending on thickness. Check doneness with a meat thermometer or instant-read thermometer – they should be 165°F when cooked through.
- You can also make these in the air fryer! I also love to reheat leftover chicken tenders in the air fryer to keep them crispy. Air Fry at 400°F for about 10 minutes or so, flipping once halfway through.
Storing Leftovers
Store chicken leftovers in an airtight container in the refrigerator for up to 3 days. You can also freeze them. Reheat in the air fryer to crisp them back up!
Oven Baked Chicken Tenders Recipe
Video
Ingredients
- 1 – 1 ½ pounds chicken breast tenders
- ½ cup all purpose flour
- ¾ teaspoon salt
- ¾ teaspoon pepper
- ¾ teaspoon onion powder
- ¾ teaspoon garlic powder
- ½ teaspoon smoked paprika
- ¾ teaspoon Italian Seasoning
- 1 large egg
- 1 tablespoon water
- Dash of hot sauce
- 1 cup panko breadcrumbs
- ¼ cup grated parmesan cheese
Instructions
- Preheat oven to 400°F. Place a rack on a rimmed baking sheet.
- To remove the tendon from the chicken, use the fork method: Place the tip/edge of the tendon between the tines of a fork. Grip the piece of the tendon between your fingers (using a paper towel) and pull hard. The tendon should pull out of the chicken, keeping the tender in tact.
- Place flour in a shallow dish. Add ¼ teaspoon EACH salt, pepper, garlic powder, onion powder, smoked paprika and Italian seasoning to the flour and stir.
- Place egg, water, and dash of hot sauce in a second shallow dish. Whisk to combine.
- Place panko, parmesan, ½ teaspoon EACH salt, pepper, onion powder, garlic powder, and Italian seasoning and ¼ teaspoon smoked paprika in a third shallow dish and stir to combine.
- Dip each chicken tender in the flour, then in the egg, then in the panko to completely coat. Place on prepared pan.
- Spray the tops with nonstick cooking spray. Bake 20 minutes, then flip the tenders and spray again. Continue baking until they’re cooked through to 165°F (about 15-20 minutes more).
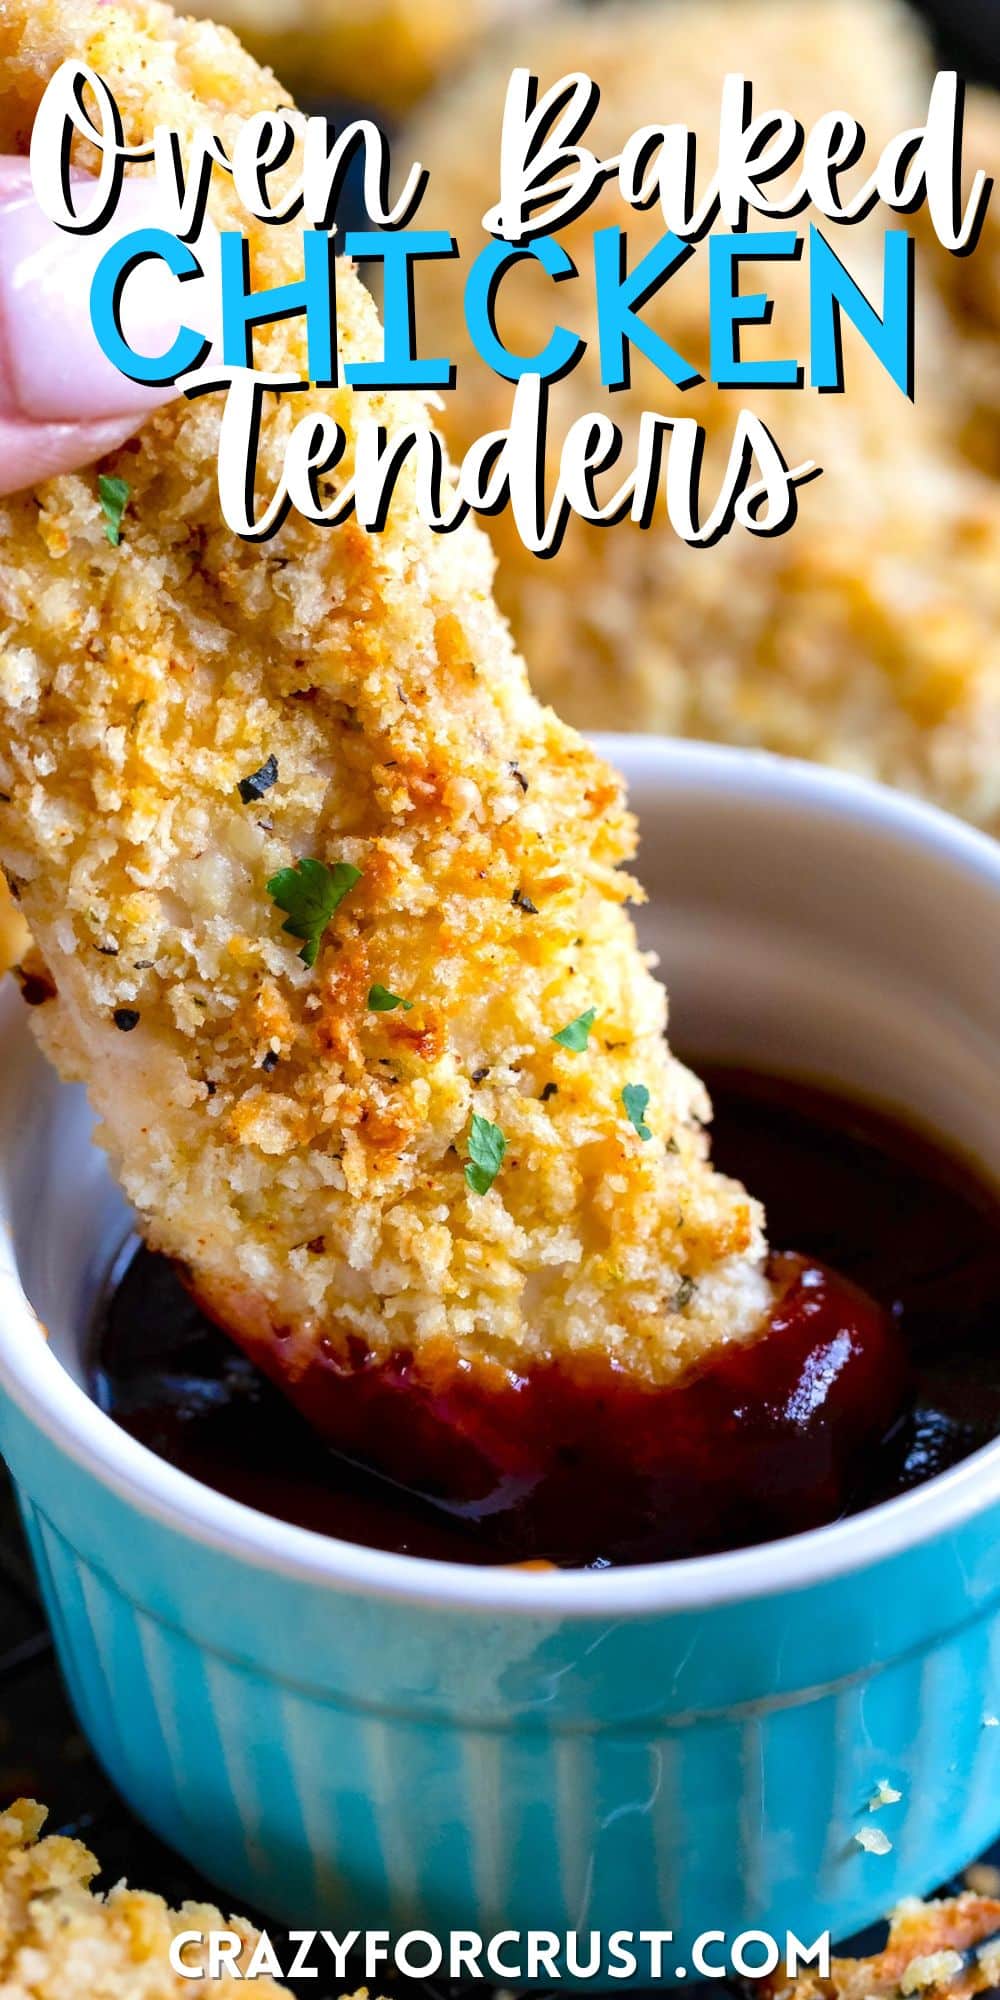
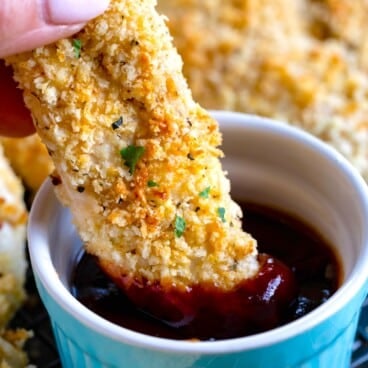
- Serve hot with ranch or bbq sauce or mustard for dipping.
Nutrition
Nutrition information is automatically calculated, so should only be used as an approximation.
© Crazy for Crust. Content and photographs are copyrighted. Sharing this post is much appreciated, but copying and pasting full recipes without authorization is strictly prohibited.
Did you try this recipe? Click here to rate the recipe below.
Expert Tips
- The key to baking chicken tenders and keeping them crispy so they taste fried (but aren’t) is using a rack on your baking sheet. I highly suggest getting a rack for your roasting pan (or a jelly roll pan set that comes with a rack). Baking chicken tenders straight on the cookie sheet will either keep them soggy on one side or ensure that the coating peels off when you flip them. Baking on a rack allows the heat to circulate and create a crunchy coating on all sides.
- My other browning secret for chicken tenders: spray the tenders with nonstick cooking spray when you put them in the oven and then again when you flip them.
Pair this with…
These are great plain, or served with dipping sauces like BBQ sauce, honey mustard sauce, or even ketchup or ranch dressing.
For a side dish, think about roasted potatoes, mashed potatoes, a simple salad or pasta, or even asparagus or broccoli. French fries are good too!


They were OK, but hardly worth the trouble . It would have been helpful to mention that 7 of the ingredients would have to be used again later on. After using small amounts of flour, salt, pepper, onion powder, garlic powder, paprika and Italian Seasoning I stored them out of the way. But lo and behold two steps later I’m told to mix all seven of them again with the Panko and the Parmessan cheese . Most frustrating and time consumming. also, the cooking times were off, it took much longer than 20 minutes to get them crunchy and with a slight color.
Hi Dorothy, I cut the recipe in half since I made only three for myself. They turned out delicious. I baked them in my Wolf toaster on the convection mode, so I knew to bake them quickly. The first side was 15 minutes and the second ten. When I bake them again, I will reduce the time even more. I did test them, and they were overdone but still delicious. I don’t have an air fryer, so I’m not sure how I’ll heat one for dinner tonight. Thanks for another delicious recipe! Kathy
Featured In
Rate This Recipe
Recipe Ratings without Comment