This post may contain affiliate links. For more information, read my disclosure policy.
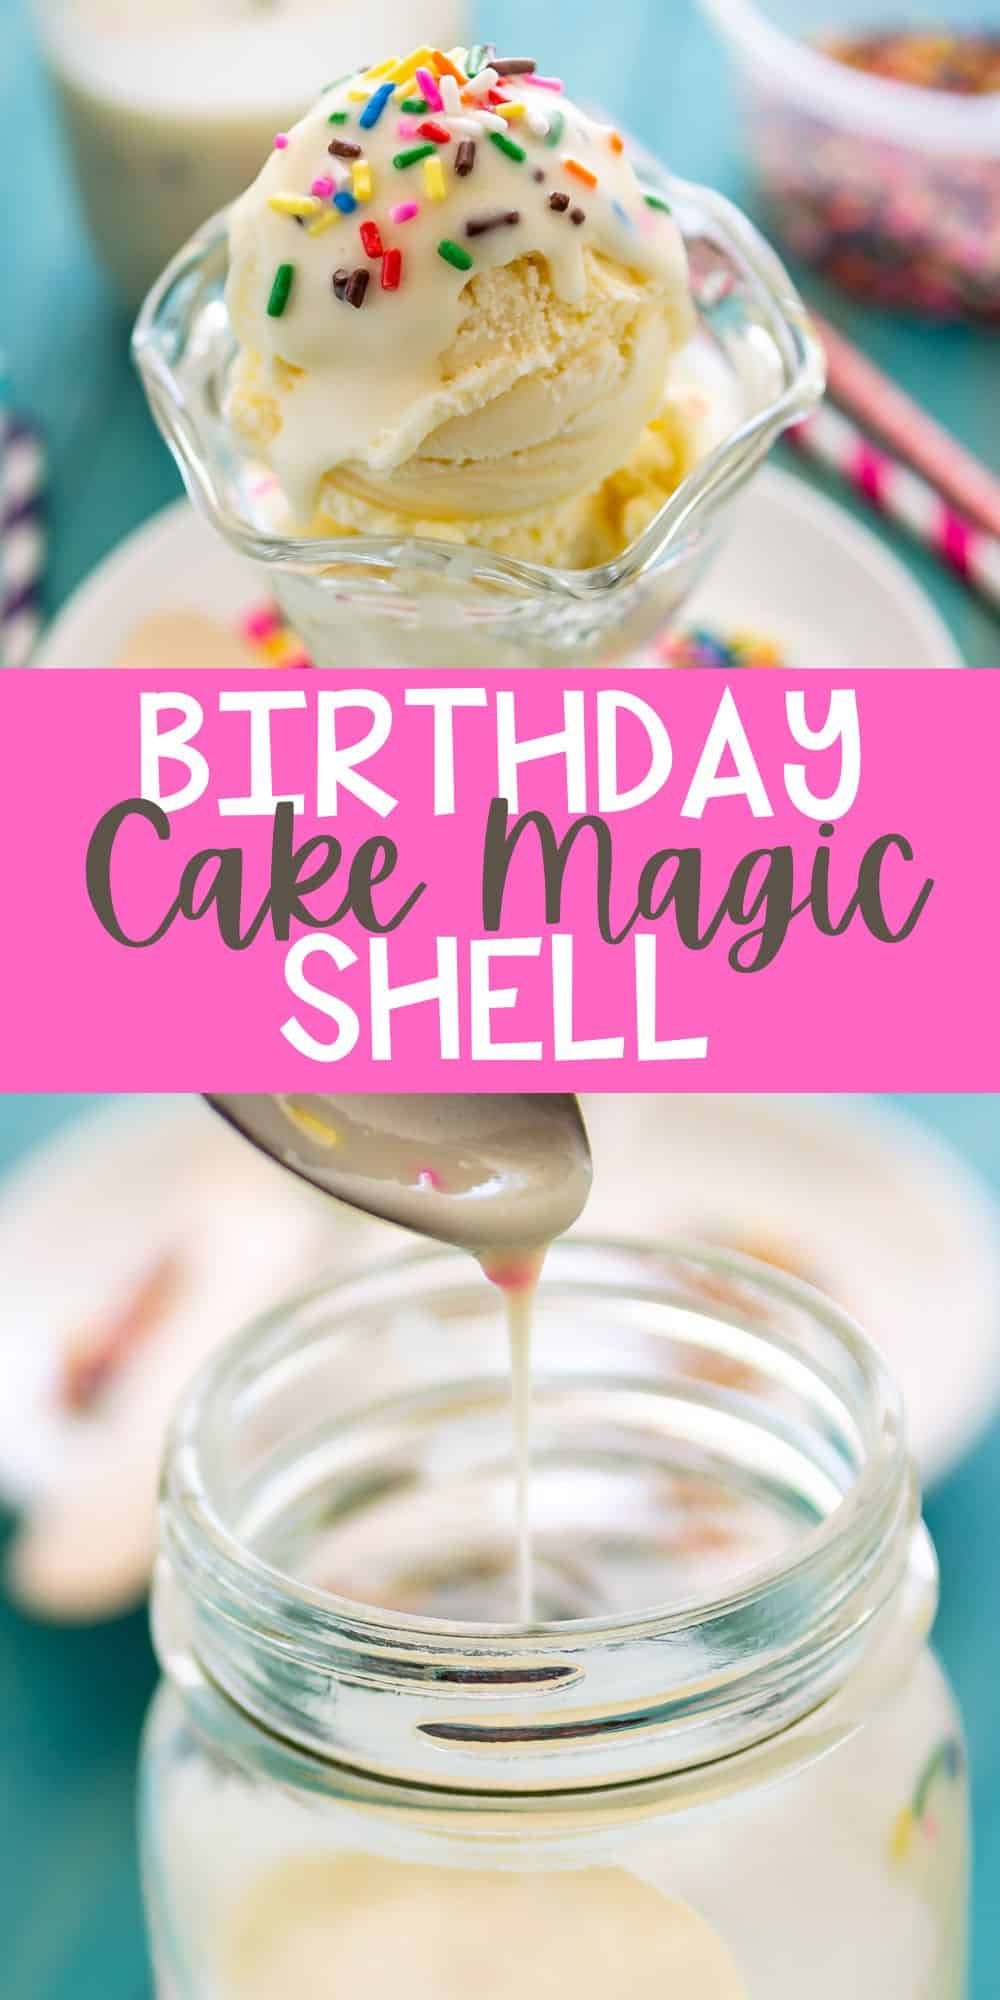
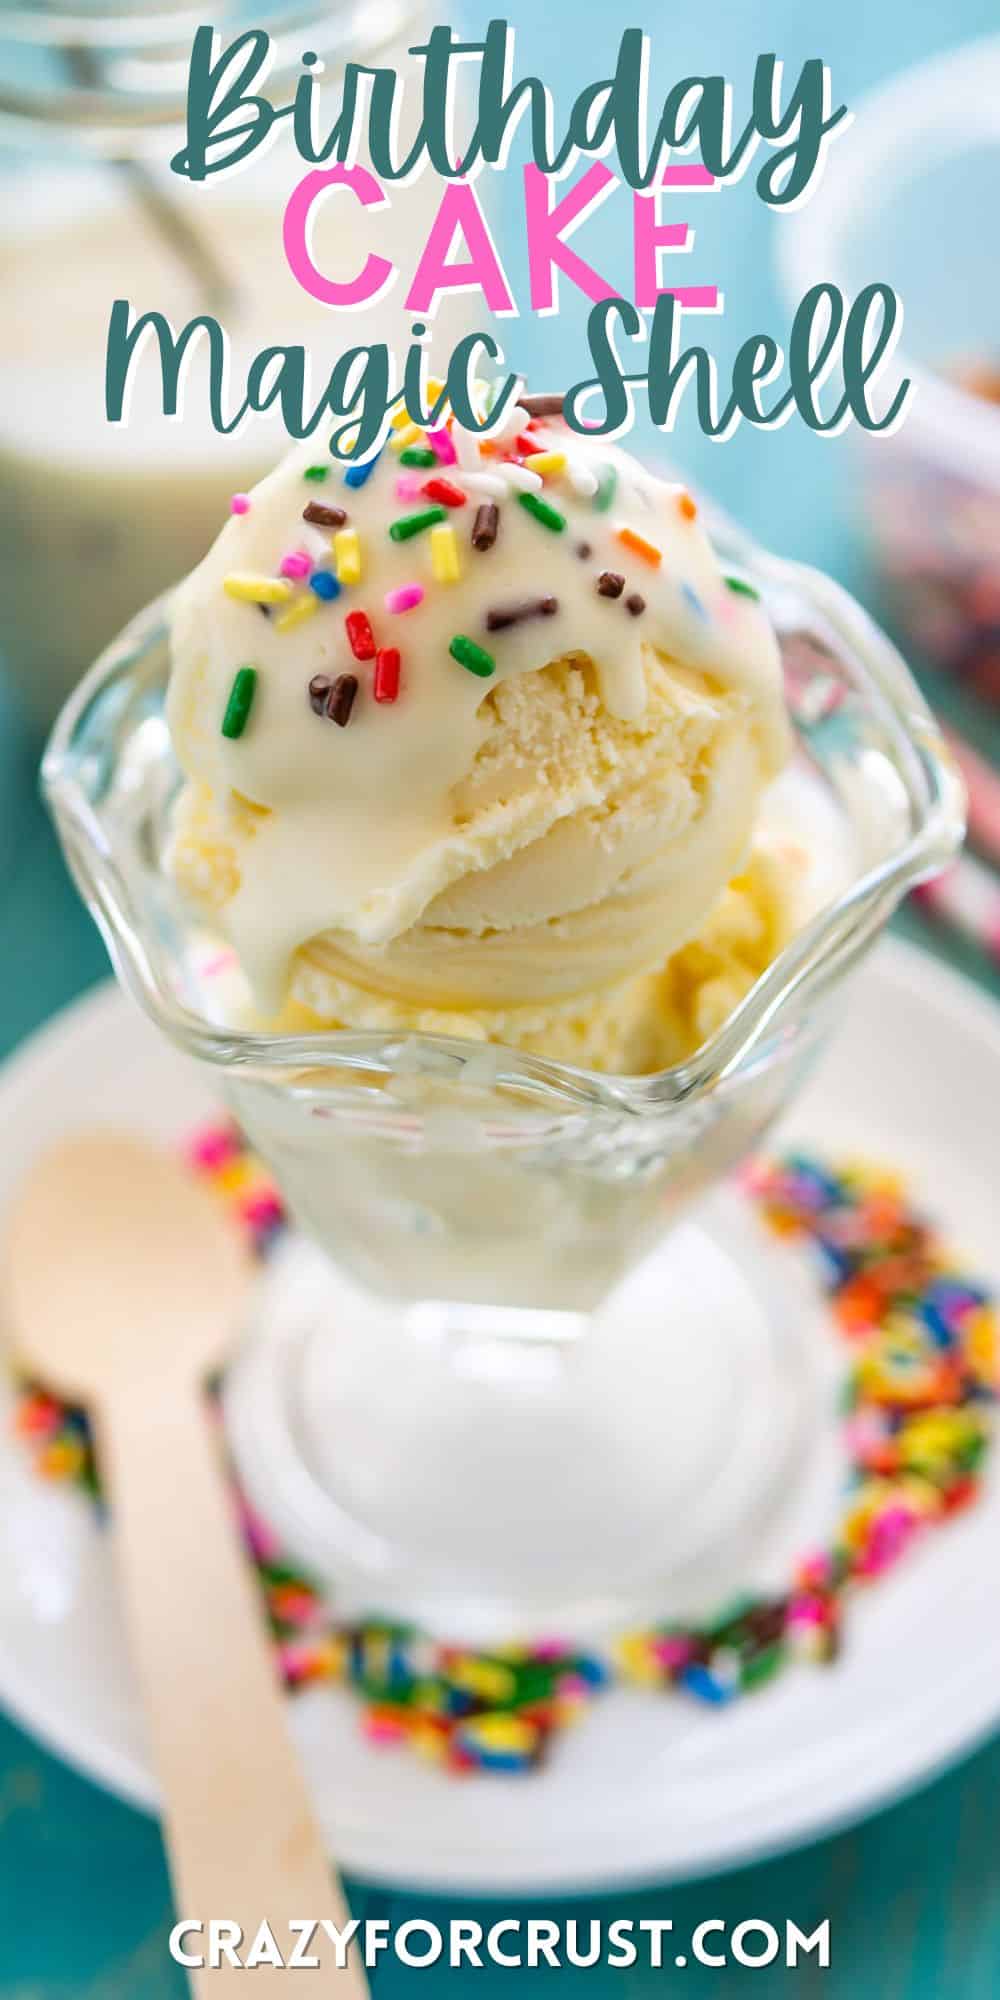
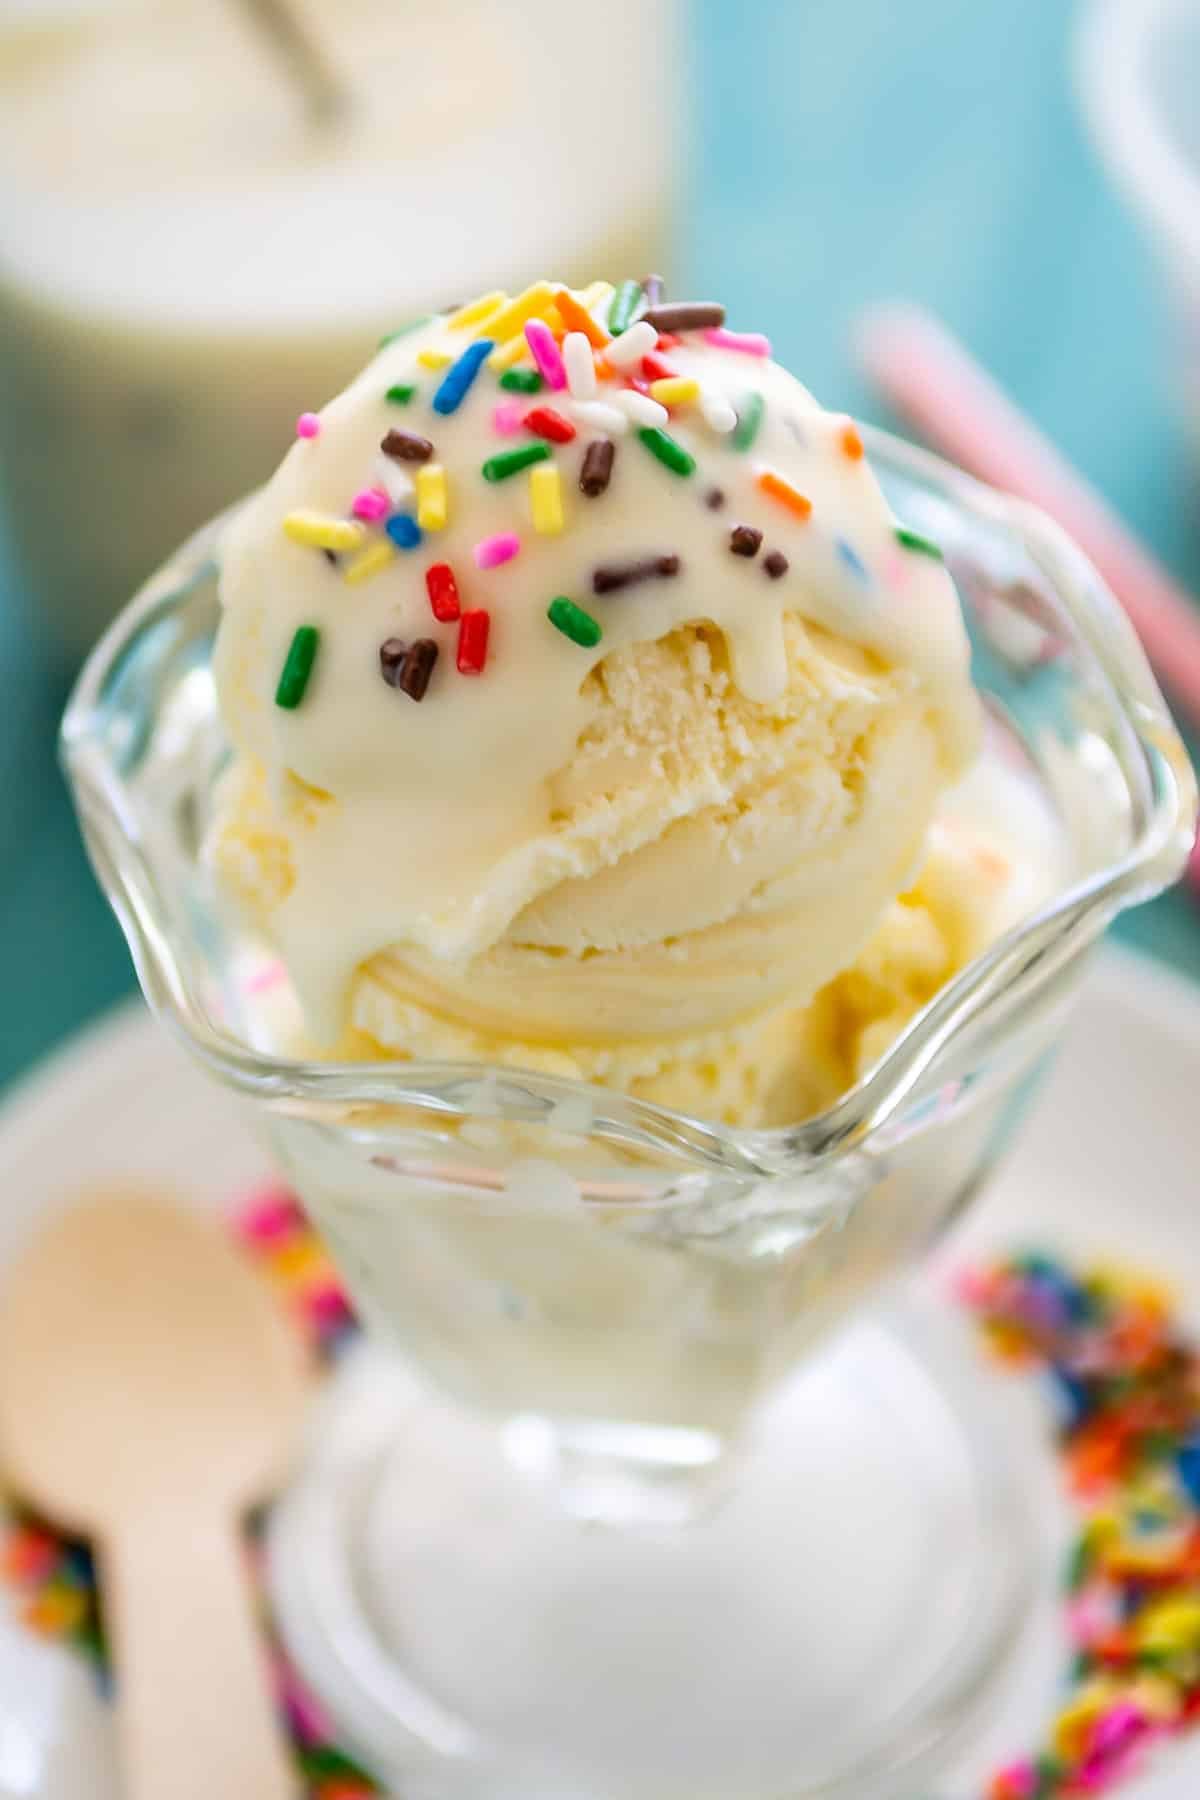
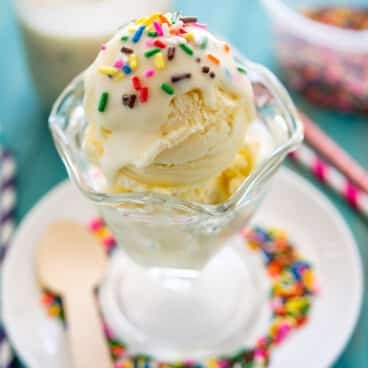
Turn your ice cream into cake with Birthday Cake Magic Shell! It’s so easy to make this – just follow this recipe and you’ll have an amazing dessert in no time.
Cake Batter Magic Shell
Ready for a lazy day in the kitchen? My regular readers know that I’m all about easy, delicious recipes. Even though this white chocolate magic shell sounds complicated, trust me, this DIY magic shell recipe is easier than you think.
It’s incredibly easy to make and makes a LOT. The magic shell mixture lasts a while on your counter too, so it’s perfect to have around this summer for the hot ice cream eating days.
Ingredients Needed
- Oil: Traditionally, coconut oil is used in the making of homemade magic shell but you can also use vegetable oil.
- Chocolate: use your favorite white chocolate chips to melt with the oil to create the magic shell mixture.
- Cake Extract: I’m using a few drops of cake batter extract for our desired flavor but you can swap this for cake mix instead!
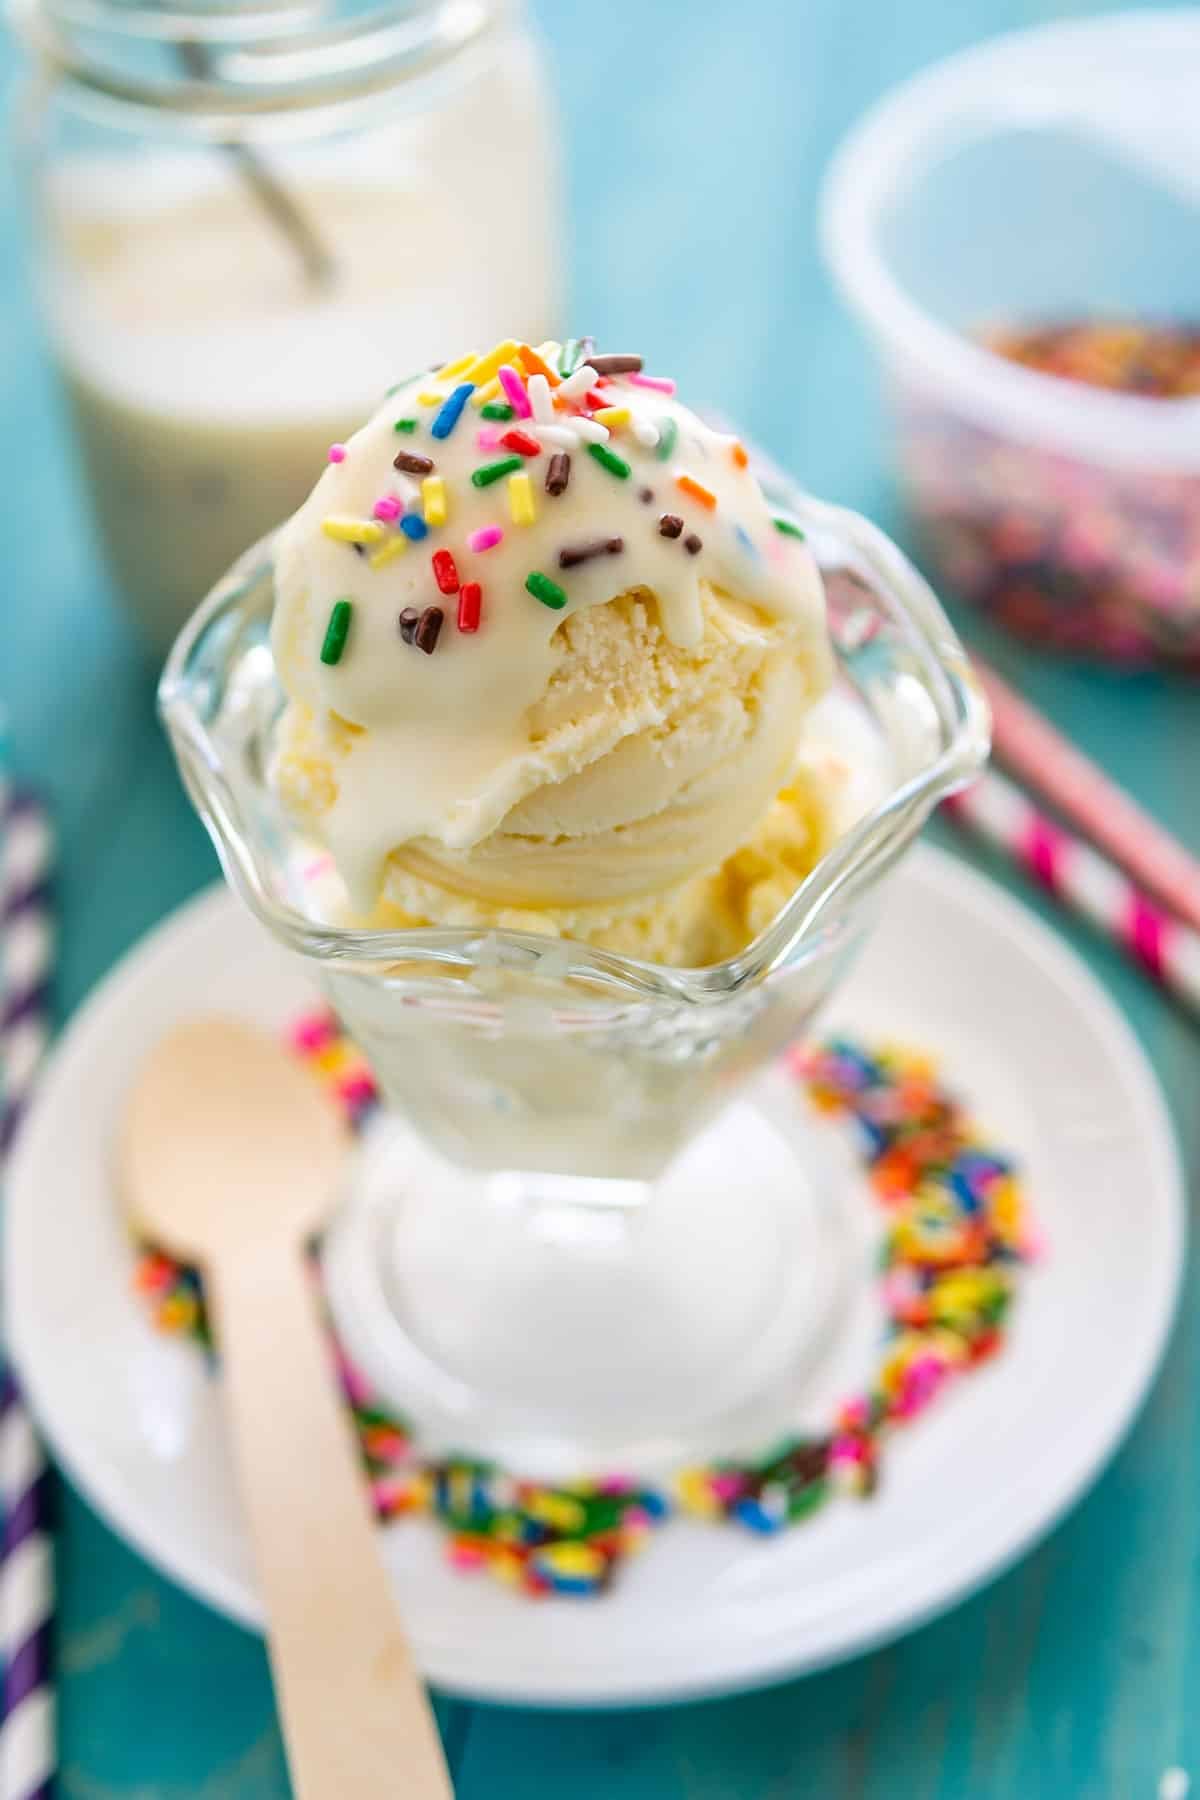
- Ice cream toppings: chocolate chips, peanut butter, chocolate sauce, or sprinkles. The list can go on so I’ll leave it up to you to decide! I wanted to keep the fun cake theme going, so I used rainbow sprinkles.
Cake Mix vs Cake Extract
You can make this with either cake mix OR extract. Extract is easier and doesn’t leave you with a partially used mix – plus a lot of people worry about eating raw cake mix.
You can find cake batter extract on Amazon or in the grocery store baking aisle.
SAVE THIS RECIPE
How to make magic shell
- Melt white chocolate chips and oil in a microwave-safe bowl
- Whisk in cake batter extract
- Cool the mixture
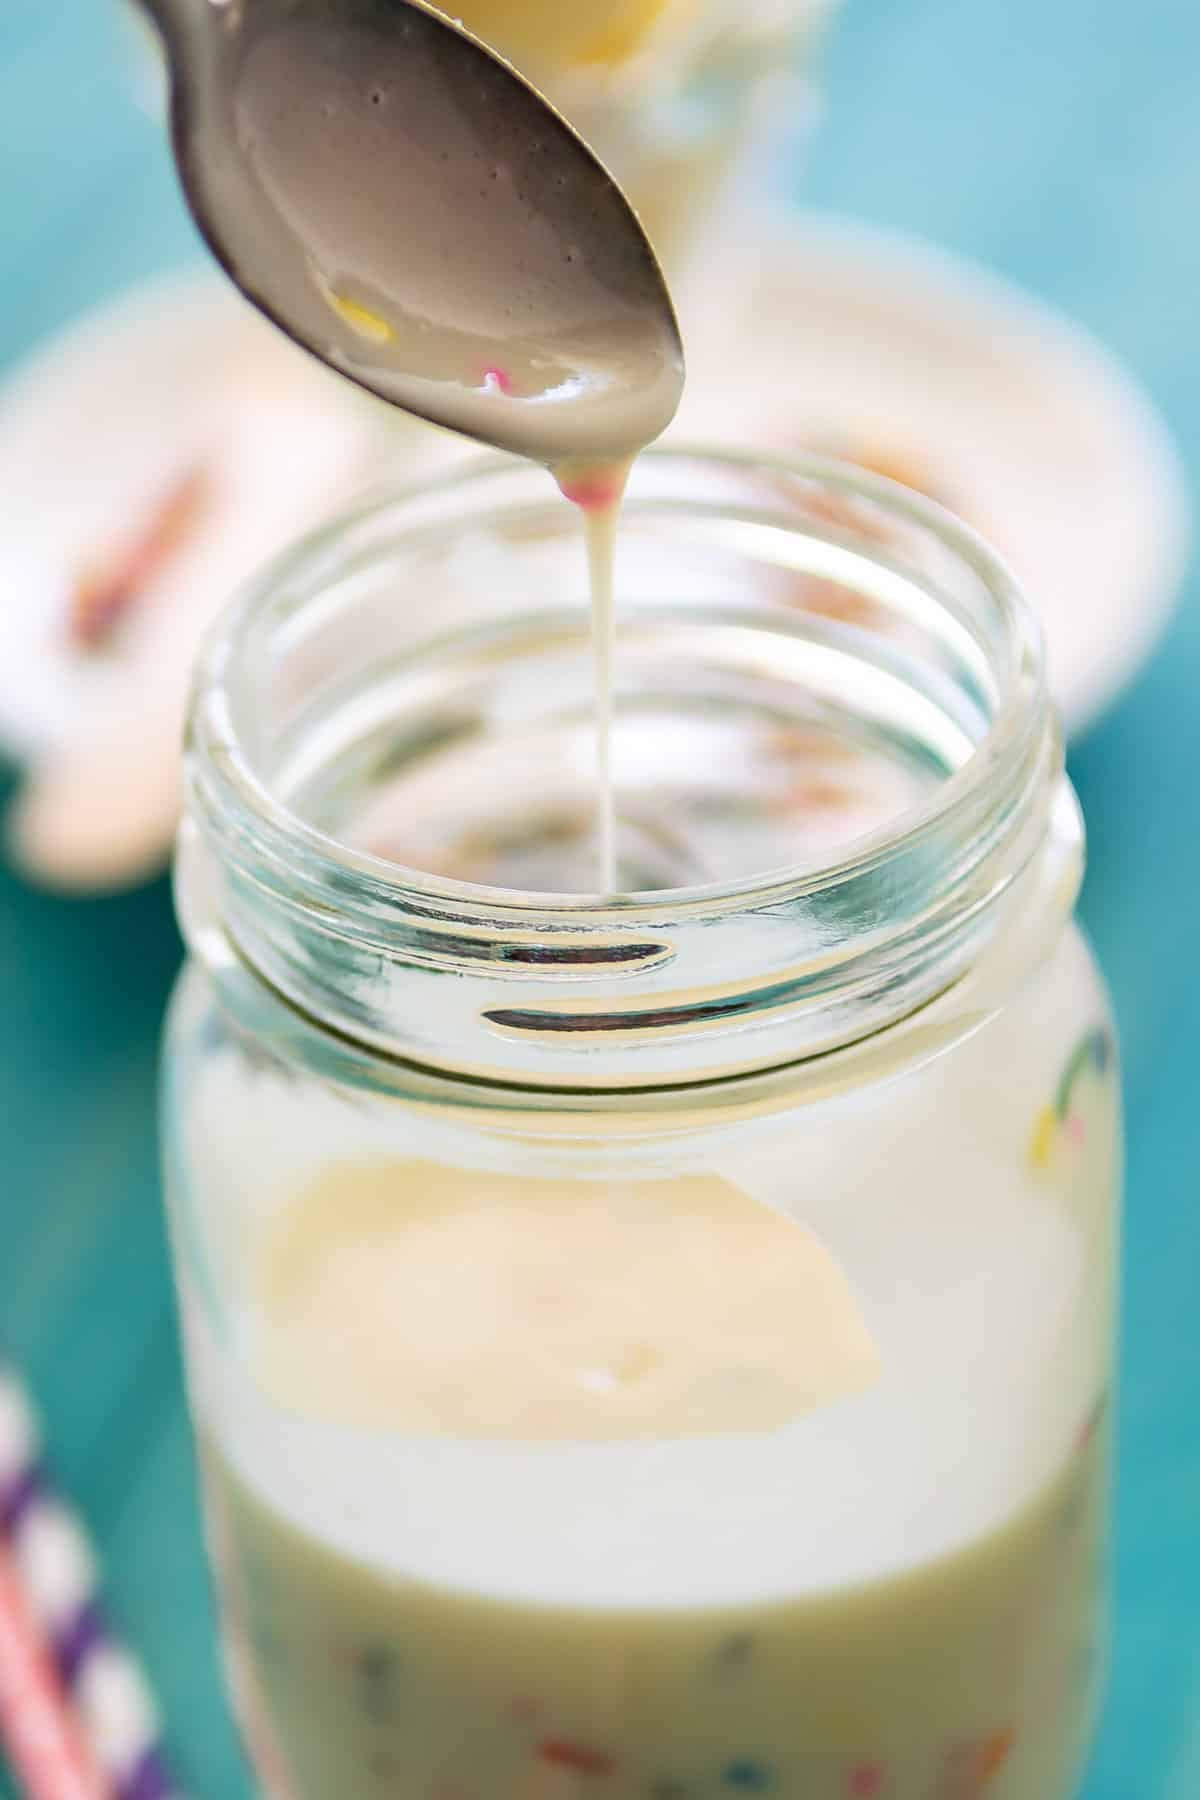
- Stir in sprinkles and transfer to a jar
Expert Tips
- If you can’t find cake batter extract you can whisk in 1 tablespoon cake mix powder (any flavor).
- Do not use nonpareils since they will dissolve in the liquid. Jimmies or quins are the best kind of sprinkles to mix into this.
FAQs
No. It can be left at room temperature for up to a week.
Yes. After one week of sitting at room temperature or one month in the refrigerator.
Birthday Cake Magic Shell
Ingredients
- 1 cup (170g) white chocolate chips
- ½ cup coconut oil or vegetable oil
- 1 teaspoon cake batter extract
- 2 tablespoons rainbow sprinkles, do not use nonpareils – they will dissolve in the liquid
Instructions
- Place white chocolate chips and oil in a microwave safe bowl. Heat on HIGH in 30 second increments, stirring after each, until smooth (about 1-2 minutes).
- Whisk in cake batter extract. Let cool before adding sprinkles. Once cool, stir in sprinkles and transfer to a jar.
- Store at room temperature for up to a week.
Notes
- If you can’t find cake batter extract you can whisk in 1 tablespoon cake mix powder (any flavor).
- Jimmies or quins are the best kind of sprinkles to mix into this, not nonpareils.
Nutrition
Nutrition information is automatically calculated, so should only be used as an approximation.
© Crazy for Crust. Content and photographs are copyrighted. Sharing this post is much appreciated, but copying and pasting full recipes without authorization is strictly prohibited.
Did you try this recipe? Click here to rate the recipe below.


Love magic shell on ice cream!!!
If you just want white chocolate magic shell… without the bday cake mix, do you still use the same amount of oil or do you reduce it since you’re not using the cake mix?
Featured In
Rate This Recipe
Recipe Ratings without Comment