This post may contain affiliate links. For more information, read my disclosure policy.
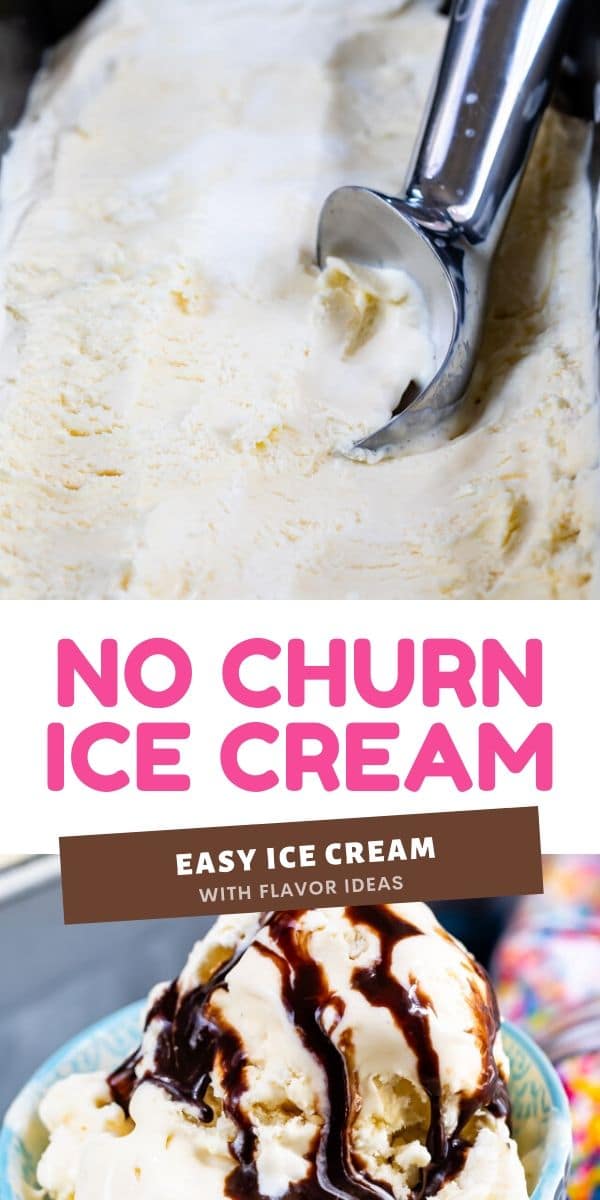
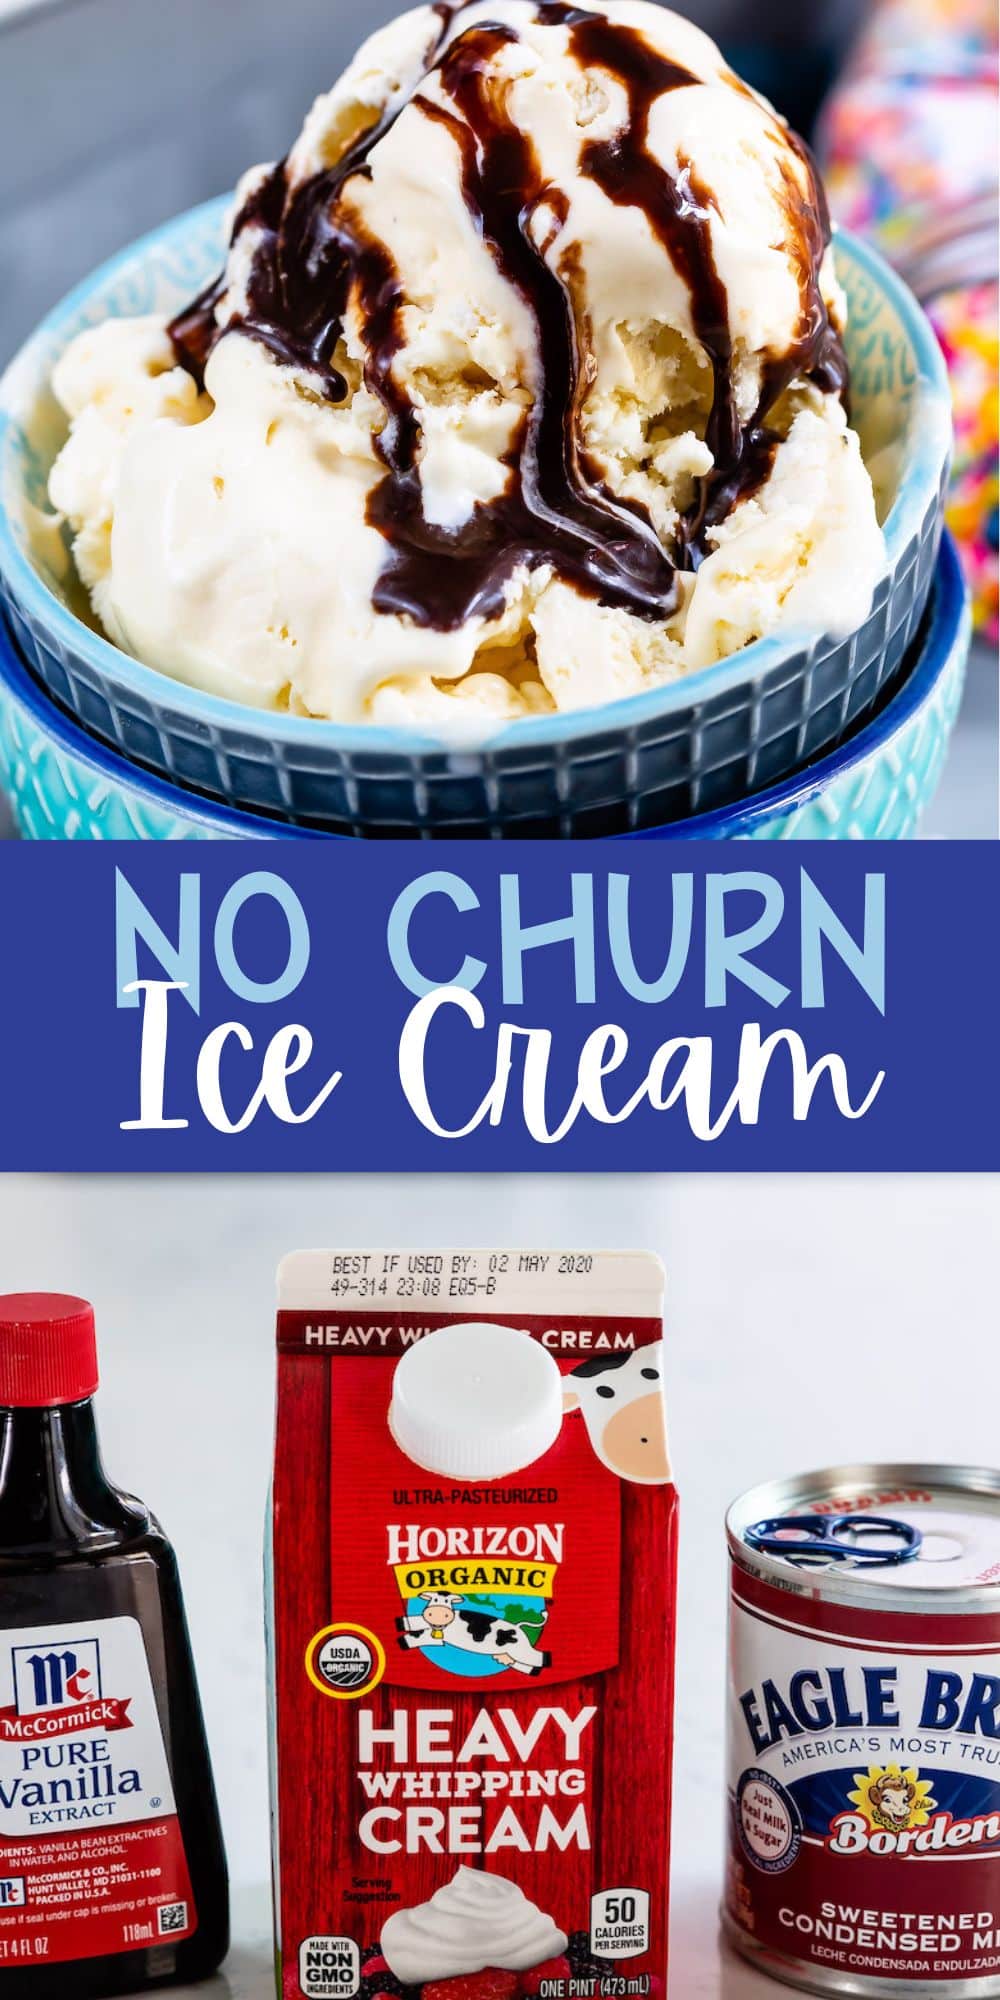
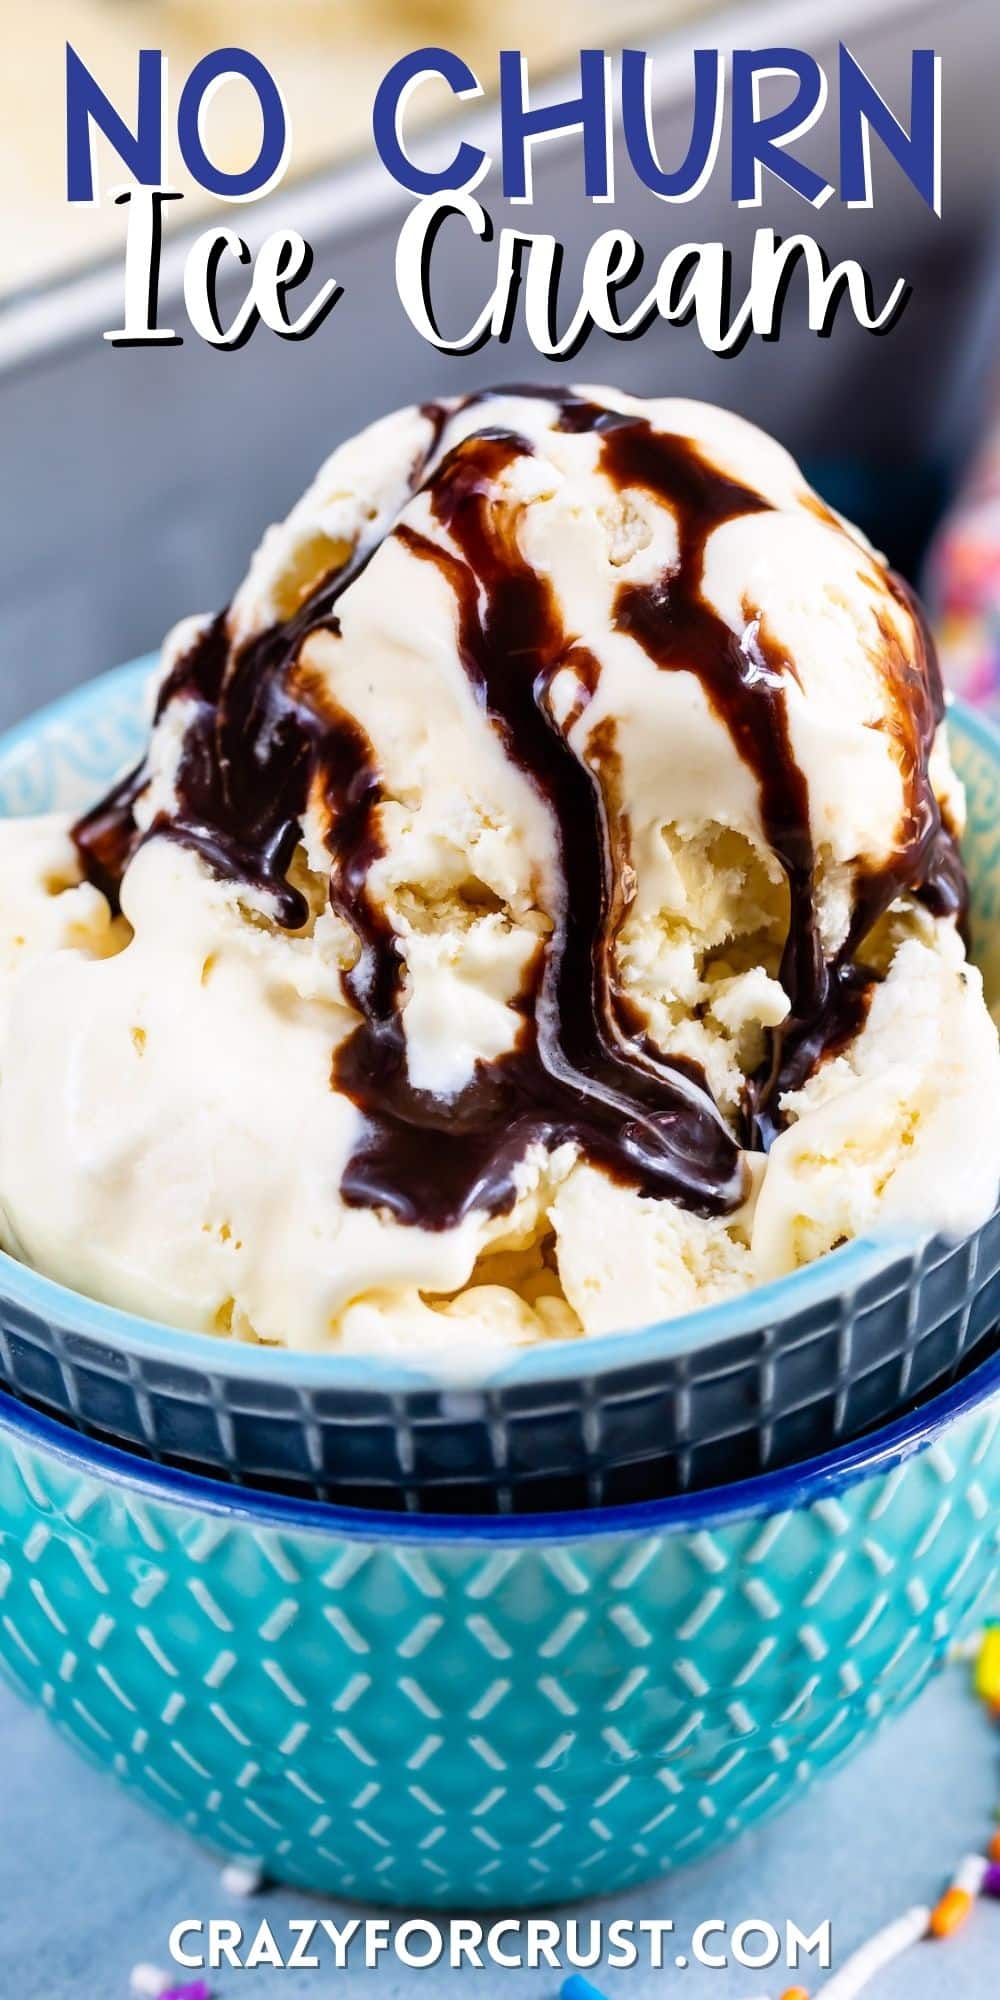
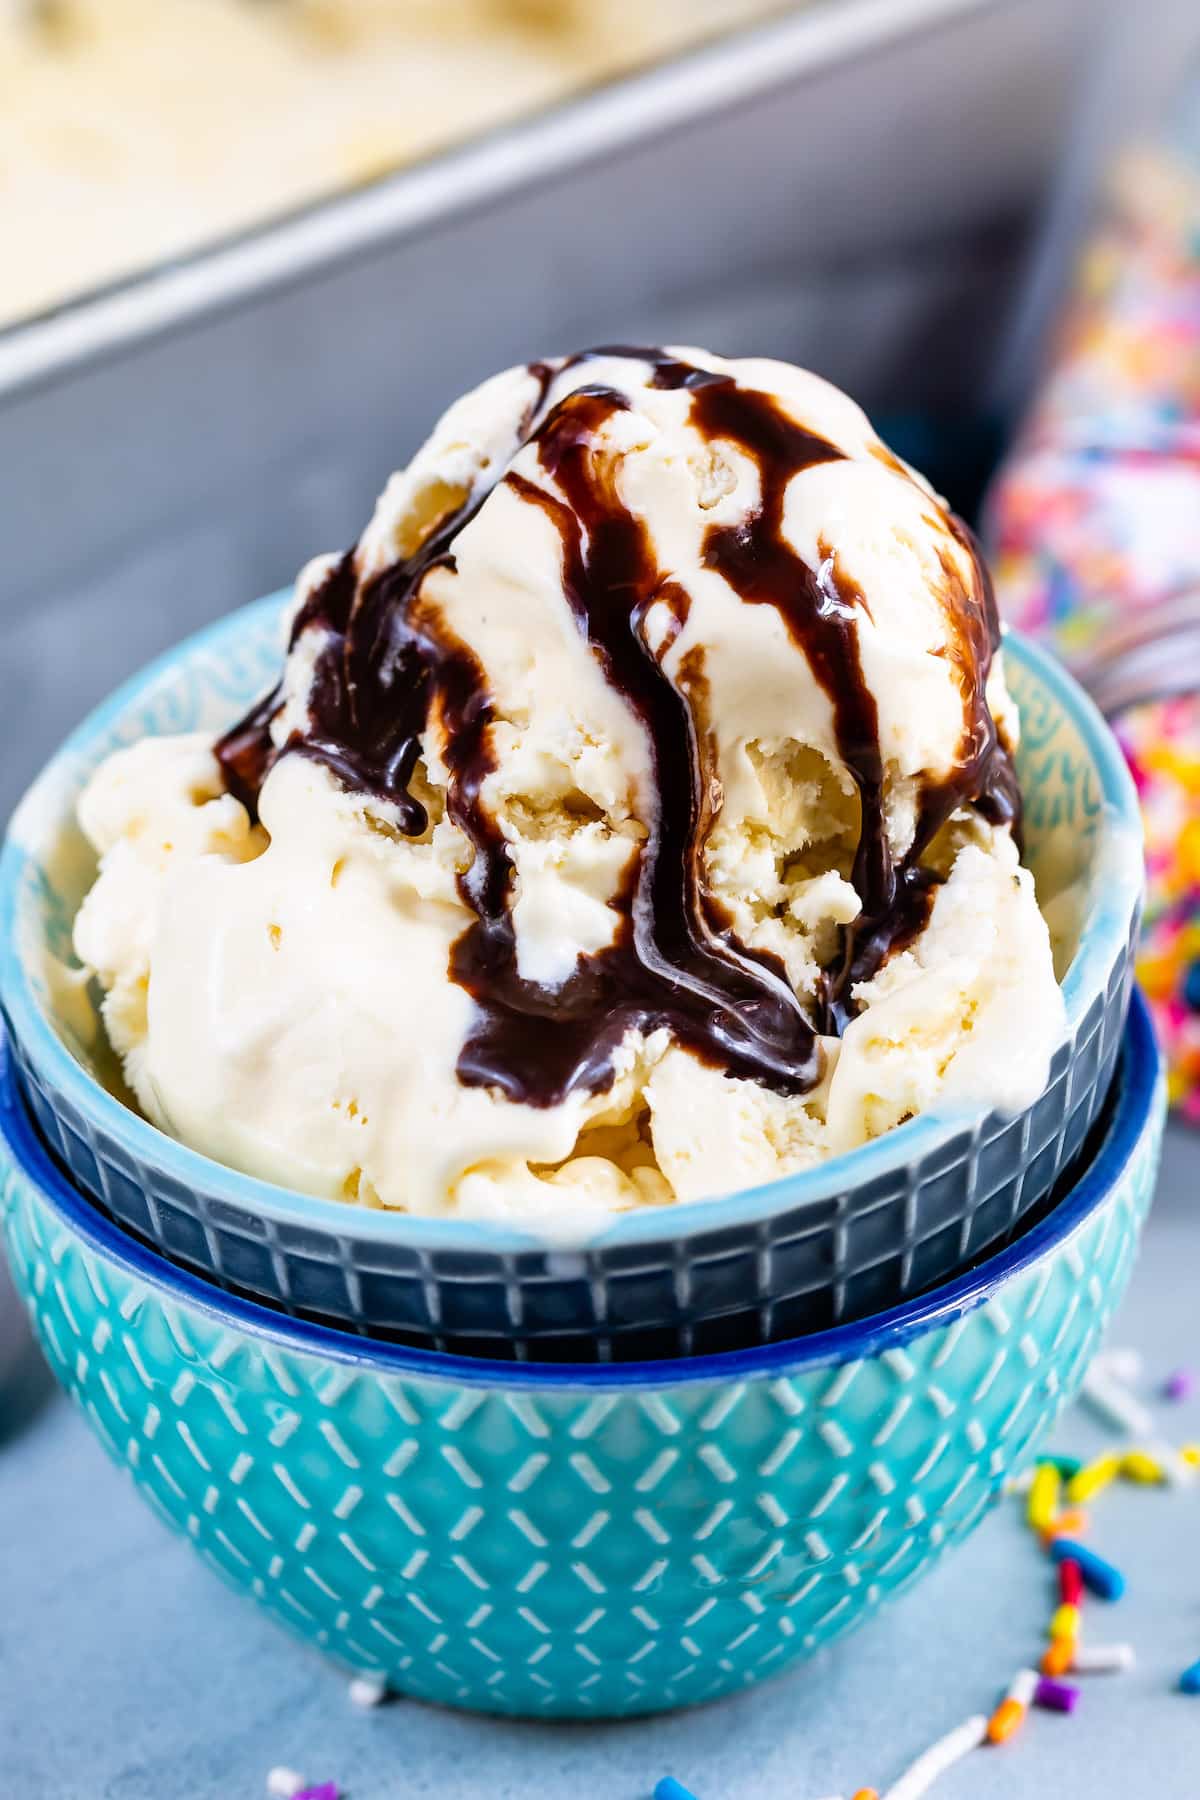
Homemade ice cream is the BEST – and when it’s No Churn Ice Cream it’s even better. I’ve been making this easy homemade Ice Cream for YEARS and it always turns out perfect – and delicious. Skip the machine and make this 3 ingredient ice cream yourself – plus learn how to make ANY flavor you want.
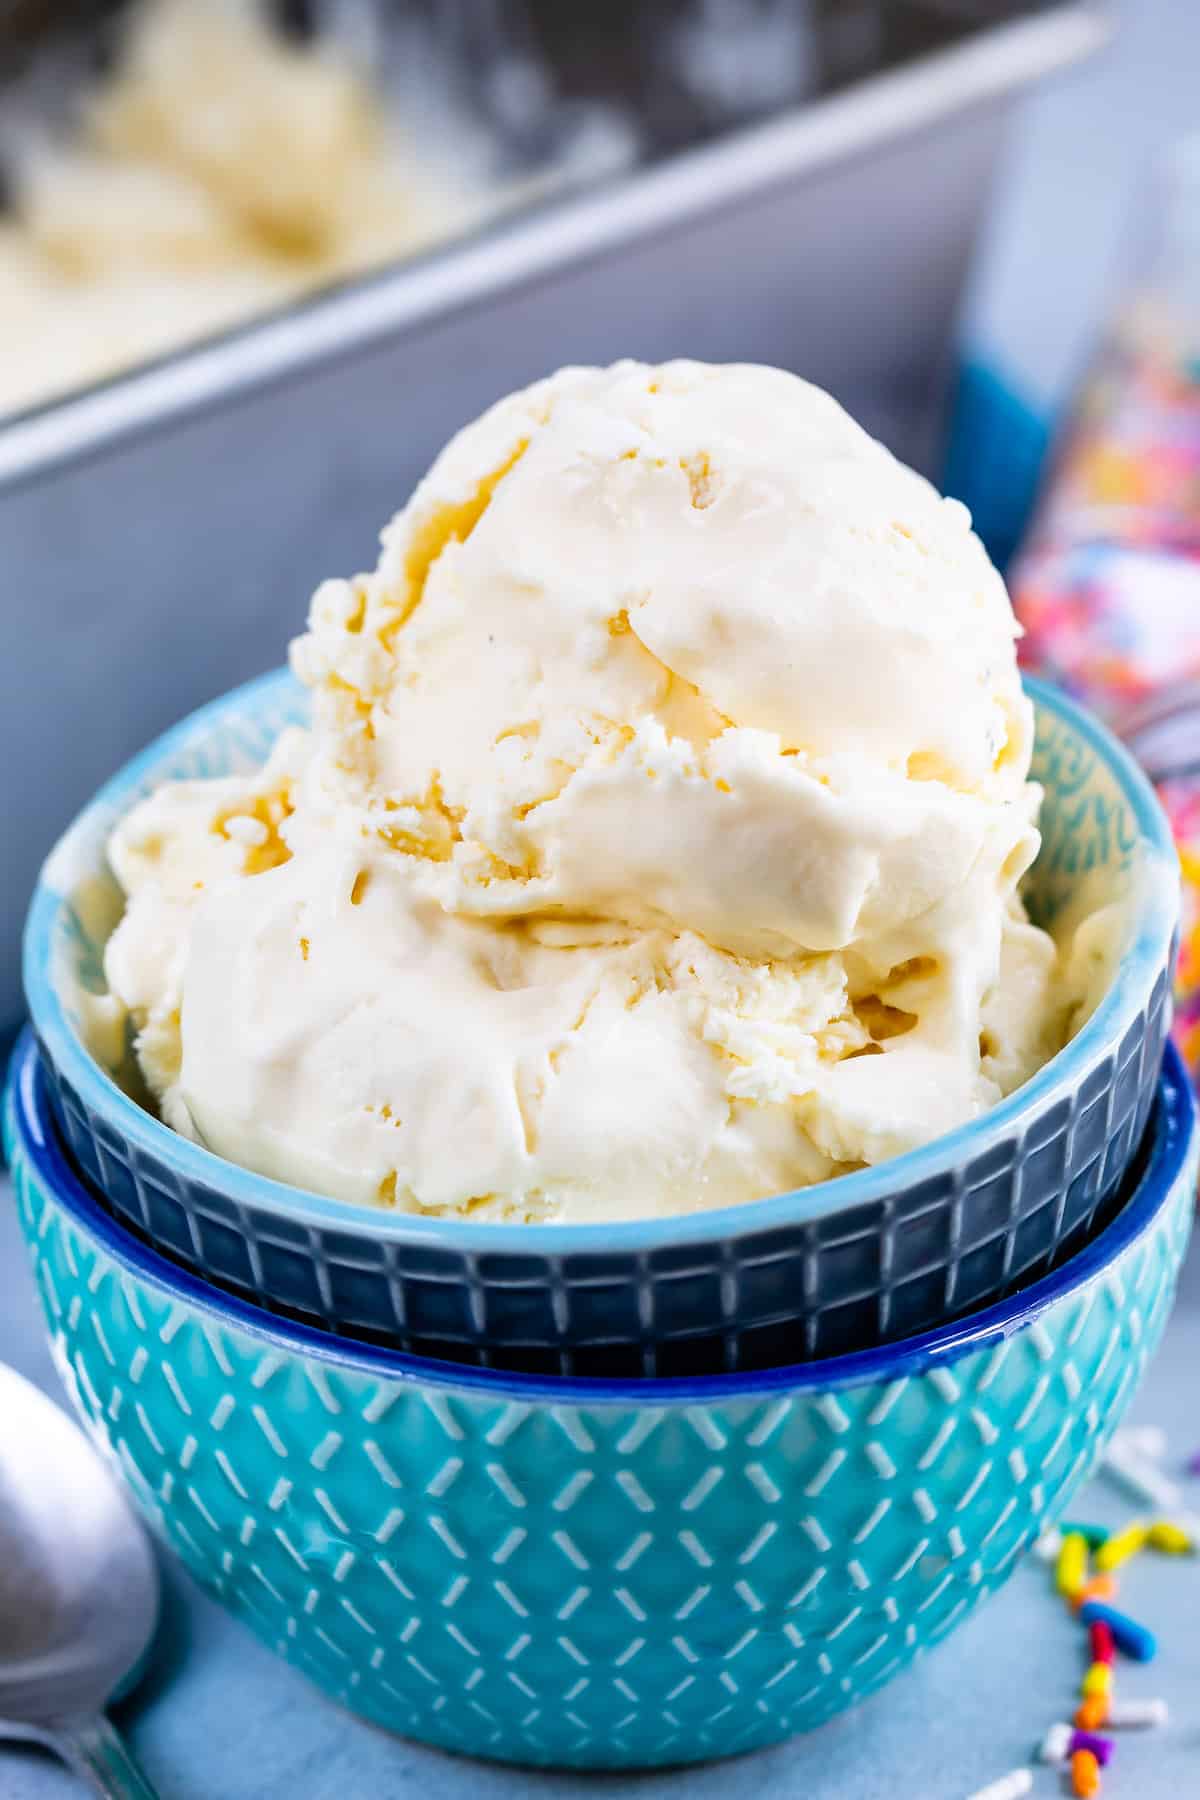
Table of Contents
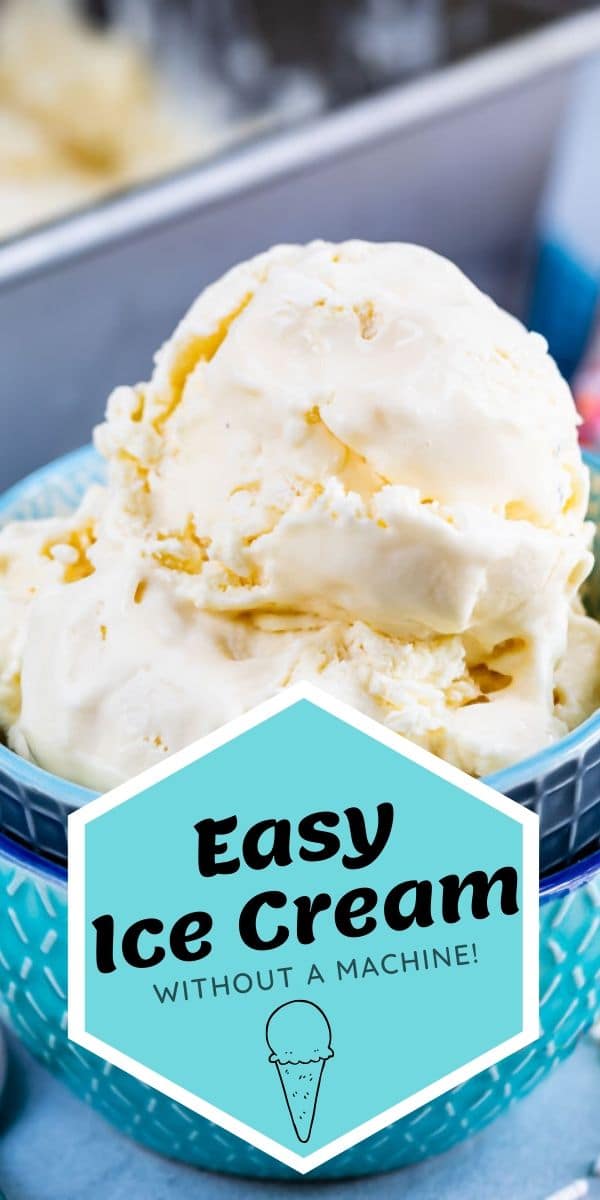
BEST Ice Cream without a Machine
Ice cream is one of those things that I absolutely love, especially in summer. My daughter and husband are huge ice cream lovers so we always have some in the freezer.
I have an ice cream machine but I really don’t like using it because I always forget to freeze the insert. That thing has to freeze for 12 hours before I can make ice cream and by then I’ve gone to the store and boughten some. PLUS – in summer when it’s hot my ice cream never churns properly.
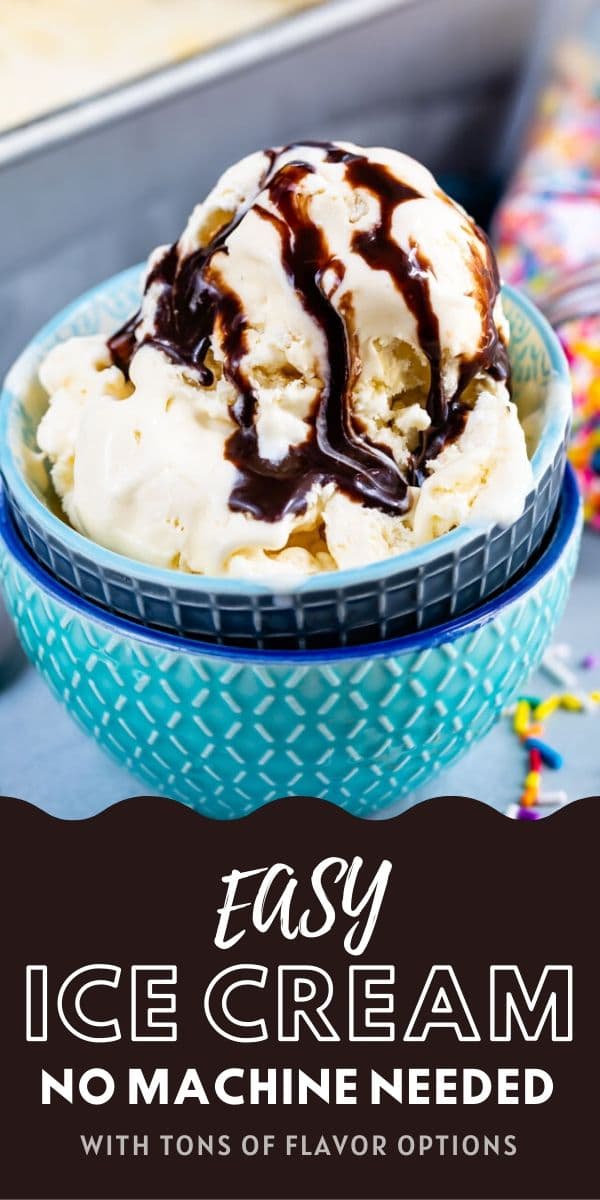
That’s why, once I discovered easy ice cream I never went back to making it with a machine. No churn ice cream is the BEST and it’s easy to make any flavor you want. Today I’m going to teach you how to make the basic ice cream, plus how to make tons of different flavors all with just a few extra ingredients.
3 easy ingredients
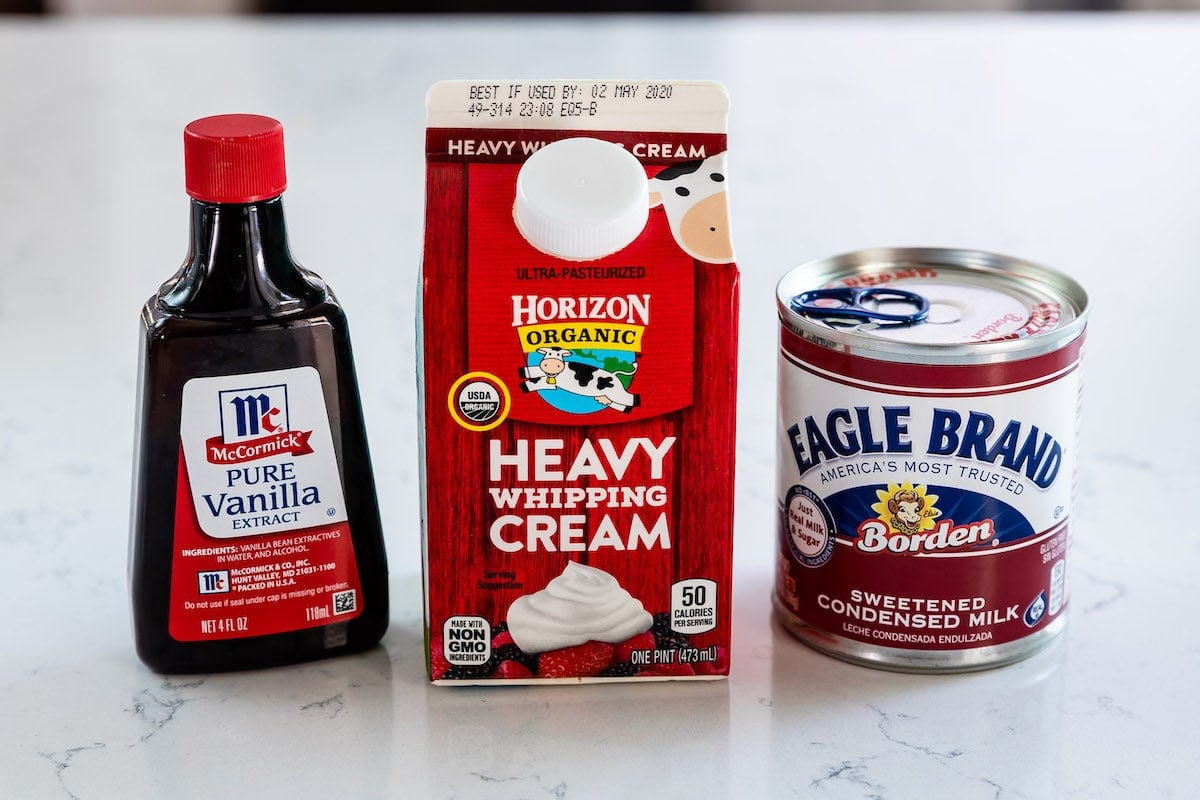
There are just three easy ingredients to make your own homemade ice cream:
- Heavy whipping cream is important because the first thing you do to make this ice cream is make whipped cream.
- Sweetened condensed milk is sold in a can in the baking aisle. Sweetened condensed milk is milk that’s been cooked down with sugar so it’s thick and sweet. Don’t confuse it with evaporated milk; they’re two different things.
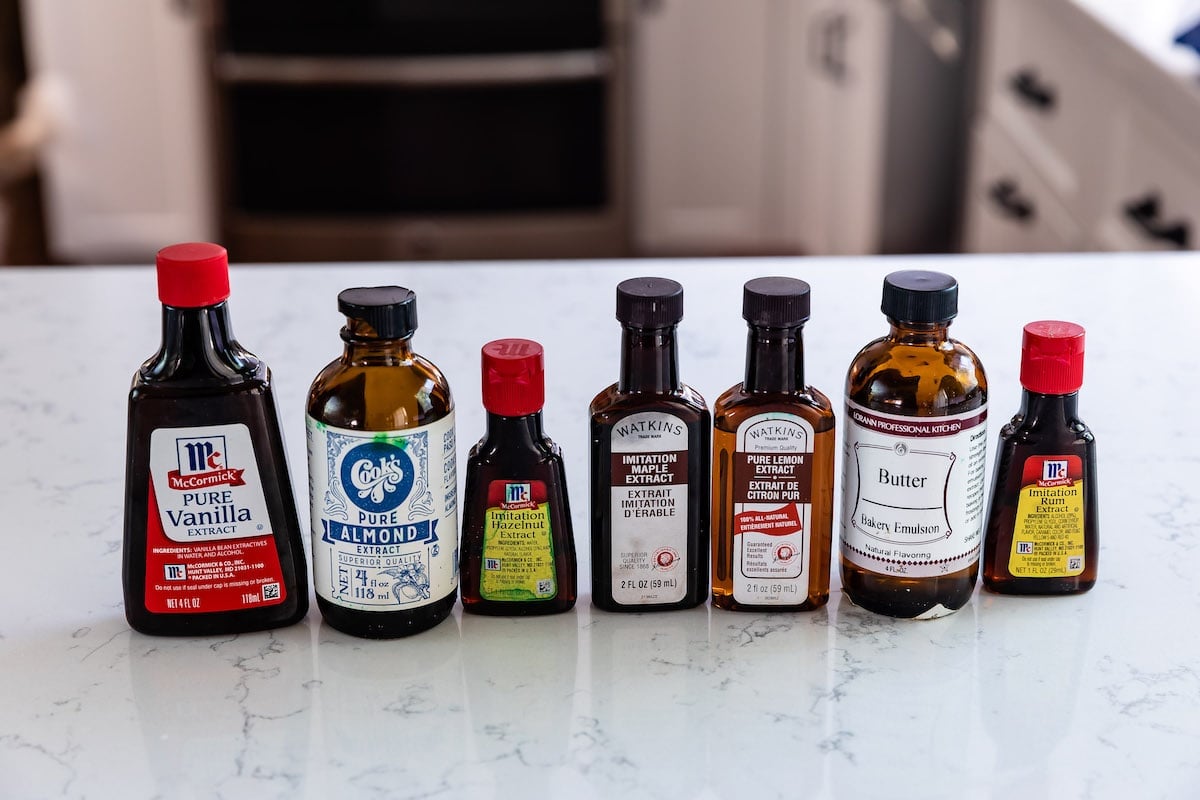
- Vanilla Extract or any extract flavor
How to make easy ice cream
The magic of the ice cream is in how you put together the ingredients.
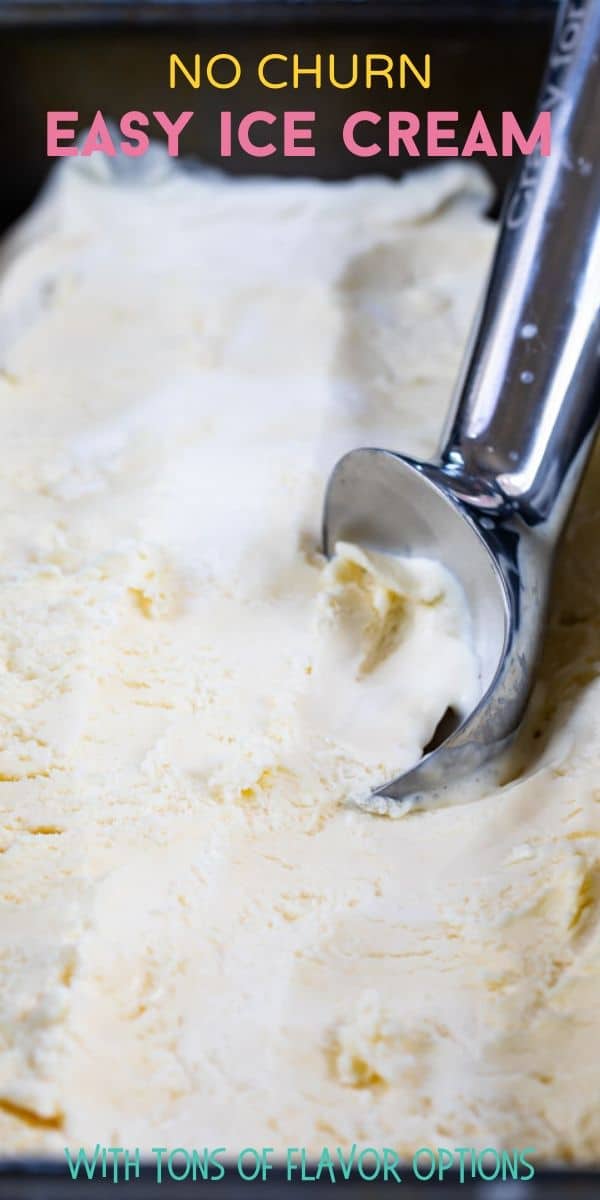
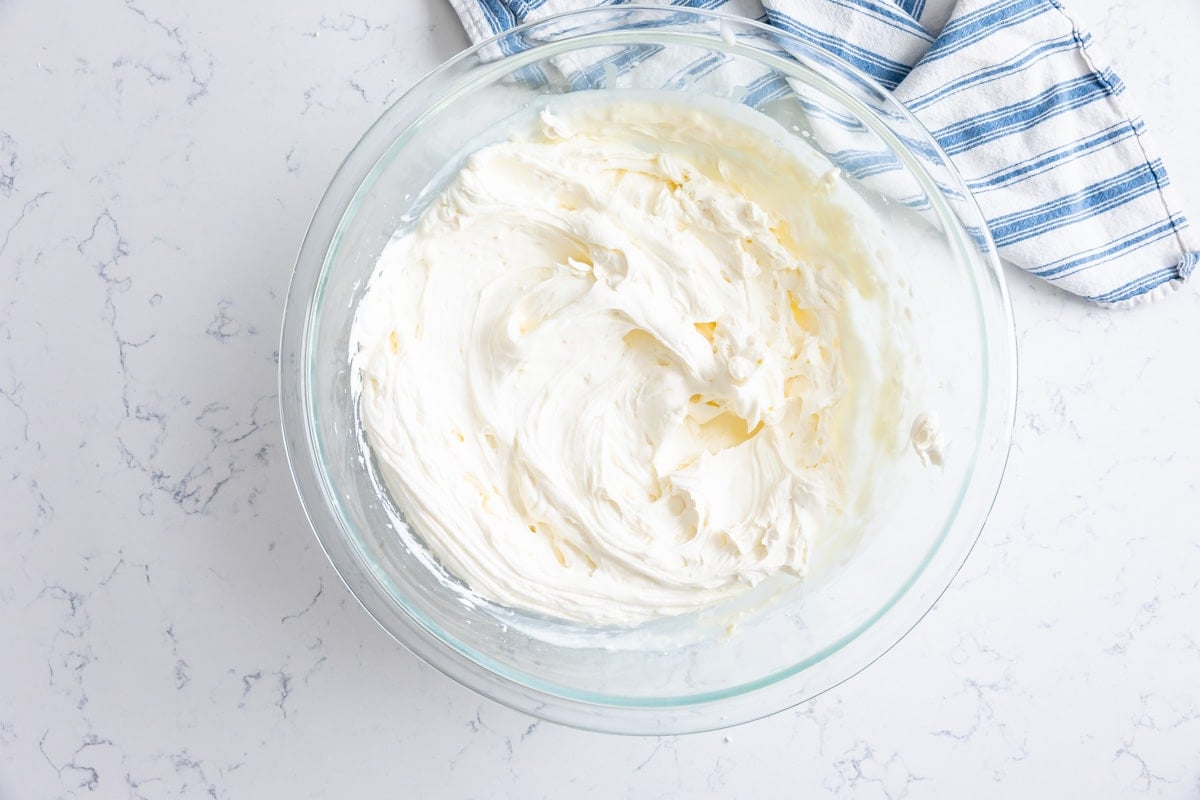
- Make the Whipped Cream by beating the heavy whipping cream until stiff peaks form.
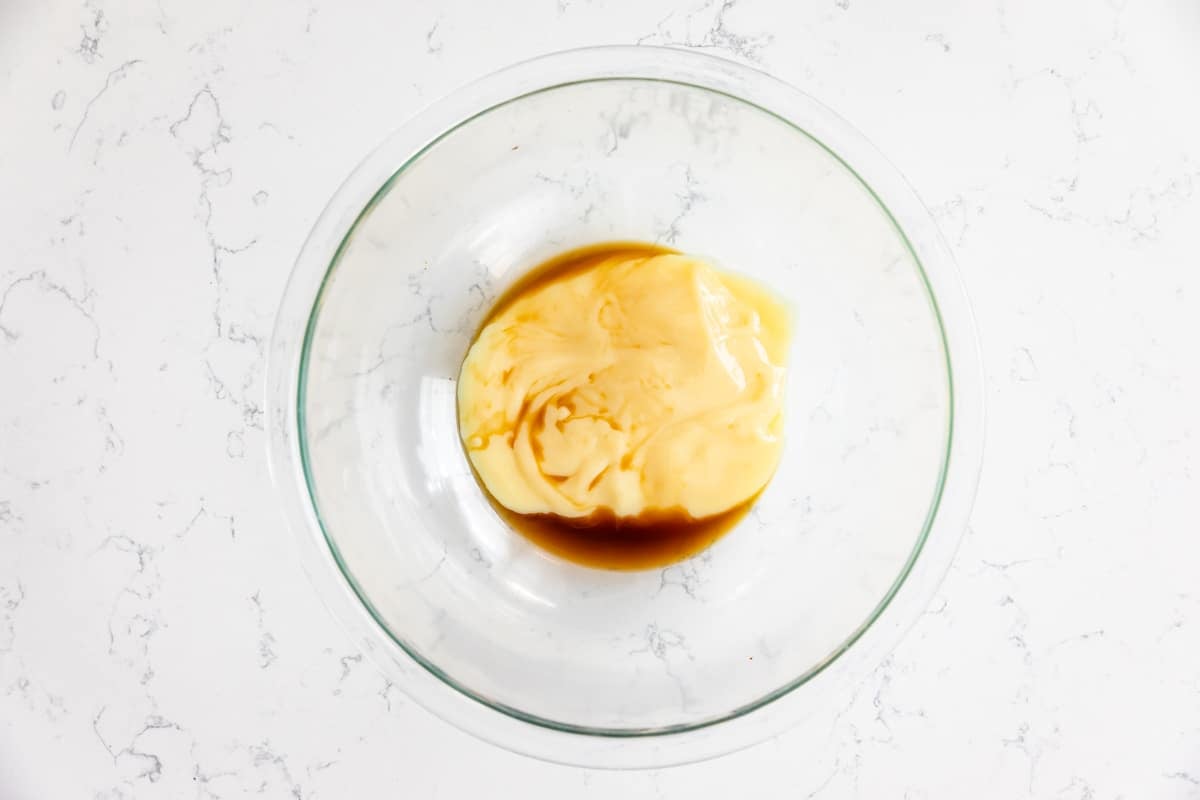
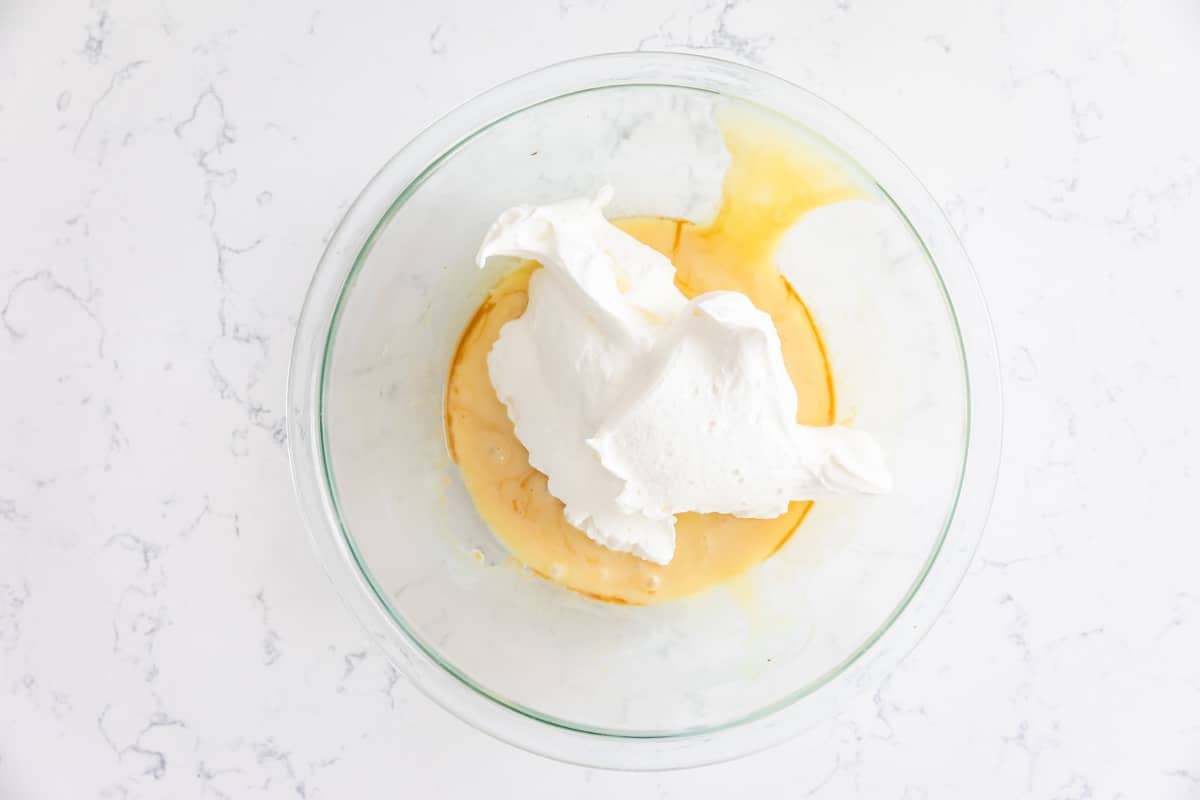
- Then just fold in the sweetened condensed milk and vanilla. Don’t use your mixer – you don’t want to break the whipped cream.
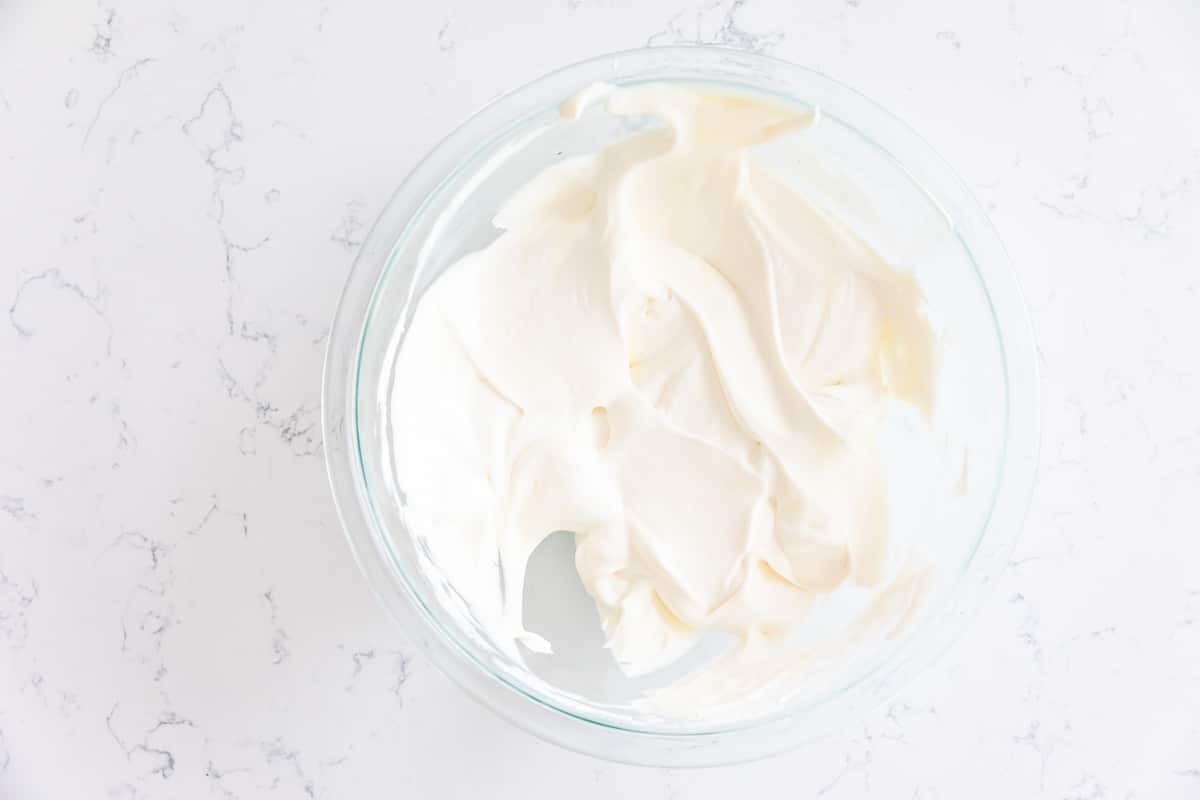
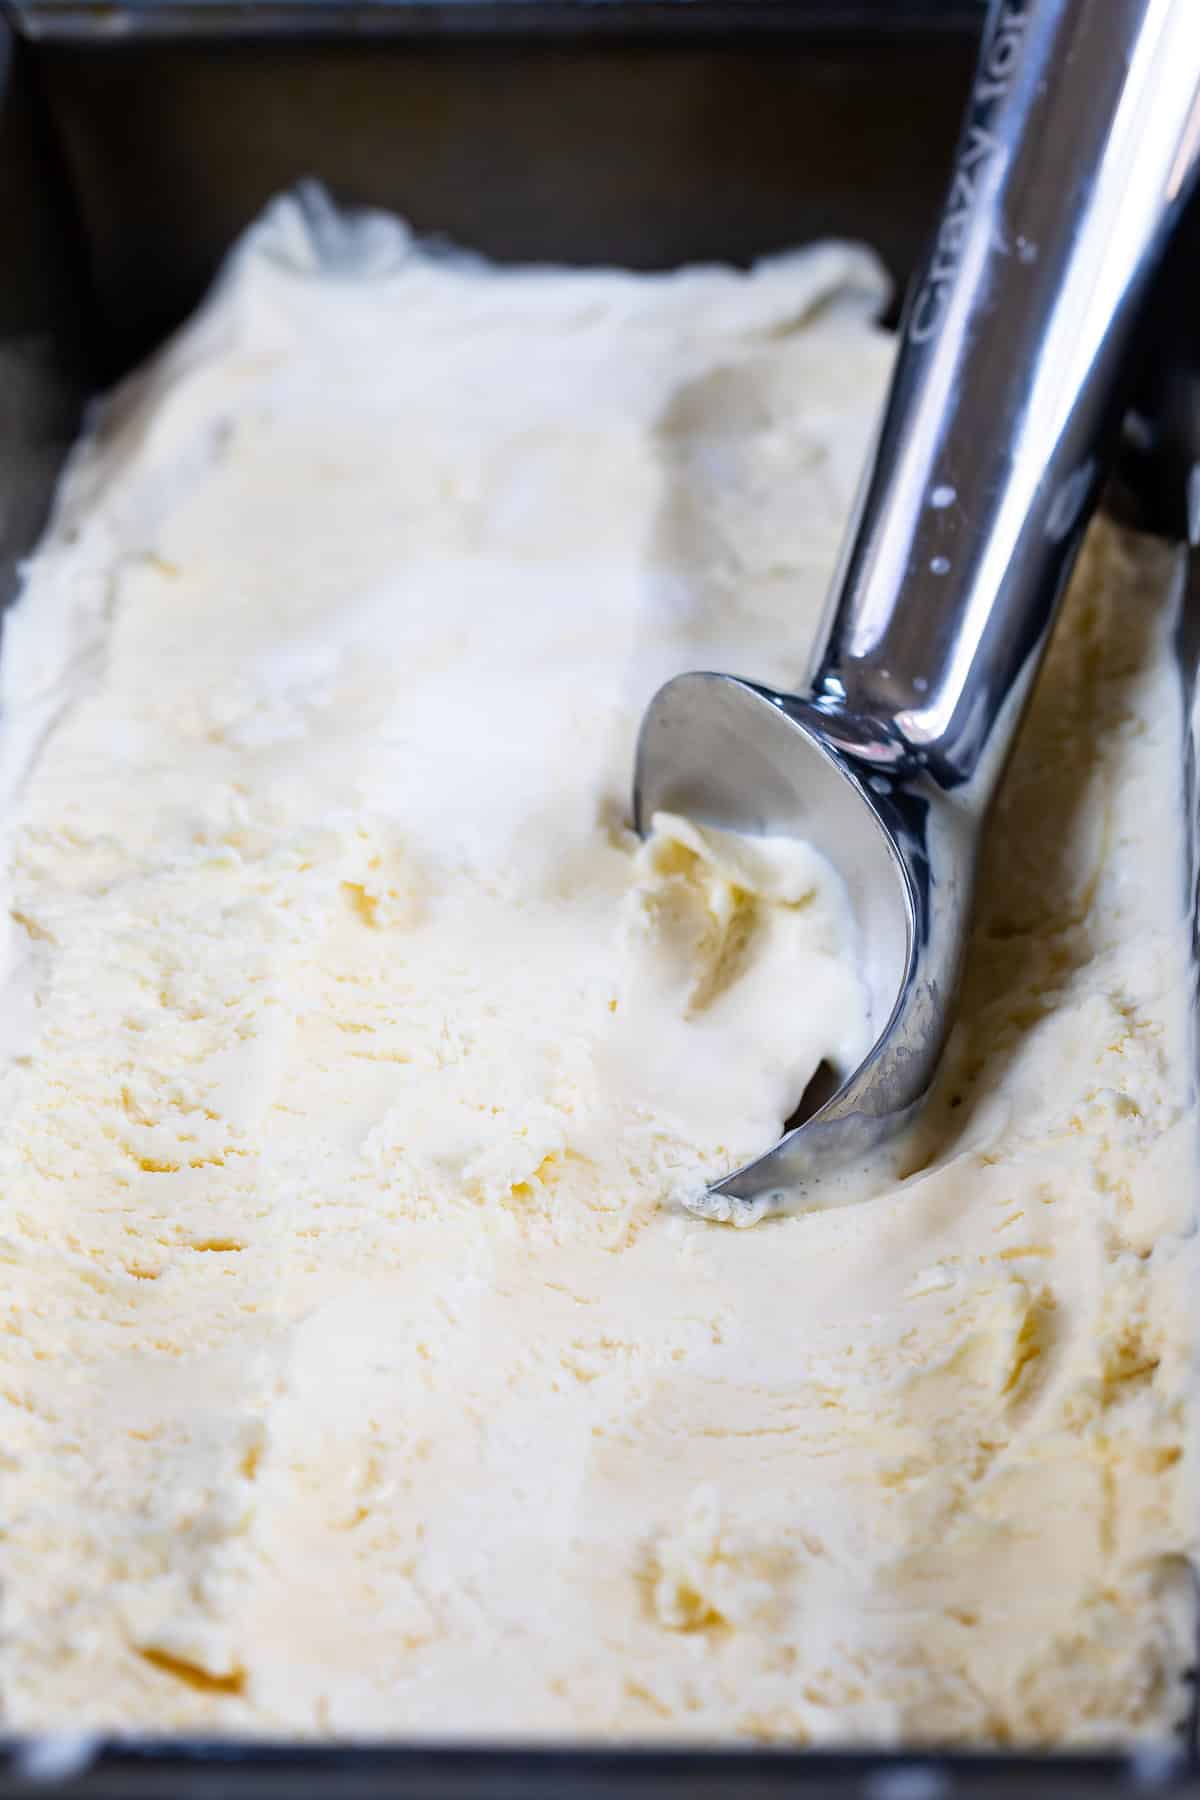
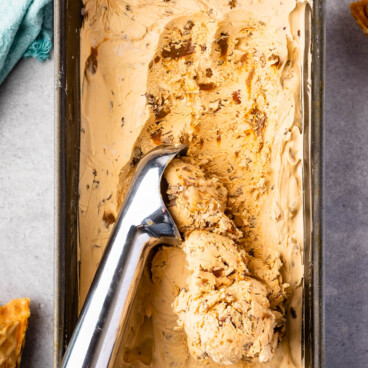
- Freeze your ice cream in an airtight container. You can also put it in a loaf pan and cover well with plastic wrap. Freeze until set, at least 3-4 hours.
- It’s so easy to make this homemade ice cream with condensed milk – and it’s delicious too. Now – time to make different flavors!
How to make different flavors of No Churn Ice Cream
It’s so easy just by changing up a few things or adding some others. You can make your favorite ice cream easily!
SAVE THIS RECIPE
Make low-fat ice cream
I also make this ice cream low-fat often. To make the ice cream low-fat you just need to make a few substitutions:
- Use fat-free sweetened condensed milk
- Instead of using heavy whipping cream, use 2 (8-ounce) containers of low-fat or fat-free Cool Whip (thawed). The ice cream will be a little creamier with a slightly different texture but still taste great.
Tip From Dorothy
Expert Tips
- You can substitute fat-free sweetened condensed milk in this recipe and it will work just fine.
- When making whipped cream, start with a cold bowl and cold beaters so it’ll beat up faster. See how I make my perfect whipped cream, with tips and tricks for troubleshooting.
- Make sure to freeze it at least 4 hours so it can get solid.
- Store in an airtight container in the freezer for up to 3 months.
FAQs
You tell me – leave a comment below. I love it – it tastes as good as regular ice cream and it’s so much easier to make.
It depends on the container you’re freezing in. In a loaf pan size container it will take about 4 hours. If you’re using a bowl it might take longer.
Easy No Churn Ice Cream Recipe
Video
Ingredients
- 2 cups cold heavy whipping cream
- 1 14-ounce can sweetened condensed milk
- 1 teaspoon vanilla extract
Instructions
- Beat heavy whipping cream with a mixer until stiff peaks form (you’re making whipped cream).
- Pour in sweetened condensed milk and extract and fold to combine (don’t mix, fold). Make sure that the sweetened condensed milk is completely folded into the whipped cream.
- Place ice cream mixture into a large bowl or container. Cover tightly with lid or plastic wrap and freeze until set, at least 3-4 hours. (I like to freeze mine in a 9×5-inch loaf pan.)
- Make flavors as listed below.
Notes
Flavors to try:
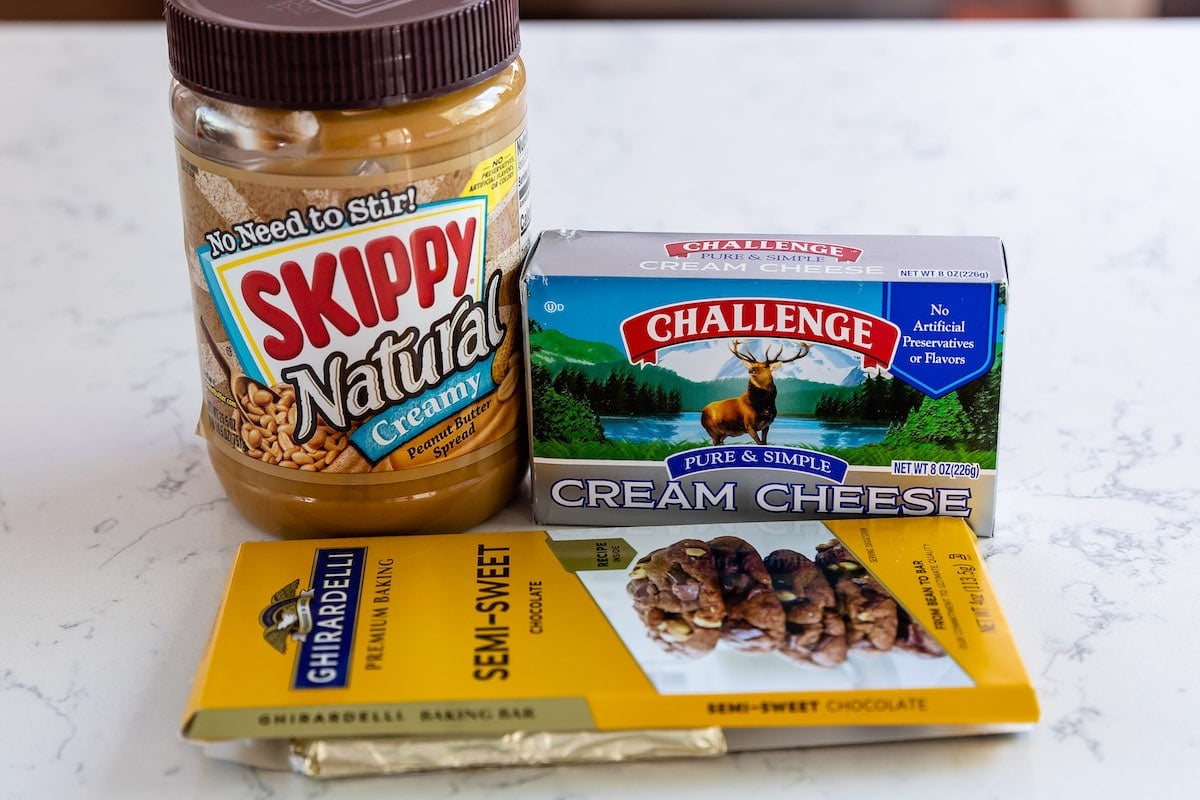
- Chocolate Ice Cream: melt 3 ounces of baking chocolate and let it cool, then stir it into the sweetened condensed milk before adding to the whipped cream.
- Peanut Butter Ice Cream: add 2/3 cup creamy peanut butter to the sweetened condensed milk and mix until smooth, then add to the whipped cream.
- Cheesecake Ice Cream: mix 8 ounces softened cream cheese into the sweetened condensed milk, then add to the whipped cream.
- Flavor Ice Cream with Pudding Mix: add 4 tablespoons instant pudding mix to the sweetened condensed milk, then add to the whipped cream.
- You can add ANY flavor extract in place of the vanilla. Most of the time you can substitute 1 teaspoon except in the case of almond extract and peppermint (use 1/2 teaspoon).
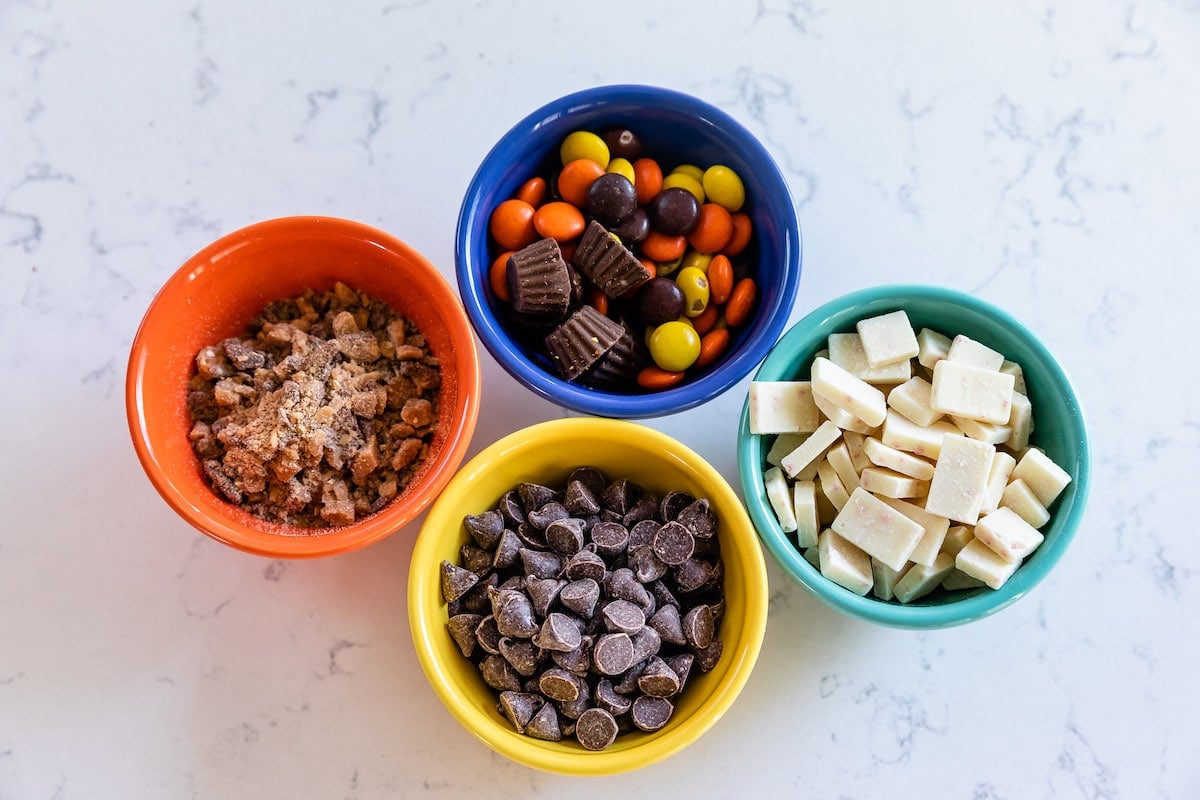
- Add up to 2 cups of any mix ins to the ice cream to make new flavors (i.e. Oreos or candy)
- Low-Fat Ice Cream: Use fat-free sweetened condensed milk. Instead of using heavy whipping cream, use 2 (8-ounce) containers of low-fat or fat-free Cool Whip (thawed). The ice cream will be a little creamier with a slightly different texture but still taste great.
Modify with AI
Nutrition
Nutrition information is automatically calculated, so should only be used as an approximation.
© Crazy for Crust. Content and photographs are copyrighted. Sharing this post is much appreciated, but copying and pasting full recipes without authorization is strictly prohibited.
Did you try this recipe? Click here to rate the recipe below.
Easy Ice Cream is made with only 3 ingredients and it’s a no churn recipe so anyone can make this at home! This recipe uses sweetened condensed milk which makes for delicious ice cream and is commonly used in desserts like pie or cake.


How did you make your whip cream?
Beat cold heavy whipping cream on high speed until stiff peaks form.
Featured In
Rate This Recipe
Recipe Ratings without Comment