This post may contain affiliate links. For more information, read my disclosure policy.
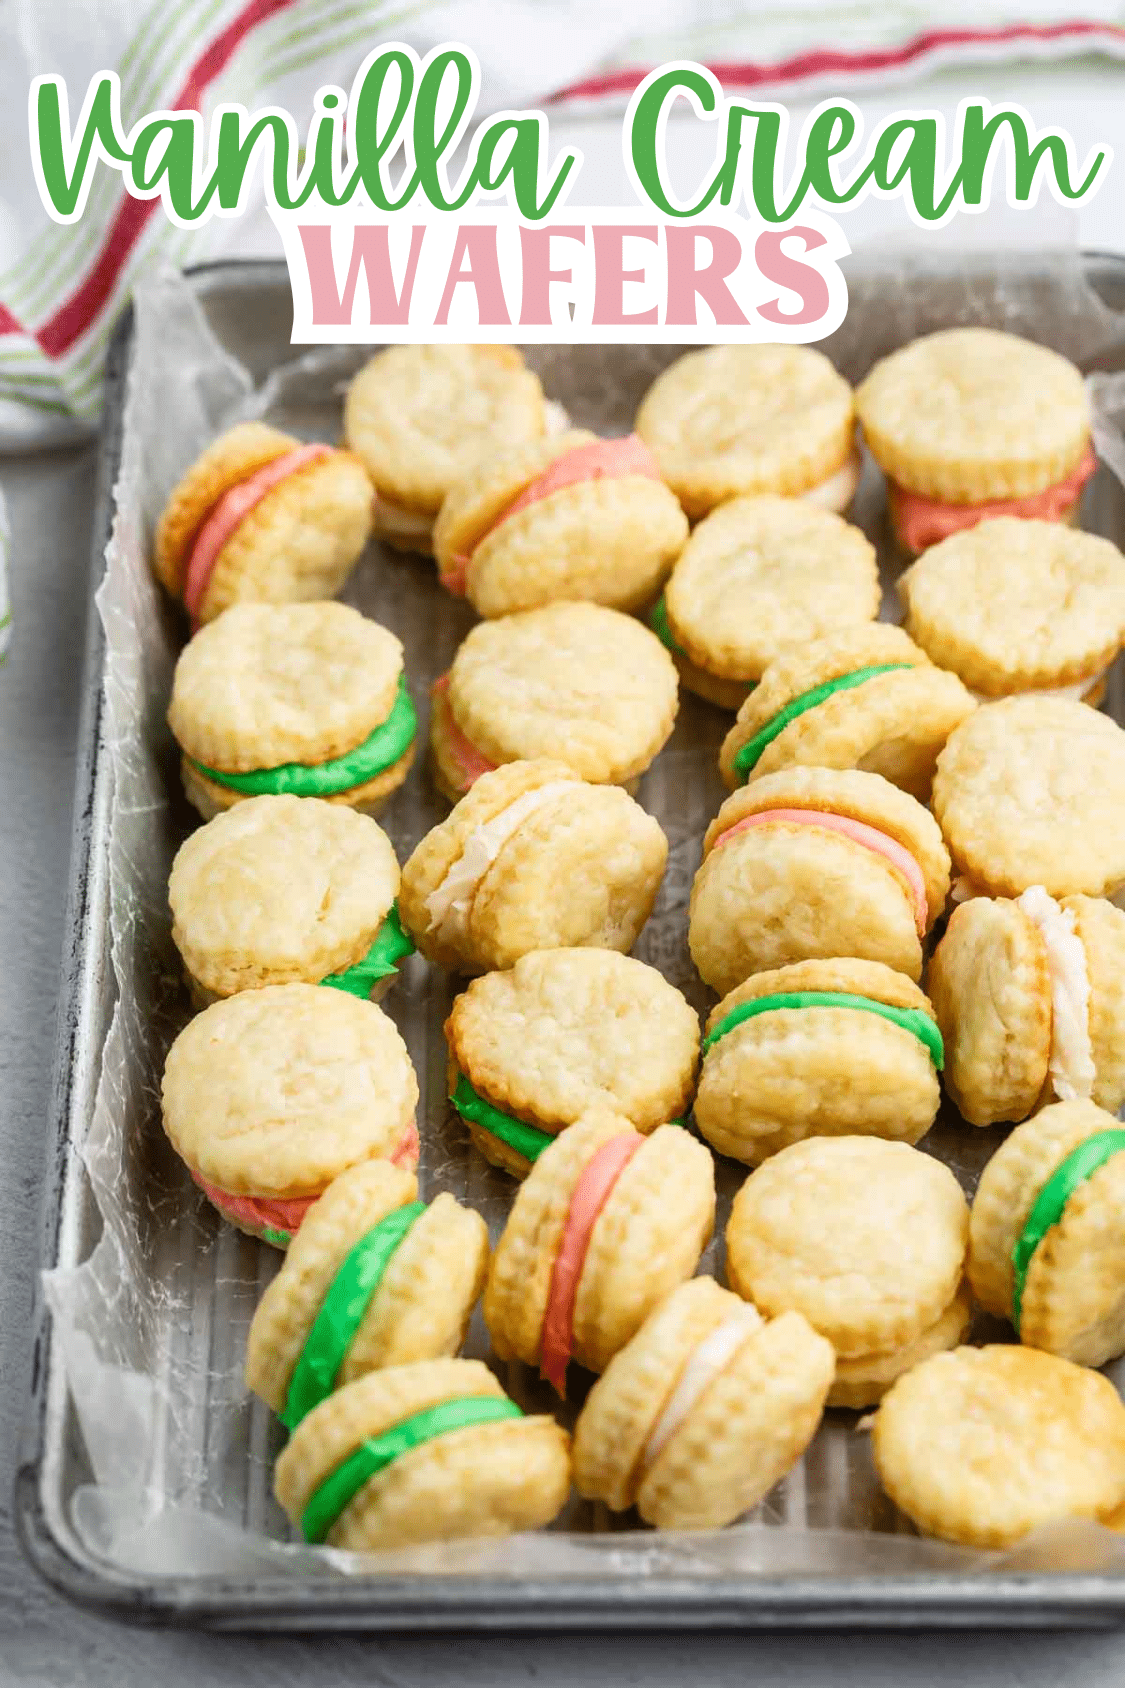
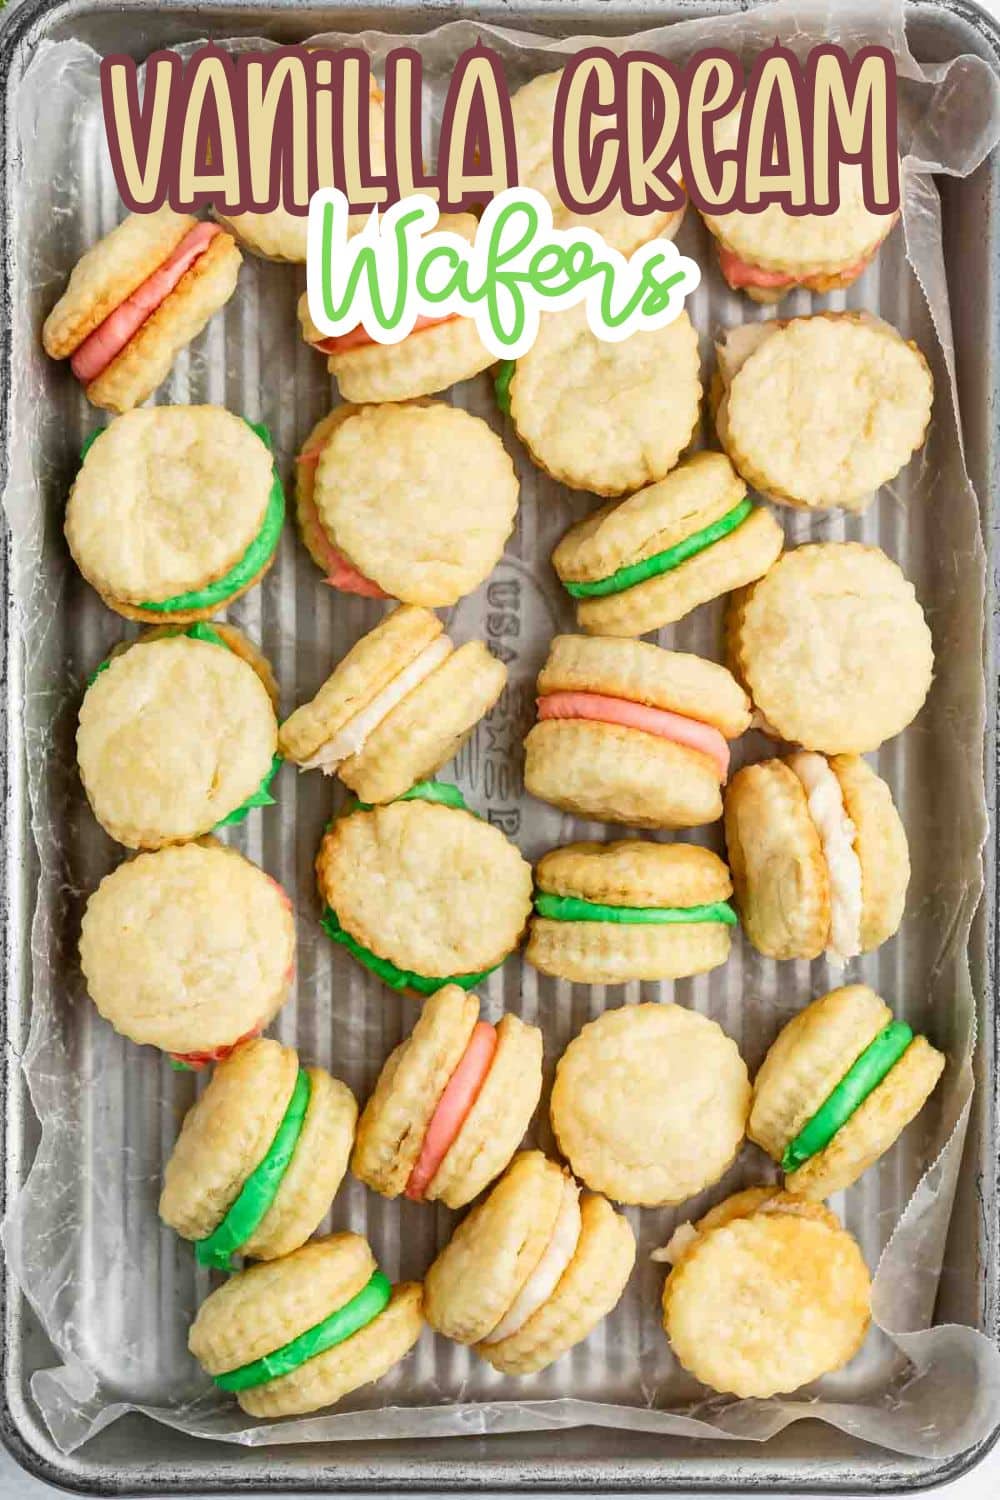
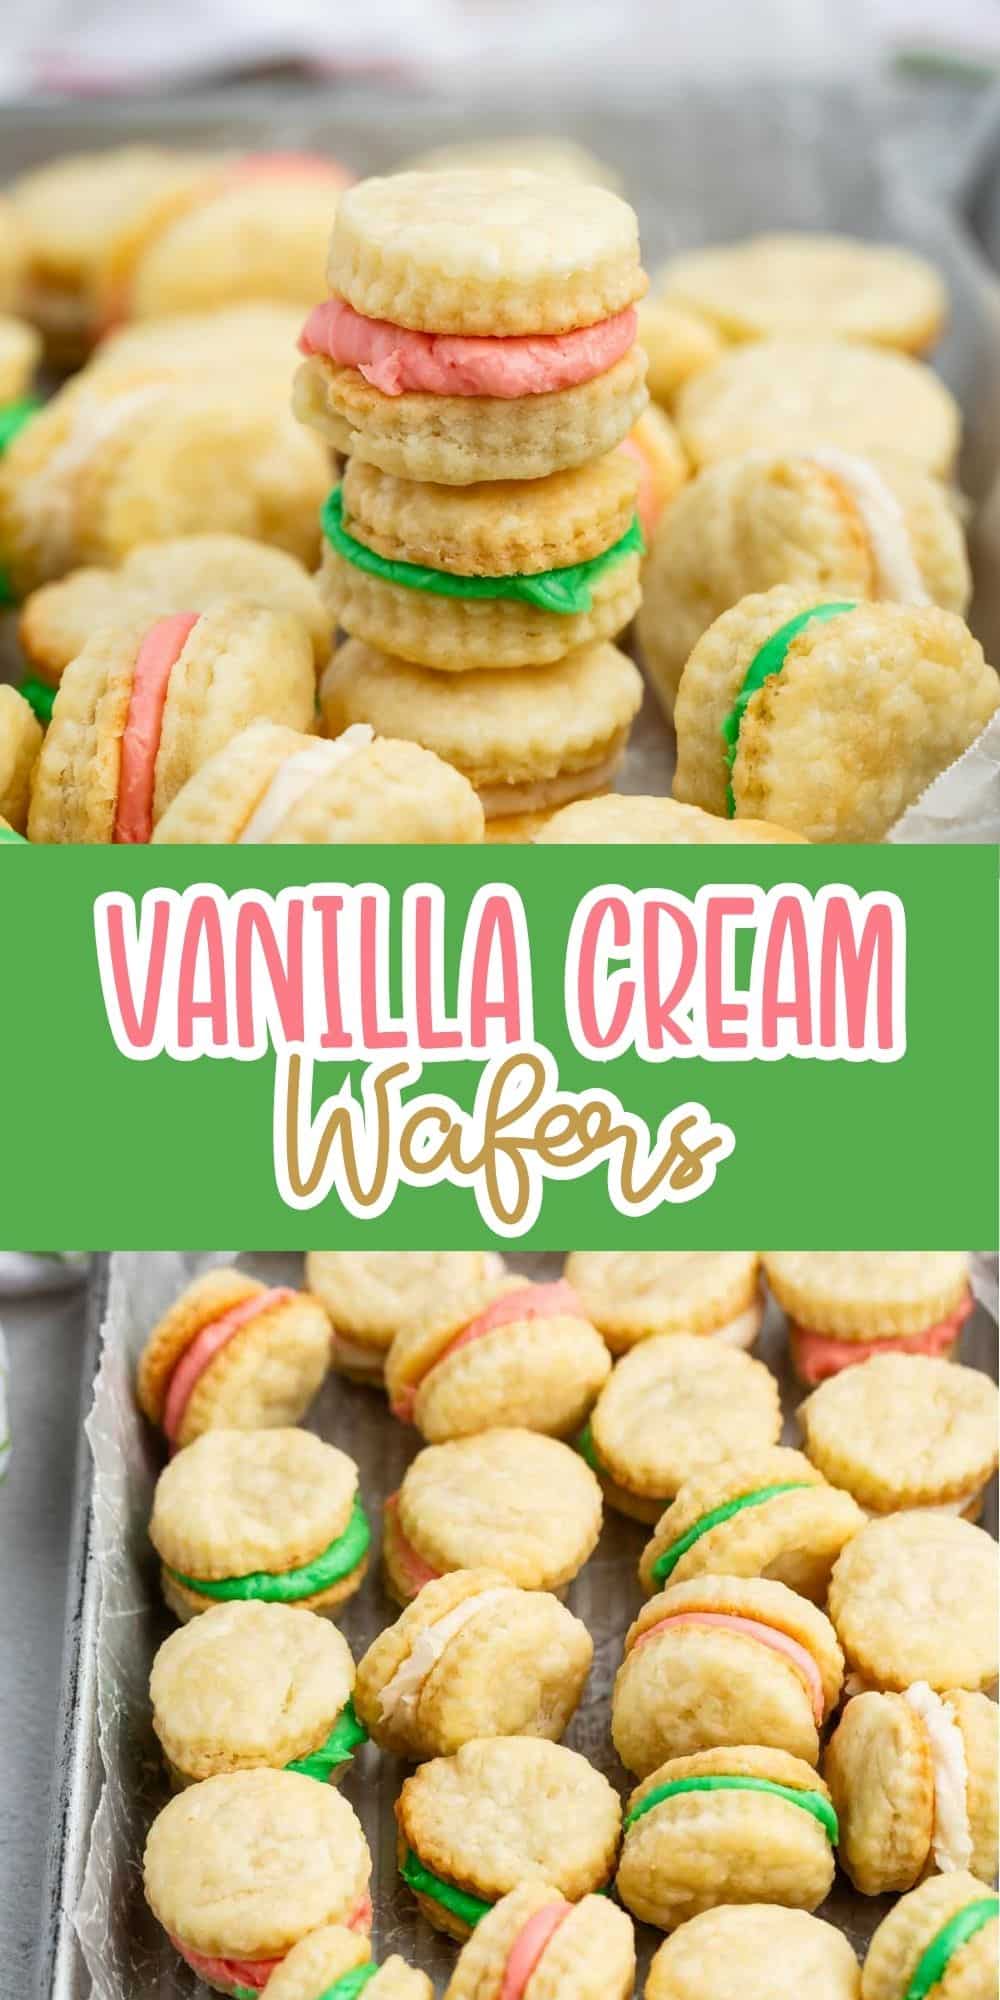
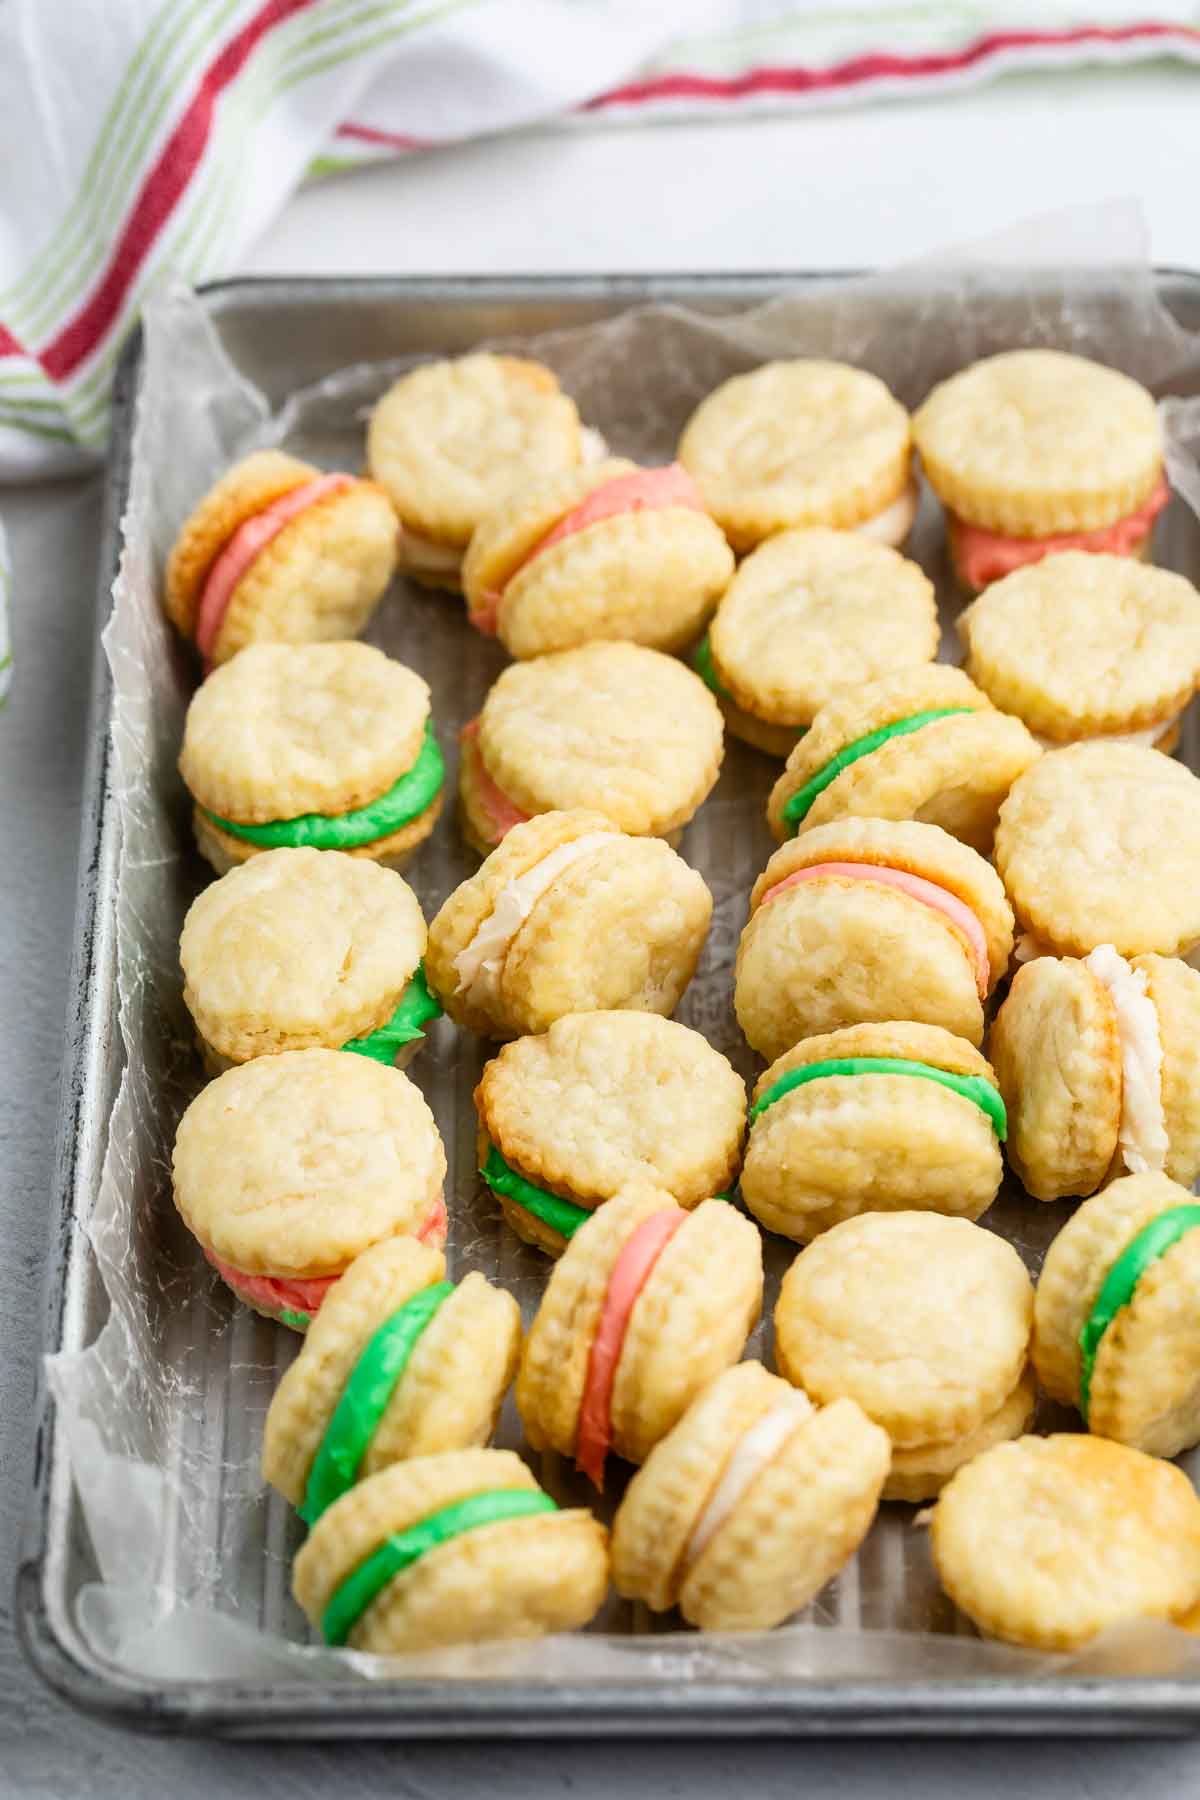
Vanilla Cream Wafers are a delicious little cookie sandwich that’s crispy and perfectly sweet with a buttercream filling. These are the best little Christmas cookie – so easy to make too.
I first saw a variation of this recipe on social media and I was intrigued to try them. Vanilla Cream Wafers are little cookie sandwiches filled with a sweet buttercream frosting. The thing that got me was that the cookie part is made like a biscuit and has no sugar in it. I knew I had to test them out.
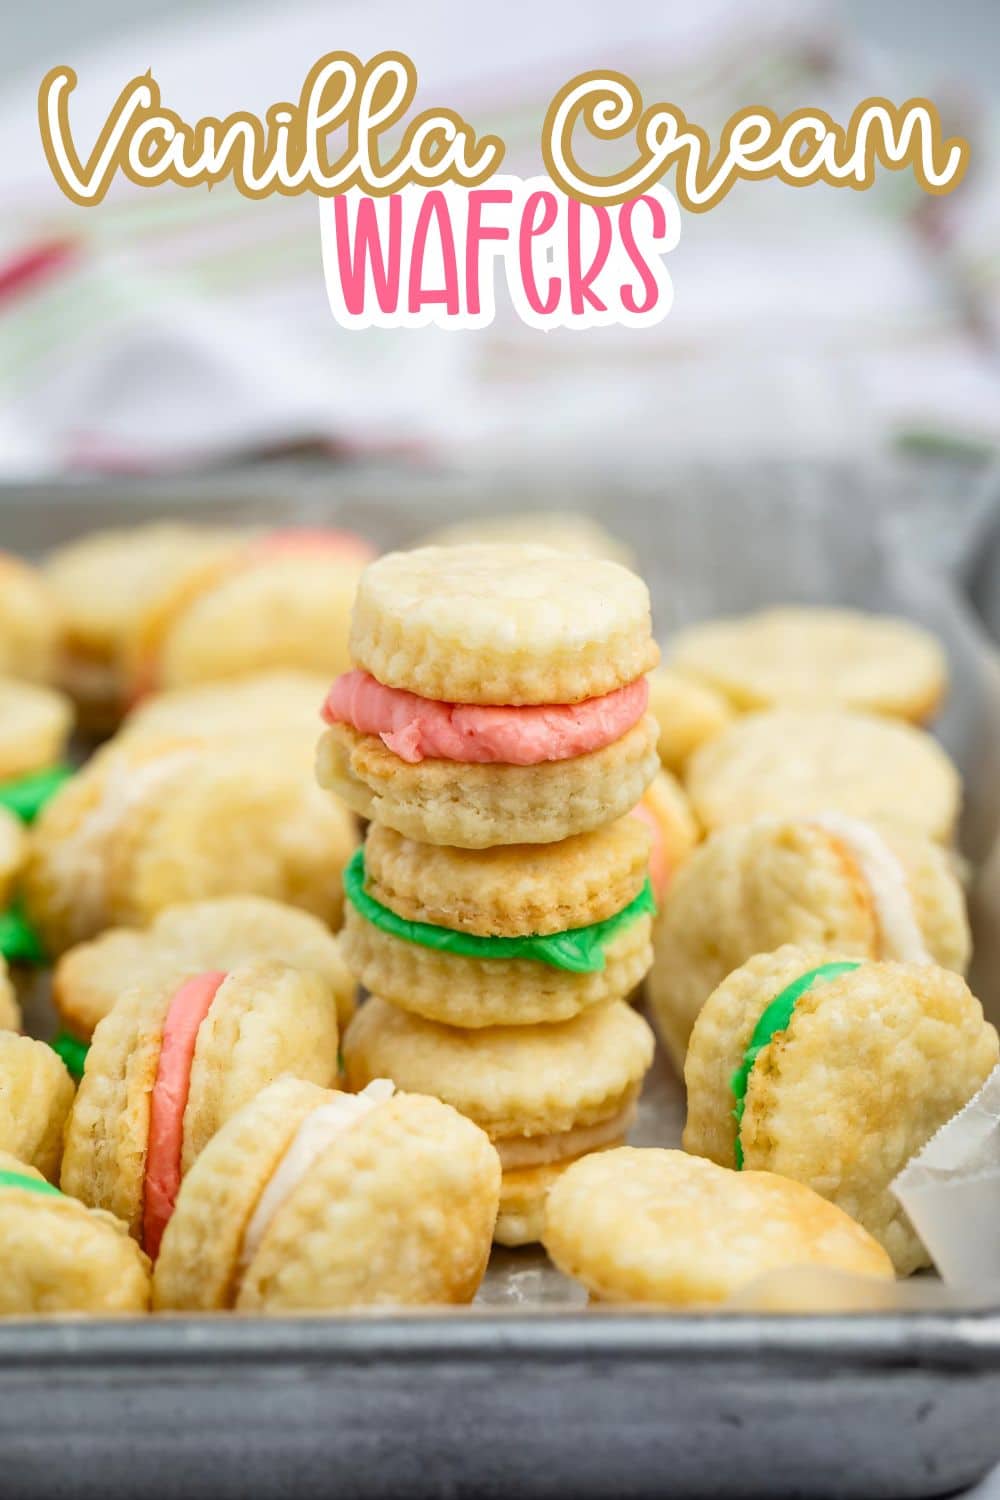
I’m so glad I did – one bite and I was all in! The cookie isn’t sweet but it’s perfect paired with the filling. Have you ever eaten a sandwich cookie and thought it was way too sweet because the cookie and filling both have so much sweetness? Well, then these are for you! They’re little bites of heaven and you don’t even need a mixer.
How to make Vanilla Cream Wafers
- Know that the cookie part comes together much like a biscuit; you use a pastry cutter to cut cold butter into flour. There isn’t even any baking soda or baking powder needed.
- Like when making cream biscuits, the binding comes from milk or cream. In this recipe I used half and half. If you use heavy cream you might need more (the higher the fat content = more needed).
- Just like when making scones, you don’t want to overwork your dough. Just work it together until it’s just combined.
- It’s important to roll the dough pretty thin – you want it no more than 1/8-inch thick.
- Make these in any shape, but I used a fluted round cookie cutter (use one that’s about 1-1/2 to 1-3/4 inches).
- Once the cookies bake they’ll get crispy and light golden. They’ll look flaky when they’re done baking. They cool fast, so once they’re done you can make the frosting.
- Just mix softened butter into powdered sugar and add vanilla extract and more half and half – you don’t even need to use a mixer. I tinted my frosting for Christmas but you can leave it white if you prefer.
Click to see the recipe card below for full ingredients & instructions. See below the recipe card for even more information: process shots, variations, FAQ and more.
SAVE THIS RECIPE

Dorothy’s Expert Tips
- Many testers preferred these cold straight from the fridge. I enjoyed them both ways.
- The filling adds the perfect amount of sweetness to the non-sweet crunchy cookie.
- You know these are done baking when they’re light golden and flaky.
Vanilla Cream Wafers Recipe

Video
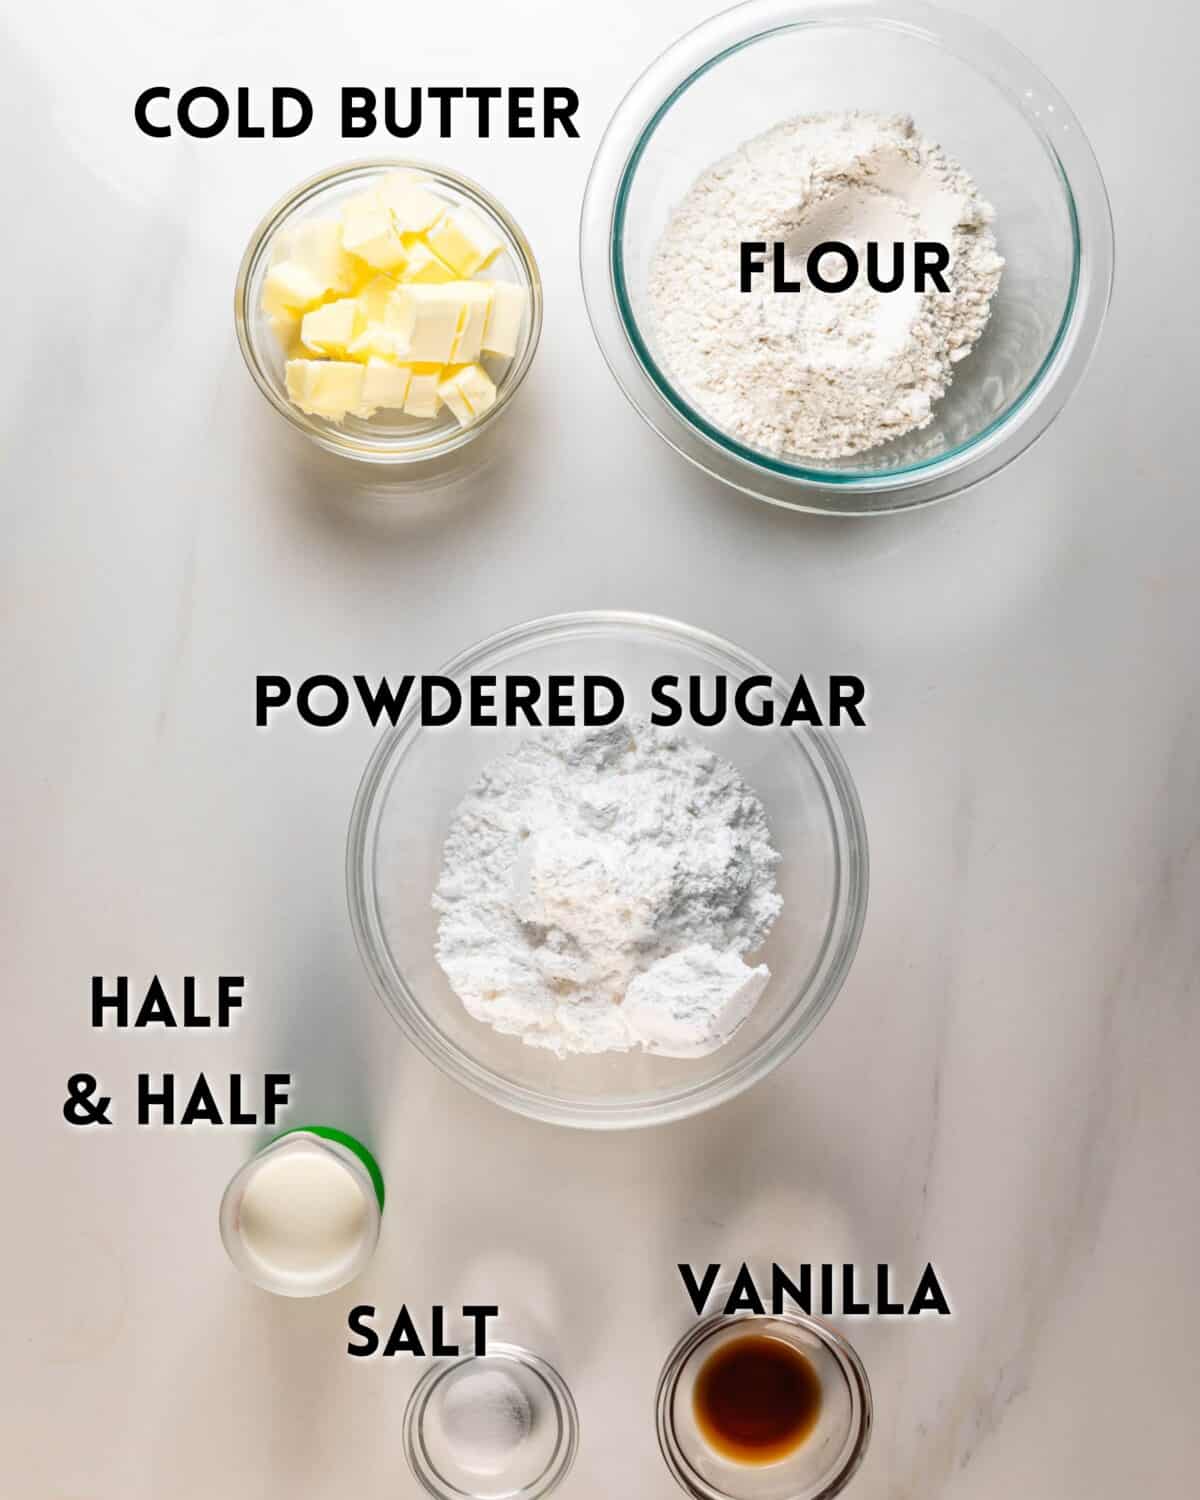
Ingredients
Cookie dough:
- 1 cup (124g) all-purpose flour
- ½ cup (113g) cold butter (see note if using salted butter)
- ¼ teaspoon salt
- 3-4 tablespoons half and half or light cream
Vanilla filling:
- 1 cup (113g) powdered sugar
- 1 tablespoon unsalted butter
- Pinch salt
- ½ teaspoon vanilla
- 1 tablespoon cream or half and half
Instructions
- Preheat oven to 375°F. Line cookie sheets with parchment paper or silicone baking mats.
- Place flour and salt in a medium bowl. Use a pastry cutter to cut in butter until pieces are pea sized. Drizzle 1 tablespoon half and half over part of the flour mixture. Gently toss with a fork and push to side of the bowl. Repeat with remaining half and half, 1 tablespoon at a time, until mixture is moistened and dough comes together. Form dough into a ball.
- Roll out dough on a lightly floured surface. Roll until the dough is just less than 1/8 inch thick. Use a 1 ½ to 1 ¾ inch cookie cutter to cut rounds. Place 1 inch apart on cookie sheet.
- Bake until light golden around the edges, about 8-10 minutes. Cool before filling.
- Make the filling by whisking powdered sugar and salt. Stir in softened butter and vanilla until smooth then add enough half and half to make the frosting spreadable. You can tint the filling, if desired.
- Spread frosting on the bottom of each cookie and sandwich with a second cookie.
- Store in an airtight container for up to 4 days. They are delicious chilled as well. Freeze for up to a month.
Nutrition
Nutrition information is automatically calculated, so should only be used as an approximation.
© Crazy for Crust. Content and photographs are copyrighted. Sharing this post is much appreciated, but copying and pasting full recipes without authorization is strictly prohibited.
Did you try this recipe? Click here to rate the recipe below.
Vanilla Cream Wafers step-by-step

1. Whisk flour and salt and add diced cold butter to a large bowl.

2. Use a pastry cutter or 2 forks to work the butter into the flour mixture until it resembles pea sized bits. Add half and half slowly, stirring with a fork, until dough just comes together.
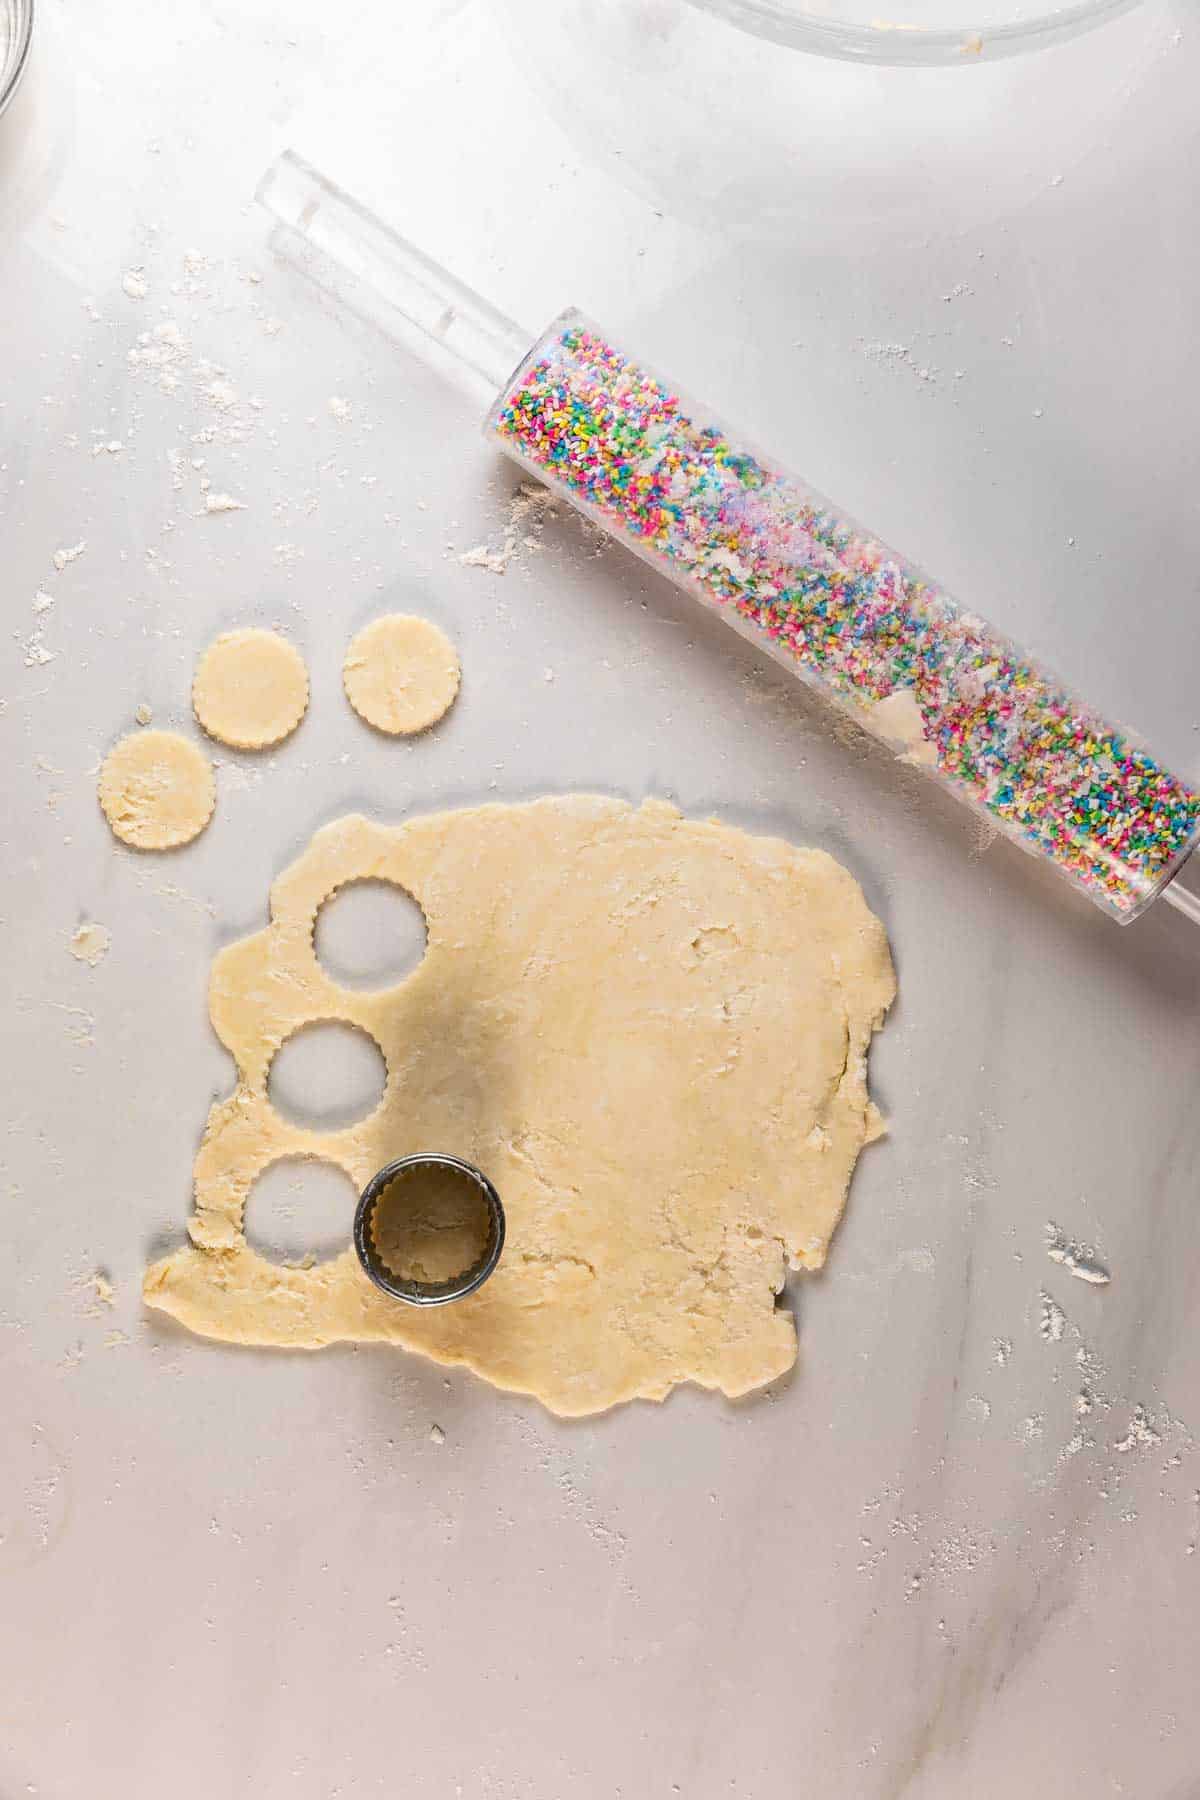
3. Roll out dough thin, no more than 1/8-inch thick. Cut rounds with a small round cookie cutter.
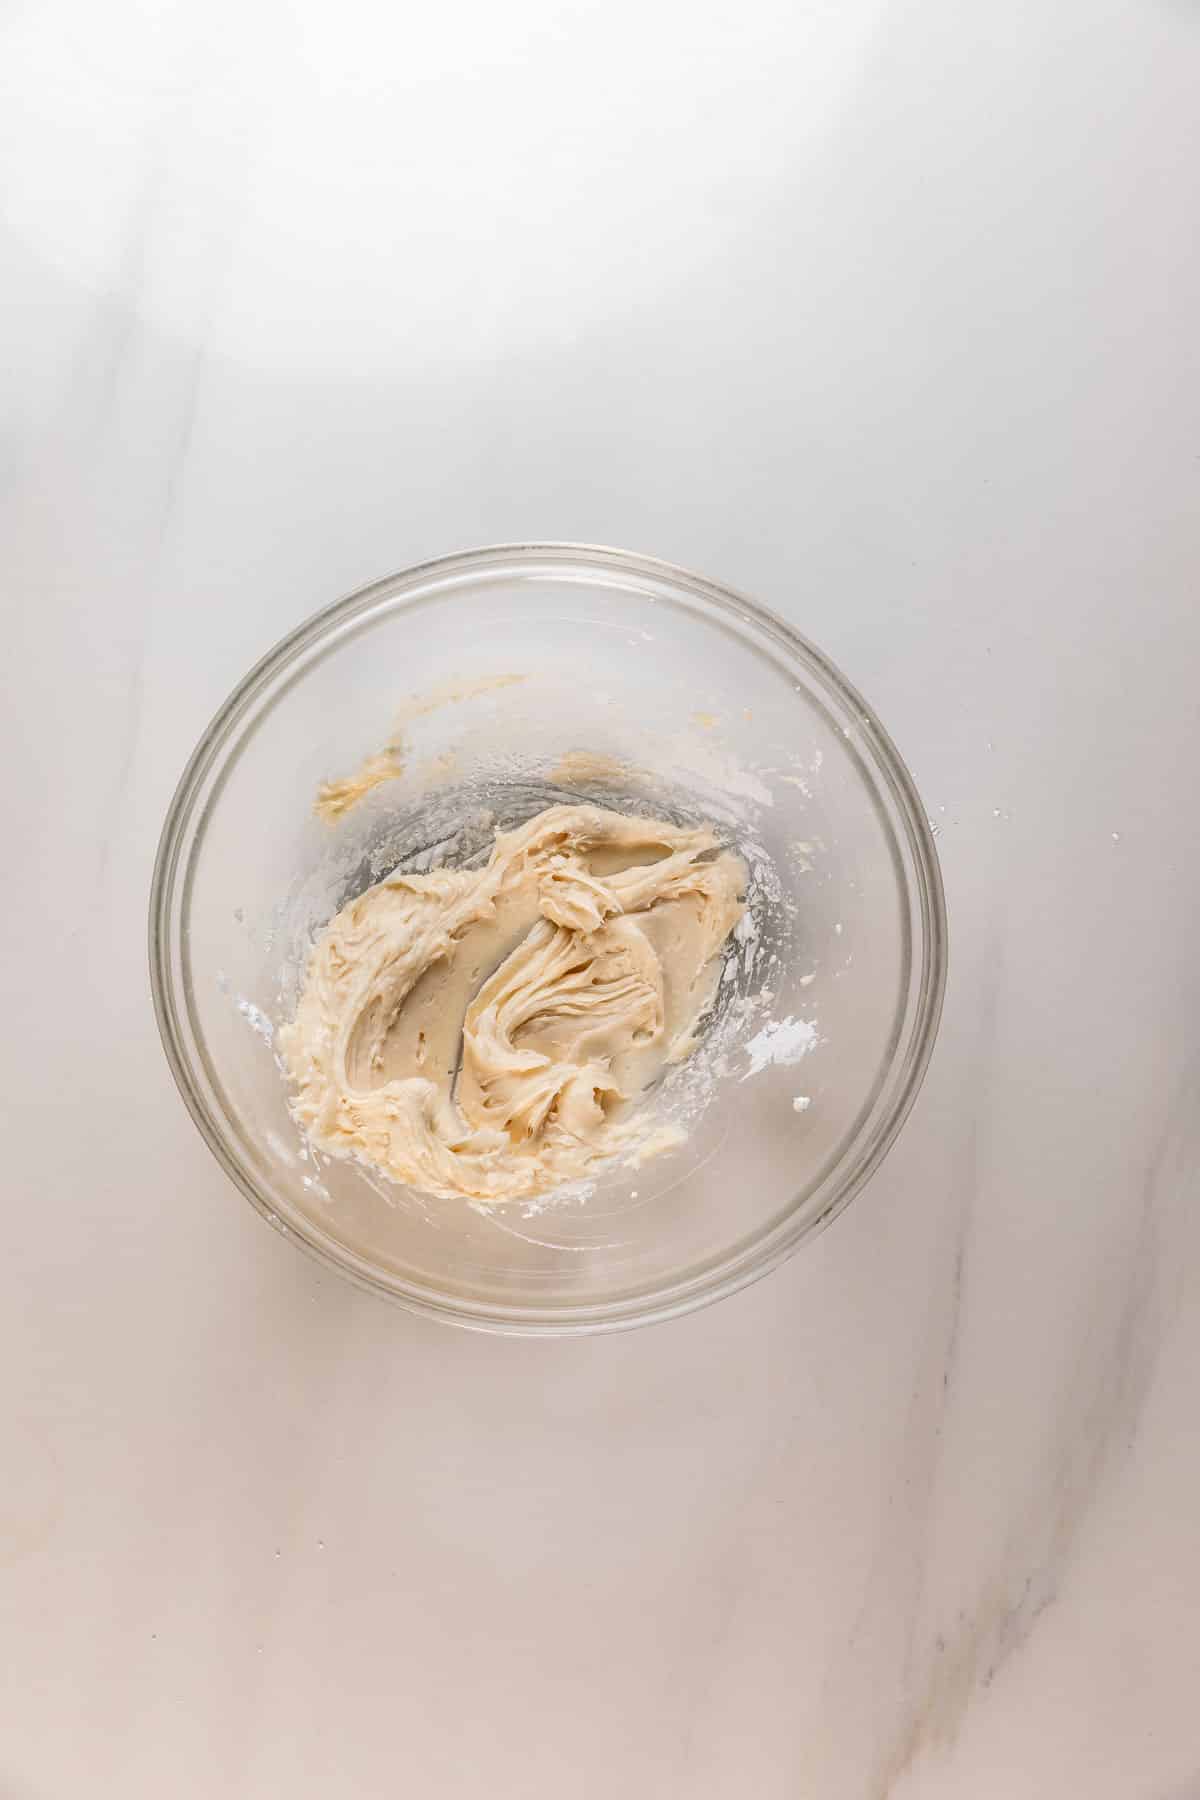
4. Work softened butter into the powdered sugar and salt, then add vanilla and half and half, stirring until smooth.

5. Color the frosting as desired.

6. Frost and assemble the cookie sandwiches.