
This post may contain affiliate links. For more information, read my disclosure policy.


This Red Velvet Cookies Recipe are red velvet cake in cookie form! They’re soft and chewy and super easy to make from scratch (no cake mix needed) – make them with chocolate chips or use cream cheese frosting on top – these are SO good.
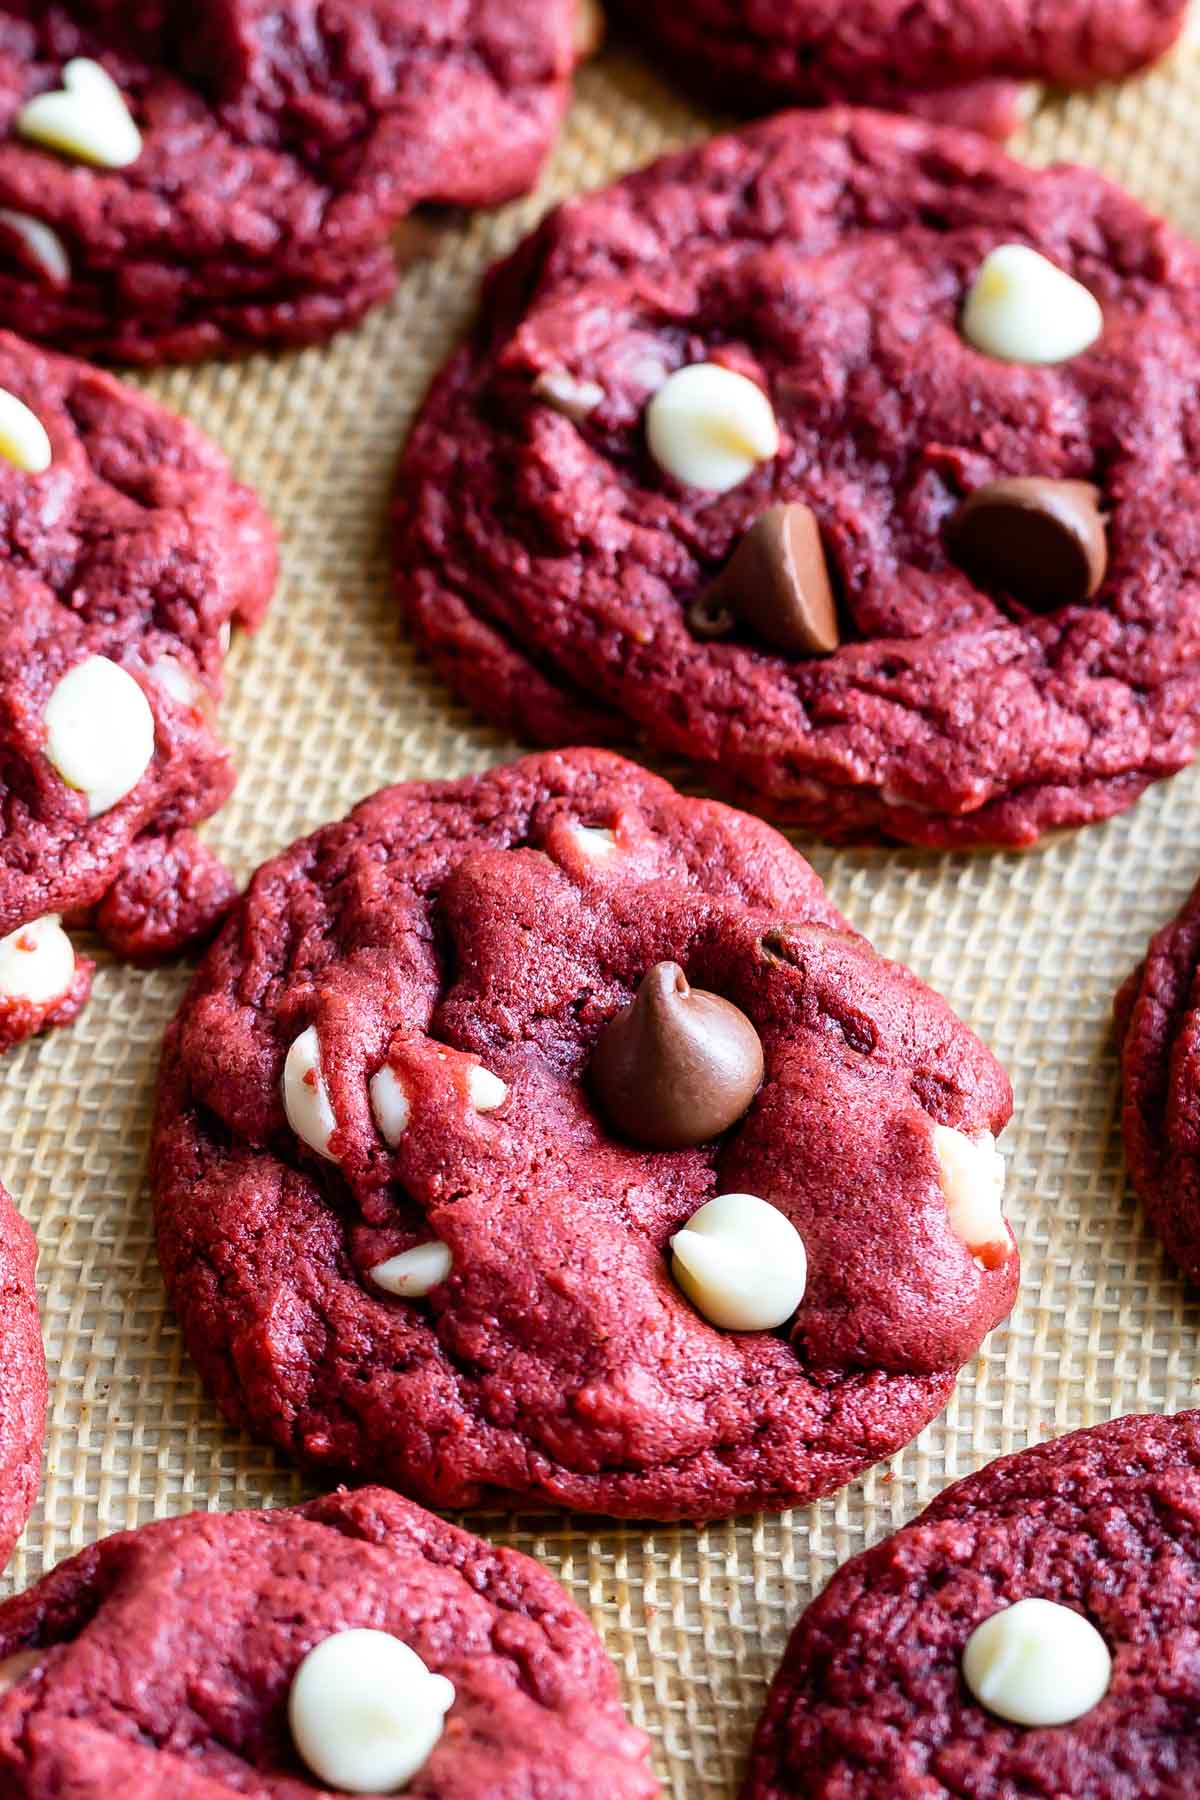
These cookies are what happens when you take the best of a red velvet cake and reimagine it in cookie form. These red velvet cookies are a little chocolatey and rich with that hint of tang, just like the cake. And, of course, they have the signature red color.
I tested so many versions to get the perfect easy from scratch red velvet cookie! One bowl, a few steps, a short chill time, and they’re ready to go in the oven.
How to make Red Velvet Cookies
- Butter: Start with melted unsalted butter. I love using melted butter in cookie recipes!
- Sugar: This recipe has both packed brown sugar and granulated sugar.
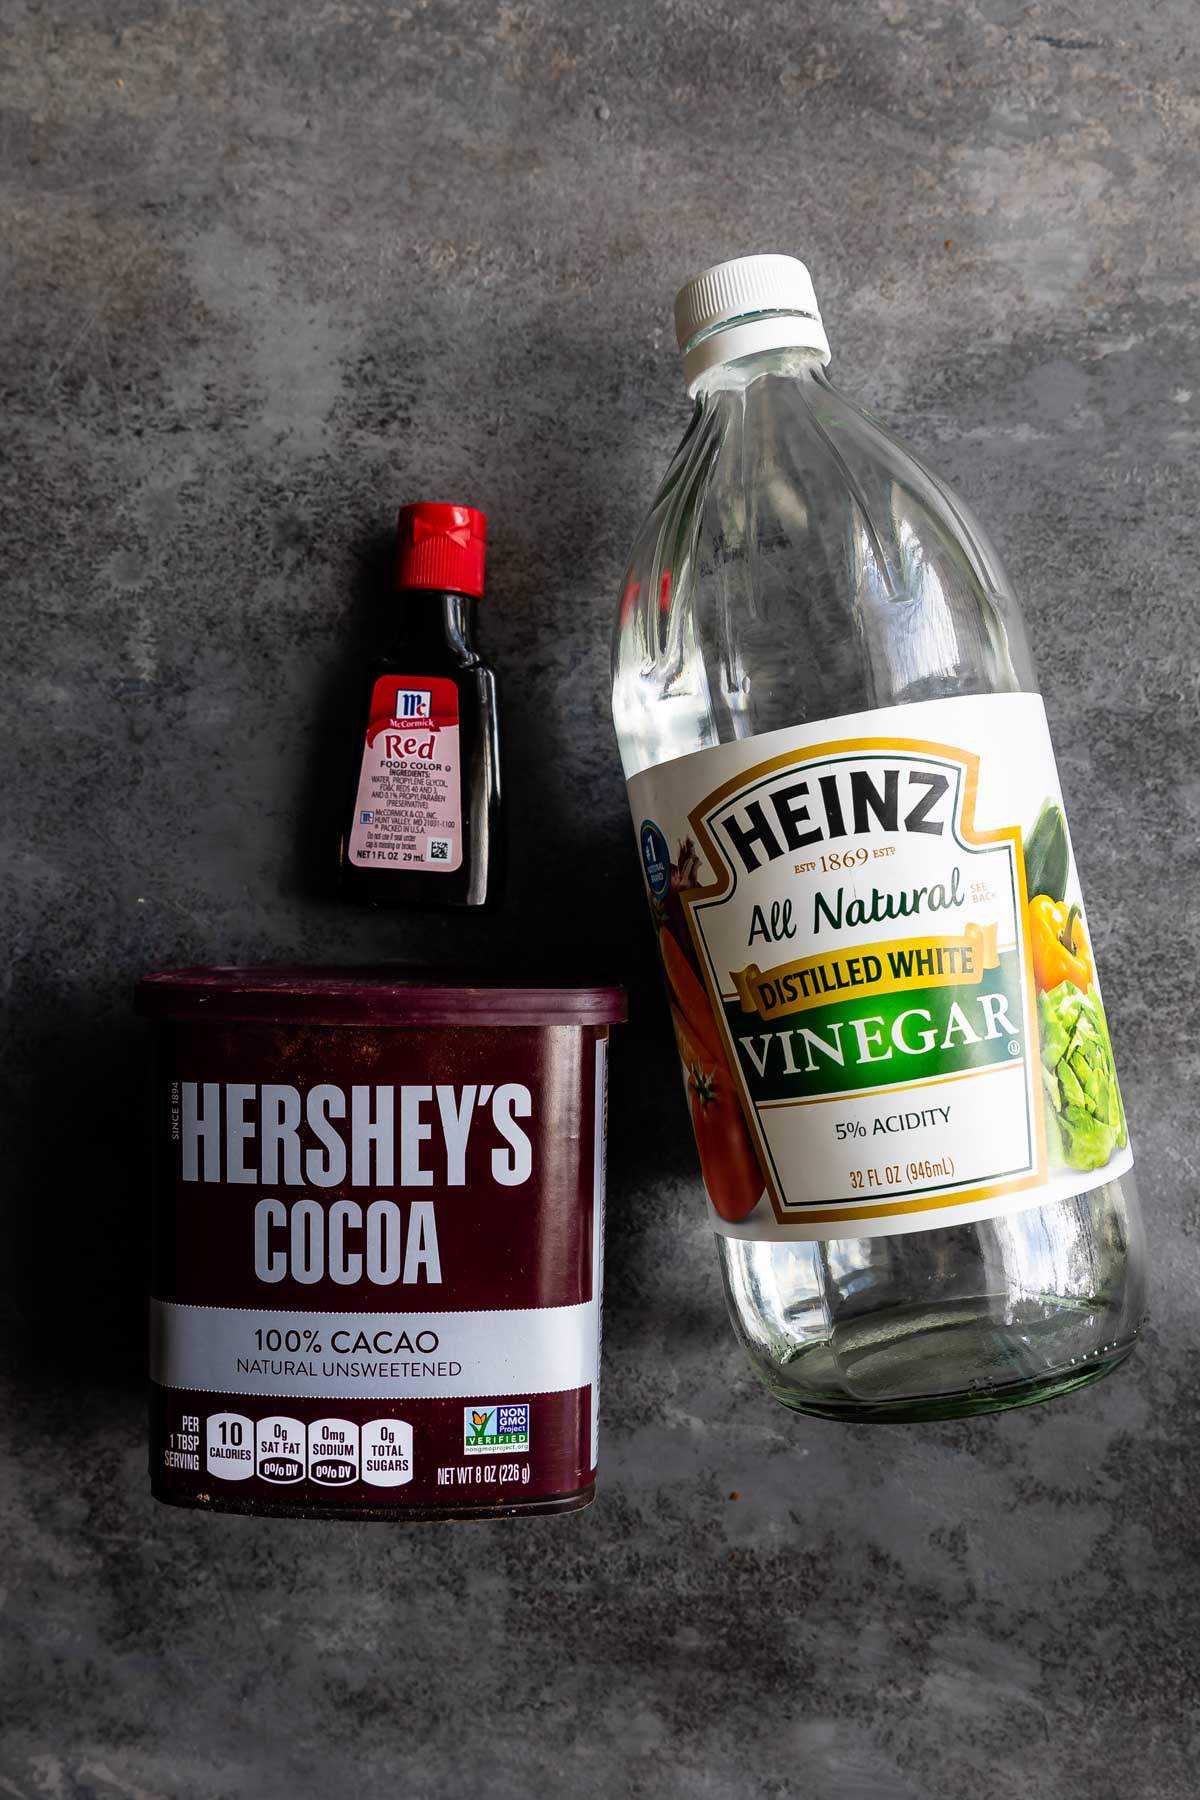
- Cocoa: Use unsweetened cocoa powder – not Dutch process! I love Hershey’s brand.
- Egg: Be sure to buy large eggs.
- Baking Soda: This is what makes a soft and chewy cookie. Baking soda also helps with spread.
- White Vinegar: Buttermilk is often what you’ll find used in Red Velvet Cake. The acid in the buttermilk reacts with the baking soda and also helps the food coloring to be vibrant in color. Since we’re not adding milk, I just add some vinegar to the cookie dough. In a pinch you can use lemon juice.
- Red Food Coloring: This is what makes the cookies RED velvet! I prefer using regular grocery store (water based, i.e. McCormick) liquid food coloring for this. If using gel food coloring you’ll need to use less.
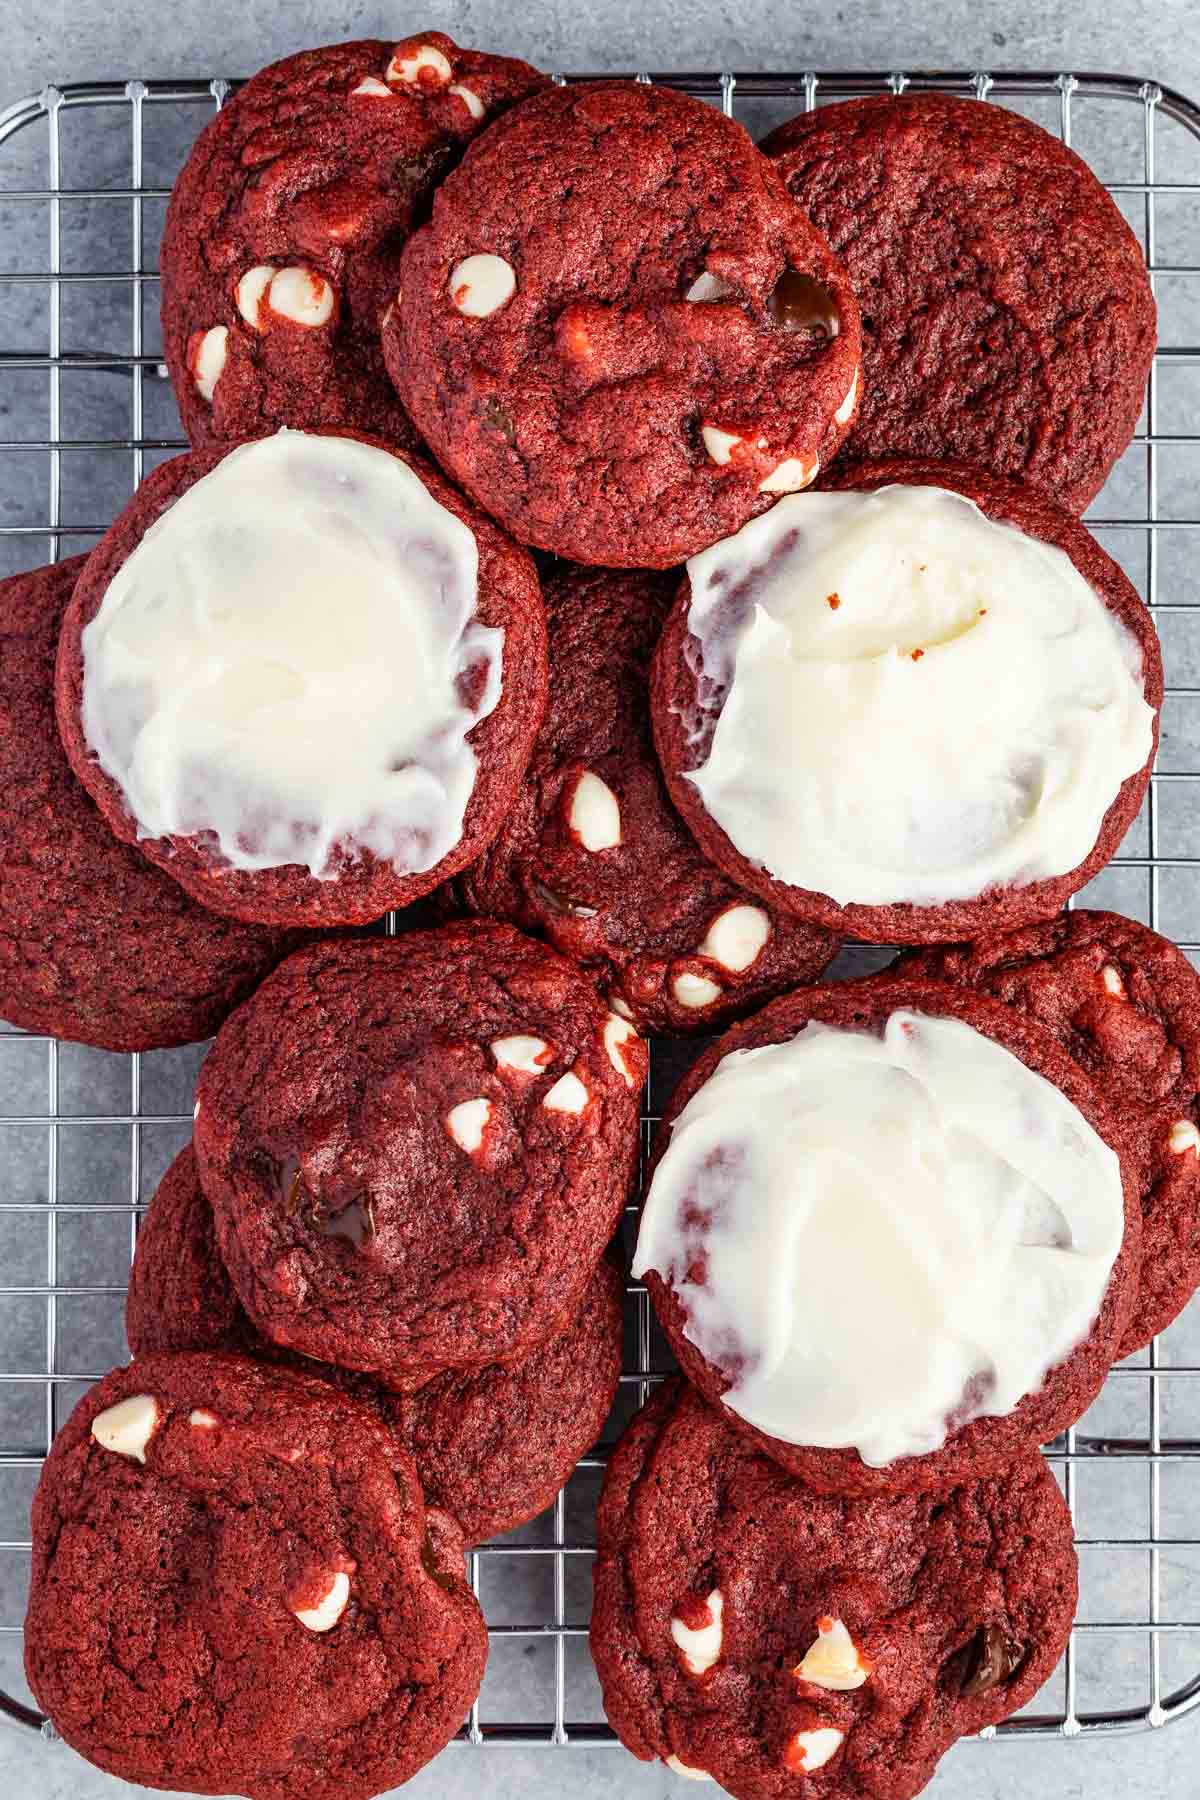
- You can make these cookies TWO ways – with chocolate or white chocolate chips or with cream cheese frosting. Use a combination of your favorite kinds of chocolate chips or go all white or all milk/semi-sweet. If you’re making them with frosting, leave out the chips and bake them. They’ll flatten and be perfect for adding cream cheese icing.
Click to see the recipe card below for full ingredients & instructions. See below the recipe card for even more information: process shots, variations, FAQ and more.
SAVE THIS RECIPE
Dorothy’s Expert Tips
- Depending on the kind of red coloring food coloring you use, you will need a different amount. If you use regular grocery-store food coloring, you will need one teaspoon. However, a little goes a long way with gel food coloring, so you will only need ½ teaspoon if you use that.
- The vinegar is added at the end, so it doesn’t immediately activate the baking soda. Remember the volcano school projects? You’ll have a little red velvet volcano on your hands if you add it too soon.
- You can substitute lemon juice if you don’t have white vinegar. Be sure not to use balsamic or red vinegar!
How to Freeze Red Velvet Cookies
- Red Velvet Biscuits keep great at room temperature for up to three days as long as they are kept in an airtight container.
- These cookies freeze great! Keep them in a freezer-safe container, and they will keep well for up to three months.
Red Velvet Cookies Recipe

Video
Ingredients
- ½ cup (113g) unsalted butter, melted
- ½ cup (100g) packed brown sugar
- ⅓ cup (67g) granulated sugar
- 2 tablespoons (10g) unsweetened cocoa powder, not dutch process
- 1 large egg
- 1 teaspoon vanilla extract
- ½ teaspoon baking soda
- ½ teaspoon salt
- 1 ½ (186g) cups all-purpose flour
- 1 teaspoon white vinegar
- 1 teaspoon red food coloring, see note
- ¾ cup (128g) white chocolate chips
- ¾ cup (128g) milk or semi-sweet chocolate chips
- Cream Cheese Frosting, optional
Instructions
- Line 2 cookie sheets with silicone baking mats or parchment paper.
- Stir both sugars into the melted butter in a large bowl. Stir in cocoa powder, egg, vanilla, baking soda and salt. Slowly stir in flour.
- Add the vinegar and red food coloring and stir, then stir in white and chocolate chips.
- Scoop 2 tablespoon size cookie dough balls onto cookie sheets 2-inches apart. Chill 30 minutes.
- Preheat oven to 350°F. Bake chilled cookies 10-13 minutes or until they just lose their glossy sheen. Cool on cookie sheets before removing to eat.
- Store in an airtight container for up to 3 days or freeze for up to 3 months.
Notes
- For gel food coloring, use 1/2 tsp.
- Be sure to add the vinegar with the food coloring at the end so that it doesn’t activate the baking soda too early (think elementary school volcano project).
- To frost with cream cheese frosting, omit chips and bake as directed. Frost after they’ve cooled; makes about 16 cookies.
Nutrition
Nutrition information is automatically calculated, so should only be used as an approximation.
© Crazy for Crust. Content and photographs are copyrighted. Sharing this post is much appreciated, but copying and pasting full recipes without authorization is strictly prohibited.
Did you try this recipe? Click here to rate the recipe below.

How to Make Red Velvet Cookies step-by-step
- Line 2 baking sheets with silicone baking mats or parchment paper.
- Combine both kinds of sugar with the melted butter in a large bowl. Mix in the cocoa powder, egg, vanilla, baking soda, and salt. Slowly add the flour and stir to combine.
- Mix in the vinegar and red food coloring and then stir in the white and chocolate chips.
- Scoop two tablespoon-sized cookie dough balls and place them two inches apart on a prepared cookie sheet. Chill the cookie dough balls for 30 minutes.
- Place the chilled baking sheet with the cookies in a preheated oven. Bake the cookies for 10 to 13 minutes at 350°F. When the cookies lose their glossy sheen, they are ready.
- Cool them on the sheet before serving. If desired, bake without chocolate chips and frost them with cream cheese frosting.
FAQ about Easy Red Velvet Cookies
It depends on the recipe, but most red velvet recipes do include vinegar. It helps create the tangy flavor, and it also activates the baking soda, which gives the red velvet its rise when it bakes.
No, it’s not just a cake dyed red.Old-fashioned red velvet cakes don’t always have food coloring. When you mix an ingredient like buttermilk with cocoa powder and vinegar, a chemical reaction tints the cake a dark red or maroon, or reddish-brown color. Modern recipes often have red food coloring to create a more vibrant color.
These red velvet cookies need chilling, so they don’t spread too much when they bake. It’s always a good idea to double-check any cookie recipe for this step – some recipes require chilling, some don’t.
More Red Velvet Desserts You’ll Love
Make Red Velvet Cookies from scratch! These homemade cookies taste like red velvet cake but in cookie form.
These cookies are really soft and chewy, but I don’t taste much chocolate in them. The cream cheese really combines well with the cookies, especially with the tang.
-5 stars- ⭐⭐⭐⭐⭐
Hello Jing, they are certainly soft and chewy, glad you liked the recipe!
Hi there ! Do i need to let the butter cool down a little after melting? And for chilling, do i chill in the fridge or at room temperature?
I usually just start mixing it all after the butter is melted. Chill in the fridge.
Made these yesterday for my daughters birthday. They came out perfect and the taste is delicious. Chewy and flavorful. My daughter loved them as did my husband.Thank you for sharing
Featured In
Rate This Recipe
Recipe Ratings without Comment