This post may contain affiliate links. For more information, read my disclosure policy.
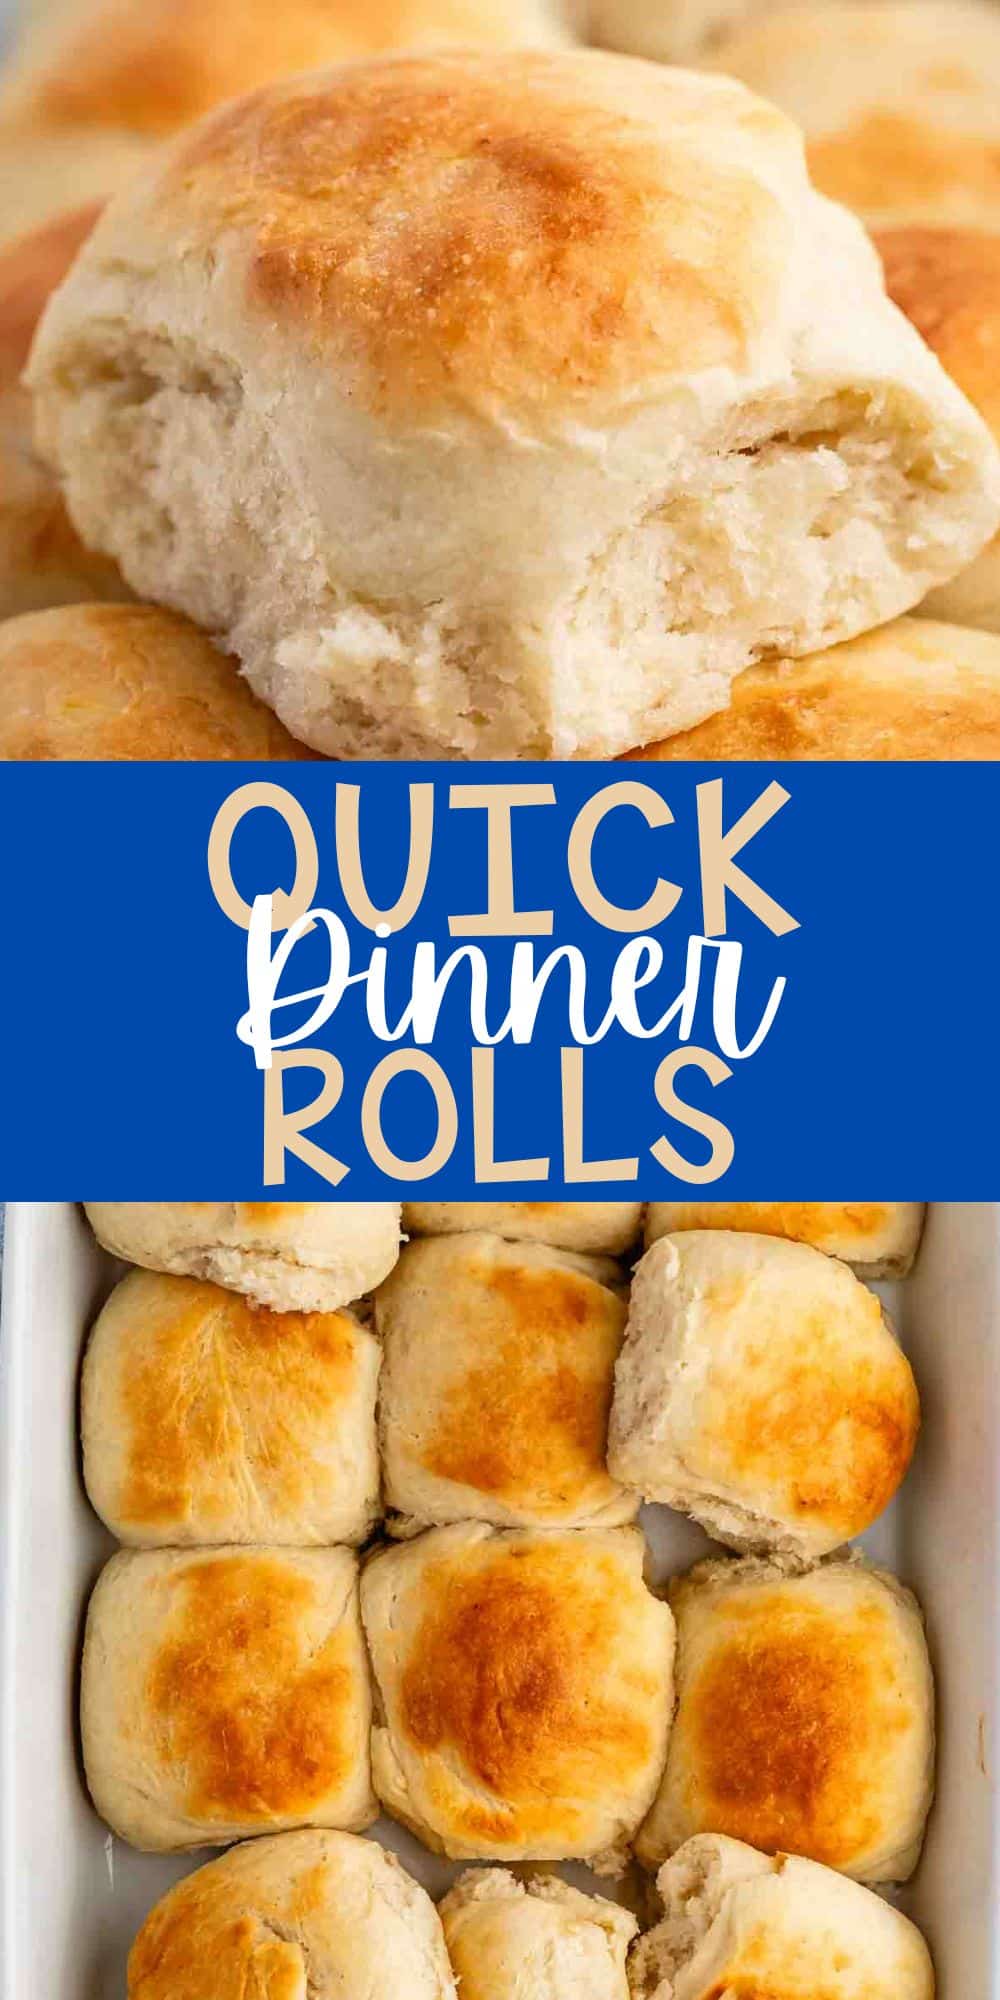

Quick Dinner Rolls will be on your table in just 45 minutes! These are fluffy dinner rolls that are perfectly soft, easy to make, fast, and they’re so good. I can eat an entire batch by myself they’re so delicious.
You may be asking: How can this yeast recipe be done so quickly? I’ll let you in on a little secret: using a lot of yeast will make them rise faster and essentially be done faster as well. These are perfect for when you need rolls, but don’t have all day to wait for them to rise!
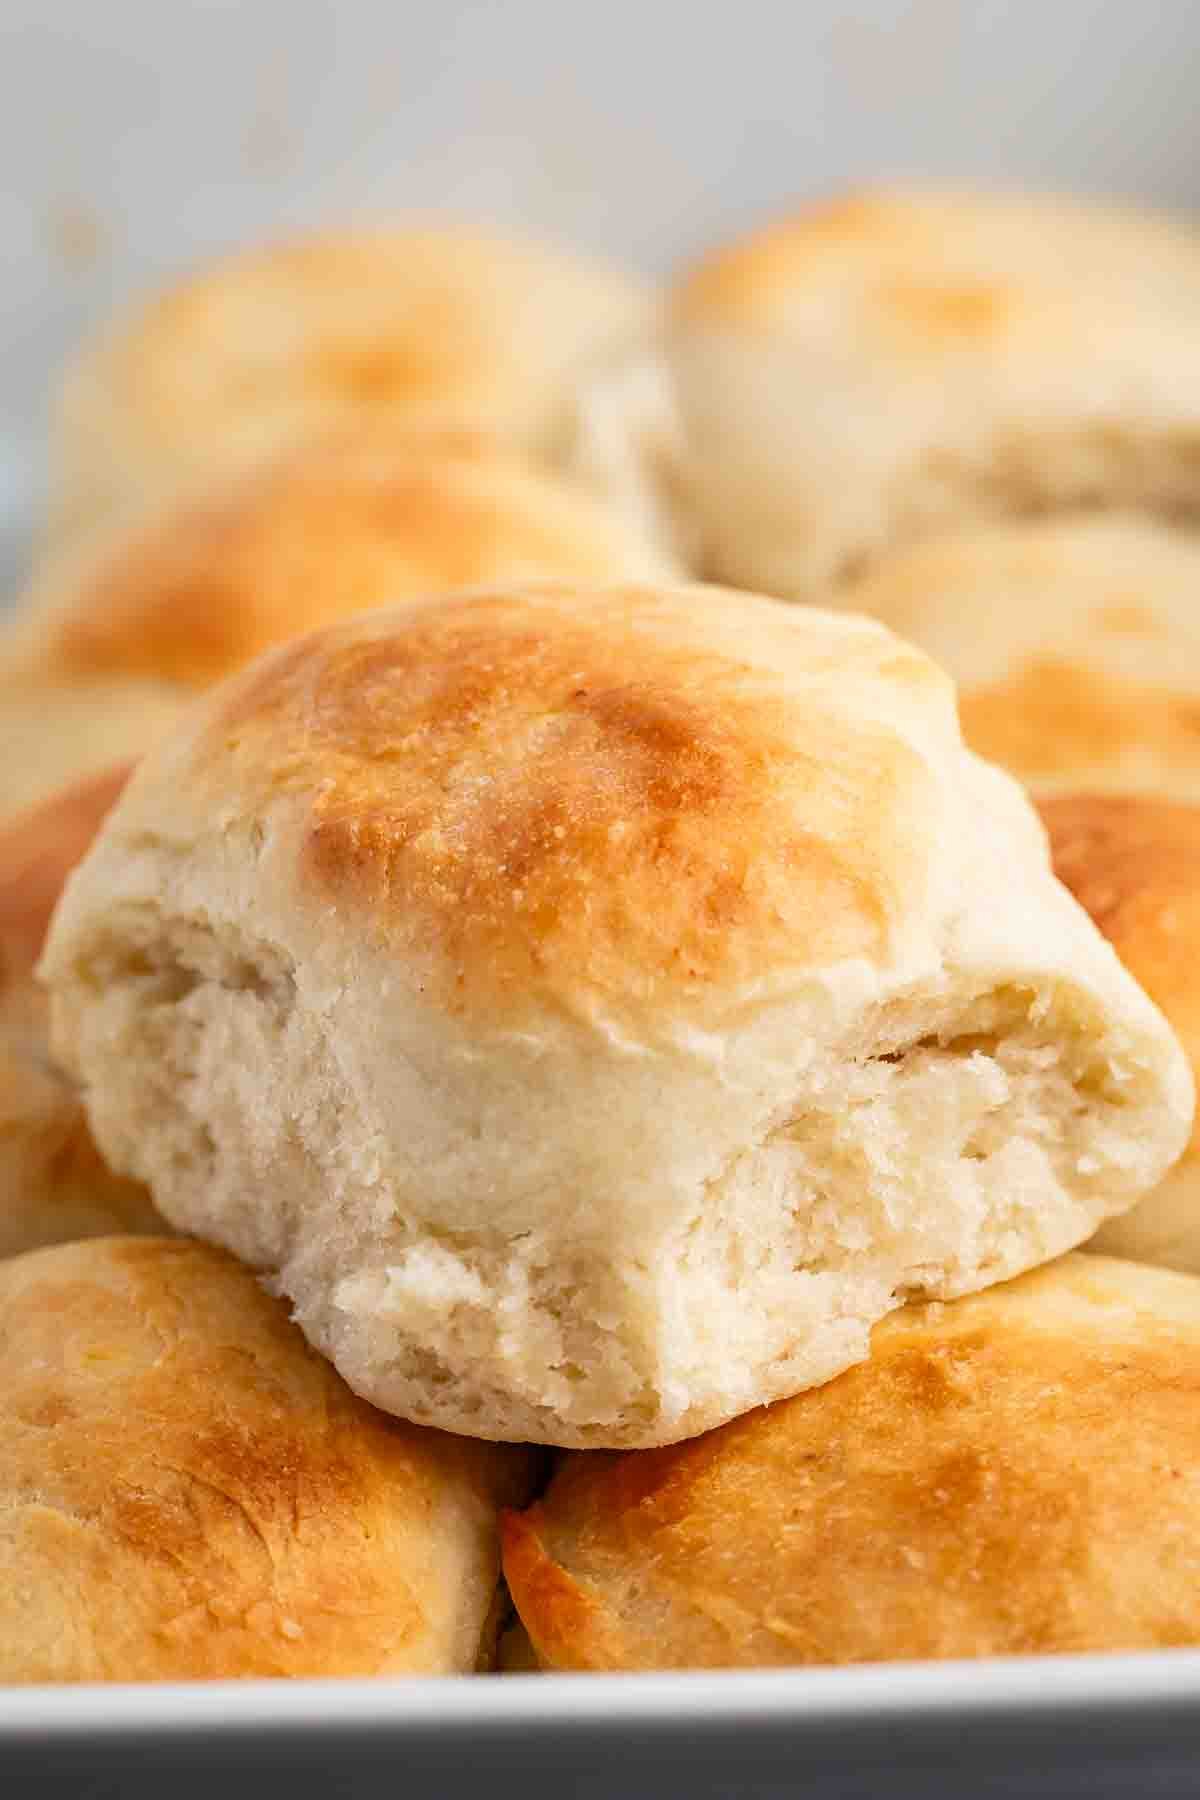
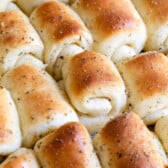
This recipe makes 12 perfect dinner rolls that are perfectly soft. They freeze well, taste amazing, and go great with butter as a side dish for any meal.

Ingredient Notes
- Warm Water: You’ll want to heat the water about 30 seconds in the microwave. If you have an instant read thermometer it should read between 100-110°F.
- Active Dry Yeast: There is no substitute for this in this recipe. Make sure you’re using active dry yeast, not instant yeast. You need 2 tablespoons, so get 3 packets or a jar.
- All-Purpose Flour: I always use all purpose flour in my bread recipes because it’s what I have in my pantry, but bread flour will work as well.
Click to see the recipe card below for full ingredients & instructions. See below the recipe card for even more information: process shots, variations, FAQ and more.
SAVE THIS RECIPE
How to make Quick Dinner Rolls
- You’ll want to add the water, oil, sugar, and yeast to your mixer bowl (a stand mixer will get these done faster).
- It’s important to know the temperature of the water so it is hot enough to activate the yeast but not too hot to kill it. Use an instant read thermometer to make sure it’s between 120-130°F.
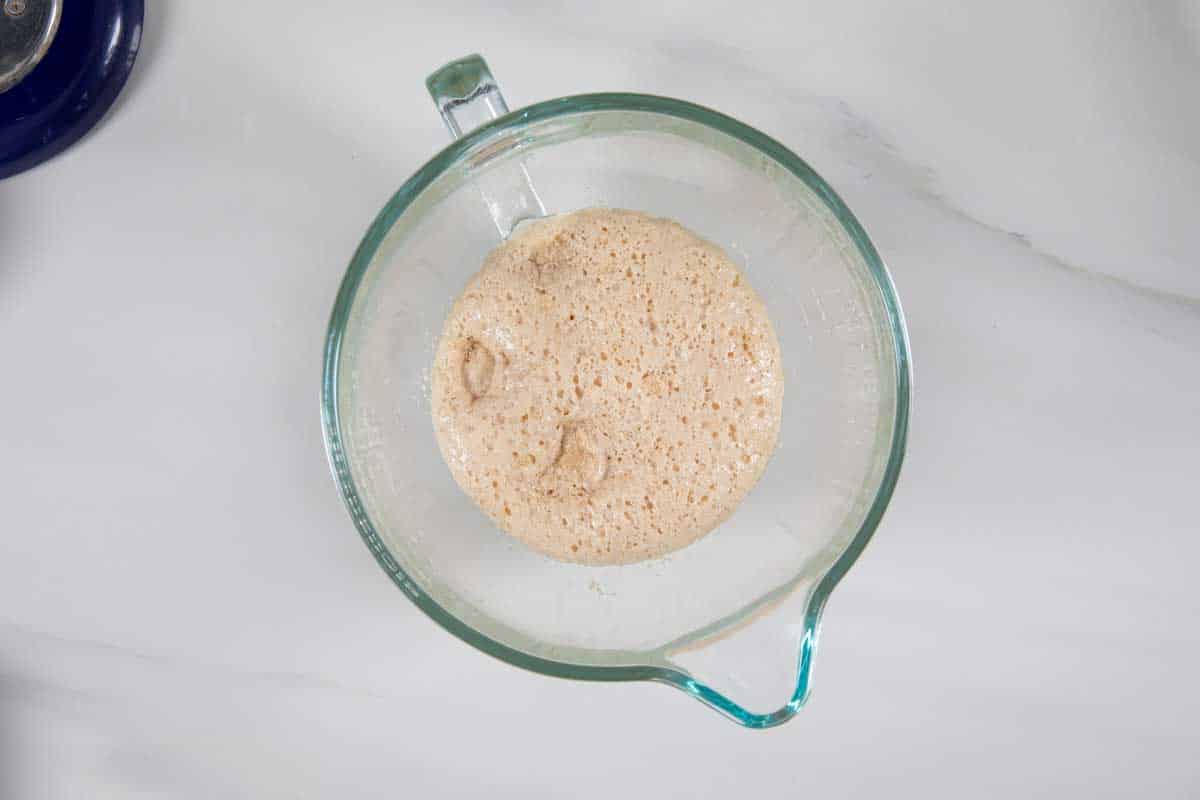
- Once the mixture is very frothy (about 15 min later) you’ll add your flour.
- Using a stand mixer helps avoid lots of kneading by hand.
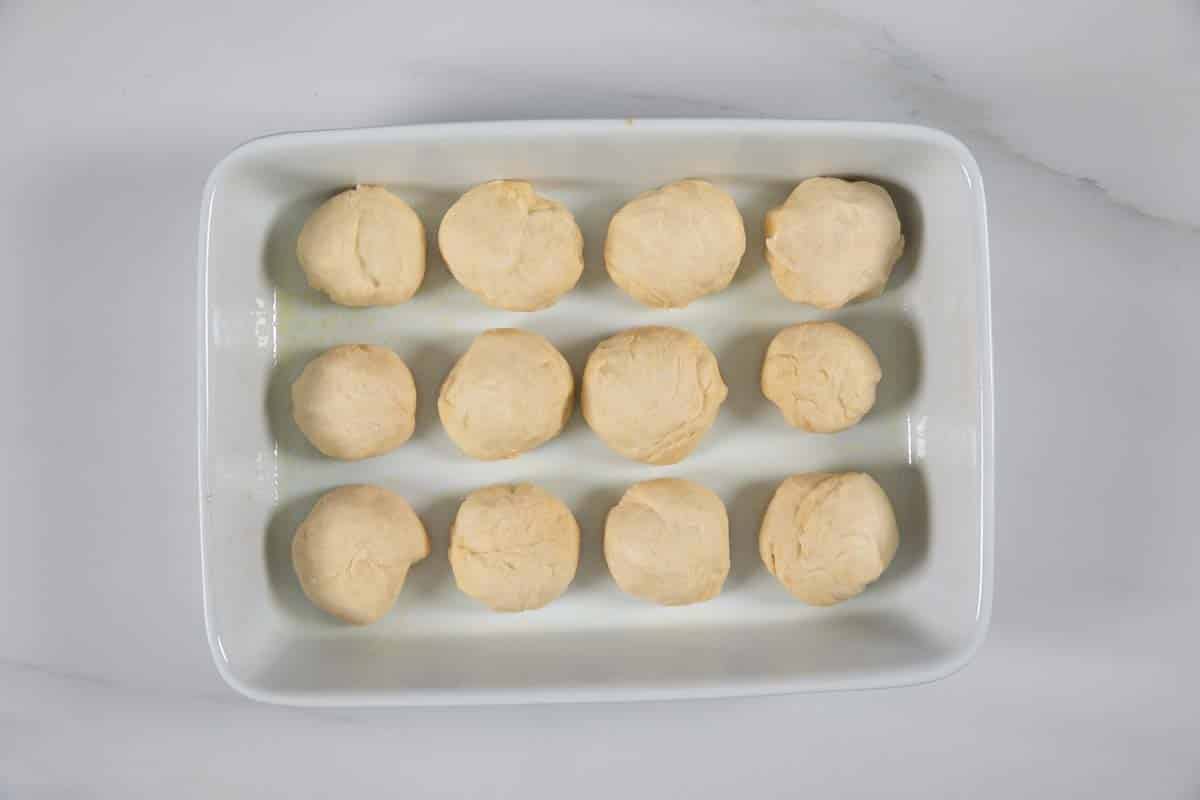
- Divide dough into 12 pieces and roll each into a ball.
- Place the rolls in a 9×13” baking dish sprayed with cooking spray. Let rest for 10 more minutes covered by a kitchen towel. All that yeast makes them do the second rise FAST.

Expert Tips
- It’s important to check the expiration date on your yeast so you know if it will still activate.
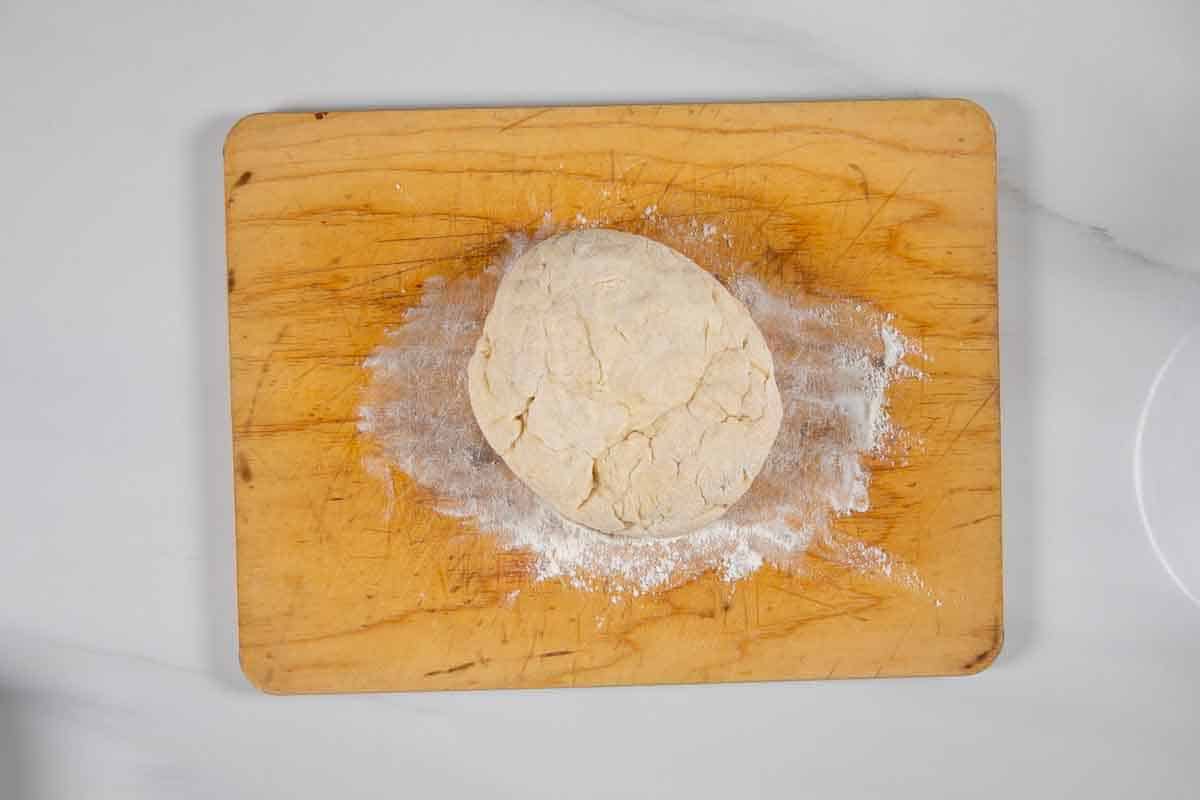
- It’s easiest to do this with a stand mixer fitted with the dough hook attachment – it will knead it all for you! If you don’t have a mixer you can stir the dough until you can’t anymore (once it’s become a shaggy dough). Turn it out onto a lightly floured surface and knead until the dough comes together.
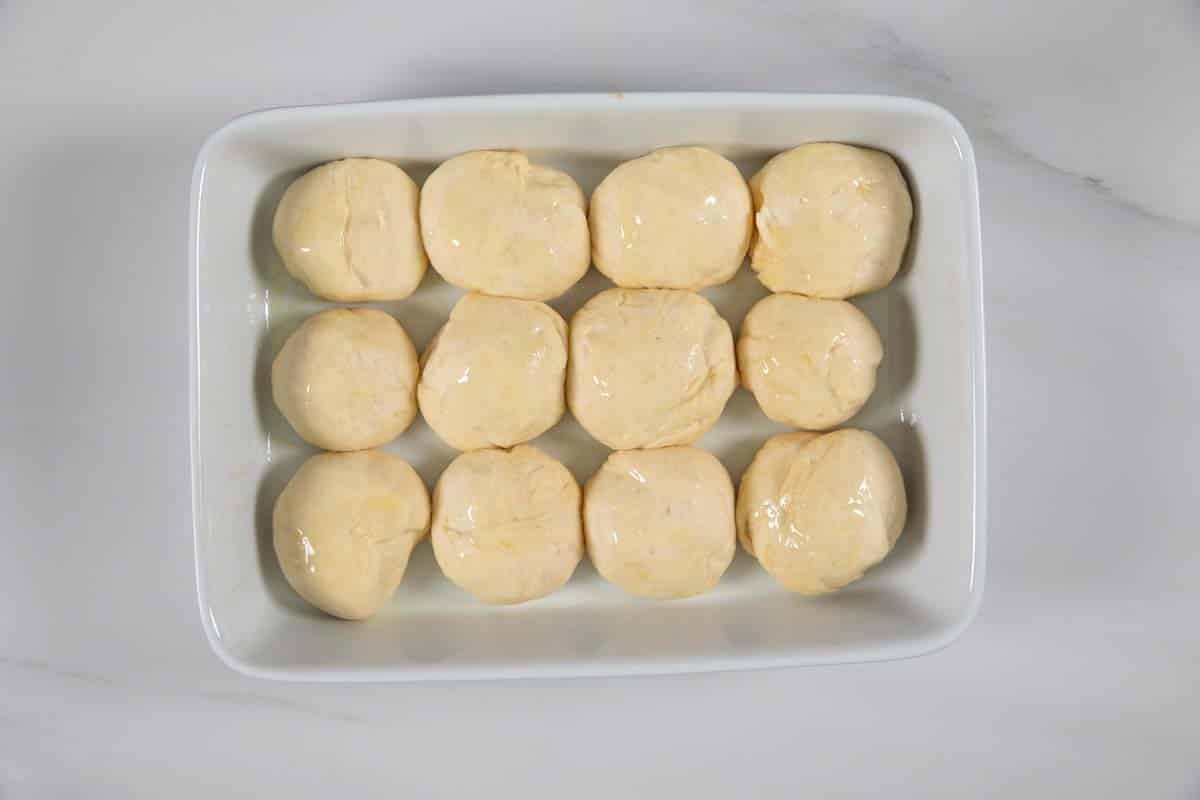
- I love brushing the tops of my rolls with melted butter before baking. You can also brush them with vegetable oil or garlic butter.
- Rise times can be affected by the temperature in your house. If it’s colder it might take longer.
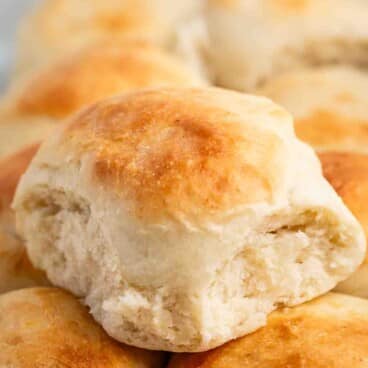
- You know dinner rolls are done when the tops of your rolls become golden.
- Start making these rolls before the rest of your dinner, so you can cook while they rise.
45 Minute Dinner Rolls
Ingredients
- 1 cup (237ml) warm water, (between 100-110°F, approx 30 seconds in the microwave)
- ⅓ cup (79ml) olive oil
- 2 tablespoons (25g) granulated sugar
- 2 tablespoons (17g) active dry yeast
- ½ teaspoon salt
- 3 cups (372g) all-purpose flour
- 1 tablespoon (14g) unsalted butter, , melted
Instructions
- Preheat oven to 400°F. Spray a 9×13-inch baking dish sprayed with nonstick cooking spray.
- Place the water, olive oil, sugar, and yeast in the bowl of a stand mixer fitted with the dough hook. Let the mixture rest for 15 minutes. It will be very frothy when your timer rings!
- Mix in the salt and flour using the dough hook. Start on “Stir” for a few seconds, until the flour starts to incorporate. Switch to “2” for about 30 seconds and then kick it up to “3” until the dough completely comes together. You know it’s done when all of the dough will join to form a ball and the sides of the bowl are almost clean (no dough left). If your dough is too wet, add an additional tablespoon or two of flour.
- Place dough on a cutting board and knead lightly until the dough comes together.
- Section and roll dough into 12 balls. Place the rolls in prepared pan. Let rest for 10 more minutes.
- Brush with melted butter. Bake for about 10 minutes, until the tops start to get golden.
Notes
- Using an instant read thermometer will ensure that your water is the proper temperature to awaken (not kill) the yeast.
- It’s easiest to do this with a stand mixer fitted with the dough hook – it will knead it all for you! If you don’t have a mixer you can stir the dough until you can’t anymore (once it’s become a shaggy dough). Turn it out onto a lightly floured surface and knead until the dough comes together.
- I love brushing the tops of my rolls with melted butter before baking.
- You know dinner rolls are done when the tops of your rolls become golden.
- Start making these rolls before the rest of your dinner, so you can cook while they rise.
Nutrition
Nutrition information is automatically calculated, so should only be used as an approximation.
© Crazy for Crust. Content and photographs are copyrighted. Sharing this post is much appreciated, but copying and pasting full recipes without authorization is strictly prohibited.
Did you try this recipe? Click here to rate the recipe below.


Oh my these look great! I enjoy making rolls for dinner but often don’t have the time. I will be trying these soon!
Thanks Kathy!
these are gorgeous dorothy! apparantly my caps lock just broke, haha.
LOL! Thanks Aimee!
“Bread’ is the one yeasty thing I keep failing at. I’ve done cinnamon rolls, pizza dough, breadsticks…I keep failing at bread! I think dinner rolls will be a nice fresh start. 🙂
Totally! These are almost fool-proof.
I always need quick bread for dinner. One time I made the mistake of trying to mix it by hand – one big sticky mess. I will have to pull out my mixer next time. I’m looking forward to trying these!
I always use my mixer. I hate doing things by hand!
Your rolls look absolutely perfect, I really want to try this recipe!
Thanks Rosie!
Featured In
Rate This Recipe
Recipe Ratings without Comment