This post may contain affiliate links. For more information, read my disclosure policy.

These Witch Hat Cupcakes are the perfect chocolate halloween cupcakes for halloween parties or to just celebrate the spooky holiday! This is an easy semi-homemade recipe – they’re perfect for any party or as a last minute treat!
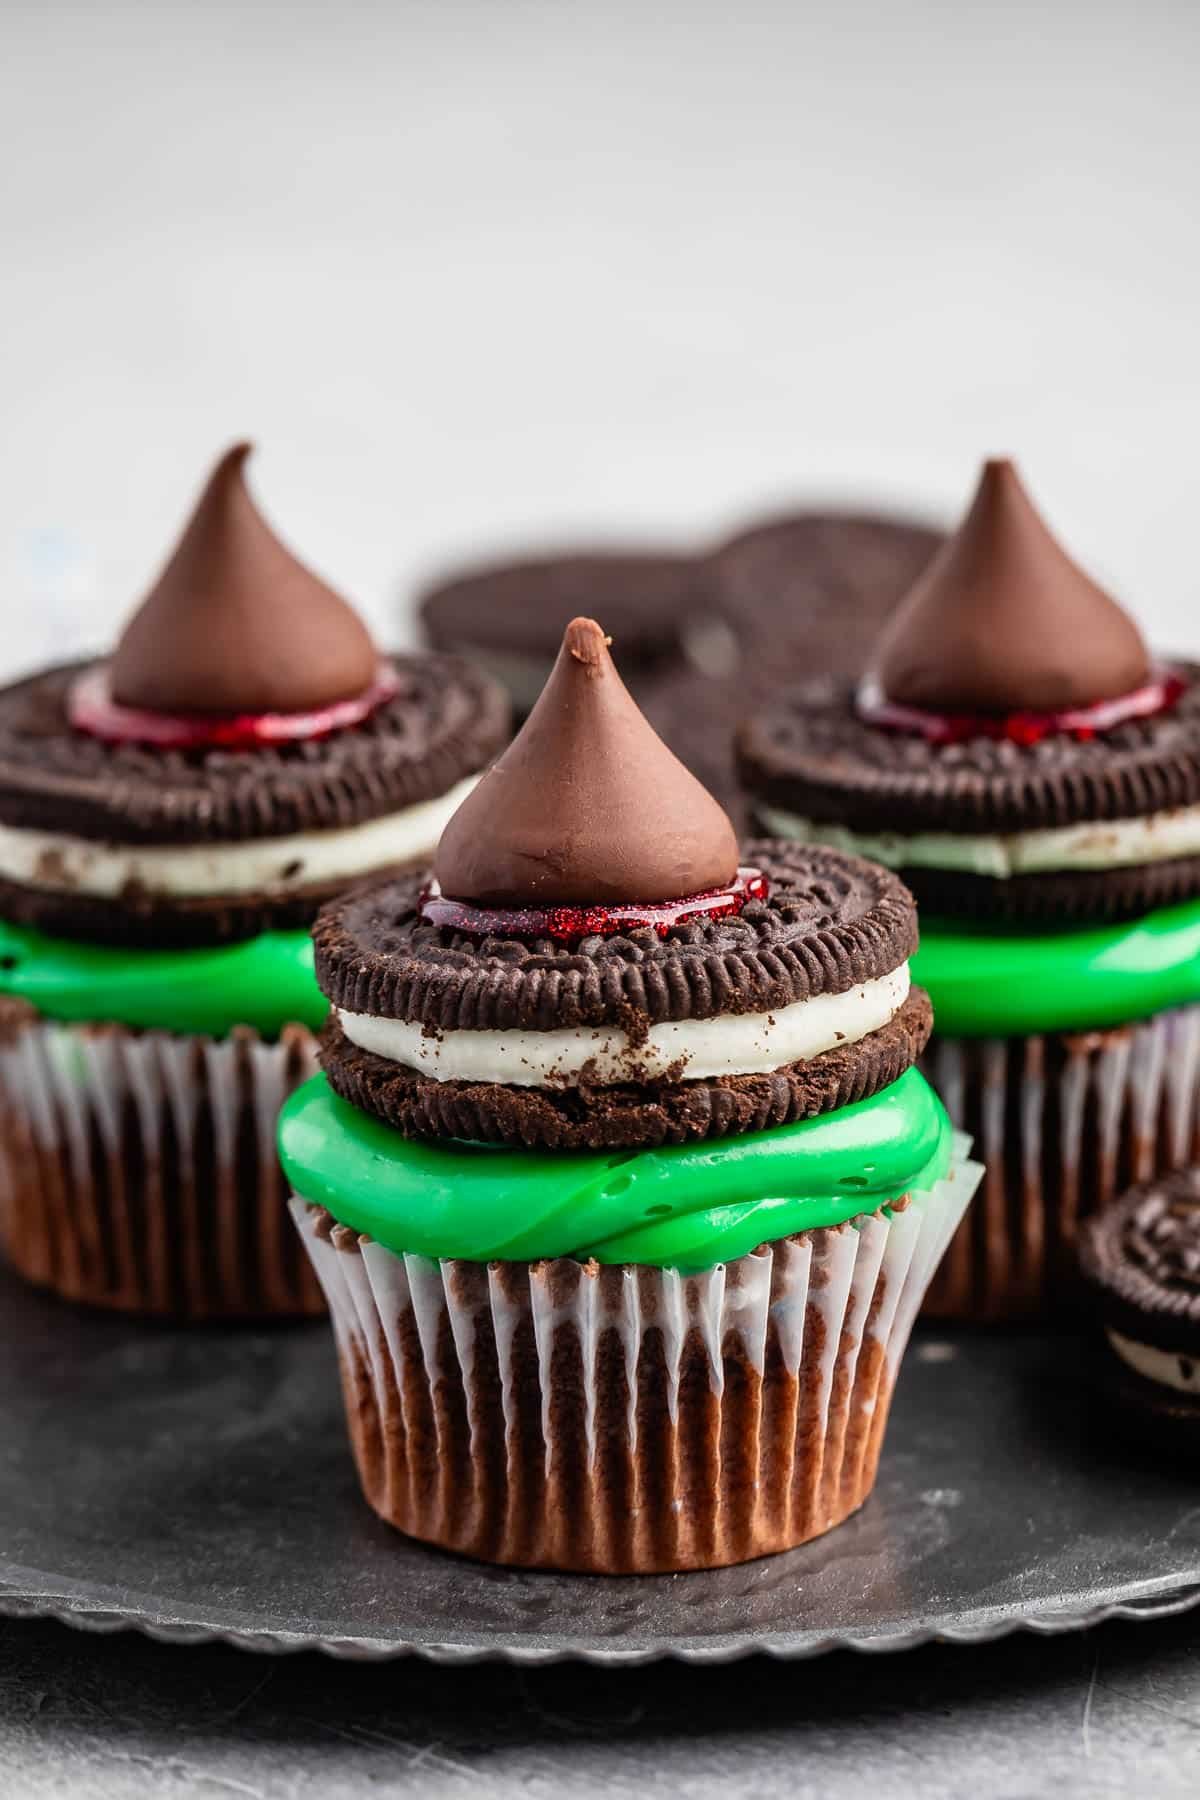
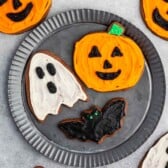
These witch hat cupcakes are so cute and the taste even better. You can use box mix or homemade cupcakes or even store bought cupcakes! I added green frosting on top for the witches face, and then Oreos and chocolate for the witches hat! If you want to pair these with another treat, make my witches brooms!
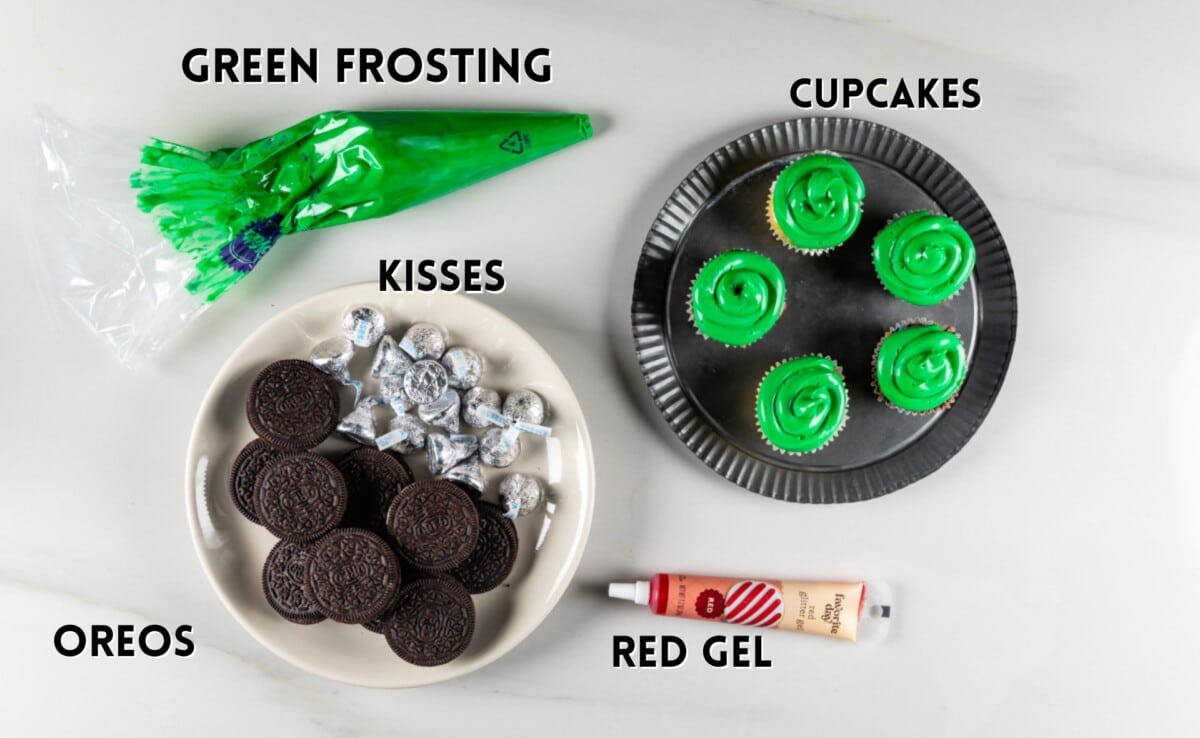
Ingredients Needed
- Cupcakes: You can use store bought cupcakes or homemade cupcakes!
- Oreos: For the brim of the hat
- Kisses: The tip of the hat
- Red Gel Food Coloring or other frosting to adhere the Kiss to the cookie
- Frosting: Make homemade vanilla buttercream frosting or buy store-bought frosting. I add green food coloring to the frosting.
SAVE THIS RECIPE

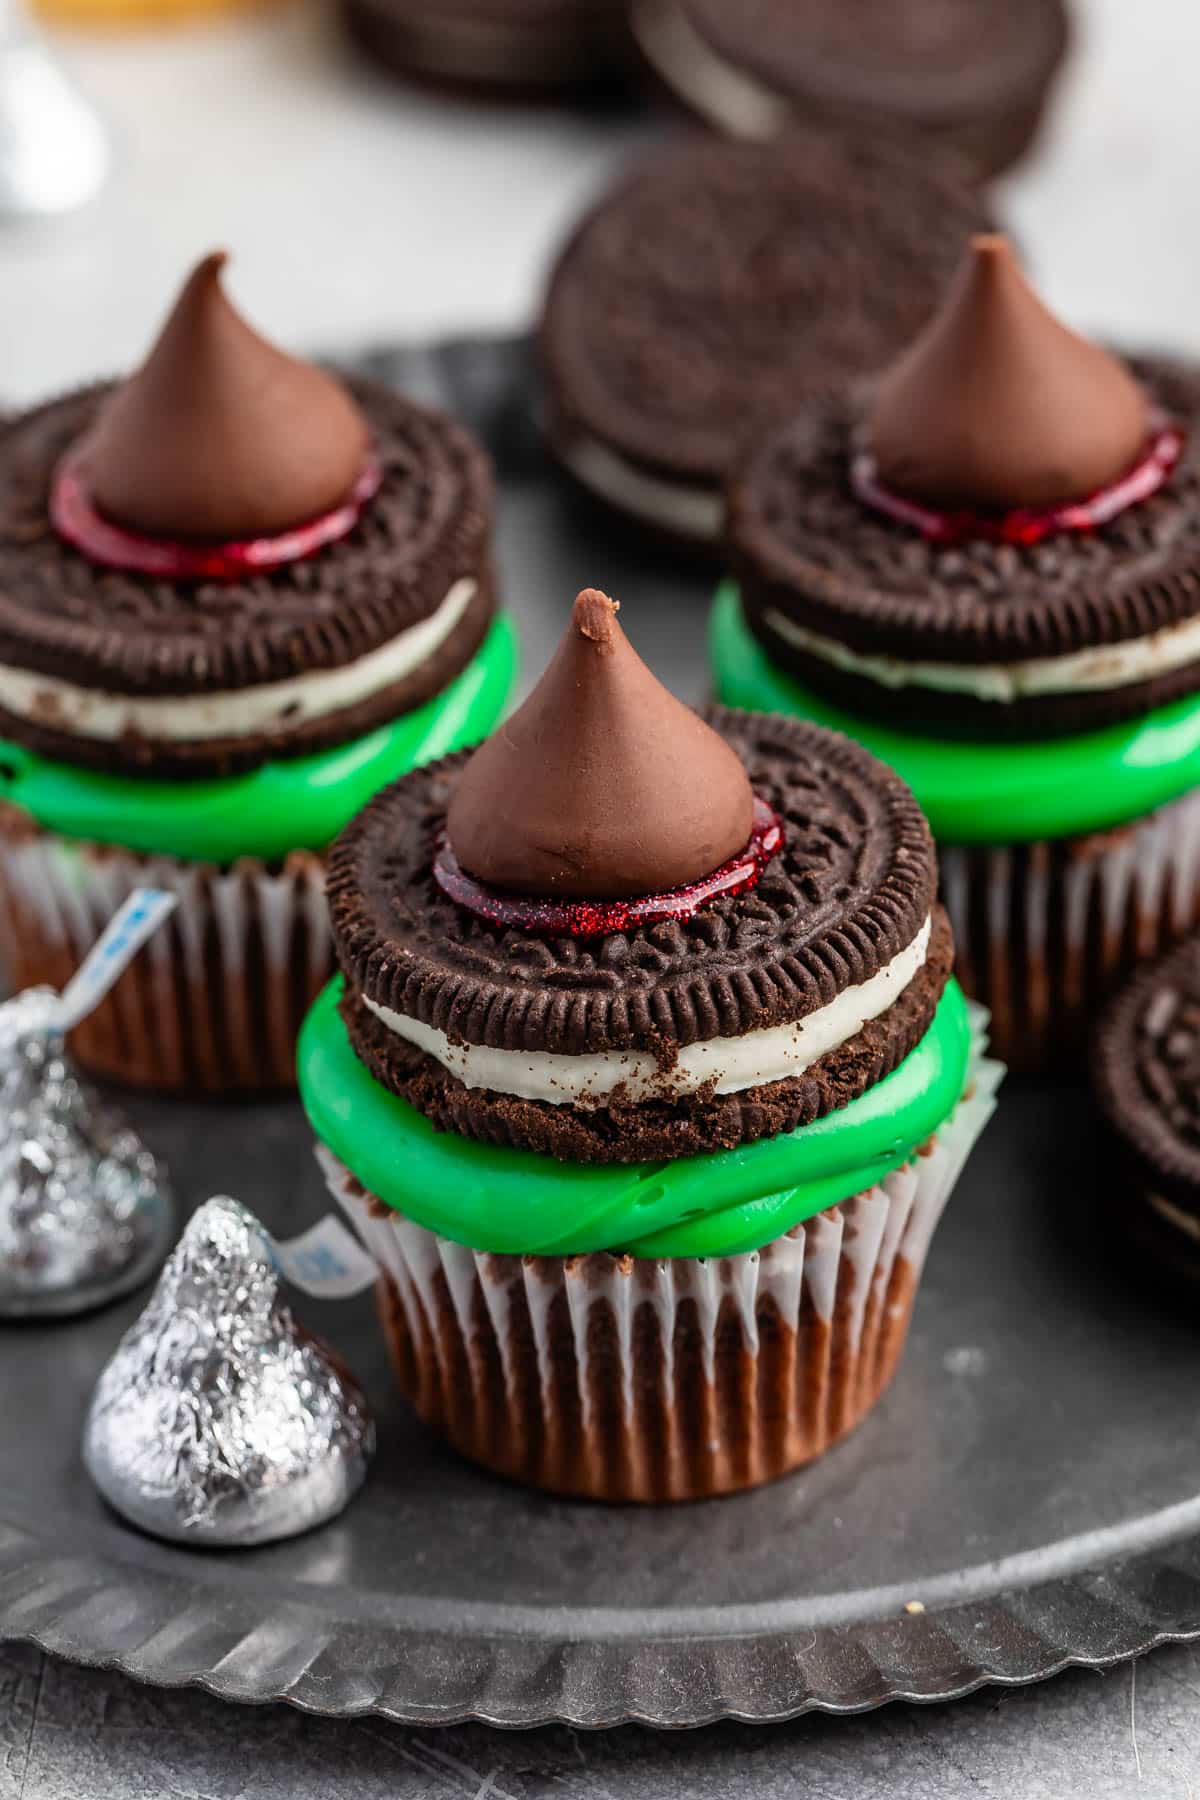
How to Make Halloween Cupcakes
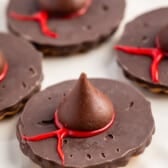
- Add a bit of frosting or gel icing to the bottom of a Hershey’s kiss and stick it on the center of the Oreo to mimic a witch hat.
- Color your vanilla frosting green in a piping bag. Frost cupcakes as desired (to represent the witch face).
- Top each cupcake with the witch hat.
Expert Tips
- You can use regular cupcakes or mini cupcakes.
- I’ve bought store bought cupcakes and scraped off the frosting then added my homemade buttercream and no one knows the difference!
- Store these in an airtight container but the Oreo will soften after a day or so. I do not recommend freezing these.
Witch Hat Cupcakes Recipe
Video
Ingredients
- 12 Oreo Cookies
- 12 Hersheys Kisses, , unwrapped
- Frosting or gel icing
- 12 Mini Cupcakes, (baked and cooled, or regular cupcakes)
- 1 can Vanilla frosting
- Green food coloring
Instructions
- Add a bit of frosting or gel icing to the bottom of a Hershey's kiss and stick it on the center of the Oreo to mimic a witch hat.
- Color your vanilla frosting green. Frost cupcakes as desired (to represent the witch face).
- Top each cupcake with the witch hat.
Notes
- Store in an airtight container at room temperature for up to 2 days or in the refrigerator.
- I don’t recommend freezing these cupcakes.
Nutrition
Nutrition information is automatically calculated, so should only be used as an approximation.
© Crazy for Crust. Content and photographs are copyrighted. Sharing this post is much appreciated, but copying and pasting full recipes without authorization is strictly prohibited.
Did you try this recipe? Click here to rate the recipe below.


I am in LOVE with these witch hats!! so C U T E
you are amazing
Ha, thank you! 🙂
Eek!!! I love it!! That is just wonderful. Love the candy corn INSIDE the hat. Next year, find gummy spiders; however I wonder if they exist?
I bet you could make me some!! 🙂
Oh my these look awesome, and I love the treats in the hat! Awesome looking cupcake!
Ya’ll are truly two peas in a pod! I’m loving the green frosting underneath, it reminds you who was wearing the hat!
Totally! Thank you Mikayla!
These are so much fun!! I have really gotten inspired this Halloween and dived back into blogging a bit more, I guess I missed it more than I realized! I have some WITCH LEGS to go w/ your WITCH HATS that I am going to post this week! HOW FUN – I love this time of year for many reasons. These are very cool Dorothy!
Yay, I can’t wait to see those Trish! I’ve SO missed you! 🙂
Featured In
Rate This Recipe
Recipe Ratings without Comment