This post may contain affiliate links. For more information, read my disclosure policy.
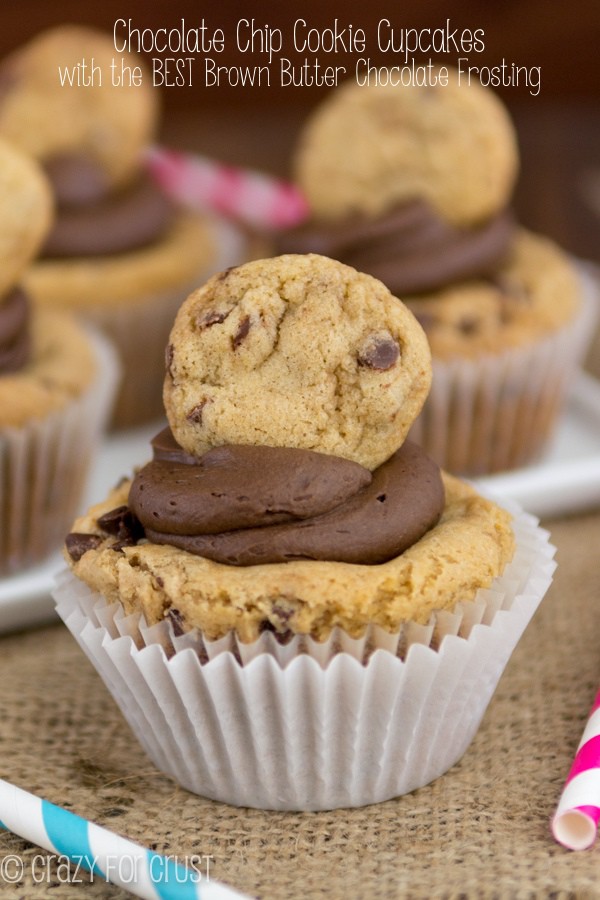
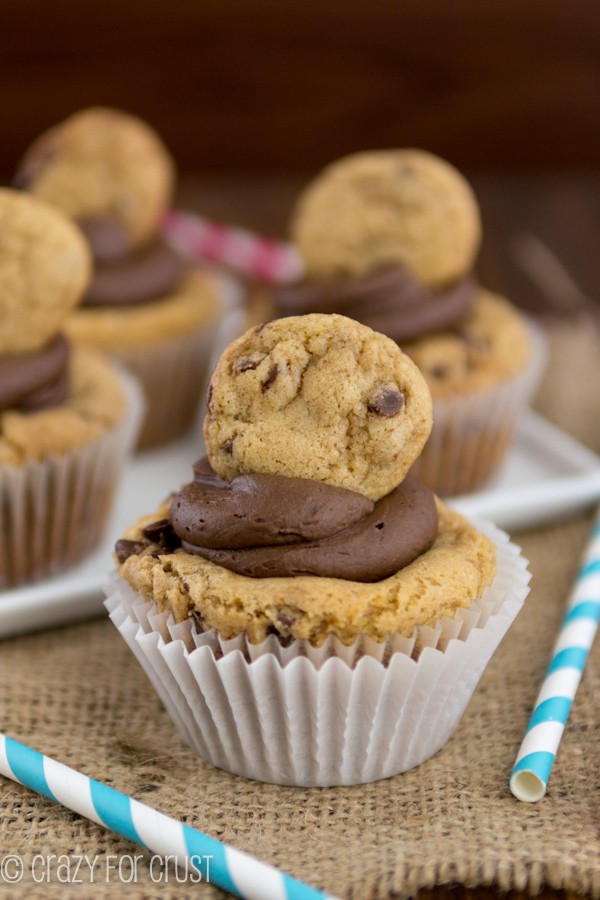
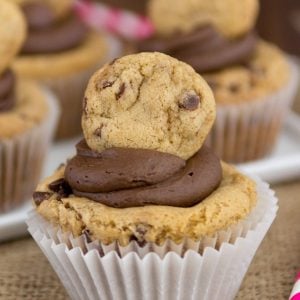
These Chocolate Chip Cookie Cupcakes are some serious cupcakes, y’all.
But that’s kind of a lie. They’re not really cupcakes. They’re cookies. Giant chocolate chip cookies. With brown butter chocolate frosting. And a cookie garnish.
Like I said…serious with a capital OMG.
You guys. Before we start talking about these chocolate chip cookie cupcakes that are really the best chocolate chip cookie masquerading as a cupcake, let’s talk about babies.
I love babies. Other peoples’, that is. And you know what? It’s raining babies around blog land! A few weeks ago some friends and I threw Lisa a baby shower. Now, it’s Cathy’s turn!
Cathy is the amazing mom and blogger behind Lemon Tree Dwelling. If you’ve never visited her blog, go. Run. Her food is amazing! She posts things like S’mores Cheesecake Cups and Lemon Bar Muddy Buddies. And she posts real food too, like dinners and salads and stuff which is great because then there’s room for more quick bread.
Anyway, today a bunch of us bloggers are celebrating Cathy because she’s having a baby girl to join the other three sweet girls in her family. {Oh, her poor husband…}
I’m bringing cookie cupcakes to her shower, because I needed an excuse to make these Chocolate Chip Cookie Cupcakes.
Scratch that. I don’t need an excuse to make them, I need an excuse to eat 6.
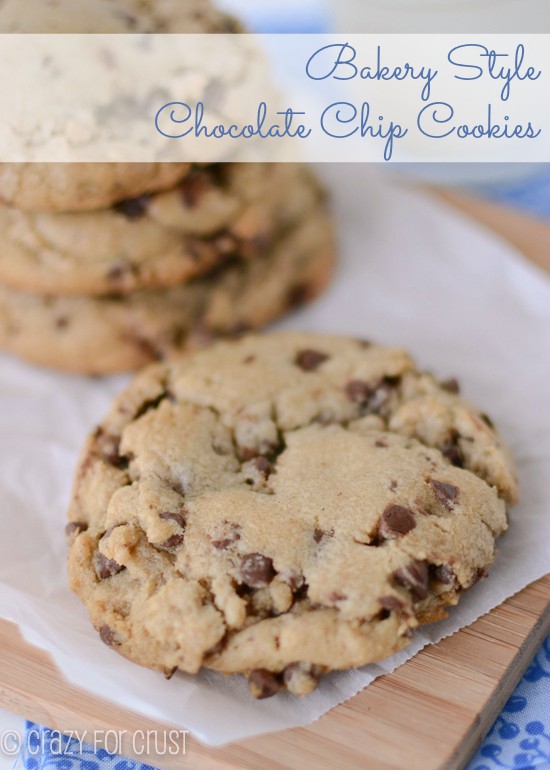
Now, if you’ve read this blog for any length of time, you’ll have seen (and maybe pinned?) my XL Bakery-Style Chocolate Chip Cookie recipe. I think it’s one of my absolute favorite recipes on this site, and I’ve always gotten amazing reviews on it. One reader actually tweeted me awhile back and said they liked it as much as they liked Alton Brown’s recipe, which made me laugh, blush, and spit coffee across the room.
Anyway.
I wanted to make cupcakes but I wasn’t in the mood for cake. I also wasn’t in the mood for waiting – and that chocolate chip cookie recipe requires overnight chilling. These do not. Oh, they require chilling, but it doesn’t have to be overnight (the flavors will be bolder if you do wait, but you don’t have to).
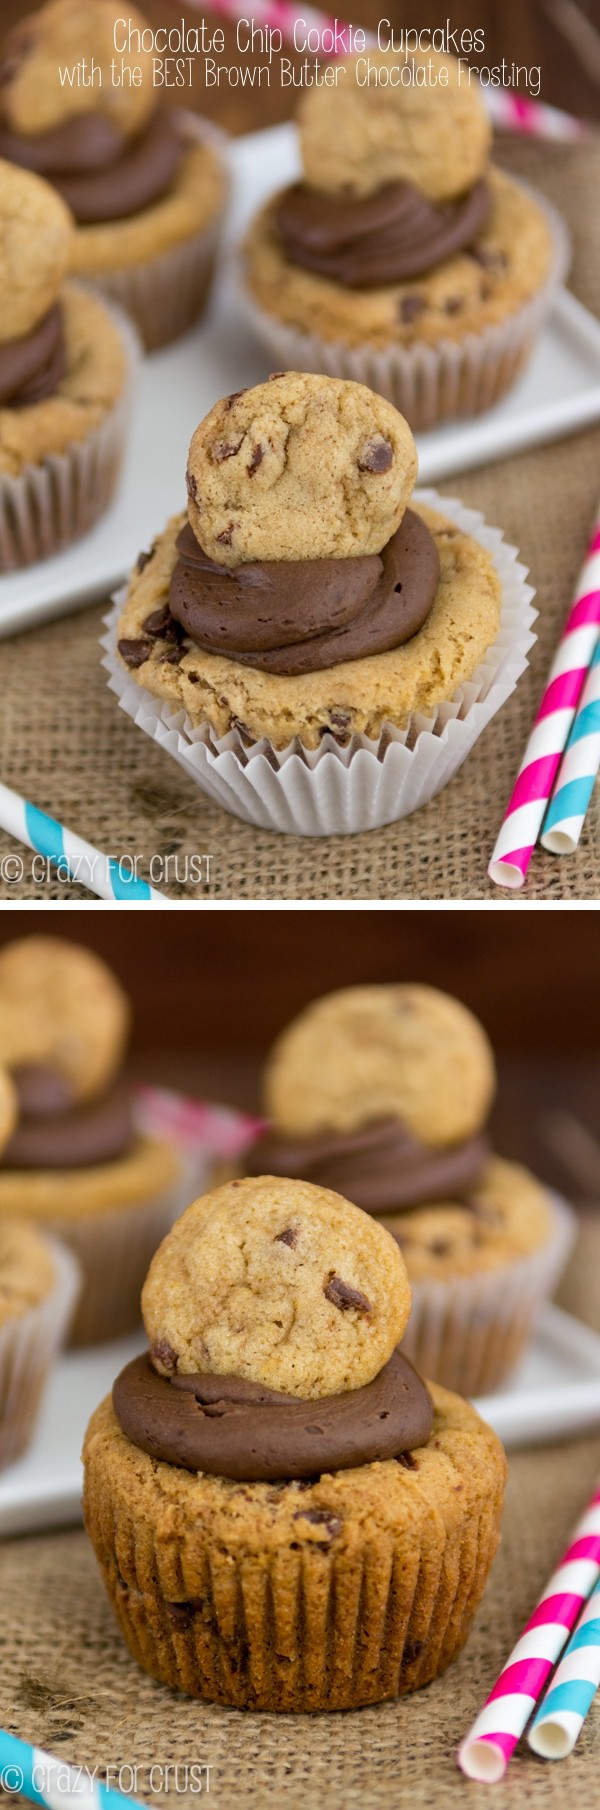
When I made these cookie cupcakes, I was expecting the cookie to be the star. It’s not.
The frosting is the star of these Chocolate Chip Cookie Cupcakes.
The frosting is the best chocolate frosting I’ve ever had.
Both the cookies and the frosting start with something amazing: brown butter. Now, if you’re not a foodie and don’t read a lot of blogs, you might not know what that is or how to do it.
Don’t worry, I’ve got you covered. Here is your step-by-step photo tutorial for how to brown butter:
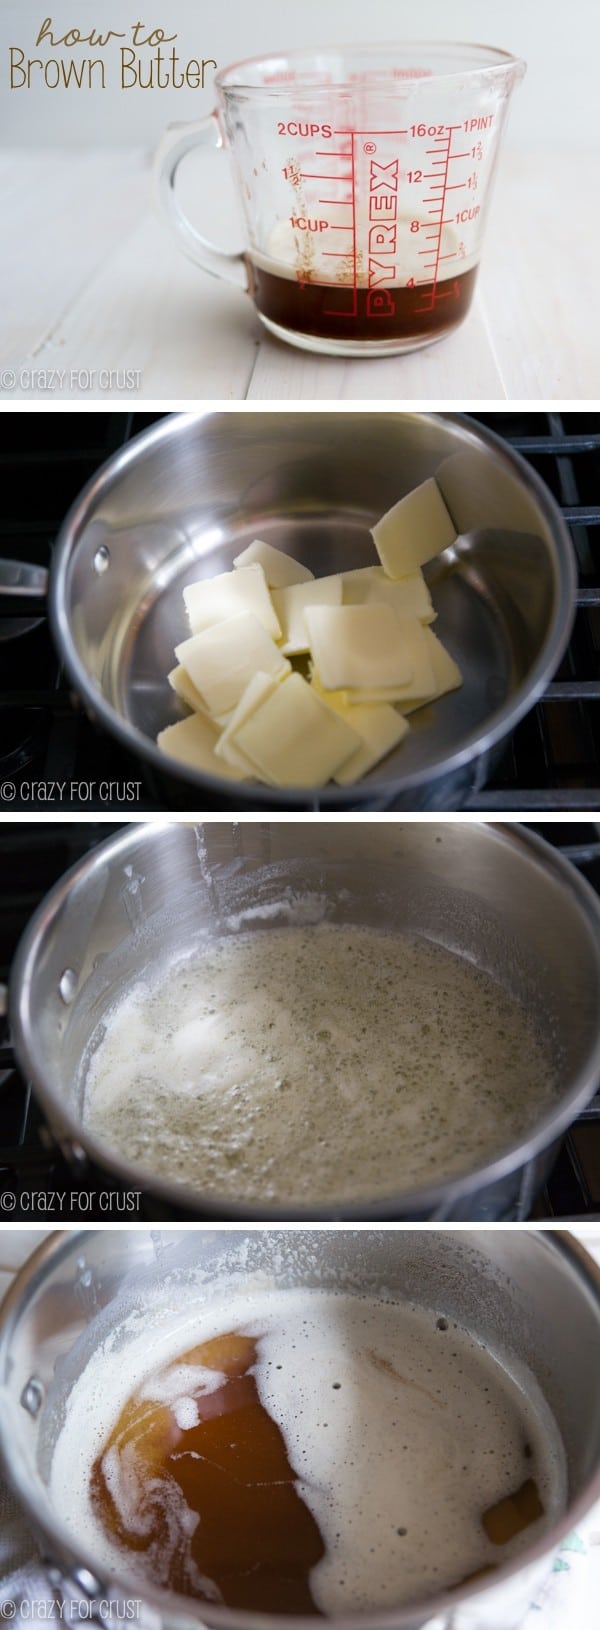
It’s really way easier than it sounds.
Brown (or browned) butter is basically butter that’s been melted and cooked. When you cook butter at a consistent heat for a period of time, it changes from it’s regular color to a deep, dark brown. And the color isn’t the only thing that changes: the flavor is unbelievable.
Brown butter has a nuttier, more rich butter flavor. It’s hard to describe, so you’ll just have to believe me, but adding brown butter in place of regular melted butter adds a depth to your recipe that you wouldn’t believe.
All you have to do is add your butter to a pan (I like to slice it up first, so that it melts faster and more evenly) and cook it over medium-low heat. You don’t have to stir it constantly, just occasionally. You don’t have to stare at it constantly, but don’t leave the kitchen.
The butter will melt, then it will foam. Then the foam will reduce, then it will foam again. Then it will start to brown. Like when you’re making pudding or some thickening sauce, once it starts to brown it browns fast. At that point you want to be watching it. Too brown makes it burned. Burned butter is not good.
Once it’s browned, you use it as directed in whatever recipe you’re making. (Like say…chocolate chip cookies…or frosting.) There will be some sediment on the bottom of your pan; that’s normal.
What makes this brown butter chocolate frosting the best frosting ever? The fact that I browned the butter, then chilled it until it solidified (but was still soft enough to mix). This amps up the flavor of the frosting x1000. Then I added chocolate.
SAVE THIS RECIPE
And I died and went to heaven.
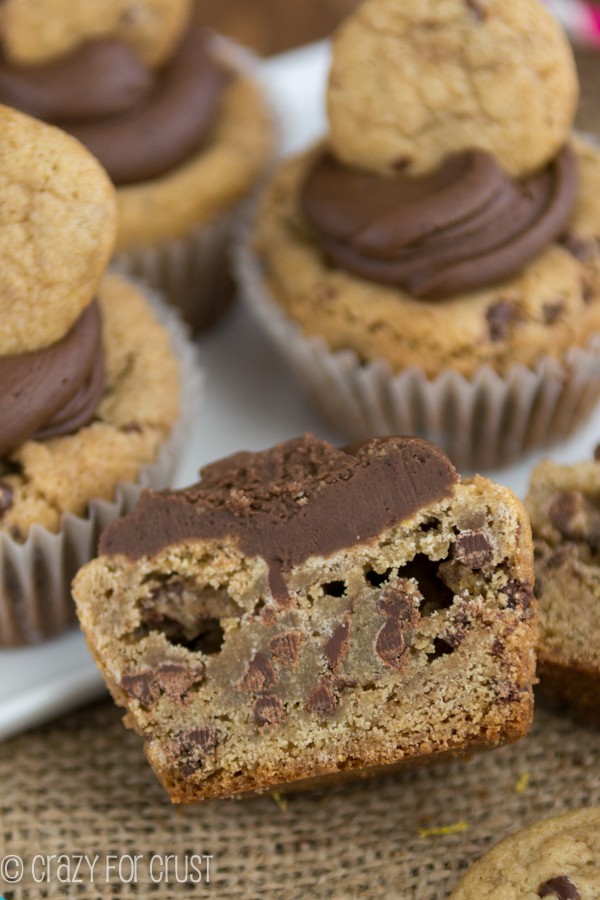
The Chocolate Chip Cookie Cupcakes are made with browned butter too, as well as a combination of vanilla and almond extract. You don’t have to use the almond extract, but you’ll be amazed at the flavor it adds.
I use mini chocolate chips in this recipe because I think it spreads the chocolate more evenly throughout the cookie. You can use regular chocolate chips, but I’m in love with the minis. I use them in almost everything these days! Nestle is the most common maker of the mini chocolate chips, but I’ve also seen them by Guittard.
I wanted to make a cookie garnish for the top of these, but you can skip that and make an extra cookie cupcake or two, your choice. Each of these cookies uses 1/4 cup of dough – so I wasn’t exaggerating when I said they’re a serious cupcake. If you’re worried about how big they are, you could make these in a mini muffin pan instead, just watch the baking time.
Whatever you do, don’t skip the frosting on these Chocolate Chip Cookie Cupcakes. I want to make the frosting again just so I can eat it with a spoon. Seriously – best frosting ever.
These Chocolate Chip Cookie Cupcakes are perfect for any party. Or because you’re so craving chocolate chip cookies!
*Drooling*
Chocolate Chip Cookie Cupcakes {brown butter chocolate frosting}
Ingredients
Cookie Cupcakes
- 2 sticks butter, we’re going to brown it!
- 3/4 cup granulated sugar
- 1 cup light brown sugar
- 2 large eggs
- 1 tablespoon pure vanilla extract
- 1 teaspoon almond extract, optional
- 1 teaspoon baking soda
- 3 1/4 cups all-purpose flour
- 1/4 teaspoon salt
- 1 1/2 cup mini chocolate chips
Frosting
- 1/2 cup butter
- 1/4 cup unsweetened cocoa powder, or special dark cocoa powder
- 2 1/3 cups powdered sugar
- 1 tablespoon vanilla extract
- 6-7 tablespoons heavy whipping cream, depending on desired consistency
Instructions
- Melt butter in a saucepan over medium heat. Cook, stirring often, about 6 minutes, until it becomes brown in color. It will foam, reduce, then foam again.
- Once it’s done cooking the foam is a light brown and it will dissipate after you remove it from the heat. Once it starts to brown, keep stirring so it doesn’t burn. Let sit for about 5 minutes to cool.
- Pour into an electric mixer fitted with paddle attachment. While still hot, add both sugars and mix on low until combined. Let sit to cool for a few minutes.
- While butter mixture is cooling, combine flour, baking soda, and salt in a medium bowl. Stir and set aside.
- Turn mixer (with butter mixture bowl attached) on low. Add eggs, one at a time, mixing completely. Mix in vanilla extract and almond extract (optional, but it adds great flavor). Add flour mixture to the wet ingredients and mix until combined. Stir in chocolate chips.
- Line cupcake pans with 15 liners and one baking sheet with parchment or a silpat baking mat.
- Scoop out 15 balls of cookie dough that are about 1/4 cup each (I use an ice cream scoop for this). Place one ball in each cupcake liner.
- Divide the remaining dough into 1/2 tablespoon sized balls.
- Chill both the cookie dough cupcakes and little cookie balls for at least 2 hours (or more).
- Before baking cookies, start the frosting (see below).
- Preheat oven to 350°F. Bake mini cookies for about 7-8 minutes. Bake the cupcakes for about 15-18 minutes. In both cases, the outside will start to turn a rich golden color. You don't want to over bake these, they taste best when they're a little under done in the middle. Cool the cupcakes for 15 minutes in the pan before removing to a rack to cool completely. Frost once cool.
To make the frosting:
- Melt butter in a saucepan over medium heat. Cook, stirring often, just a few minutes until it becomes brown in color. Place in a large mixing bowl and sit until set. (You want it set, as in not melted, but you want it soft enough to be able to mix. So make sure it's the consistency of room temperature butter when you start mixing in the powdered sugar.)
- Once butter has set, mix in the powdered sugar and cocoa with a hand mixer until crumbly. Add vanilla and 2 tablespoons cream. Mix. Add more cream, 1 tablespoon at a time, until you’ve reached your desired spreading consistency.
Nutrition
Nutrition information is automatically calculated, so should only be used as an approximation.
© Crazy for Crust. Content and photographs are copyrighted. Sharing this post is much appreciated, but copying and pasting full recipes without authorization is strictly prohibited.
Did you try this recipe? Click here to rate the recipe below.
Check out all the other baby shower food – don’t you wish you were really at her shower??!!
Lemon Raspberry Cookie Sandwiches by Life Love and Sugar
Blueberry Buttermilk Coffee Cake by Your Homebased Mom
Lemon Yogurt Cake by Yummy Healthy Easy
Orange-Raspberry Mini Toaster Strudels by Chelsea’s Messy Apron
Orange Dream Monkey Bread by Wine and Glue
Strawberry Shortcake Kebabs by Or So She Says
Lemon Blueberry Bundt Cake by Beyond Frosting
Strawberries and Cream Cheese Ball Bites by Five Heart Home
Pig Pickin’ Cake by Sugar Dish Me
Chocolate Peanut Butter Cup Skillet Cookie by Lemons for Lulu
Creamy Shrimp Dip by Mostly Homemade Mom
Salted Butterscotch Coffee Cake by Julie’s Eats and Treats
Strawberry Cake by The NY Melrose Family
Frozen Chocolate S’mores Ice Cream Pie by Pink When
Carrot Cream Cheese Swirl Loaf by Spoonful of Flavor
Fiesta Rice Skillet by The Grant Life
Raspberry Ripple Lemon Bundt Cake by Love Bakes Good Cakes
Ooey Gooey Orange Creamsicle Bars by The Gunny Sack
Mixed Berries with Honey Maple Mascarpone by Joyful Healthy Eats
Rosewater Almond Macaroons by Little Miss Celebration
Chocolate Chip Cookie Cupcakes by Crazy for Crust
Momosas Mocktail Recipe by The Weary Chef
Other recipes you might like:
XL Bakery Style Chocolate Chip Cookies
Thanks for reading!
These look beautiful! How should they be stored how long will they keep? Thank you!
Dorothy, thank you so very much for your helpful and thoughtful reply to my questions. You have given me a lot of “food for thought”…(sorry just couldn’t resist saying that). But you really did!
My hand mixer is a Kitchen Aid; I think I purchased it about 3 or 4 years ago. Oddly, though, it looks almost identical to the Cuisinart. Don’t know the speed though. I’ll have to look that up in the instruction booklet. I agree that newer is better; although, I think the beaters on my old mixer were better because they were thicker, heavier…the new ones are so thin. They feel like they might break easily. I would truly love to have a stand mixer, but then I have figure out where to put it, after I’ve “justified” buying it (on sale, of course!!)
My blender is borderline “antique.” It’s a Waring blender with like 14 different pulsing levels. I’m sure it doesn’t compare in any way to a food processor. I usually crush cookies or graham crackers, etc. in a plastic bag using a rolling pin (or if I’m in a hurry, I use a heavy glass). Not sure right now which recipes I’ve saved from your blog that mentioned the food processor, but I’m sure there would be more uses for it than I think. I can’t say that I would consider myself a “baker” by any means. So, justifying buying either item might be difficult, but if I say I really “need” it, I usually don’t get in too much trouble…but then I have to use it constantly at first, so I can “justify” my purchase. You said “food bloggers” have two of almost everything. Well, Dorothy, I’m not a food blogger, but I have two or more of many, many, many kitchen utensils….one is never enough!!! I have to thank you again for time you took for your personal answer to me. You are very thoughtful! Love the “insight” into your life on your blog. At times, I feel like your blogs are like a letter or phone call from a friend. You have such a cheerful and “fun” way of writing. Again, thank you. 🙂
Thank you so much! 🙂
And oh my gosh if you saw my utensil caddy. I just had to upgrade it to a huge jar instead! 🙂
Featured In
Rate This Recipe